If you sit at the pottery wheel, you need a comfortable, functional stool that can be cleaned and will hold up over time. There are a few pottery-specific stools that really are best for throwing, but a basic stool will also get the job done and can double as a step-stool in the studio.
The following post covers a variety of stool options for the pottery wheel, including our top pick, the Shimpo Potter’s Stool. There are also a variety of budget options or stools with other features. In general, pottery stools range in price from about $50 to $125.
The recommendations come from decades of personal experience working with the pottery wheel, and managing academic and community studios and observing stools that have been subjected to heavy use. The following recommendations are based on that experience to give you the best option for a stool that matches your style and budget.

The Shimpo Pottery Stool has four adjustable legs and can be set up at an angle if desired.
TOP PICK: Shimpo Potter’s Stool

The Shimpo Pottery Stool.
The Shimpo Potter’s Stool is the most versatile, comfortable, and functional pottery stool on the market. It has four adjustable legs with nine adjustable slots on each leg, with a range of 19 to 26 inches high. The legs are adjusted by pushing a pin in and moving the leg to the desired slot and letting the pin snap back in to place. The legs also can be adjusted independently, allowing for the stool to be set at an angle if desired. (Most pictures show this stool set up at a precipitous angle but even a slight angle or flat will work for throwing) It also has a comfortable, padded seat, but the padding makes this an uneven surface to stand on so it is hard to use as a step stool in the studio.
The stool can be turned upside down on a wheelhead when not in use, and with a 16 x 16 inch footprint, it is compact and won’t get in the way. Ongoing upkeep is simple: a bit of oil on the adjustable legs when needed.
The only drawback is the adjustable pins can be a bit unwieldy to press in to change, but most potters probably don’t need to adjust their stool too often. Another drawback is that the blue seat cover can be cut or pierced if you somehow get a knife close to the padded surface. But these are relatively minor concerns. Overall, it’s compact, functional, and comfortable stool that is easy to clean and will last forever.
Shimpo Potter’s Stool
19 to 26” high, adjustable
Generally priced $100 to $130 (price seems to vary widely so shop around!)
Table of Contents
Top Pick: Shimpo Potter’s Stool
Budget Pick: National Public Seating 18” Stool
Other Pottery Stool Options
Discontinued Pottery Stools
How to Find the Best Seat Height for Throwing
Conclusion
Budget Pick: 18 inch Fixed Height or Adjustable Stools from National Public Seating or OEF Furnishings
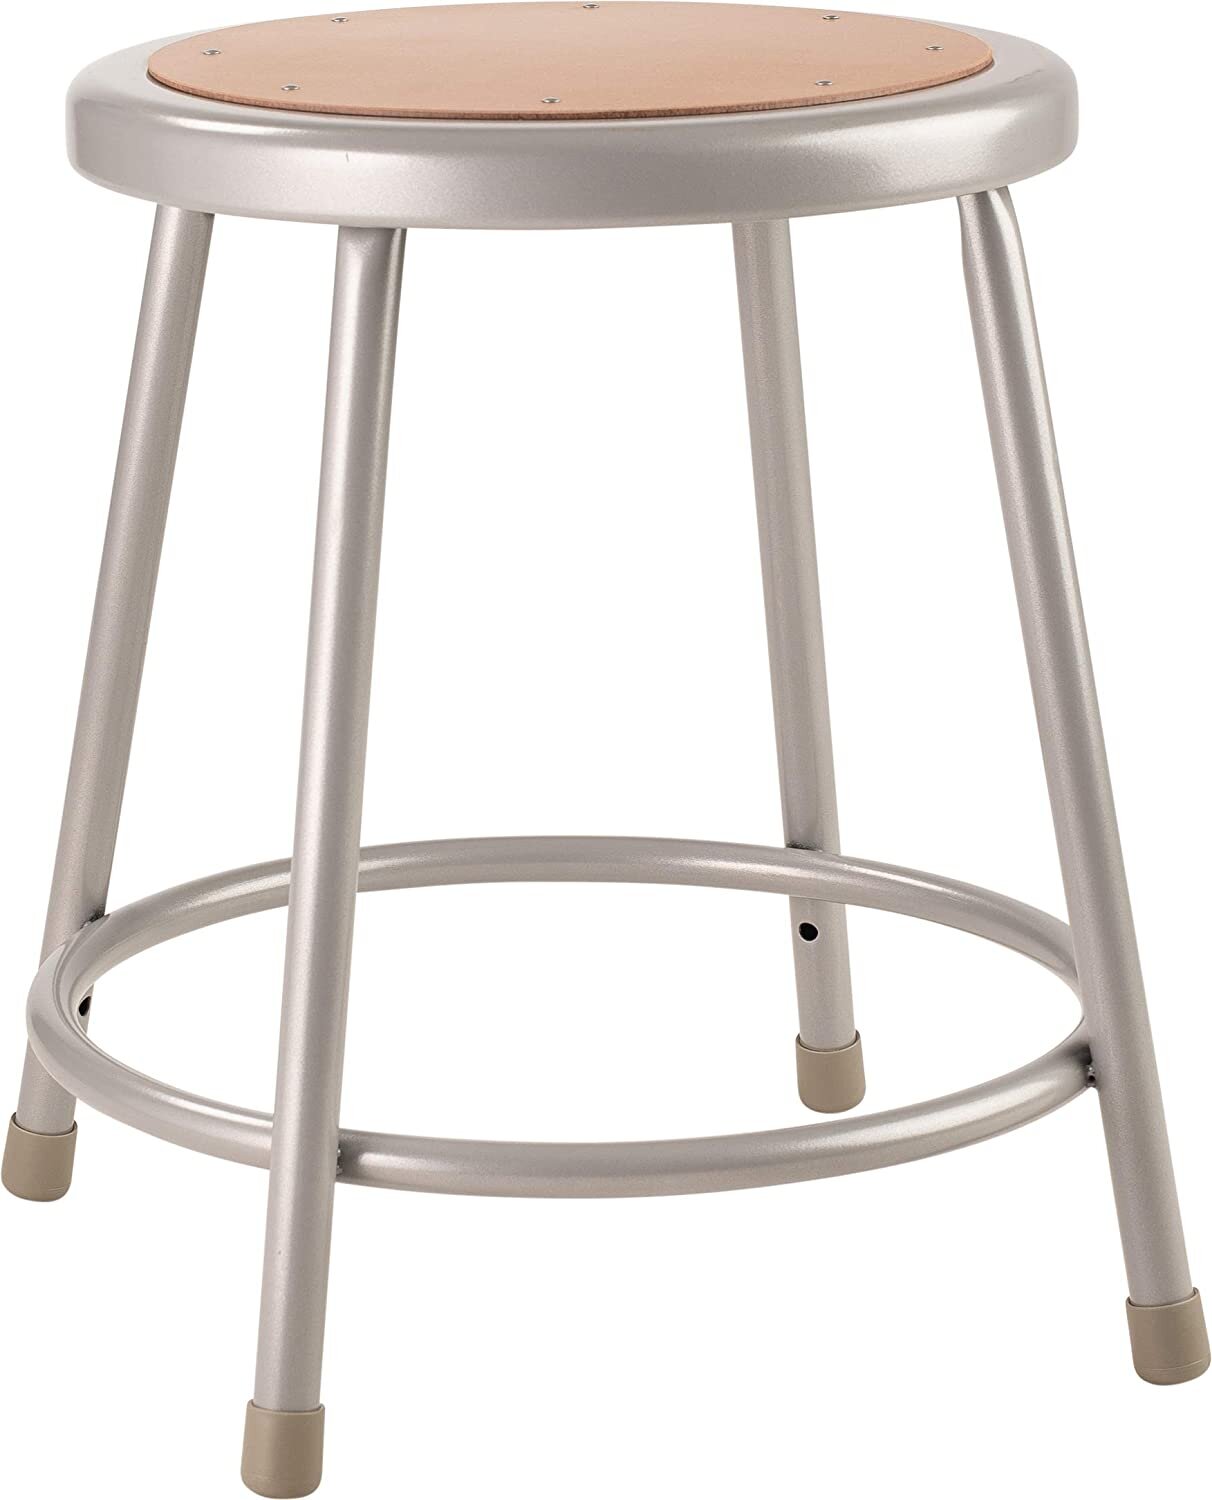
18” Stool from National Public Seating in grey.
National Public Seating’s stools are the utilitarian workhorses of studios. Sturdy, stackable, and virtually indestructible, they will last for years of heavy use, and the shorter 18” stool can easily double as a tall step stool or low pedestal for use with your favorite banding wheel. The 18” fixed height stool is a fairly good option for the pottery wheel but some may find it a little short. You can adjust the height by adding a cushion or boards.
There are also adjustable models from 18 to 27 inches however this is a screwed-in adjustment that needs a hex wrench to change. You won’t be making quick adjustments like with the Shimpo Pottery stool.
Another plus to these stools is they are available in a few colors: a basic gray, black, and a grey with a padded vinyl cushion. These stools are very common and widely carried, so it can be good to shop around and see if there’s a sale. Typically they are around $60-$75 and a bit more for the padded or adjustable models, but you might find them on sale or as a multi-pack. They aren’t as versatile as the easily adjustable Shimpo stools, but there’s a lot to be said for having a simple stool around.

National Public Seating 18” Stool in black.
You can also find these stools with a backrest option. That can be nice for taller chairs used for hand building at a table, but a backrest makes it impossible to turn the chair upside down on a wheel head when not in use.
On Amazon, very similar stools are available in many of the same options from OEF Furnishings. Do they come from the same factory? I don’t know, but you can check out the shopping links below and find what works for you.
National Public Seating 18” Fixed Height Stool with hardboard seat
Black or grey with hardboard seat
Available for $60 at Blick or $67 at Amazon
OEF Furnishings 18” Fixed Height Stool with hardboard seat
Grey or Black with hardboard seat
Available for $53 each or as 2 pack for $90 at Amazon

18” Stool in grey with padded vinyl seat from National Public Seating.
National Public Seating 18” Fixed Height Stool with padded vinyl seat
Available in grey or black, $60-$65

The National Public Seating 19”-27” adjustable height “small” stool in black with hardboard seat.
National Public Seating 19”-27” Adjustable Height Stool with Hardboard Seat
Available in black or grey
$75-$85
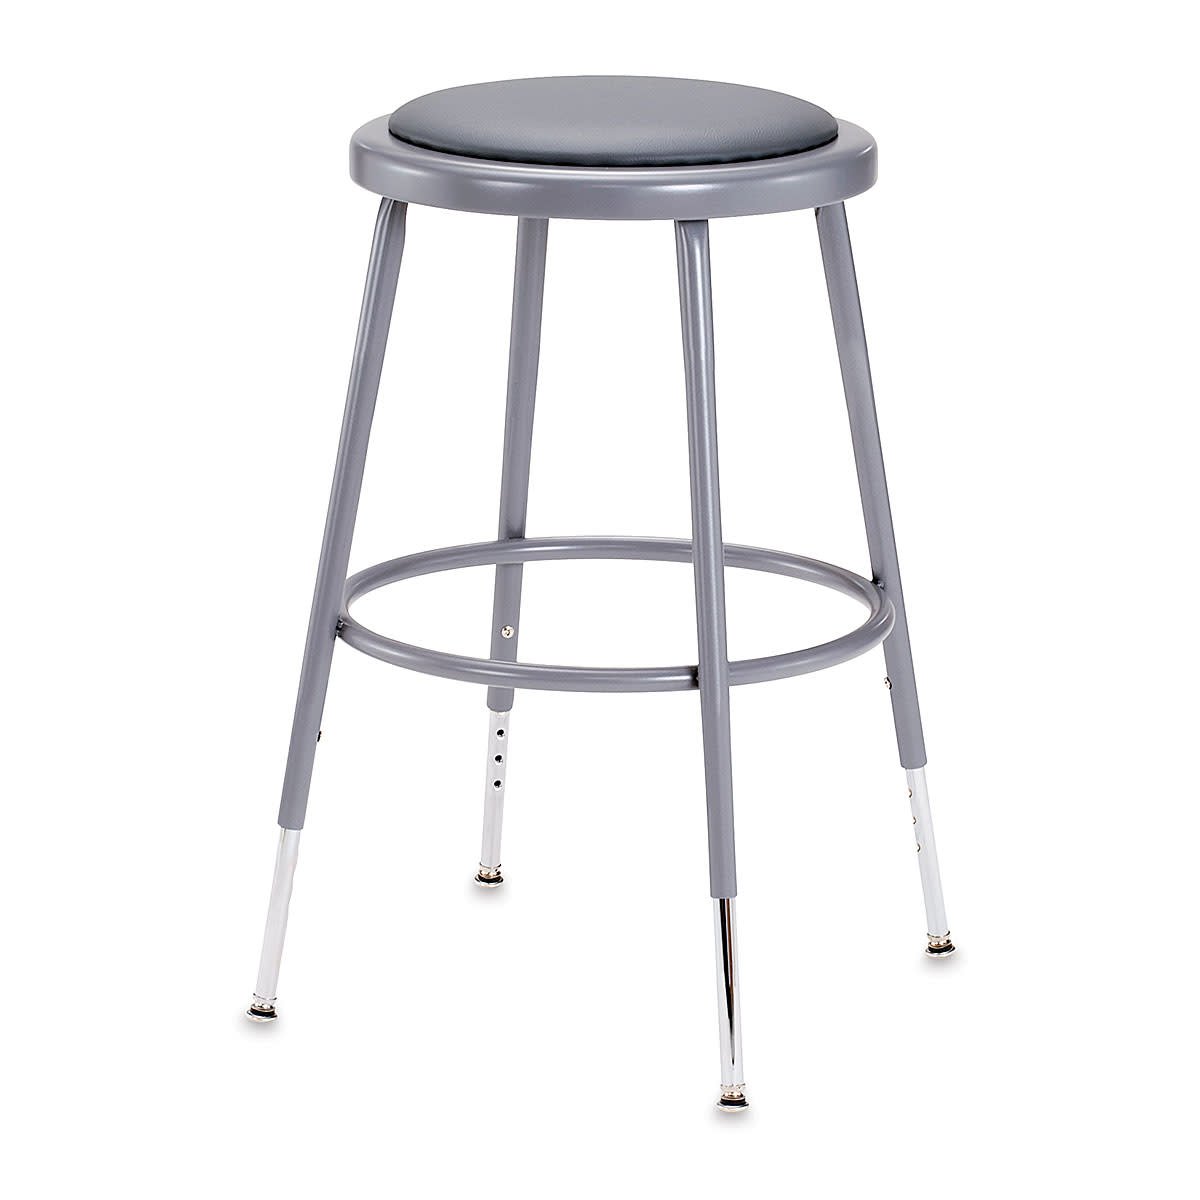
The National Public Seating 19”-27” adjustable height “small” stool with padded seat in grey.
National Public Seating 19”-27” Adjustable Height Stool with Padded Seat
Available in black or grey
$83-$95
Other Options for Pottery Stools

National Public Seating Adjustable Swivel Stool
Another option is the National Public Seating Adjustable Swivel Stool. Rather than a hydraulic column that can break down over time, this seat is adjustable by turning the seat and moving what is essentially a big screw up or down.
The adjusting mechanism is housed in a steel center sleeve but the “teeth” of the swivel are exposed as you raise the seat. As long as this is kept clean, the stool should last for a long time. It’s great for academic studios, anywhere you need an adjustable stool, but it is heavier and harder to stack. The stool is available in a variety of styles including wood and hardboard seats, and can adjust from 17 3/4” to 24 1/4” high.
National Public Seating Adjustable Swivel Stool
Available in a variety of colors and styles
$125-$160
Artisan CK-21 High Density Foam Potters Stool

The Artisan CK-21 is an adjustable stool with a wide base and high-density foam chair.
The Artisan CK-21 High-Density Foam Potter’s Stool is a comfortable and adjustable stool that can go from 15 to 20 inches in height via a hydraulic column. Speedball used to make a very, very similar chair that is no longer listed on the Speedball website, so I assume this rebranded model is about the same and comes straight from the manufacturer. The Speedball chairs were super comfortable and long lasting, although do expect the hydraulic to not work as well over time (i.e. more than a decade) but it’s great to see the Artisan model as this style is one of the most comfortable and adjustable pottery stools on the market.
There are also two upgrade models of the Artisan stool. One model is the same seat but has a tilt adjustment, or you can choose a model with a flat, round, padded seat.
It is on the heavier side and won’t stack, but otherwise it’s a great option. Available only at Clay King in South Carolina for $111.
How to Find the Best Height for Throwing
Seated throwing at the pottery wheel can be very comfortable if you get your body positioned in the right way. I prefer to sit at least equal or higher to the wheelhead. This allows my upper body and torso to be involved in the throwing. The lower you set your seat in relation to the wheelhead, the more you will only rely on your shoulders and upper back for power, which can lead to strains and problems. You definitely want your abdomen, torso, and even your thighs to be involved in throwing.
Here’s how I suggest you find the position that is right for you. Keep in mind that every body is shaped differently. Different lengths of torsos and arms are really what come in to play with wheelthrowing:
Set your chair or stool to be approximately 1 inch higher than your wheelhead. Keep in mind that bats may change the height of the wheelhead. I always sit higher than the wheelhead and instruct my students to start the same way. This allows you to “lean” in and really get a lot of power simply from the weight of your torso.
If this is not comfortable, adjust your seat higher in lower in approximately 1/2” intervals until you find a comfortable position.
Feel free to move your foot pedal from left to right if possible. You can also raise the footpedal on bricks or boards.
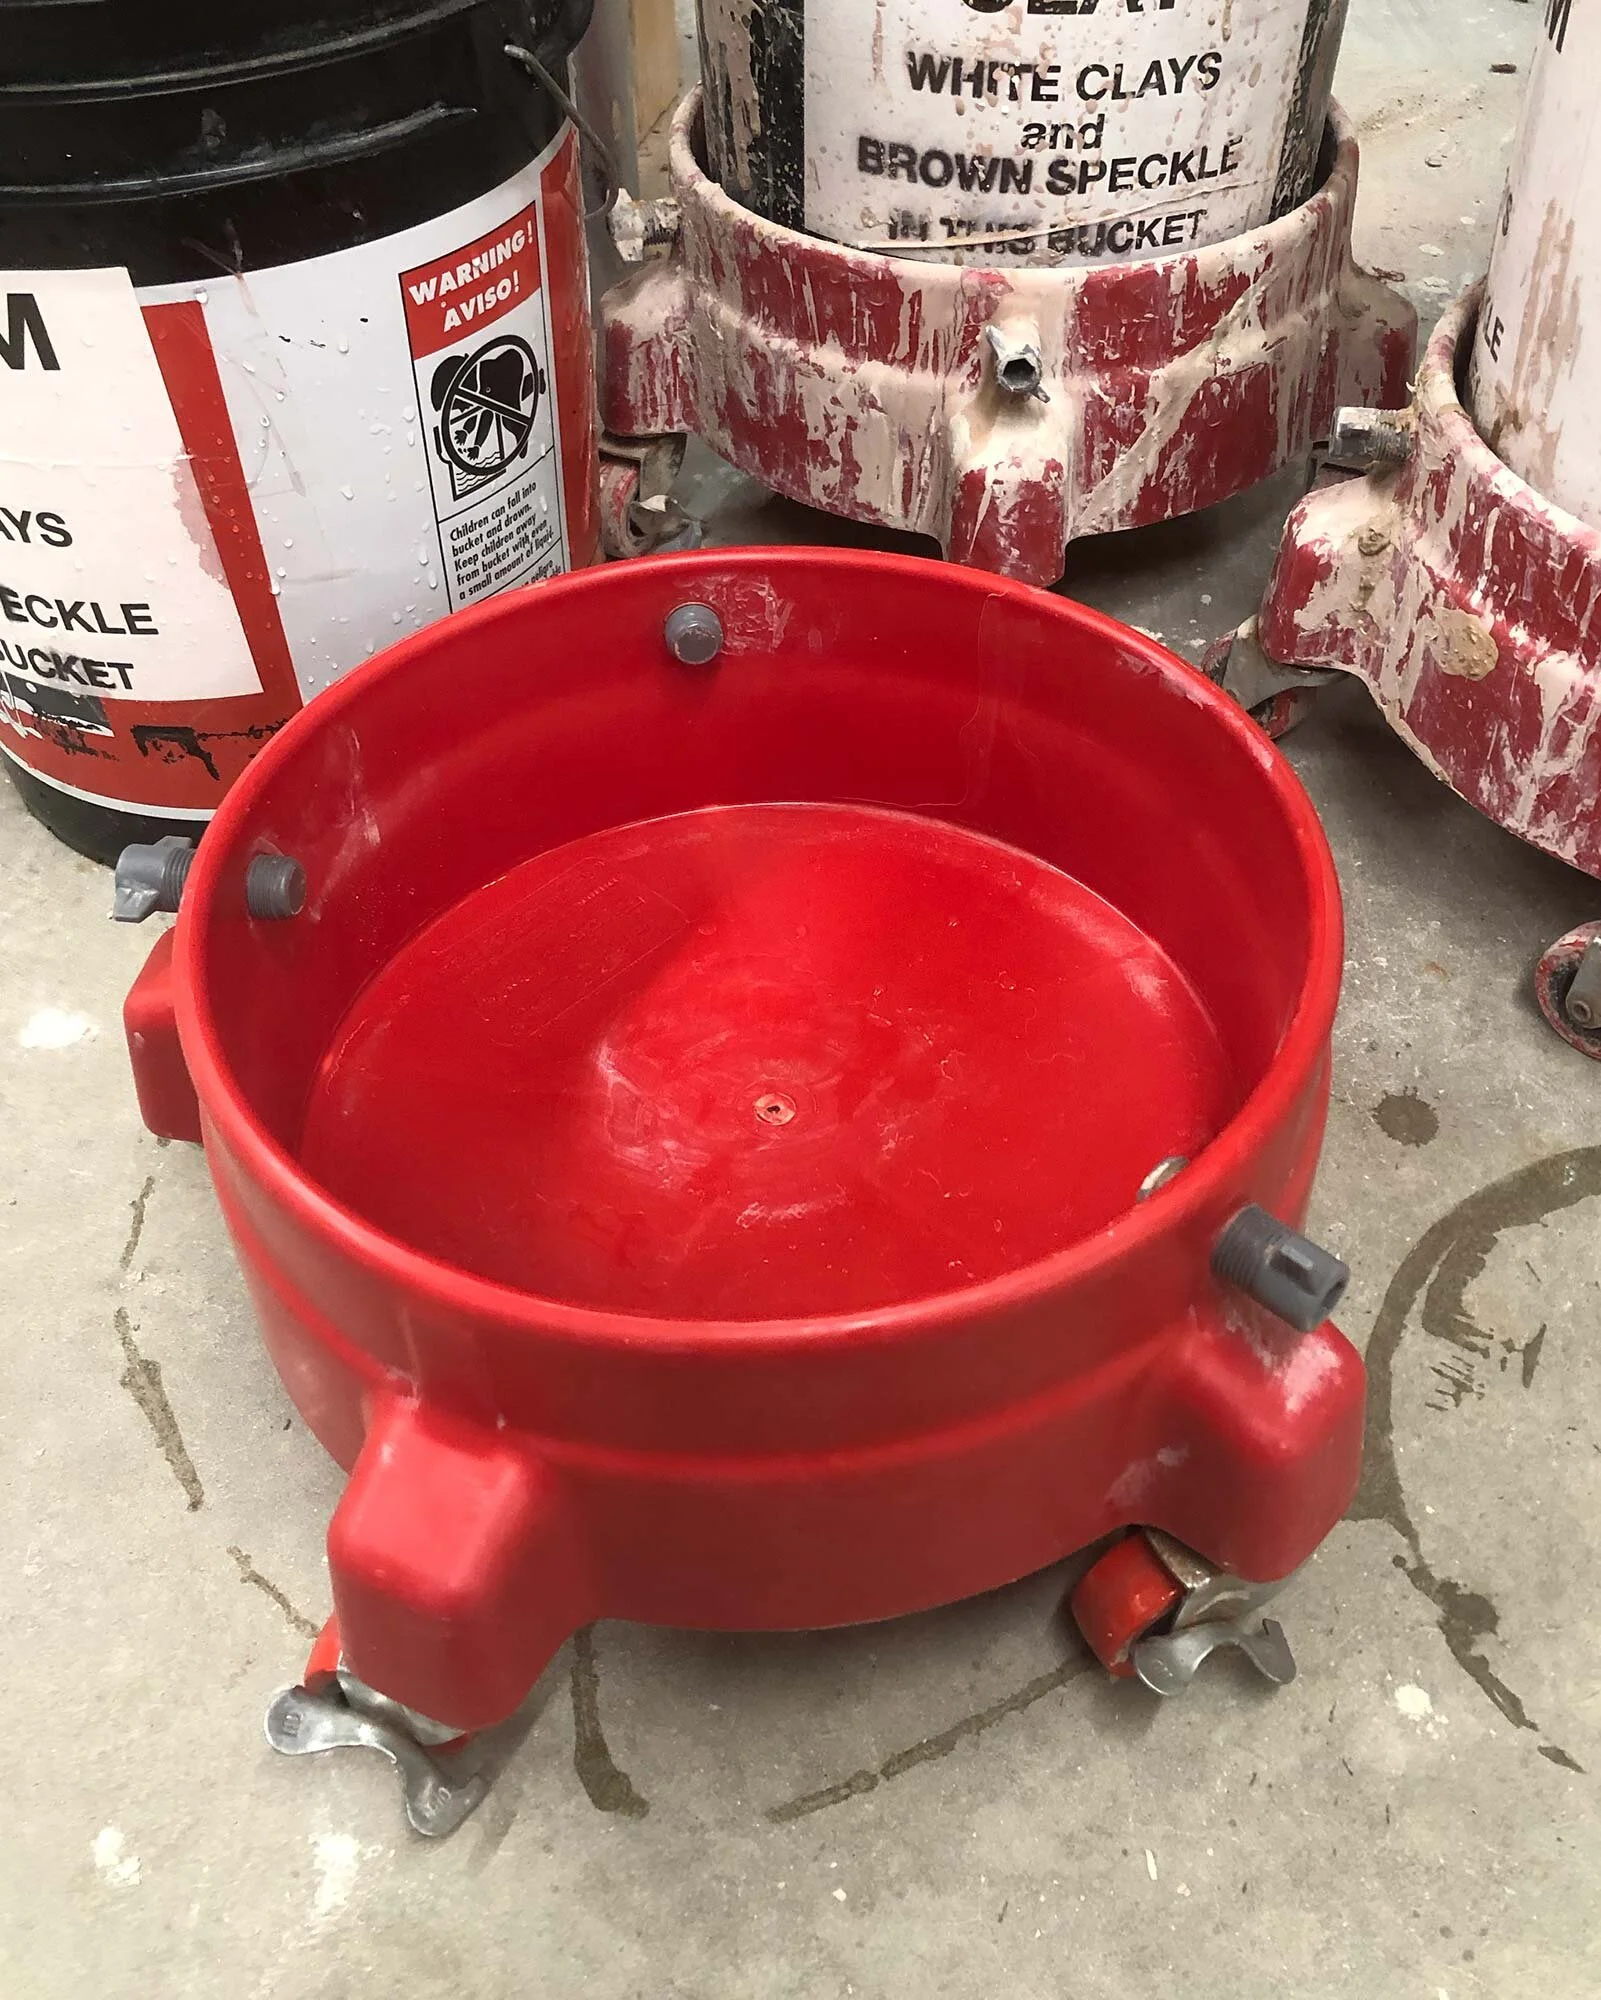
Add a brick or upside down bucket underneath your non-pedal foot. Raising your leg allows your thigh to get a bit involved with adding power to your arms.
While throwing, try to keep a curve in your lower back by keeping your chest up. This is hard to do.
Take frequent breaks to stand up, stretch your arm, or move a bit so your body doesn’t get locked into a static position.
If you have aches and pains, you may need to consider switching your throwing position. It also doesn’t hurt to have a regular stretching routine, either before or after throwing. And adding core / ab exercises to your week will only improve your comfort and ability on the wheel.
If seated throwing is not working for you, keep in mind that many manufacturers make legs for wheels, or you can place a wheel on a table top or elevate it with cinder blocks. (Click here for a guide to table top wheels.) Many people find that a standing wheel is more comfortable and this is what you will find at many factories that work with jigs and molds on wheels. Keep in mind that if you are new to pottery, you may just need to develop new muscles, so start with 30 to 60 minute throwing sessions and grow from there over time.
Conclusion
This post has reviewed the best stools for use at at pottery wheel and covered some ideas on how to find the most comfortable position for throwing. Our top pick is the economical, sturdy, and functional adjustable Shimpo Pottery Stool. But there are other options so that everyone can find the best stool for their studio.
What stool do you use at the wheel? Let us know in the comments.
You Might Also Enjoy:
Best Banding Wheel for Ceramics