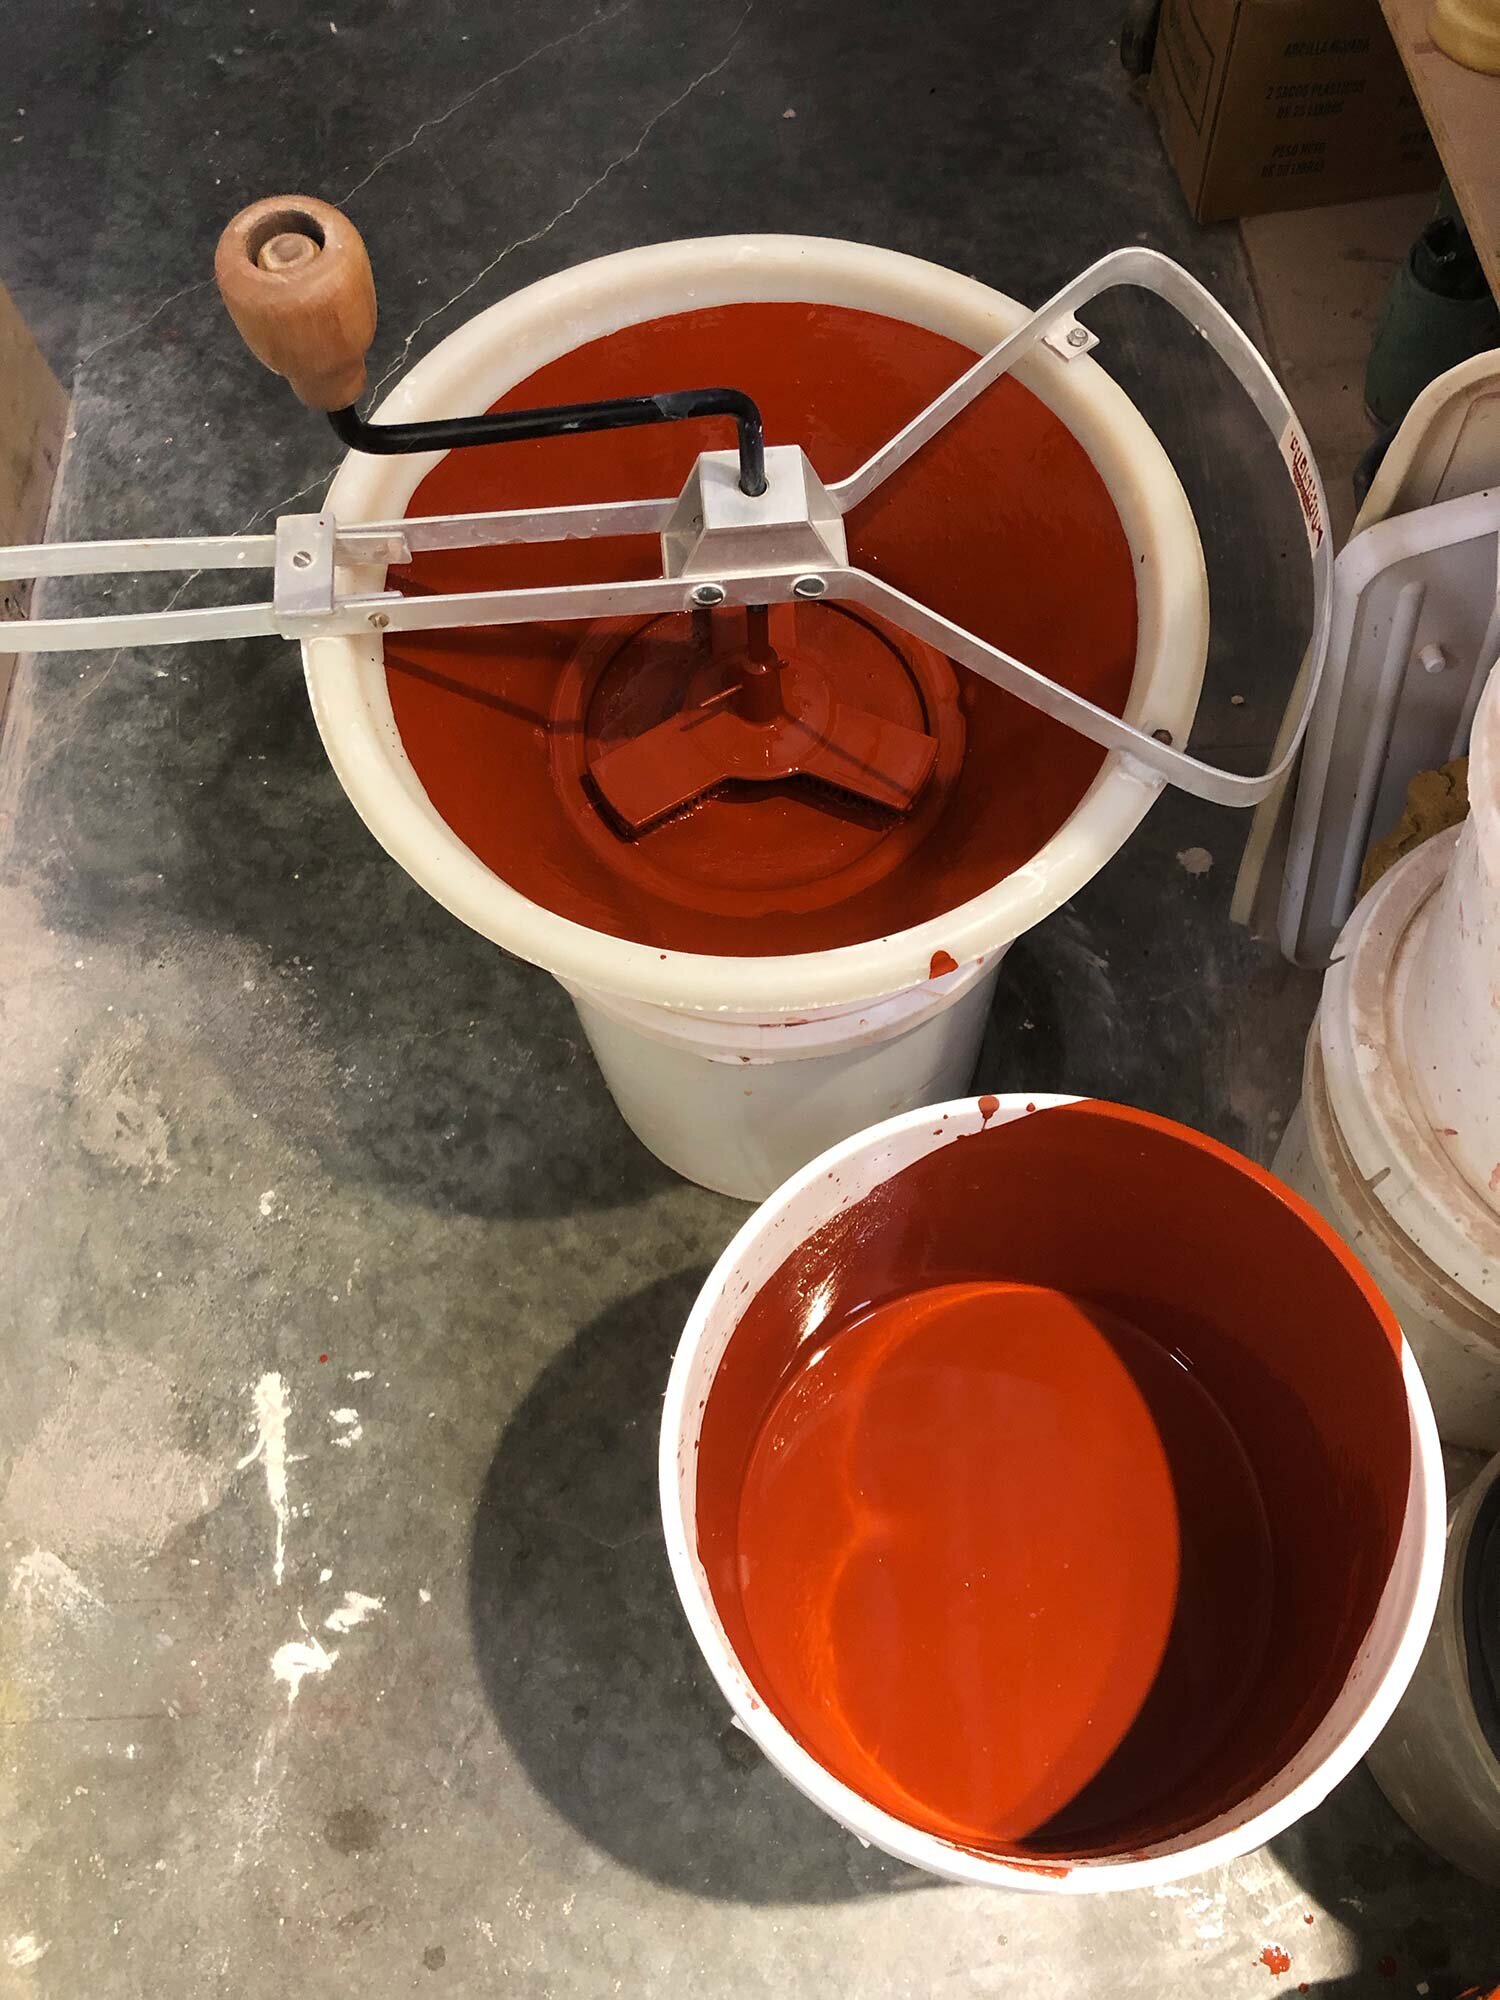
A red iron oxide glaze in the process of being run through a Talisman Glaze Sieve.
This post is an overview of how to mix a ceramic glaze from dry ingredients, including the tools, techniques and procedures to get you started.
Whether you buy a pre-mixed dry glaze or weigh each ingredient, there are a lot of advantages to mixing your own glaze:
Save money: Mixing glazes in your studio is always cheaper, sometimes as much as 80 to 90 percent cheaper than bottled glaze.
Customize: Learn how to modify slips and glazes to suit your kiln and clay bodies.
Learn glaze chemistry: Even a bit of info can help you get the results you want.
A variety of our favorite glaze recipes are posted here, and there are lots of websites and books with glaze recipes. There are endless amounts of glaze recipes, so if you are new to this, just start with one basic one such as a glossy clear. There are also pre-mixed, dry glazes which are effective and still save some money over buying bottled glazes.
Keep reading for the complete how to instructions.
Table of Contents
Glaze Mixing Tools and Accessories
How To Mix Glazes From Scratch
Testing and Storing Glazes
Summary
Glaze Mixing Tools and Accessories
Here’s what you need to mix glaze in your studio:
Scale that can measure to 1 gram accuracy or better (Read our scale review here)
Dust mask, preferably a respirator
Bowl or pan for the scale (Read our glaze accessories recommendations here)
Electric drill with mixing attachments, or a large whisk
(Read our review of cordless drills or corded drills here)
Fine Sieve (80 mesh) from a ceramic supply store, and a coarse sieve, from a supermarket or hardware store
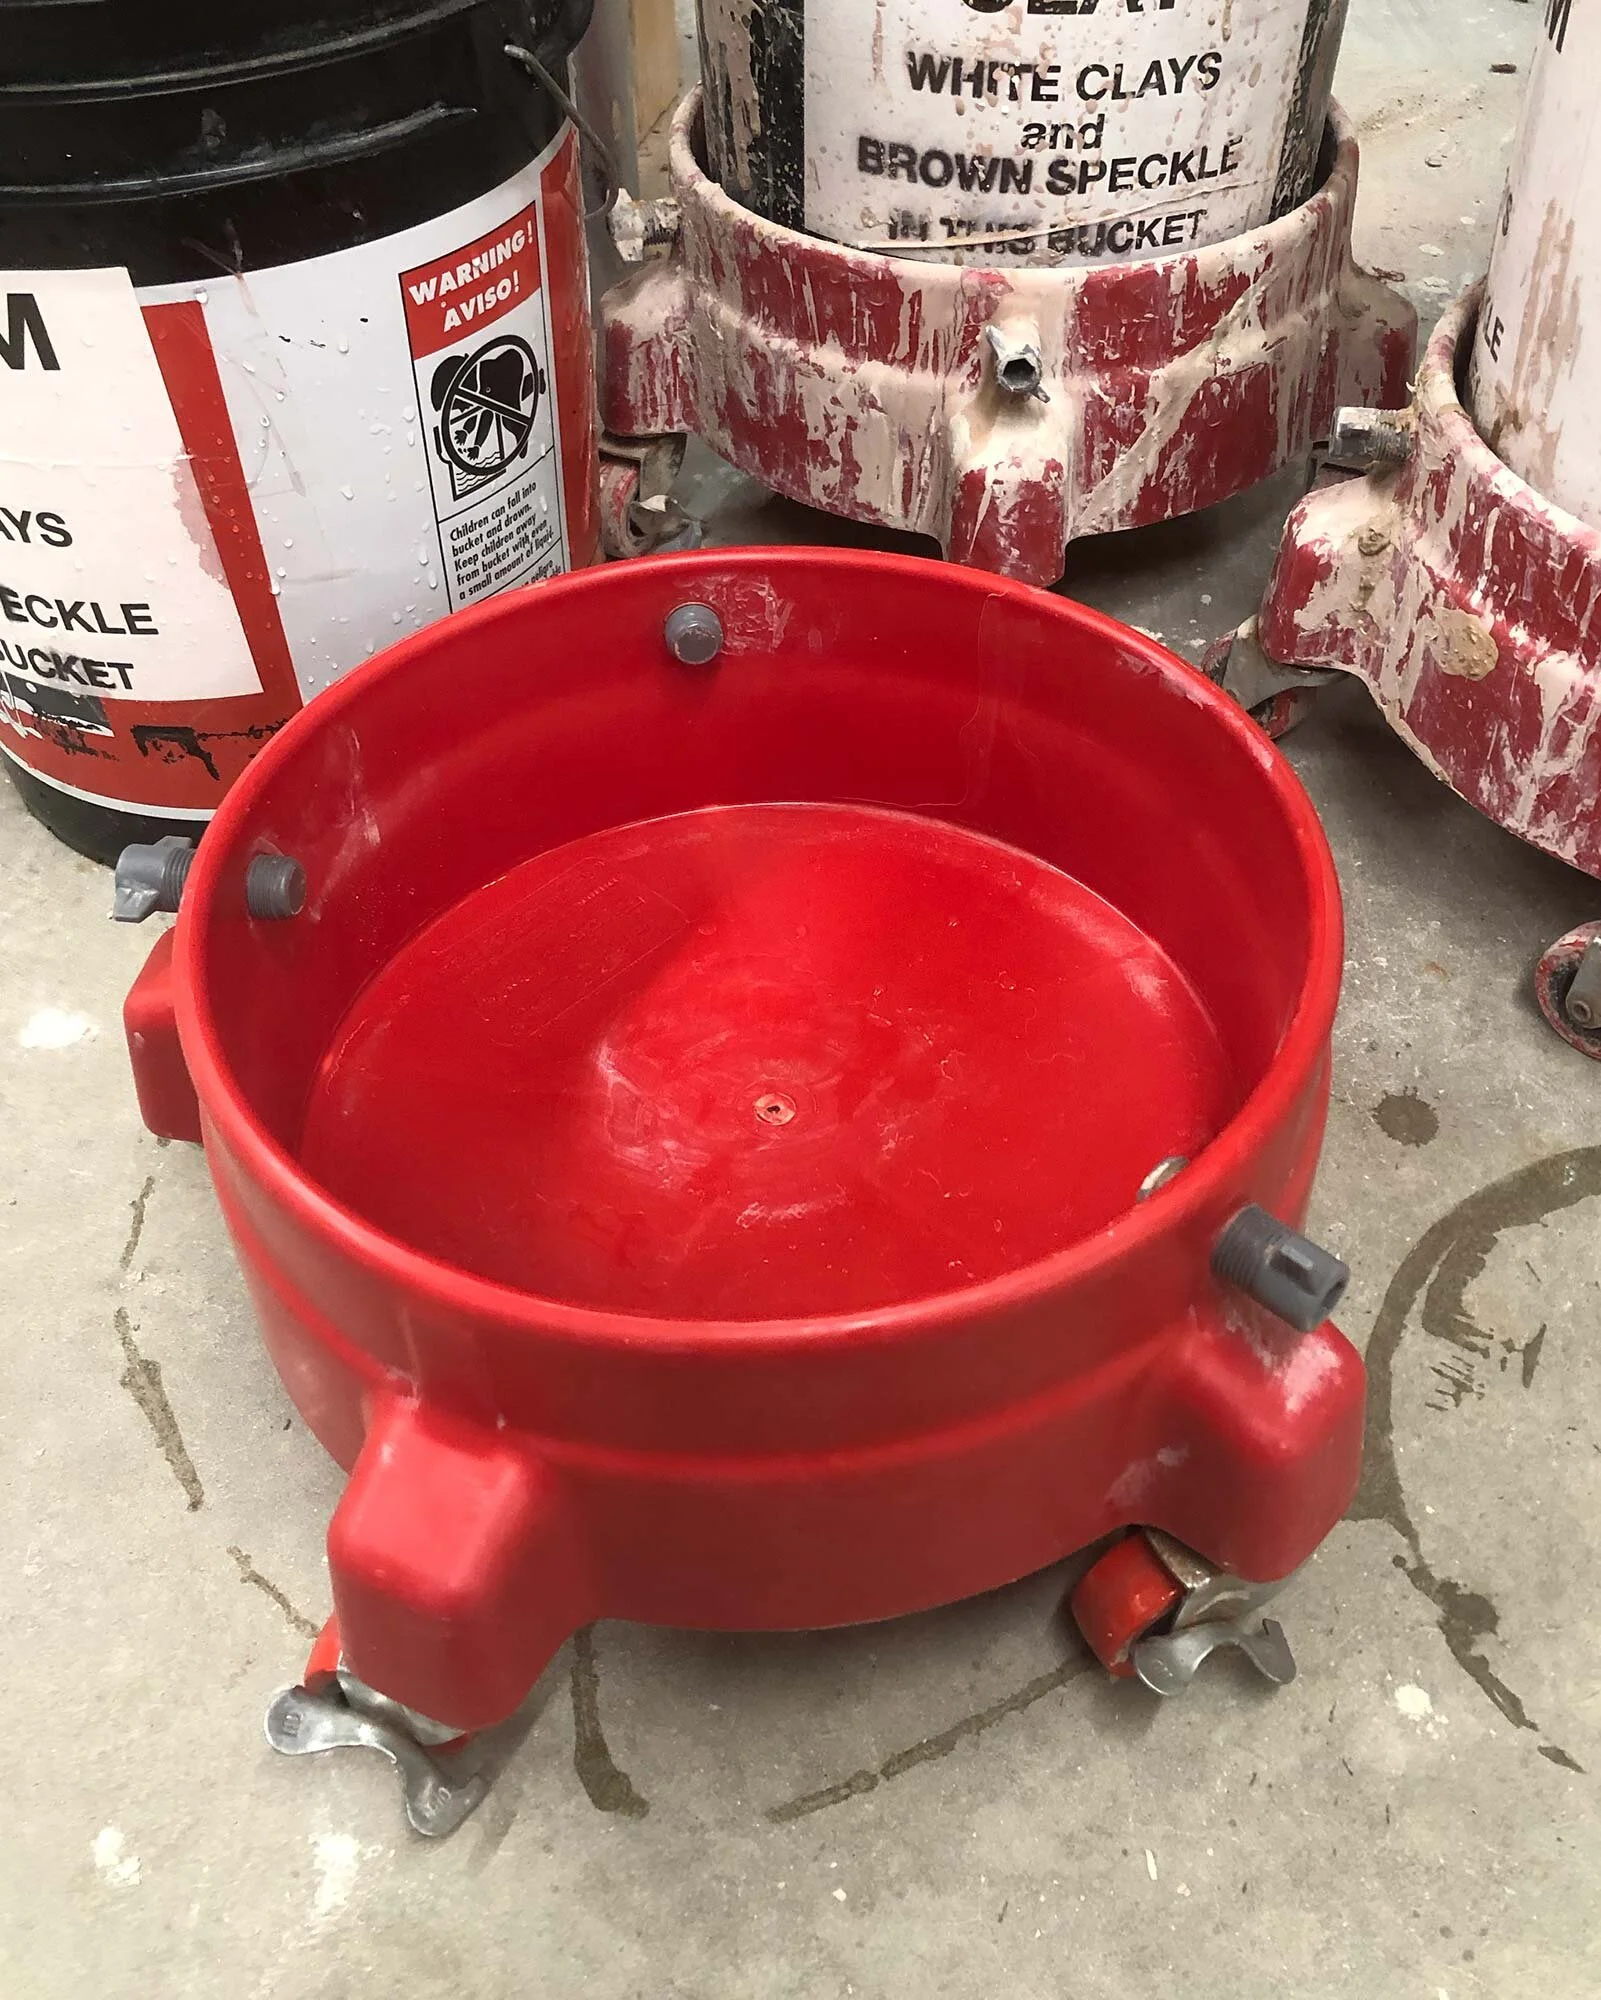
Buckets for mixing and storing glaze, 1 gallon to 10 gallon or larger depending on your needs
Large plastic scraper, for cleaning sides of buckets
How To Mix Glazes From Scratch
Review recipe.
Check to make sure you have enough of each ingredient. It can be helpful to calculate and write out the amount of each material, to be used as a checklist.
Prepare work area
Put on a dust mask, clean your scale and work area. Get your materials, buckets, and scoops together.
Zero scale
Place your measuring pan or bowl on the scale and turn it on. If needed, press the tare button so that the scale is zeroed out.
Weigh ingredients
Weigh each ingredient (this is where your checklist is handy) and put them in a dry bowl or bucket. After measuring all the ingredients, mix the dry ingredients together. Some glaze ingredients, such as bentonite, are prone to clumping so it is important to mix everything dry first.
Add to water and mix
Add the mixed glaze materials to water and mix until it is thick cream or buttermilk consistency. An electric drill with a proper mixing blade greatly speeds up this process. A large plastic scraper will dislodge material from the side of the bucket. Once all the dry ingredients have been mixed with water, you can remove your mask if desired.
Note: it’s best to add glaze materials to water. If you add water to a bucket of dry materials, it’s hard to get everything in the bottom corners mixed.
Sieve and homogenize
Prepare another clean bucket with a sieve, preferably a fine 80 mesh sieve. Run the glaze through the sieve this first time, to break up any clumps. A brush can help push material through the sieve, or a Talisman Glaze Sieve is a tool made specifically for mixing glaze into 5 or 10 gallon buckets.
Then, clean the bucket where you will be storing the glaze. Run the glaze through the sieve a second time into this clean bucket.
Test glaze consistency
Glazes are typically mixed to a specific gravity, which measures the amount of dissolved solids in the water. Usually glazes are around 1.50, which means 50 parts dissolved solids to 100 parts water. Keep records and mix the glaze to a consistency that works for you.
Specific gravity can be measured with a specialized (but fragile) hydrometer, or you can use a graduated cylinder on your scale. With your cylinder zeroed out on the scale, pour in 100ml of the mixed glaze and check the weight. Add water as needed, and mix.
Label and store
Glaze containers and lids should be labeled with the name, temperature, and any other information that will help you. Laminated, waterproof labels are best but packing tape can also protect a label for some time.
Testing and Storing Glazes
Testing Glaze
It is helping to make a test tile of a glaze, on each clay body you use. Vertical test tiles such as tubes from an extruder are best, as they show how a glaze will “move” with gravity. Dip your test tile with one and two dips to show how different thicknesses of glaze affect the color.
Some studios choose to make a test tile with each batch of glaze. But if you are careful to mix the glaze accurately to a similar specific gravity, and your firings are repeatable, you should get roughly the same glaze results each time. There are no guarantees with glaze though. It is important to keep records, both in a glaze book and a kiln log, in order to get standardized results. But, glaze materials do change over time so as necessary you can make new test tiles.
Storing glazes
Glazes can be stored in sealed containers or buckets almost indefinitely. Most glaze ingredients are inorganic and will not rot. But some ingredients, such as bone ash, can cause some rotting smells. To avoid this, make sure the glaze is mixed with some frequency. If the odor persists, you can add a trace amount of copper to any glaze (even white glazes!) without affecting the color. Copper is an anti-fungal and can cut down or eliminate odor. Read our post on that here.
Remixing glaze
As they are used, glazes do lose some moisture to evaporation and bisqueware can suck extra water out of the glaze mix. It can be helpful to mix and then do a quick visual check of the glaze. If necessary, you can re-check the specific gravity and add water. If a glaze seems thick or is glopping onto your pieces, it’s definitely time to check it and probably add water.
In addition, when I mix glaze, I will usually run all the old and new glaze through a sieve. Small bits of bisque and other contaminants can fall into a glaze bucket. When I’m using it, I want to know what I’ve got in that bucket. It does take extra work but having a double-sieved, homogenized glaze will result more even glaze application and hopefully, better results.
Summary
This post has covered a basic overview of mixing glazes from scratch. It covered the tools, techniques, and a few helpful hints to mix and store glazes. If you can follow a recipe, you can mix glaze. There is an overwhelming amount of glaze info out there, but if you start with just one basic recipe and grow from there, you will be a glaze master in no time and you will be able to customize and mix glazes to suit your own needs.
If you are looking for more info on mixing glazes, the glaze books by John Britt are some of the best resources.
The Complete Guide to Mid-Range Glazes
The Complete Guide to High-Fire Glazes
Questions or comments? Let us know in the comments.