There’s a huge variety of tools for working with clay, but you don’t need everything out there, especially if you are just starting out. There are a few basics that will do 95% or more of studio tasks, and these are the same tools that you’ll use over and over again as you continue to work with clay.
In general, it’s best to pay a bit more for quality, well-built tools that will stand the test of time. But lower-cost options can be fine too, especially if you are just trying pottery for the first time or are on a budget.
This post will cover a tool kit, 3 additional tools, one apron, and one tool bin recommended for beginners. Here’s a quick overview of the recommendations:
Kemper "Original" 8-piece Pottery Tool Kit: Shop at Amazon | Shop at Blick
Kemper F97 “hard” fettling knife: Shop at Amazon | Shop at Blick
Mudtools Shredder: Shop at Amazon
Kemper serrated rib: Shop at Amazon | Shop at Blick
Split-leg cotton apron by Black Stallion: Shop at Amazon
10.5” Translucent Art Bin: Shop at Amazon | Shop at Blick
Table of Contents
Basic Pottery Tool Kit
Fettling Knives
Clay Shredders / Rasps
Scoring tools
Aprons
Tool Boxes and Bags
Kemper Pottery Tool Kit
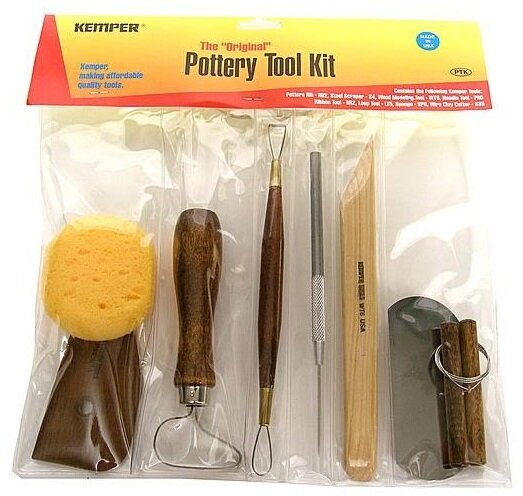
The Kemper "Original" 8-piece Pottery Tool Kit includes the most-used tools for wheel throwing and hand building. All these tools are must haves.
The kit includes:
Wooden Rib
Sponge
Loop tool
Ribbon tool
Needle tool
Wooden knife or modeling tool
Metal Rib
Wire tool
At $15-20, that’s a great deal! This Kemper Original Tool Kit does cost a bit more than other kits, but that’s because it is made out of higher quality wood and metal. That means the loop tools will stay sharper longer, the wooden knife won’t warp, and the wooden rib will hold up for years of use. It’s worth the extra few bucks. Look for the dark brown wood aka hardwood, and you’ll know that you will soon be working with quality Kemper tools.
Budget Tool Kits
If you are just starting out, there are options to get a tool kit for less than $10. The metal uses is thinner and the wood is “soft” on these kits, so it just doesn’t hold up under the wet, heavy use on a pottery wheel. So these tools won’t last as long, but they’ll definitely last long enough to get you started. And then as they wear out, you can replace them with higher quality tools if you want to get serious.
Here’s a few links to generic tool kits and to the Kemper kit, so that you can compare prices.
A final note on these tool kits: Students ask me about sharpening the loop tools. Yes, you can sharpen these tools with a whetstone or bench grinder. But the metal, even on the Kemper kits, is not designed for sharpening over and over. Expect to be able to sharpen a loop tool 2 or maybe 3 times before the metal gets so thin that it’s unusable. At that point, it’s time to buy a new loop tool. A sharp, relatively new loop tool will result in faster and more even trimming.
Fettling Knife
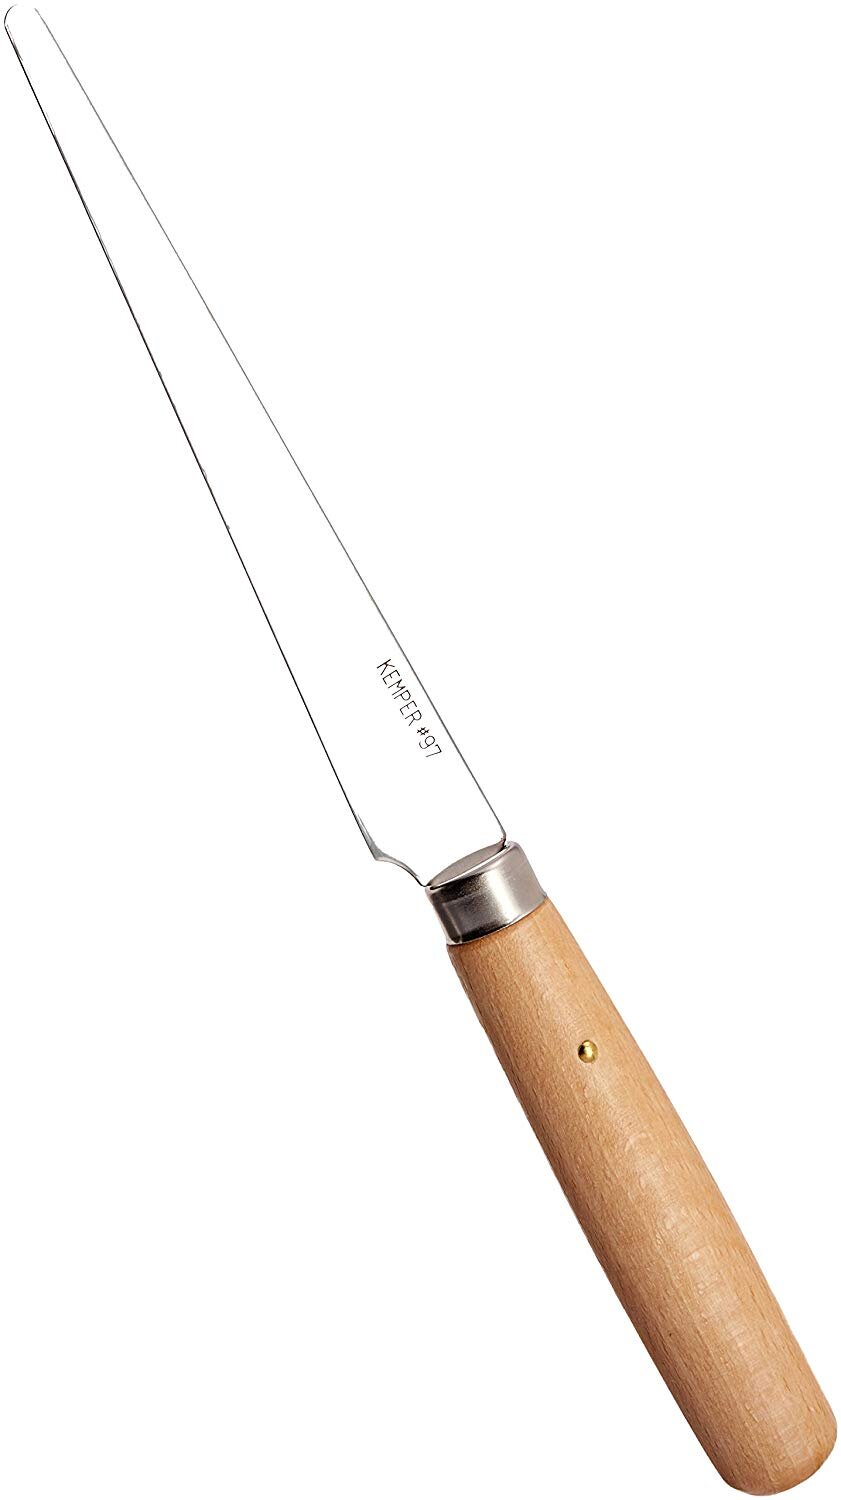
Kemper Fettling Knife
A fettling knife is something I use every day in the studio. It’s a basic steel knife that is not too sharp, but not exactly dull either. The name comes from the word fettle, which means to clean up rough ends of cast metal or clay.
A fettling knife can be used to cut clay evenly and cleanly, and is a superior option to other knives when working with clay. Some people use box knives or X-acto knives, but those dull quickly and are prone to rusting. You might use an old kitchen knife but usually these are either too thick and dull.
Like the tool kit, it pays to get a higher quality knife. The Kemper knives recommended here have better quality steel that isn’t likely to warp or bend under normal use, a better handle, and most importantly, better glue that will keep these two pieces attached. Trust me, I once ordered cheap knives for an academic studio and after a few months half the knives were bent or the blade had fallen out of the handle. They just weren’t worth it.
My favorite fettling option is the Kemper F97 “hard” fettling knife. It has a 4.5” steel blade, a 3.5” handle, and it is a workhorse. The harder steel knife is less likely to bend while cutting, and it makes a great straight edge for smoothing and finishing work.
The Kemper F96 “soft” fettling knife has the same size and shape as the F97, but is more likely to bend under normal use. Sometimes there is a need to bend your blade a bit, such as for a hard to reach area of a sculpture, so this knife can come in handy.
An interesting option is the Xiem Tools Pottery Knife. A bit smaller than a fettling knife, the Xiem knife is 6” long and has the feel of a small kitchen paring knife.
There are cheaper fettling knife options out there with wooden handles, but I can’t recommend a non-Kemper fettling knife. In my experience these knives are made with inferior metal and are prone to falling apart.
Clay Shredder or Rasp
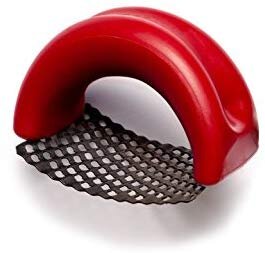
The Mudtools Clay Shredder
A clay shredder or rasp is an awesome tool. Once you have one, you’ll find a bunch of uses for it, including trimming, evening out slab work, cleaning up edges, or adding a bevel. I remember one of my early instructor’s calling these tools “the sculptor’s friend.” They work great on pots too.
There are a variety of options, but our favorite is the Mudtools Shredder. It’s got a comfortable, curved handle that doesn’t take up a lot of room in your toolbox, and the shredder blade is easily removed when you need to replace it. It’s also the easiest style of shaver to clean. If it’s easy to clean, you’ll reach for it first.
For a few bucks less, you can get a similar shredder from Creative Hobbies. The only drawback is that it has a larger handle and the blade is a bit enclosed, making it harder to clean. Otherwise, it’s a great option.
If you want to expand beyond the small curved shredder blade, your best bet is the Surform planer from Stanley. They’ve got a small shaver, similar to the Mudtools, two sizes of flat planes, and a round shaver. I’ve used them all, and they are all great. But, you probably don’t need those bigger shavers until you have bigger projects or are working with plaster molds.
If you do get the Mudtools rasp, or a similar style with the small curved blade, you can get replacement blades such as a 6 pack of replacement curved blades from Stanley. The shredder blade will wear out after use, but it really depends on what type of clay you are using and how clean and relatively rust free you keep your shredder. Just test the blade from time to time and get replacements as needed.
Scoring Tool
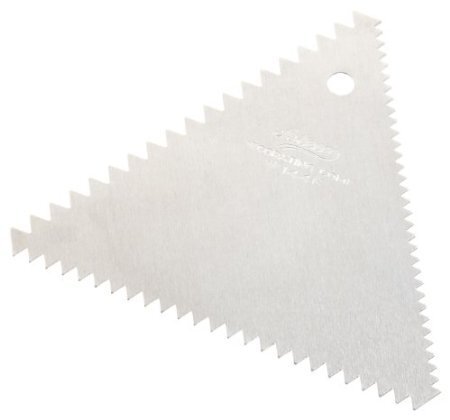
The Ateco Decorating Comb. Good for frosting and ceramics.
These tools go by a variety of names including serrated rib or scraper, and scoring tool. If you want to go budget, find an old metal fork and it will do the job in a rough kind of way. But it can be nice to have a dedicated tool for this job and I use the serrated ribs over and over until they are dull, and then I buy a new one.
The best option is the Kemper serrated rib, which is available for about $3 at Dick Blick and other sites. It has a small, compact seration that works great for joining clay with the score and slip method. The curve edges allow you to maneuver the tool any way you want to go, allowing you to quickly and effectively add scoring marks to your projects.
Another great option is the Ateco triangular decorating comb. It has bigger grooves, which can be great for adding design texture, or scoring the back of tiles.
A final option is the Xiem retractable scoring tool. It’s super compact, has an innovative design, but it’s not my favorite. The Xiem tool is a bit more work to get open and started. I always reach for the serrated rib first, and so that’s what I’d recommend for beginners too.
Apron
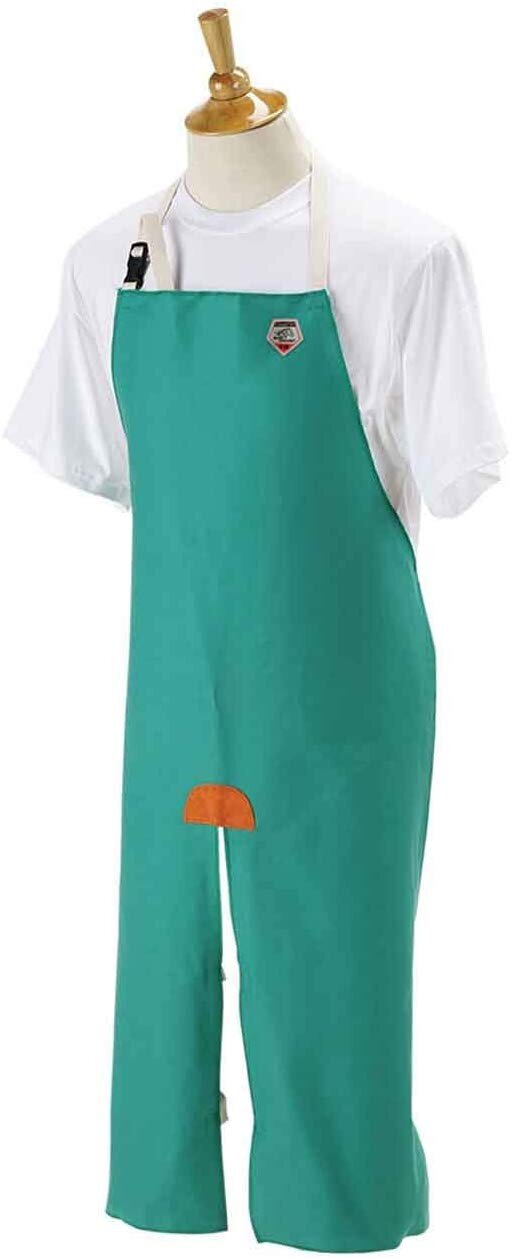
Split-leg cotton apron from Black Stallion
To stay clean in the studio, you can cover up with an extra-large t-shirt or an old button down, but an apron is usually the easiest and most functional option. For functionality at an affordable price, you can’t beat this cotton split-leg green apron by Black Stallion.
Although intended for welding, this split-leg apron is also very functional for wheel throwing. The main advantage is it has an adjustable clip buckle at the neck, and two buckles behind each leg. The split leg has a reinforced joint, but it doesn’t have the doubled-up fabric often found in pottery aprons.
This apron is available in three lengths: 36 inches, 42 inches, and 49 inches. The 36 or 42 will suit most people (A standard kitchen apron is often 30 to 33 inches long.

Cross-back barber style apron from Under NY Sky
Another interesting apron option that is great for handbuilding is the Nylon Cross-Back Barber Apron from Under NY Sky. It costs a bit more but won’t break the bank and it’s got a great look with lots of function. The nylon is appealing for ease of clean up, and it’s also got a clip at the neck and a short split leg. The apron is available in four colors. It’s not as long as a pottery apron, but if you just need coverage on your torso, it’s great.
For more, visit our full review of pottery and ceramic aprons.
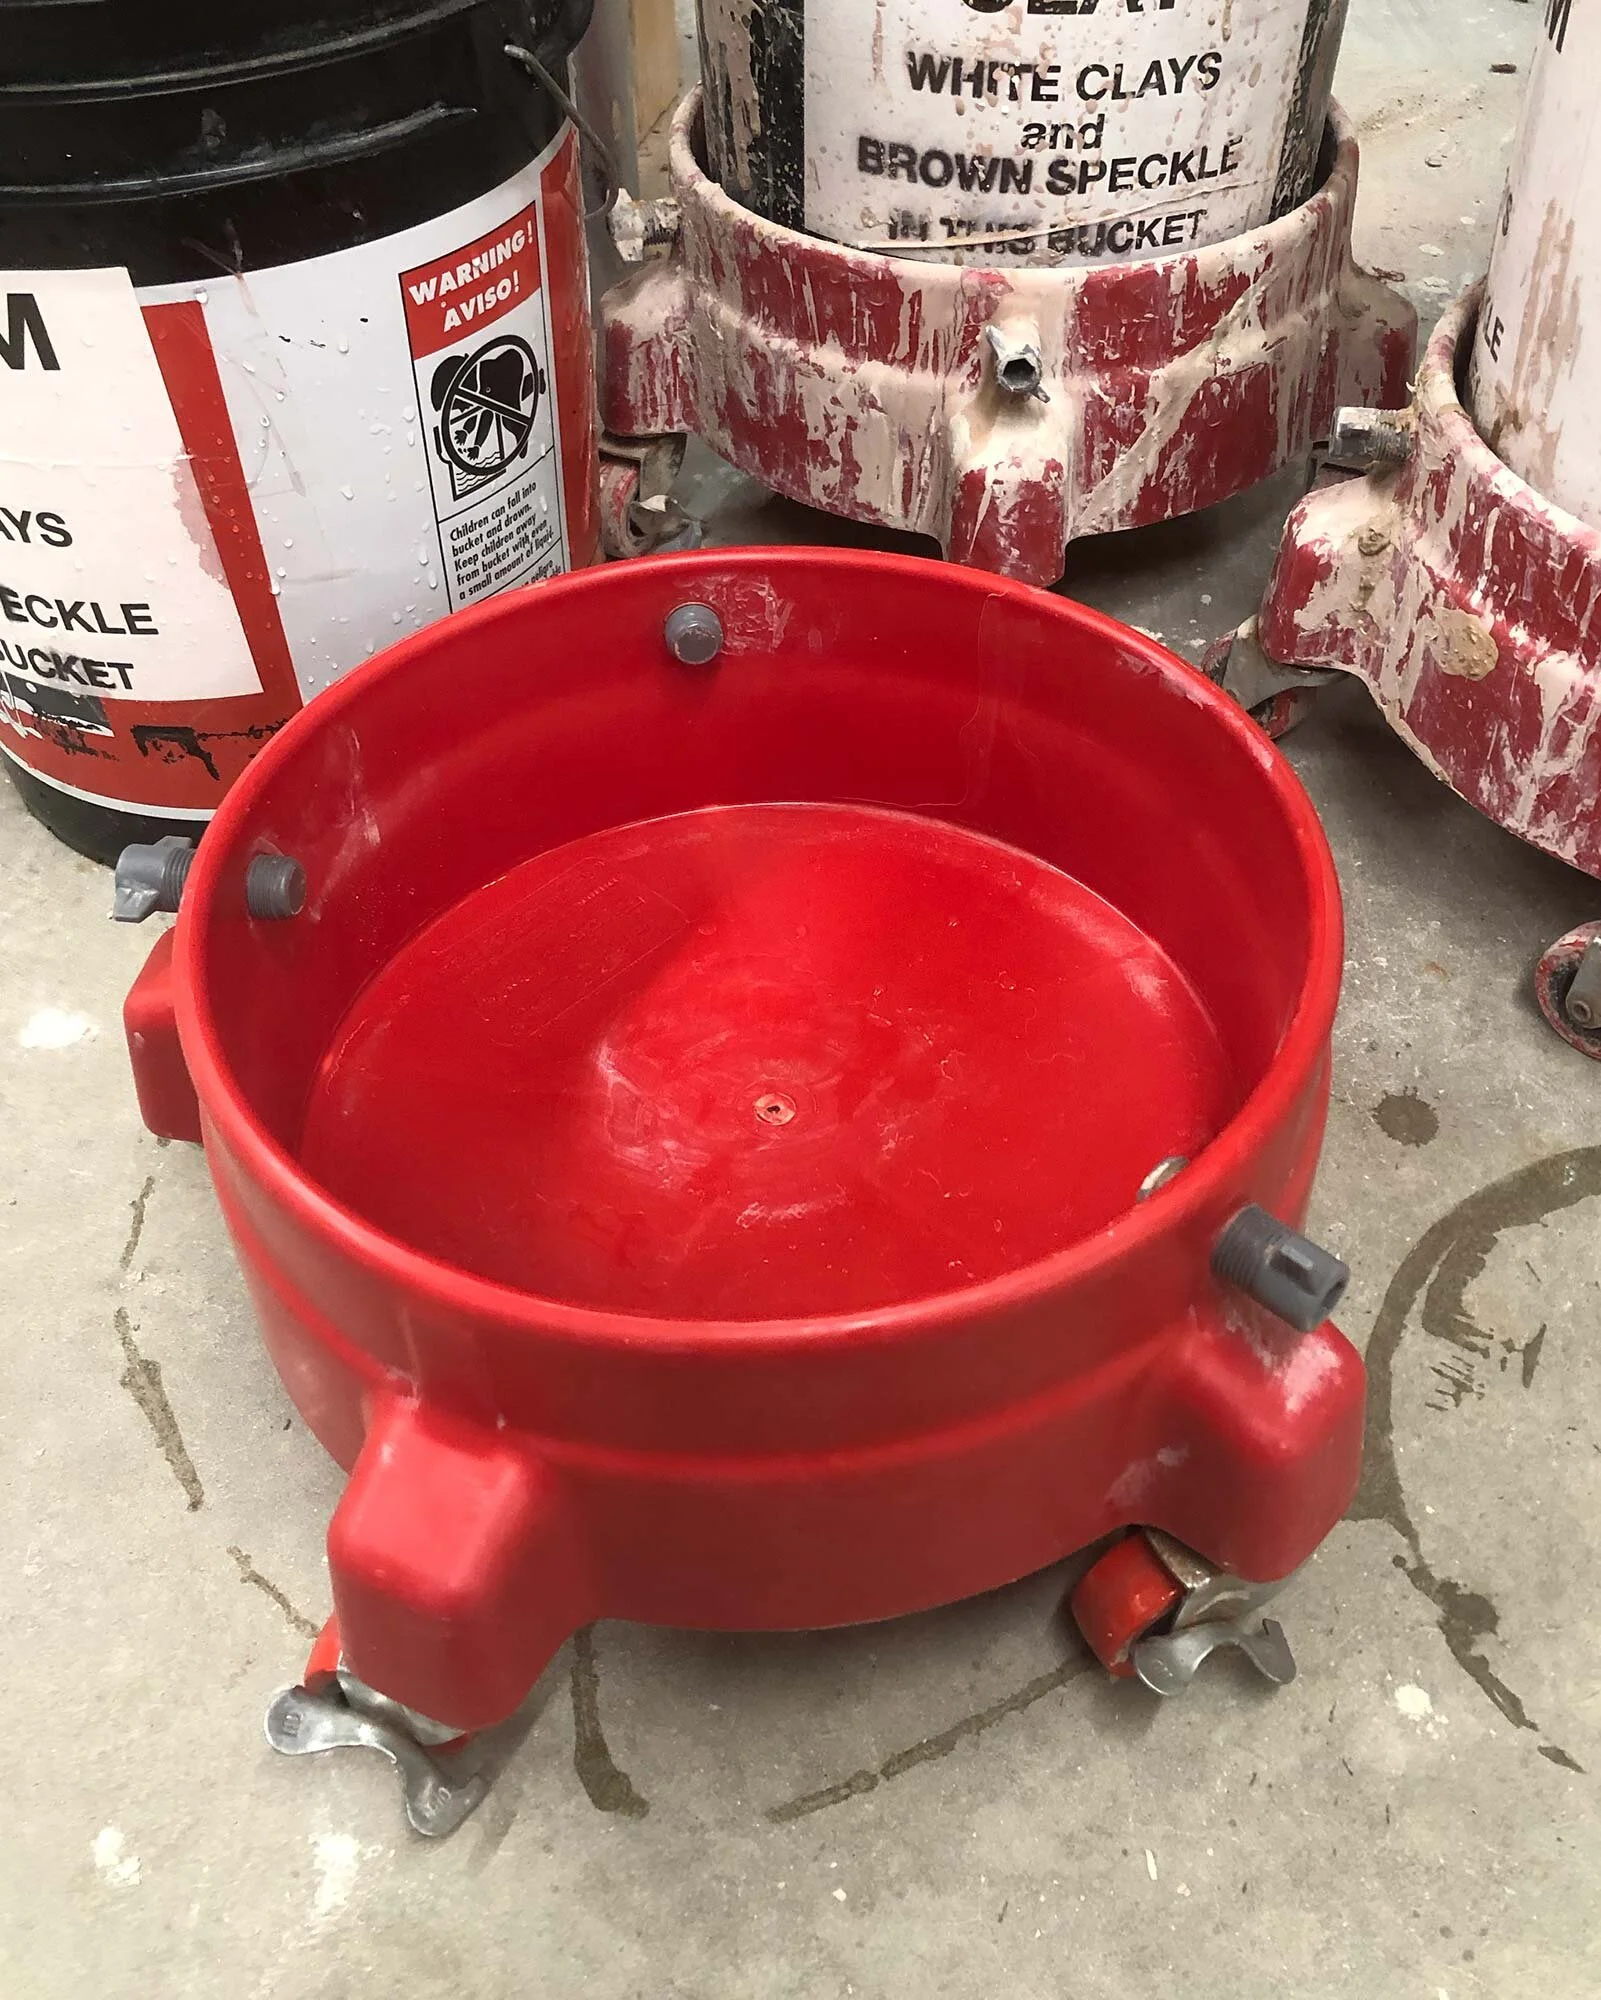
Tool Box
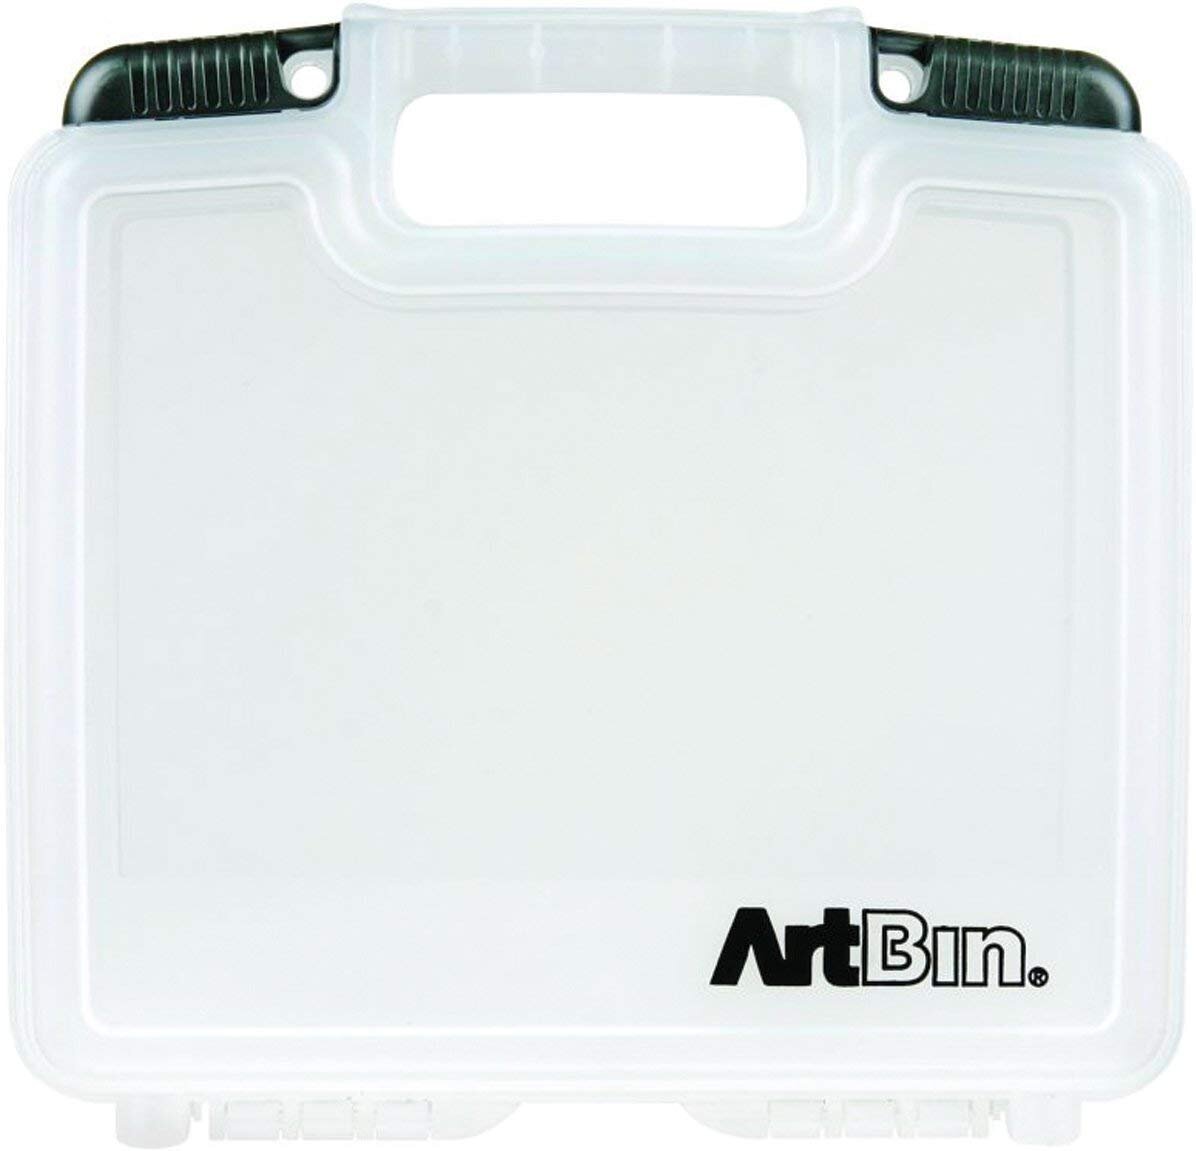
Once you have a variety of tools, a box or bin will help keep things organized. A large yogurt container or small bag with air and drainage holes can work, but my favorite option is a 10.5” Translucent Art Bin.
This bin is big enough to hold a basic kit of tools, but not so big that it’s hard to store. When closed it can be stored horizontally or vertically and if it gets dirty, the whole thing can be cleaned and rinsed. There’s also a variety of sizes, so you can pick the one that works best for you. If you’d like, you can also easily drill holes in this plastic for a bit of air circulation if you have to put your tools away wet.
If you prefer an upright canvas tote option, the JJring Nylon Artist Tote bag is a great option that comes in 4 different colors. For $14, it’s got a lot of features including 16 external pockets for small tools and a larger inner chamber. Or if you want a neutral / natural fabric color option, go with the Harbor Freight Canvas Riggers bag.
Whichever box or bag option you decide on, keep in mind that open storage will allow your tools to dry and stay rust free.
What tools are your absolute essentials in the studio? Let us know in the comments.