Brushes covered in wax. In this post, we’ll show you how to clean them with boiling water.
Wax resist is a great thing to use with ceramics and pottery. It gives you a lot of decorative glazing options, and is useful when glazing rims, lids, feet—anywhere you need to keep free of glaze. But inevitably, you will have to clean it up.
The best way to clean wax resist is with boiling water. Below is a step-by-step tutorial of how to clean your wax brushes and container. There’s also a review a favorite electric water kettle, and some tips of how to best use wax resist. The post will start with a review of wax resists.
Table of Contents
Our Favorite Wax Resist: Amaco Green Wax
How to Use Wax: Tips and Tricks
What You Can Do With Wax
How to Clean Wax Brushes tutorial
Our Favorite Electric Water Kettle
Wrap-Up: Wax Resist Use and Clean Up
The Best Wax Resist
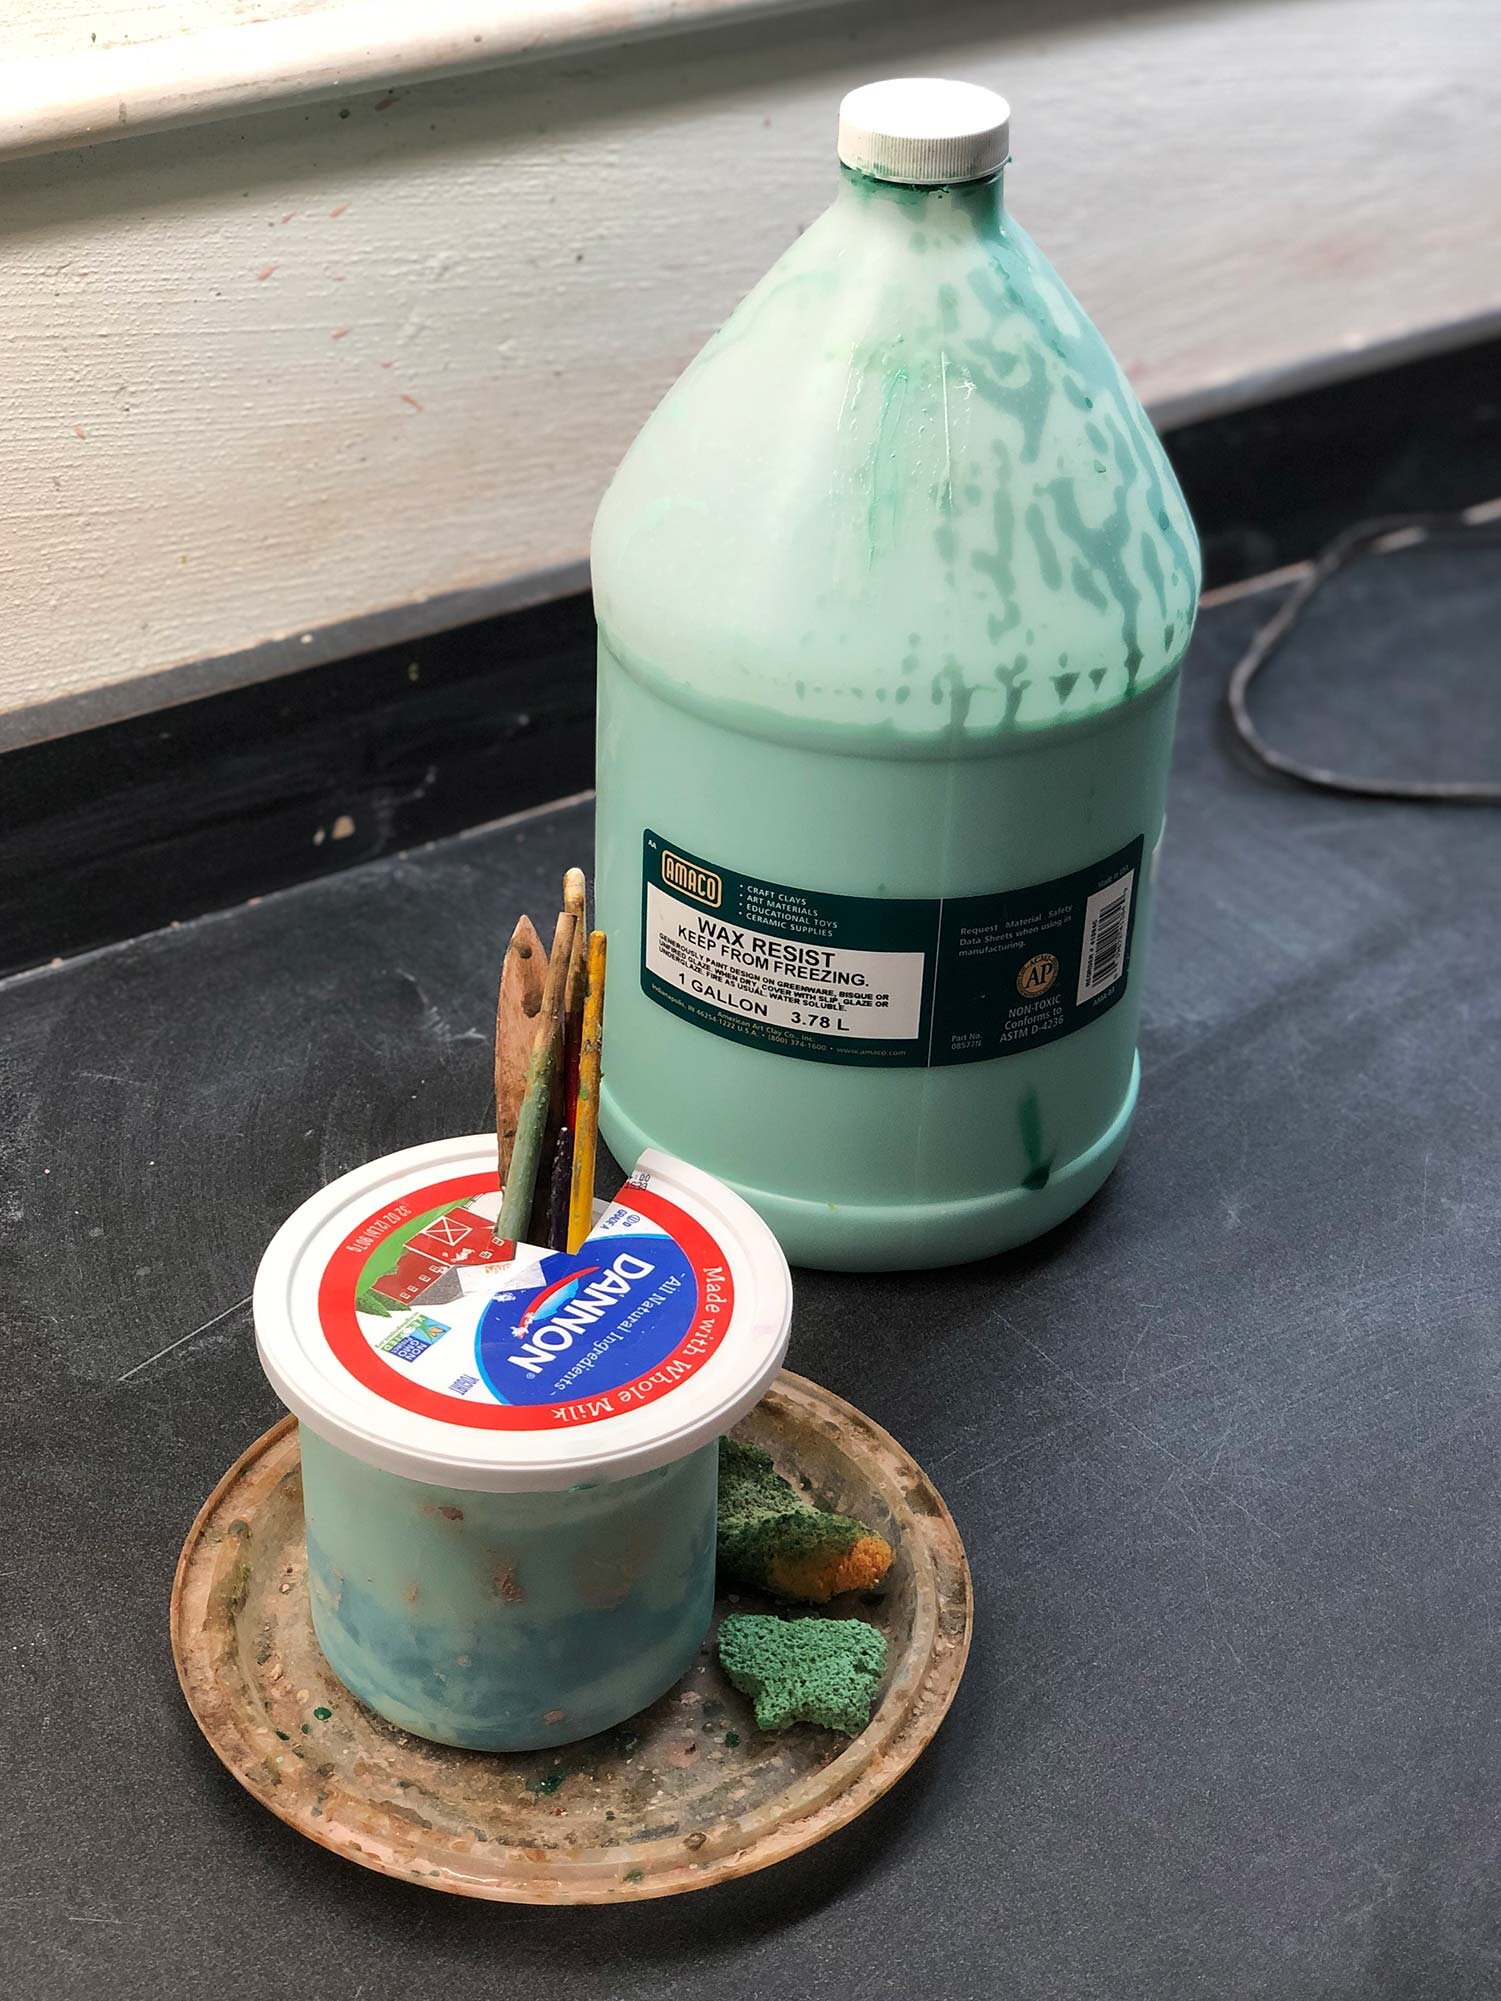
The best wax resist is the green Amaco Wax Resist available in pints and gallon jugs. It’s a premium wax resist that doesn’t peel or fall off when using on top of other glazes for decorative effects. You can buy it by the gallon, which is more economical. One gallon lasts 12 to 15 months in a busy community studio, so a pint is probably an appropriate amount for an individual studio. This resist does everything you need a wax to do and the green dye makes it easy to see on bisqueware or if it drips on a counter top. Out of the bottle, it’s a bit thick so it’s recommended to water it down by about 1/3 to 1/2 with hot tap water.
To store the watered-down wax, use an old container that can also hold your designated wax brush. To make cleanup easier, put a plastic plate or take-out-lid underneath, and and make a notched lid to go around the brushes to prevent the wax from drying. As needed, top up the jar with more wax and water. Inevitably, the brushes and sides of the jar will get wax build up. Below is a tutorial on how to clean this with boiling water.
Buying by the gallon and using a jar is a trade-off. It’s economical to buy in bulk, but the wax jar does take some maintenance. For a busy academic or community studio, this is an easier system to use and maintain than a pint jar with a threaded, screw-on lid. In most shared studios, those threads never stay clean which means the cap is never screwed on tight which can mean…ugh…semi-frequent spills of a pint of wax resist. You definitely don’t want a pint of wax resist all over your floor.
How to Use Wax: Tips and Tricks
This post is mainly about cleaning up wax resist, but here’s a quick overview of how to use wax resist:
Some recommend painting wax resist on the bottom of every pot, but I do not. Instead, think about your piece: will it be easier to clean up your glaze with or without wax? If it’s a large, flat form like a plate, you probably should use wax to cover the bottom. If it’s a small foot ring, it will be easier and faster to clean with a sponge. The key with wax is that you don’t want to unnecessarily waste time, material, or energy because of drips or simply using wax where you don’t need it.
As mentioned above, watered-down wax resist is preferred because it dries faster and leads to less build-up on your ware. A thin coat is all you need. Mix 1/3 hot tap water to 2/3 wax resist and stir. You might be able to go thinner! Test what works for you.
When applying, be careful to not create drips or puddles where you don’t want wax to go. To remove wax, you may have to re-bisque fire a piece. Alternately, you can remove by sanding or scraping, or by pouring boiling water on the bisqueware. The problem is that wax gets into the pores of your bisqueware, so it can be hard to remove.
Allow wax to dry completely before glazing. This can take 15-30 minutes.
Wax can be great as a decorative tool, especially on top of one glaze to create a resist effect in combination with a second coat. Cheaper wax resist options often peel up or don’t work on top of a chalky, dried glaze. That’s one reason to use the green Amaco wax. It works on top of every glaze I’ve tested and stays in place with no peeling.
Keep in mind that wax burns off anywhere from about 200–500 degrees. It doesn’t do anything to protect your kiln shelves. As this burning can create some smell and a small amount of smoke, it’s best to minimize wax use if your kilns are indoors. Definitely vent your kilns!
Other ideas for wax in the studio
Paint over thin areas of greenware to slow the drying of the clay.
Lid Wax: add 1/2 cup Alumina Hydrate to 1 pint wax to create a special wax for firing lids on pots. When the wax burns off, the powdered, refractory alumina hydrate will stay behind, leaving a chalky resist. This will hopefully prevent glaze runs, etc, that could cause the lid to stick to the rim of the pot.
How to Clean Wax Brushes and Jars: A Tutorial
To prevent contamination and keep things efficient and functional, designate 3 or 4 brushes of different sizes as wax brushes. These brushes sit in the wax resist pot, and over time, wax builds up on the sides of the brushes and the rim of the wax jar. Here is how to clean them.
Step 1

Brushes and jar with built-up wax resist.
Here is a picture of a wax jar with dirty brushes. The wax jar is a wide-mouth, recycled underglaze jar. For brushes, try using economical 1/2” chip brushes, and a few smaller brushes.
Step 2
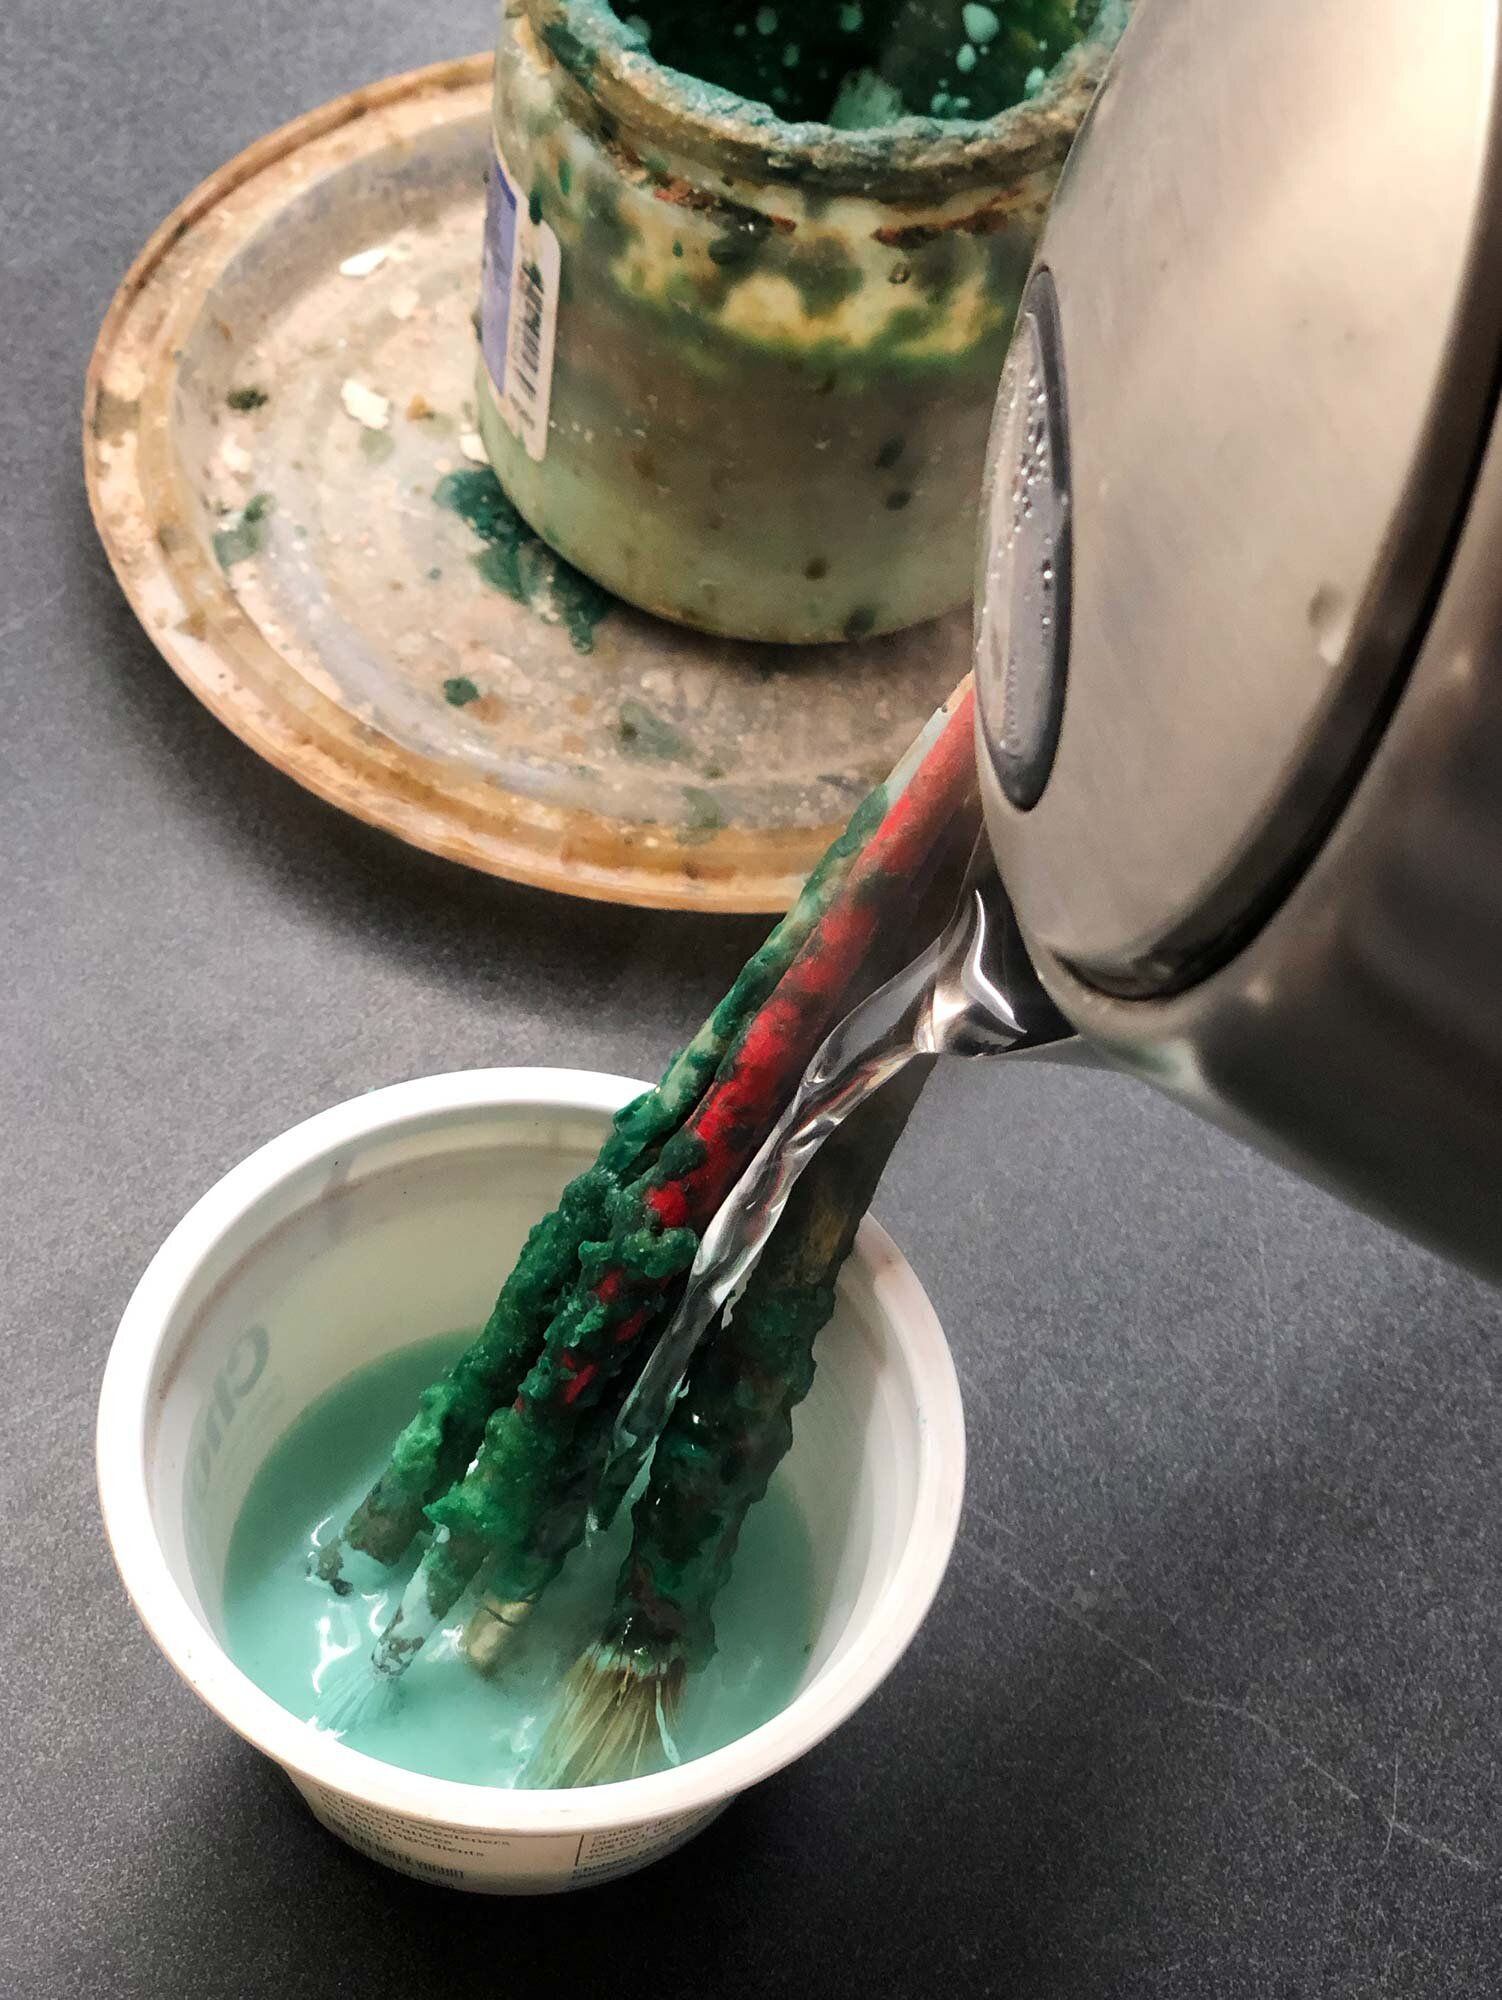
Move brushes to a small container. Pour boiling water over the brushes.
If you have heavy wax build up on your brushes, you may want to cut off and dispose of this build up with a fettling knife.
Then, move brushes to a small container, such as a recycled yogurt cup. Boil water and pour over the brushes. Swirl the brushes in the water and use the brushes to clean the sides of the other brushes.
Step 3

One brush cleaned, four more left.
Here’s a picture of the cleaning in progress and then the cleaned brushes.
After you’ve cleaned all your brushes, set them aside. The water and cup you’ve used for cleaning can be thrown away. (Don’t pour wax down your drain!) Or, let the water cool, remove and dispose of the cooled wax, and then clean the container. If possible, you could save this one container to reuse over and over as your wax-brush cleaning container.
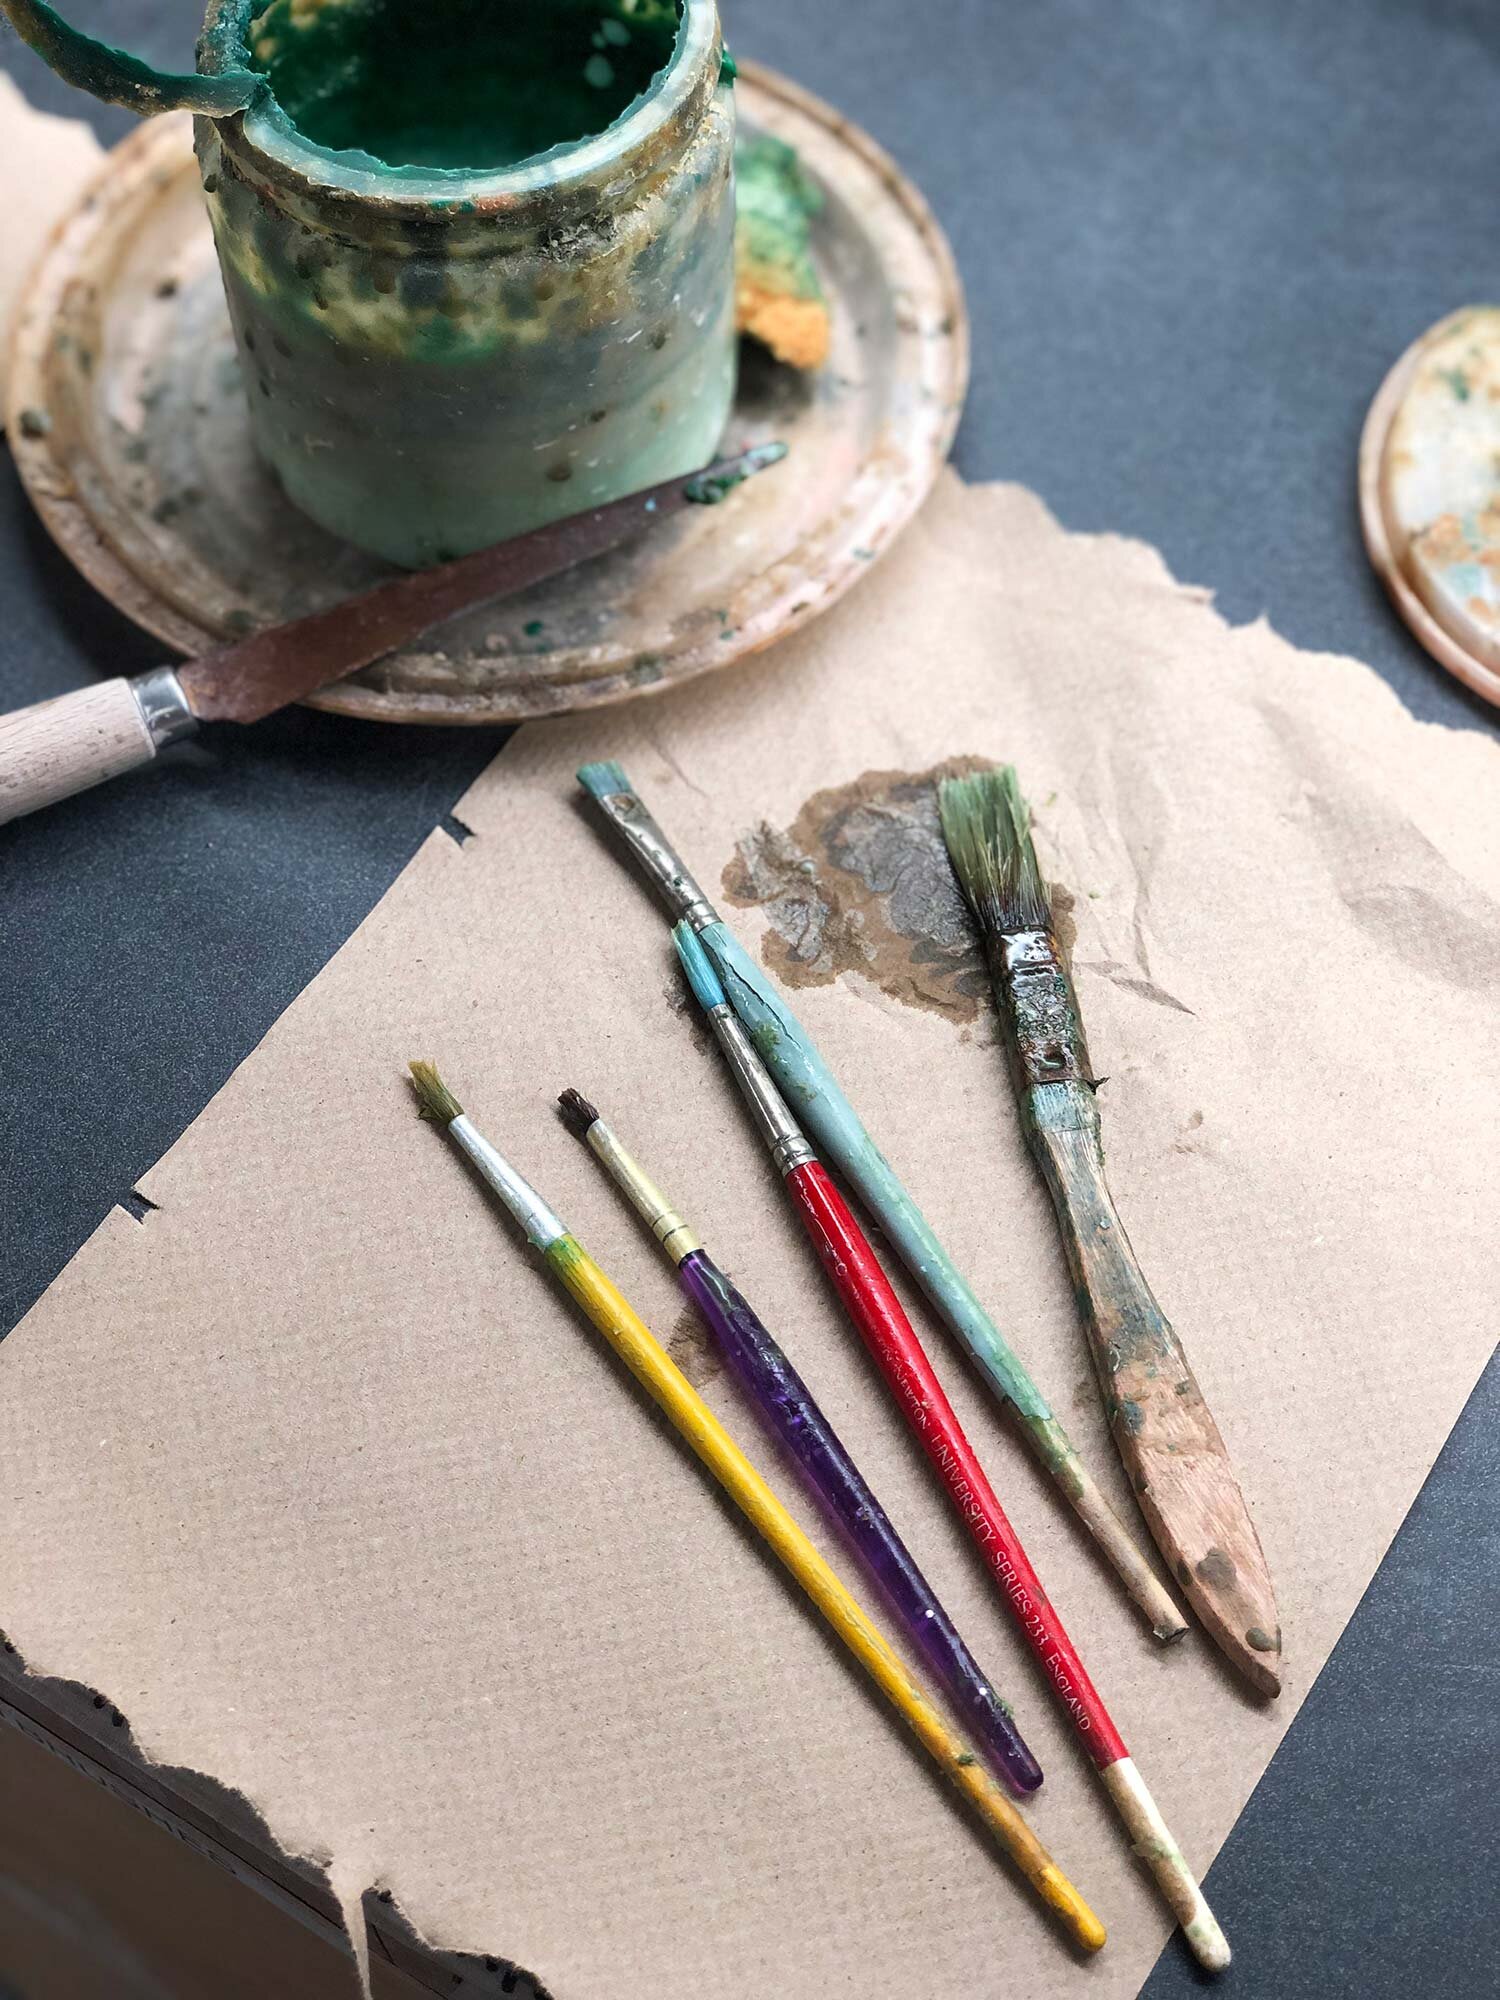
The brushes after cleaning.
Step 4
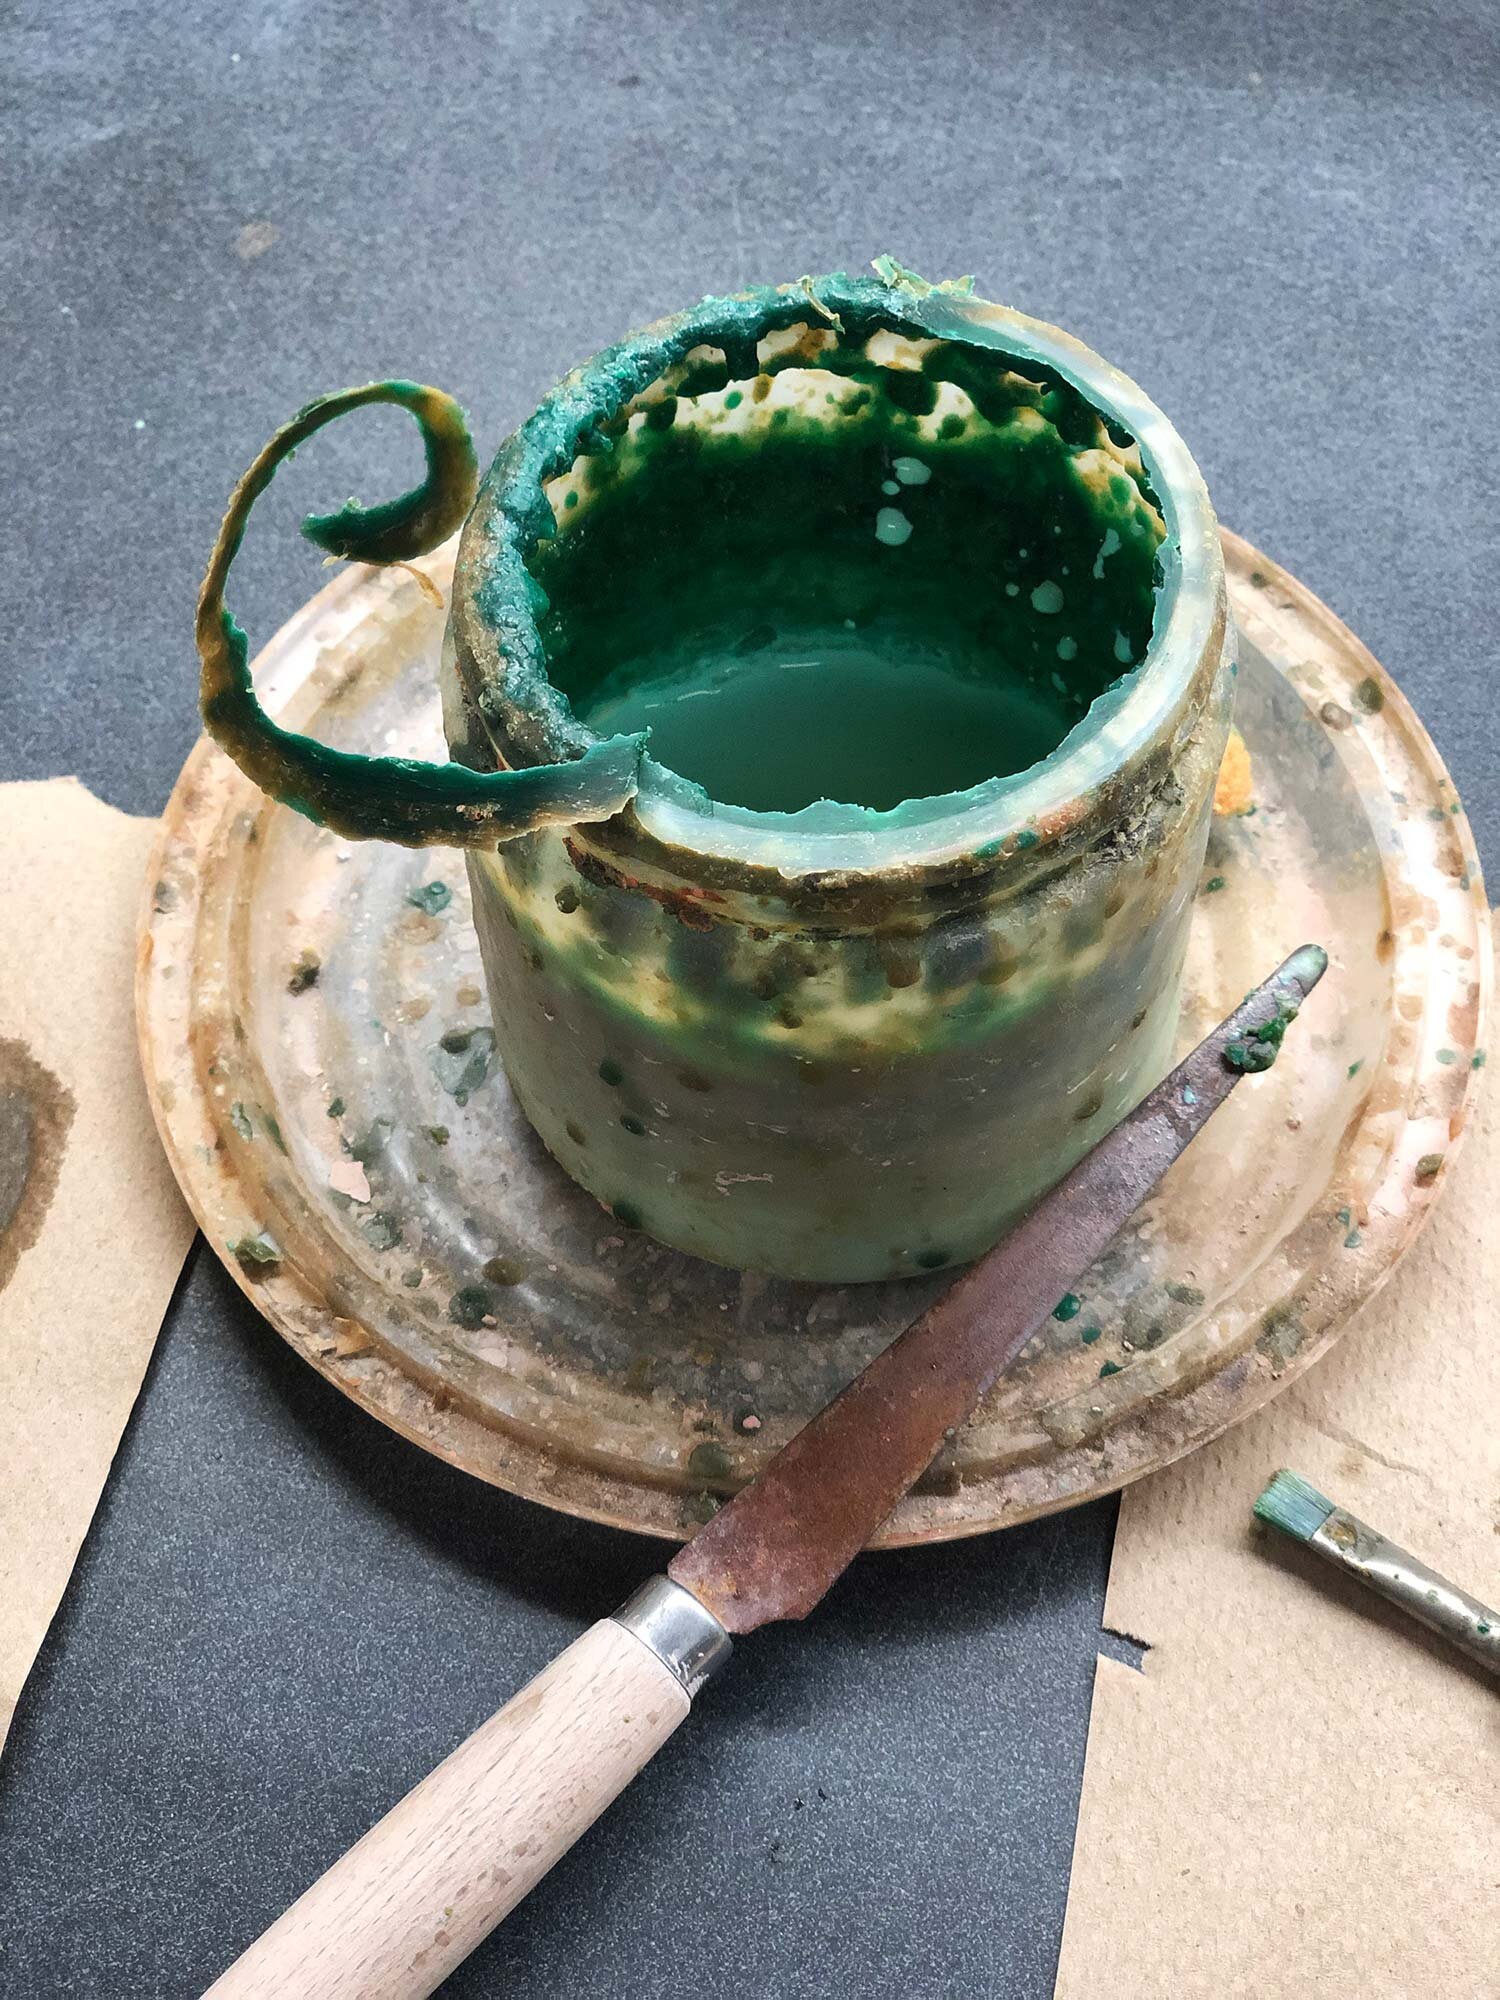
Removing built-up wax resist
Next, it’s time to clean the cup. Using a fettling knife, cut off built-up wax from the rim and inside of the cup. If needed, pour out any wax into a reserve container, and use boiling water to clean the entire cup or jar.
Another option, if you have heavy build up, is to switch to a new container. The wide-mouth underglaze jars from Spectrum underglazes are great for a wax container.
Step 5
After cleaning the brushes and jar, refill the cup and you’re ready to go. Pictured here are a fresh glaze cup and lid. Depending on how often you clean, you might need a new wax cup about once a year or you could completely clean it and keep it going longer than that.
To conclude: Cleaning wax resist with boiling water is quick, easy, and effective.
Our Favorite Electric Water Kettle
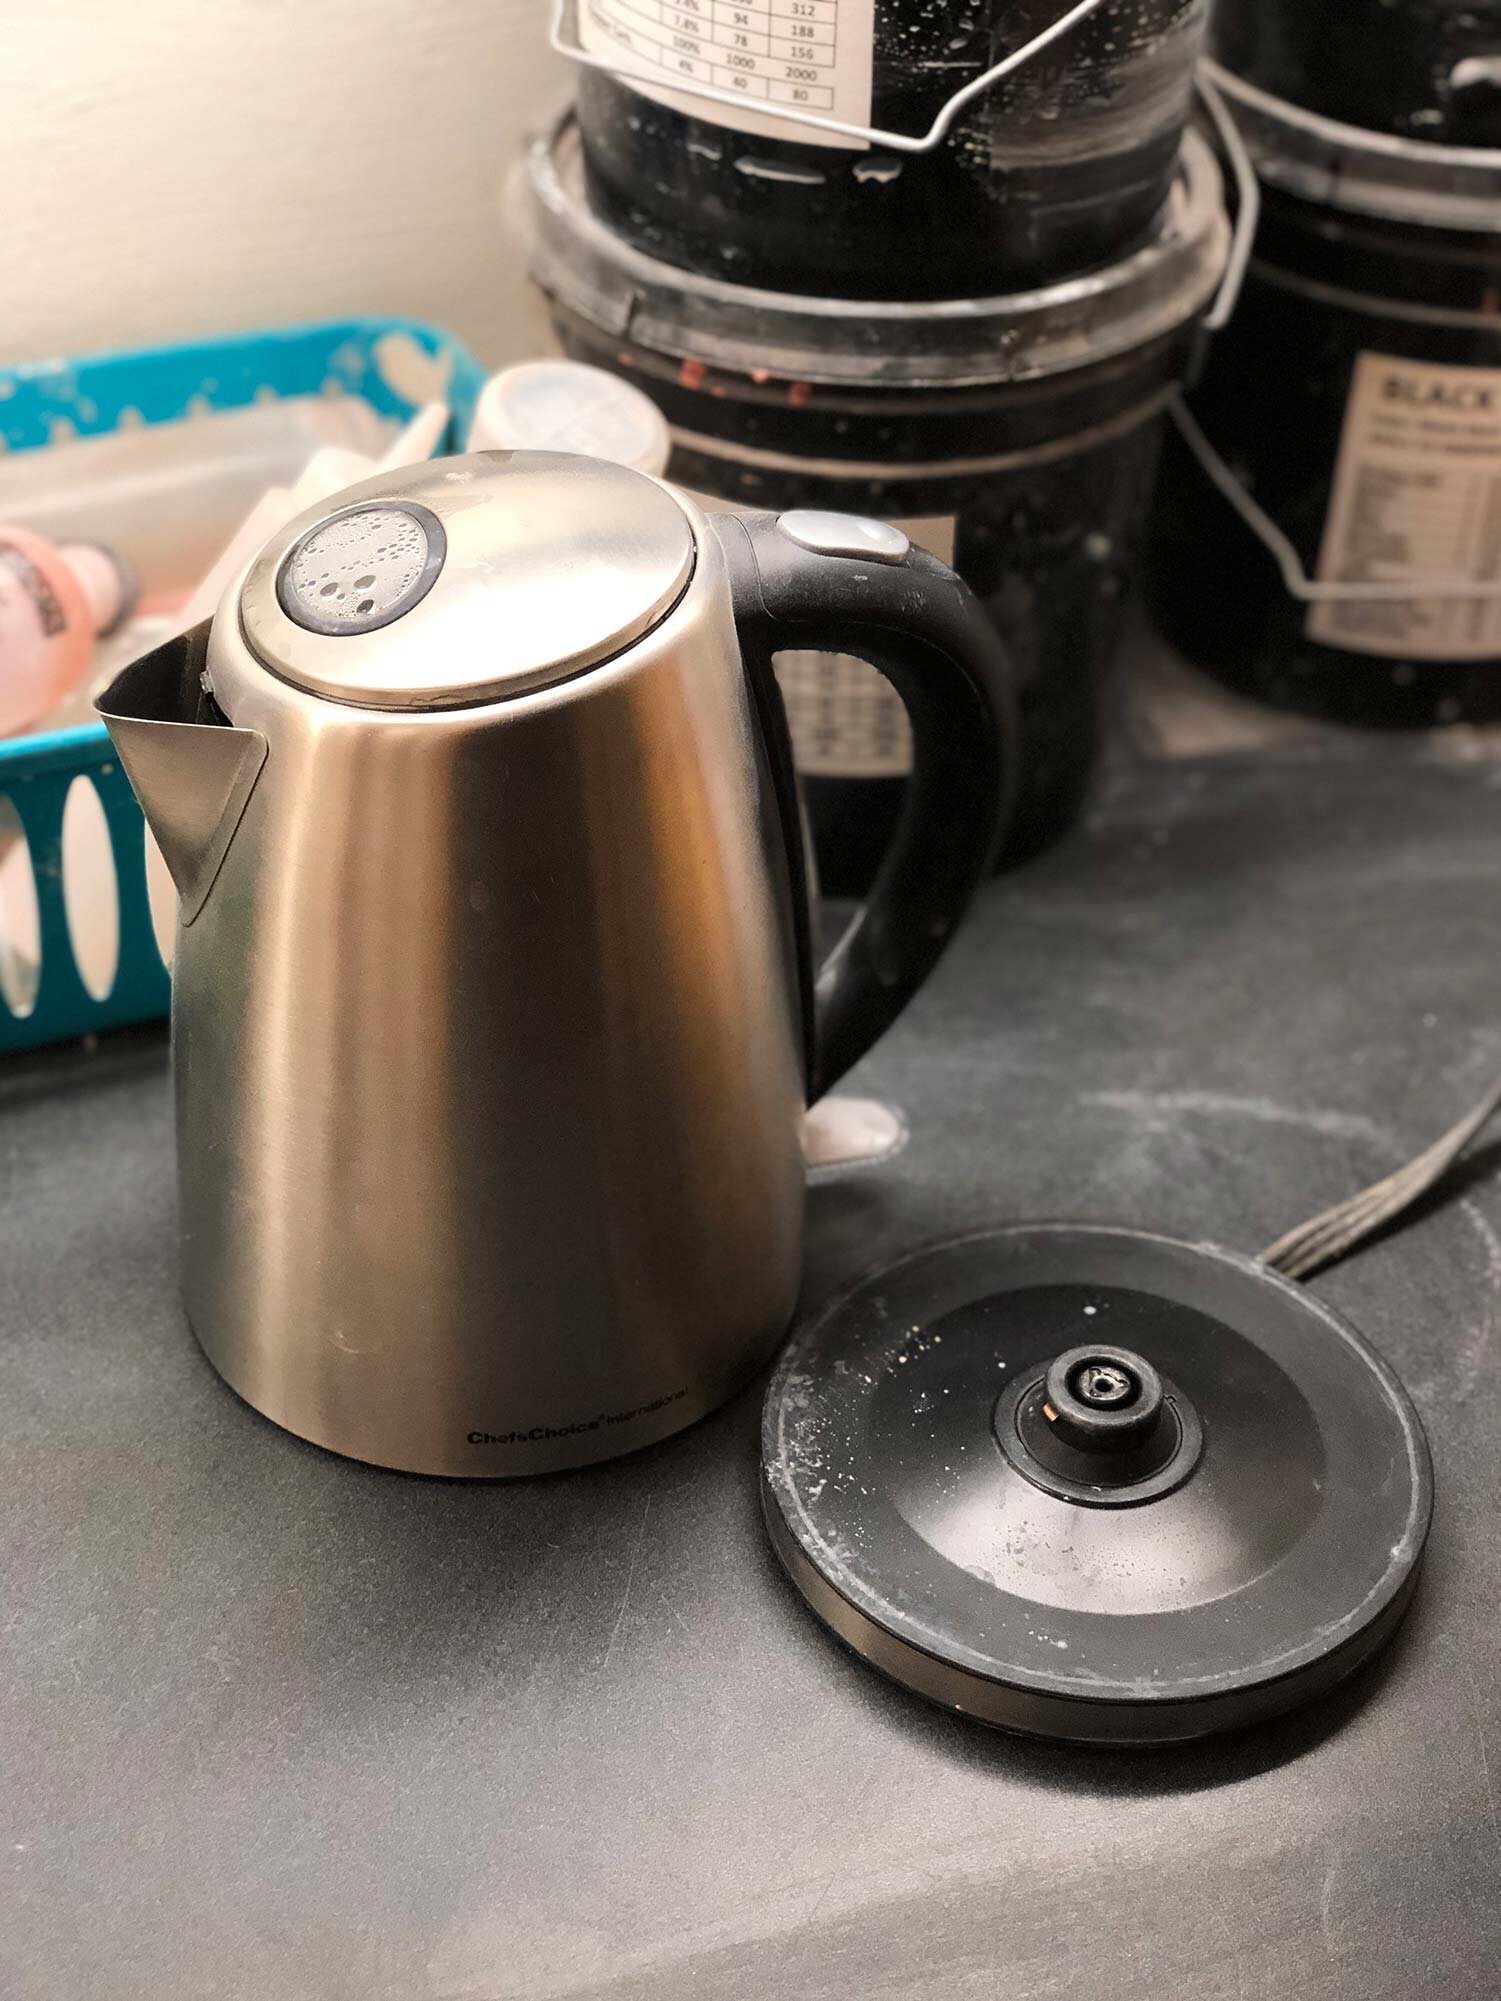
To clean wax resist, you’ll need boiling water and an excellent kettle is the Chef’s Choice Cordless Electric Kettle. This is not a comprehensive review of kettles, but this kettle is great. In community studio I manage, it’s been in heavy use for almost 18 months and has had no problems.
Here’s what I love about it:
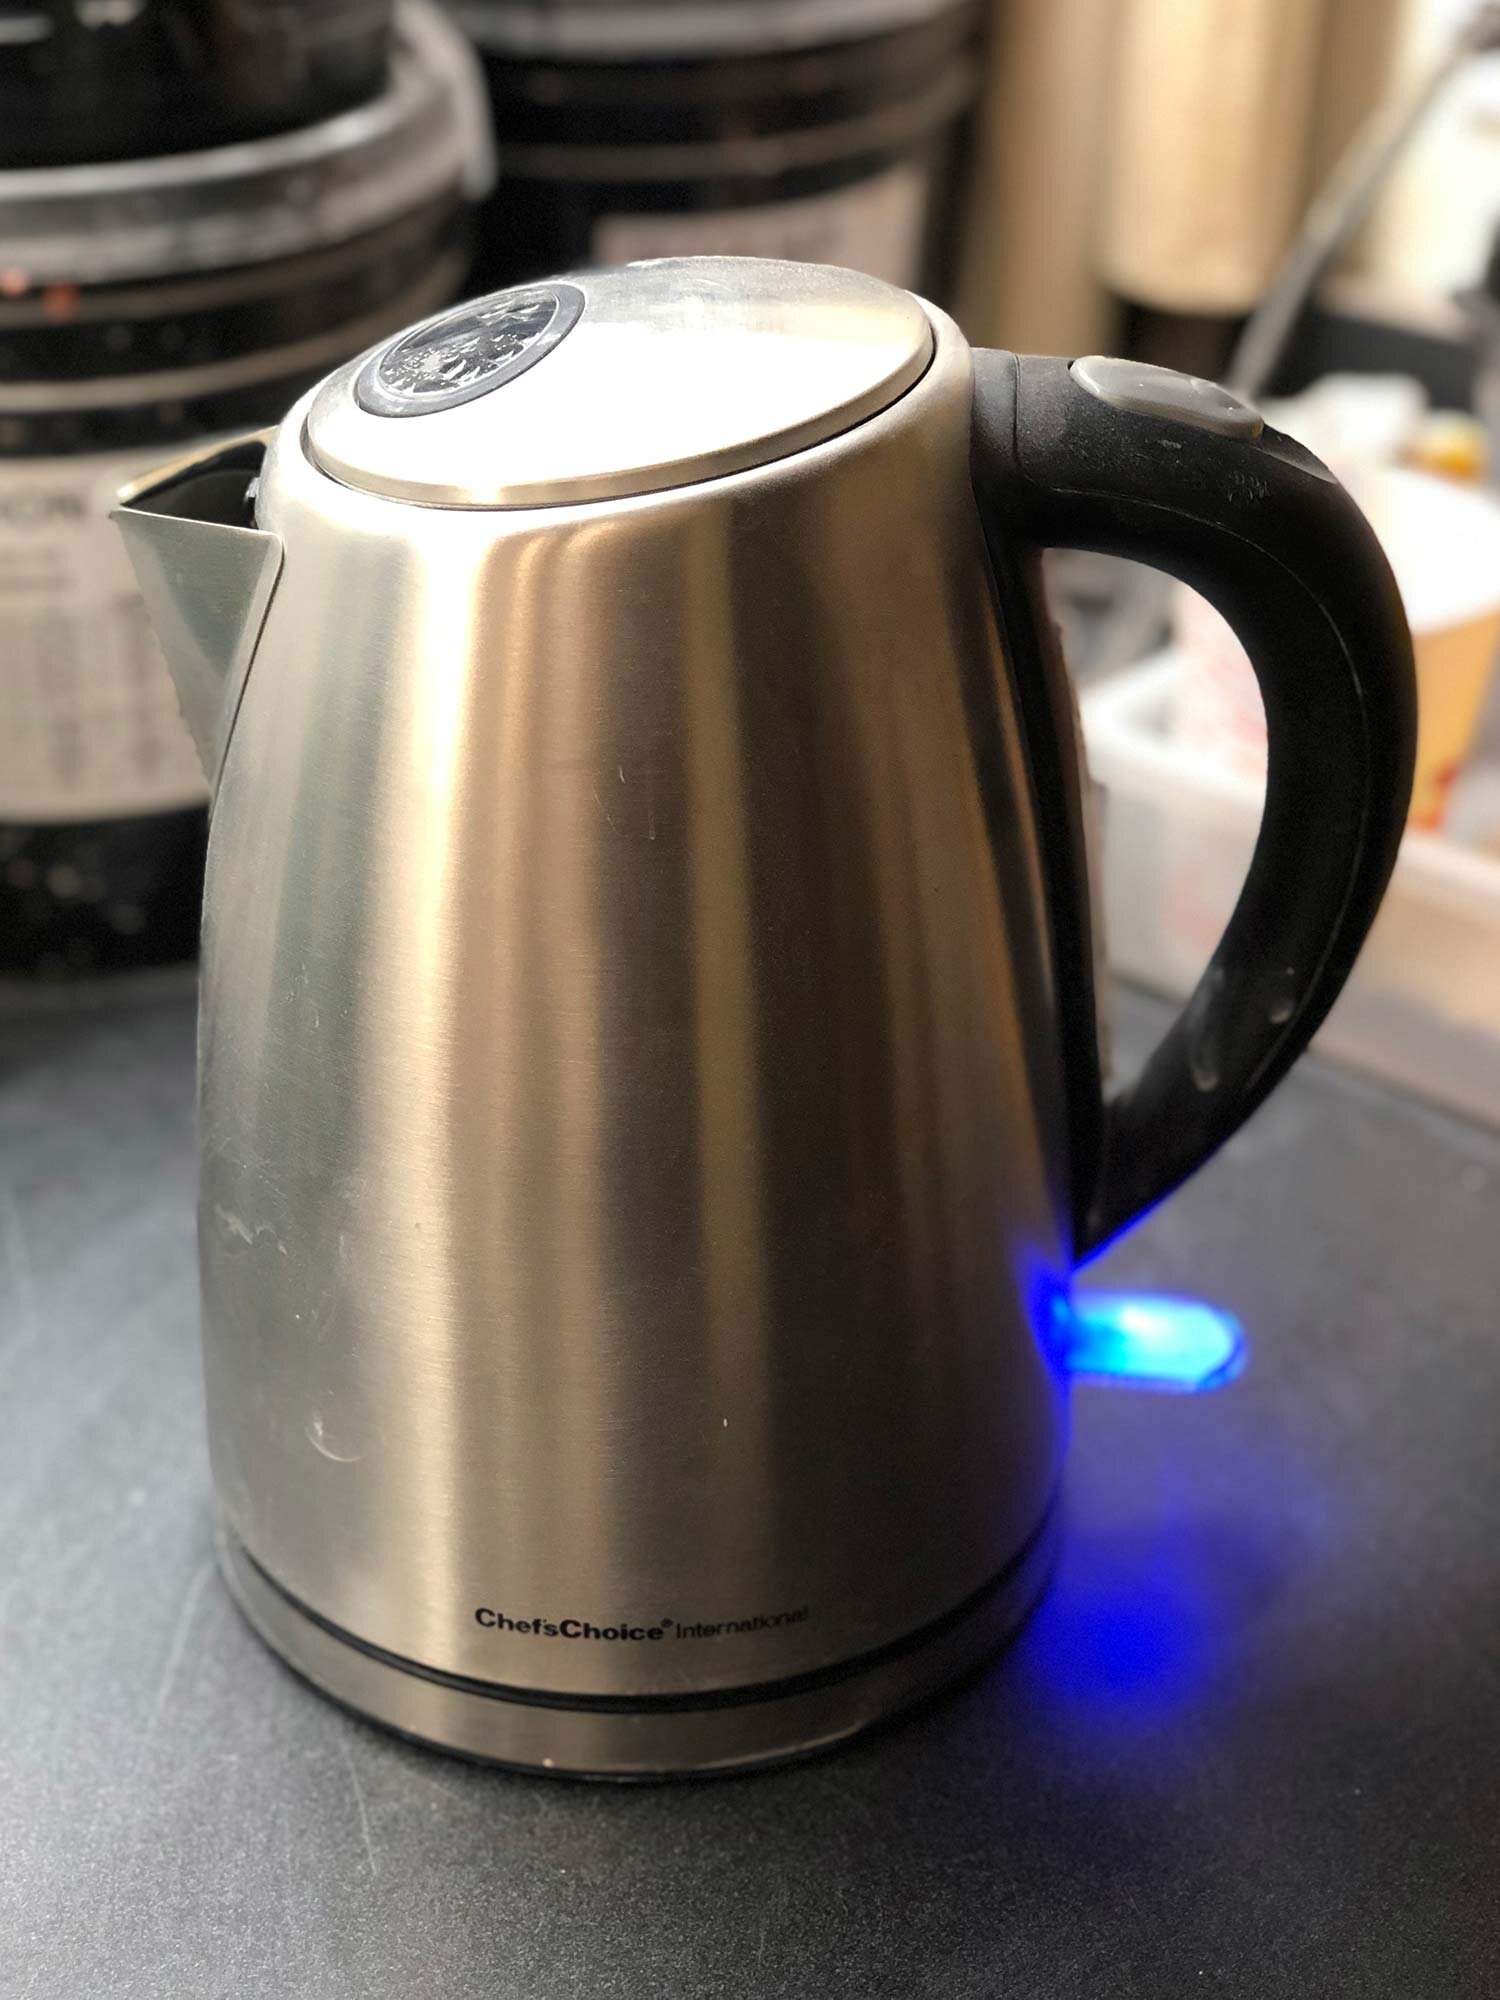
Sturdy construction and design. Simple on / off switch with light
Kettle is cordless
Base has storage area for excess cord.
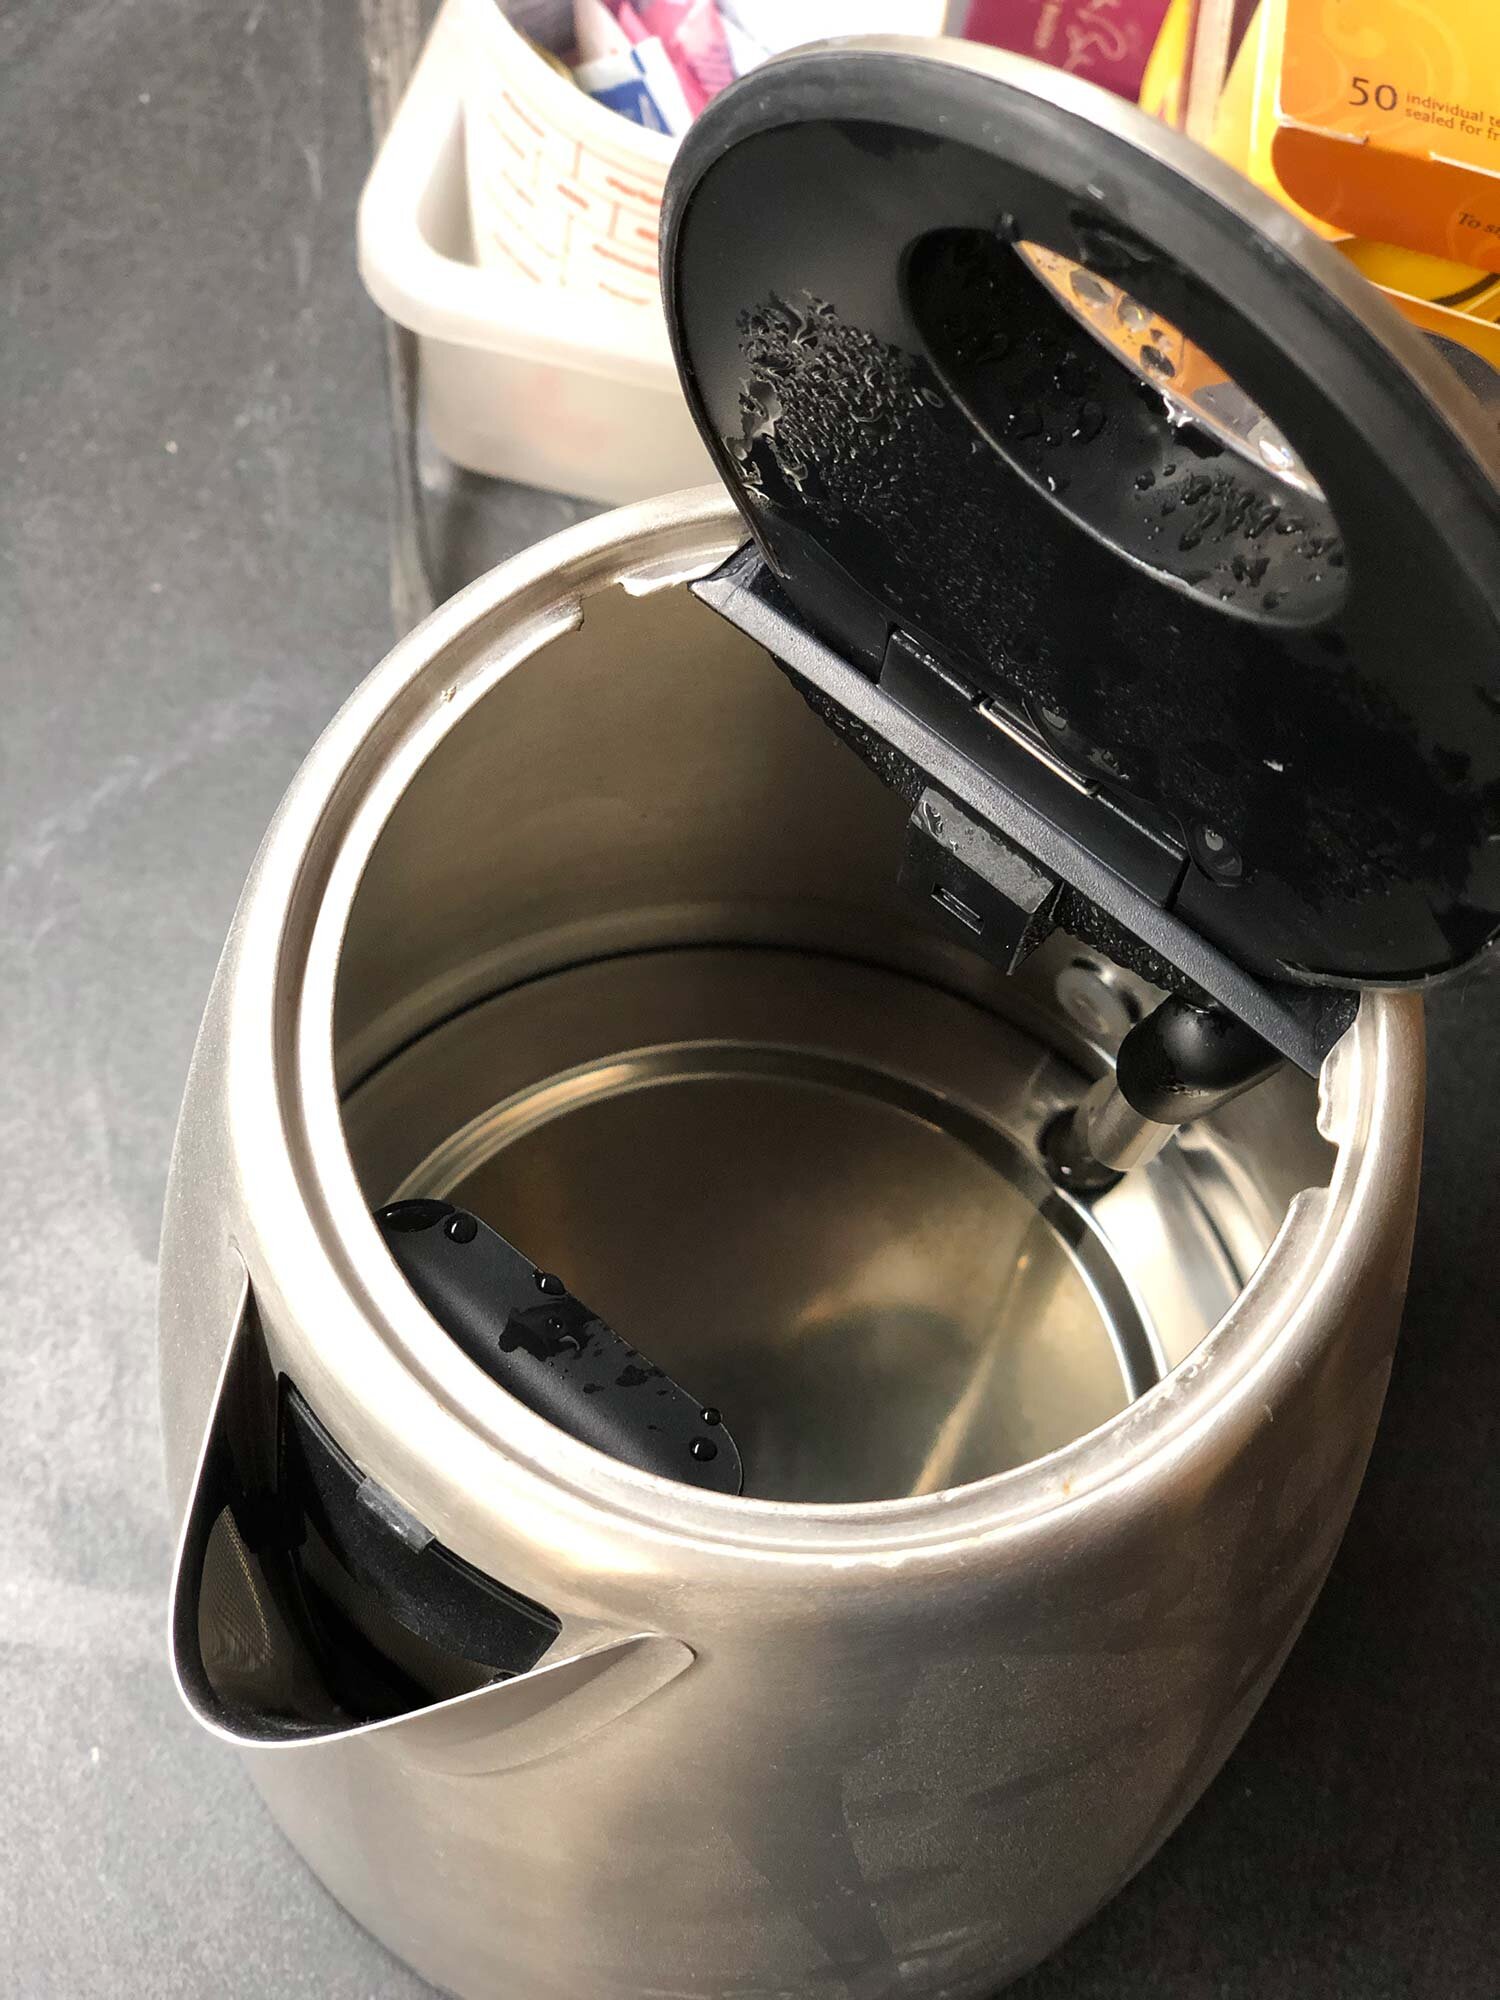
Easy to clean
Inside is all metal
Boils water quickly
This is a great kettle that does exactly what you need it to do. If you don’t have a water kettle in your studio, it’s a simple addition that is great for making tea or instant soups. Adding the option of hot tea can really augment and improve the culture of your studio.
Wrap-Up: Wax Resist Use and Clean Up in a Ceramic Studio
Wax resist is a great tool for a ceramics studio. It takes some clean up, should be used only as needed, and my recommendation is to use a premium wax resist such as the Amaco green wax resist. To apply, try using chip brushes or other simple, cheap brushes.
It’s easiest to clean up with boiling water and this tutorial provides some tips, tricks, and ideas of how to do that.
What do you use wax resist for? Do you have a favorite brand? Please share in the comments.