Originally published June 2020. Most recent update: September 2025.
Mixing your own glazes from scratch is cost-effective and allows you to customize glazes to suit your studio. Whether you are mixing a powdered glaze with water, or weighing each ingredient and starting from scratch, having the ability to mix glazes opens up possibilities in your studio. You don’t need a huge set up to get started, a few simple tools and buckets are all you need. Below are reviews of our favorite glaze-mixing accessosories.
This list includes:
Drills
Immersion Blenders
Sieves and Strainers
Dust Protection
Mixer Blades
Scales
Drills
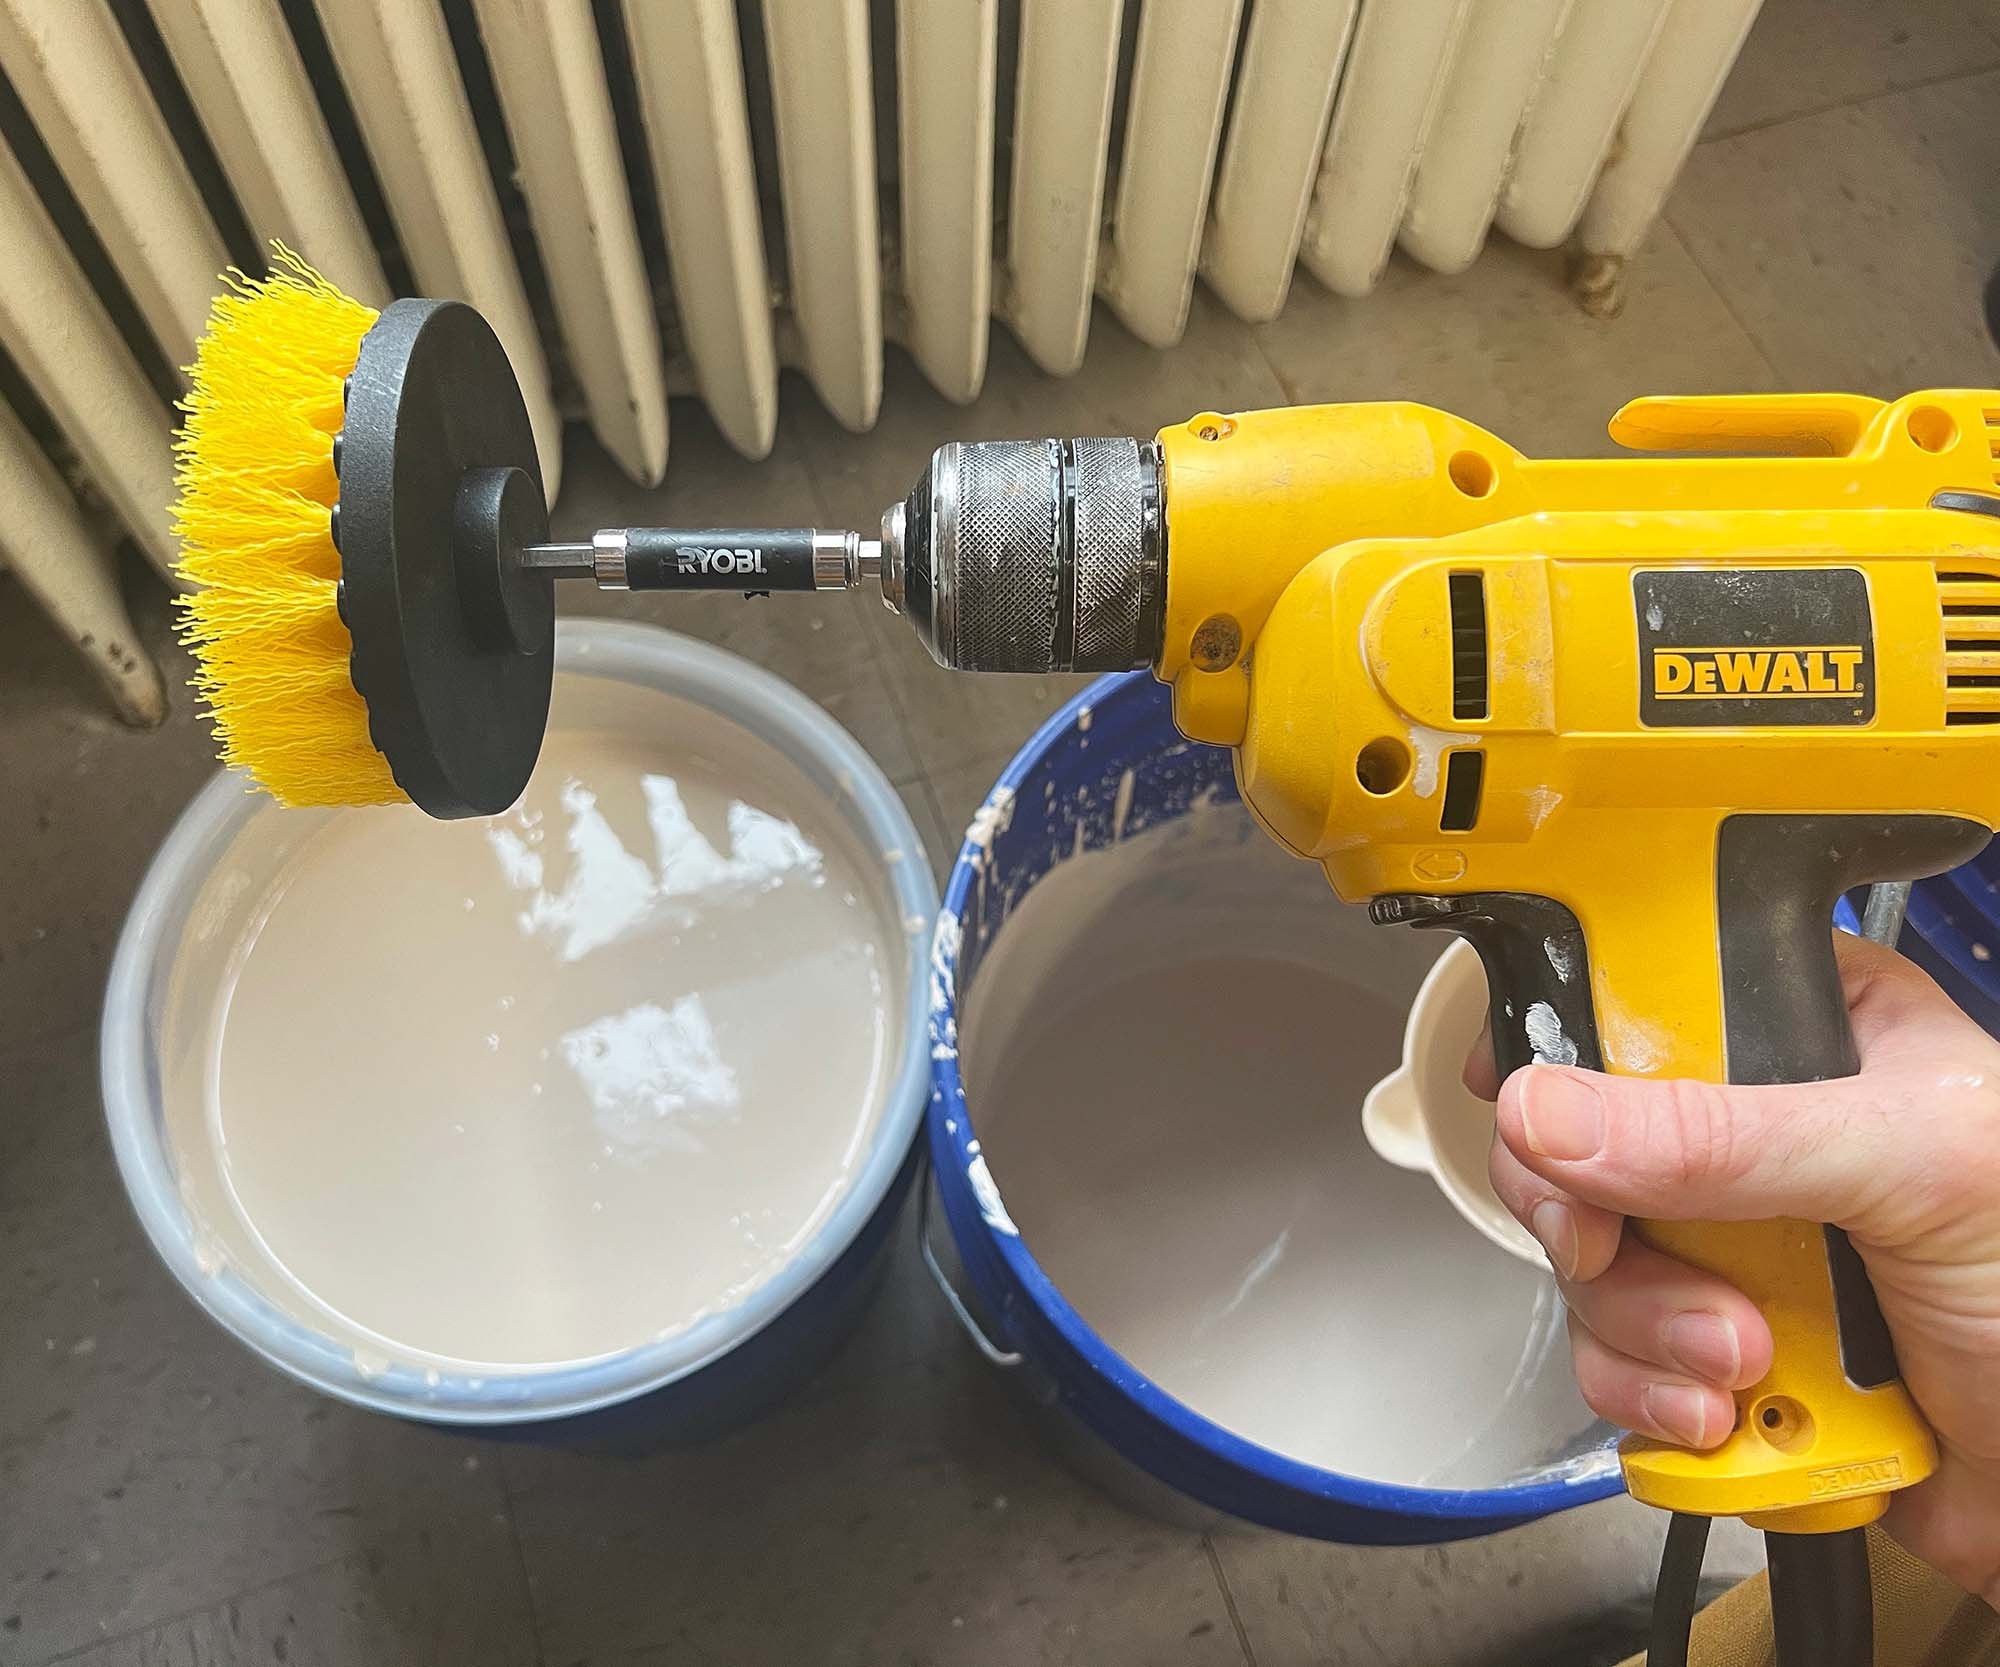
A drill is one of the most important glaze-mixing tools. Sure, you could get a big whisk or paddle and mix your glaze by hand, but….a drill is just easier and faster.
For a drill, my favorite is the Milwaukee M12 3/8” Drill. It’s compact, well built, and affordable. And it has enough power to mix a 5 gallon bucket and just enough power to mix 10 gallons of glaze. It’s also cordless, which I find easier to use in the studio but you do sacrifice some power and you have to recharge the battery and possibly, spend a bit extra on a second battery.
There are a lot of drill options out there, with all sorts of options, battery and cord styles. For more info, check out the Studio Manager Cordless Drill Review and our Corded Drill Review
Milwaukee M12 3/8” Drill Driver Kit with Charger and 1 Battery
$129 at Home Depot and Amazon

The Milwaukee M12 3/8” Drill.
Immersion Blender

For small batches of glaze, especially test batches, an immersion blender is a great tool. They won’t mix more than a quart or 2 of glaze, but they really shine for mixing small amounts of glaze.
A great option for studio use is the Mueller 8 Speed Immersion Blender. It doesn’t have the most robust build quality, but at around $35, this is one of the more affordable immersion blenders on the market. If you think you’ll be using an immersion blender all the time, you might upgrade to something with a better build quality, or just consider using a regular drill.
Mueller 8 Speed Immersion Blender
$35
Sieves and Strainers
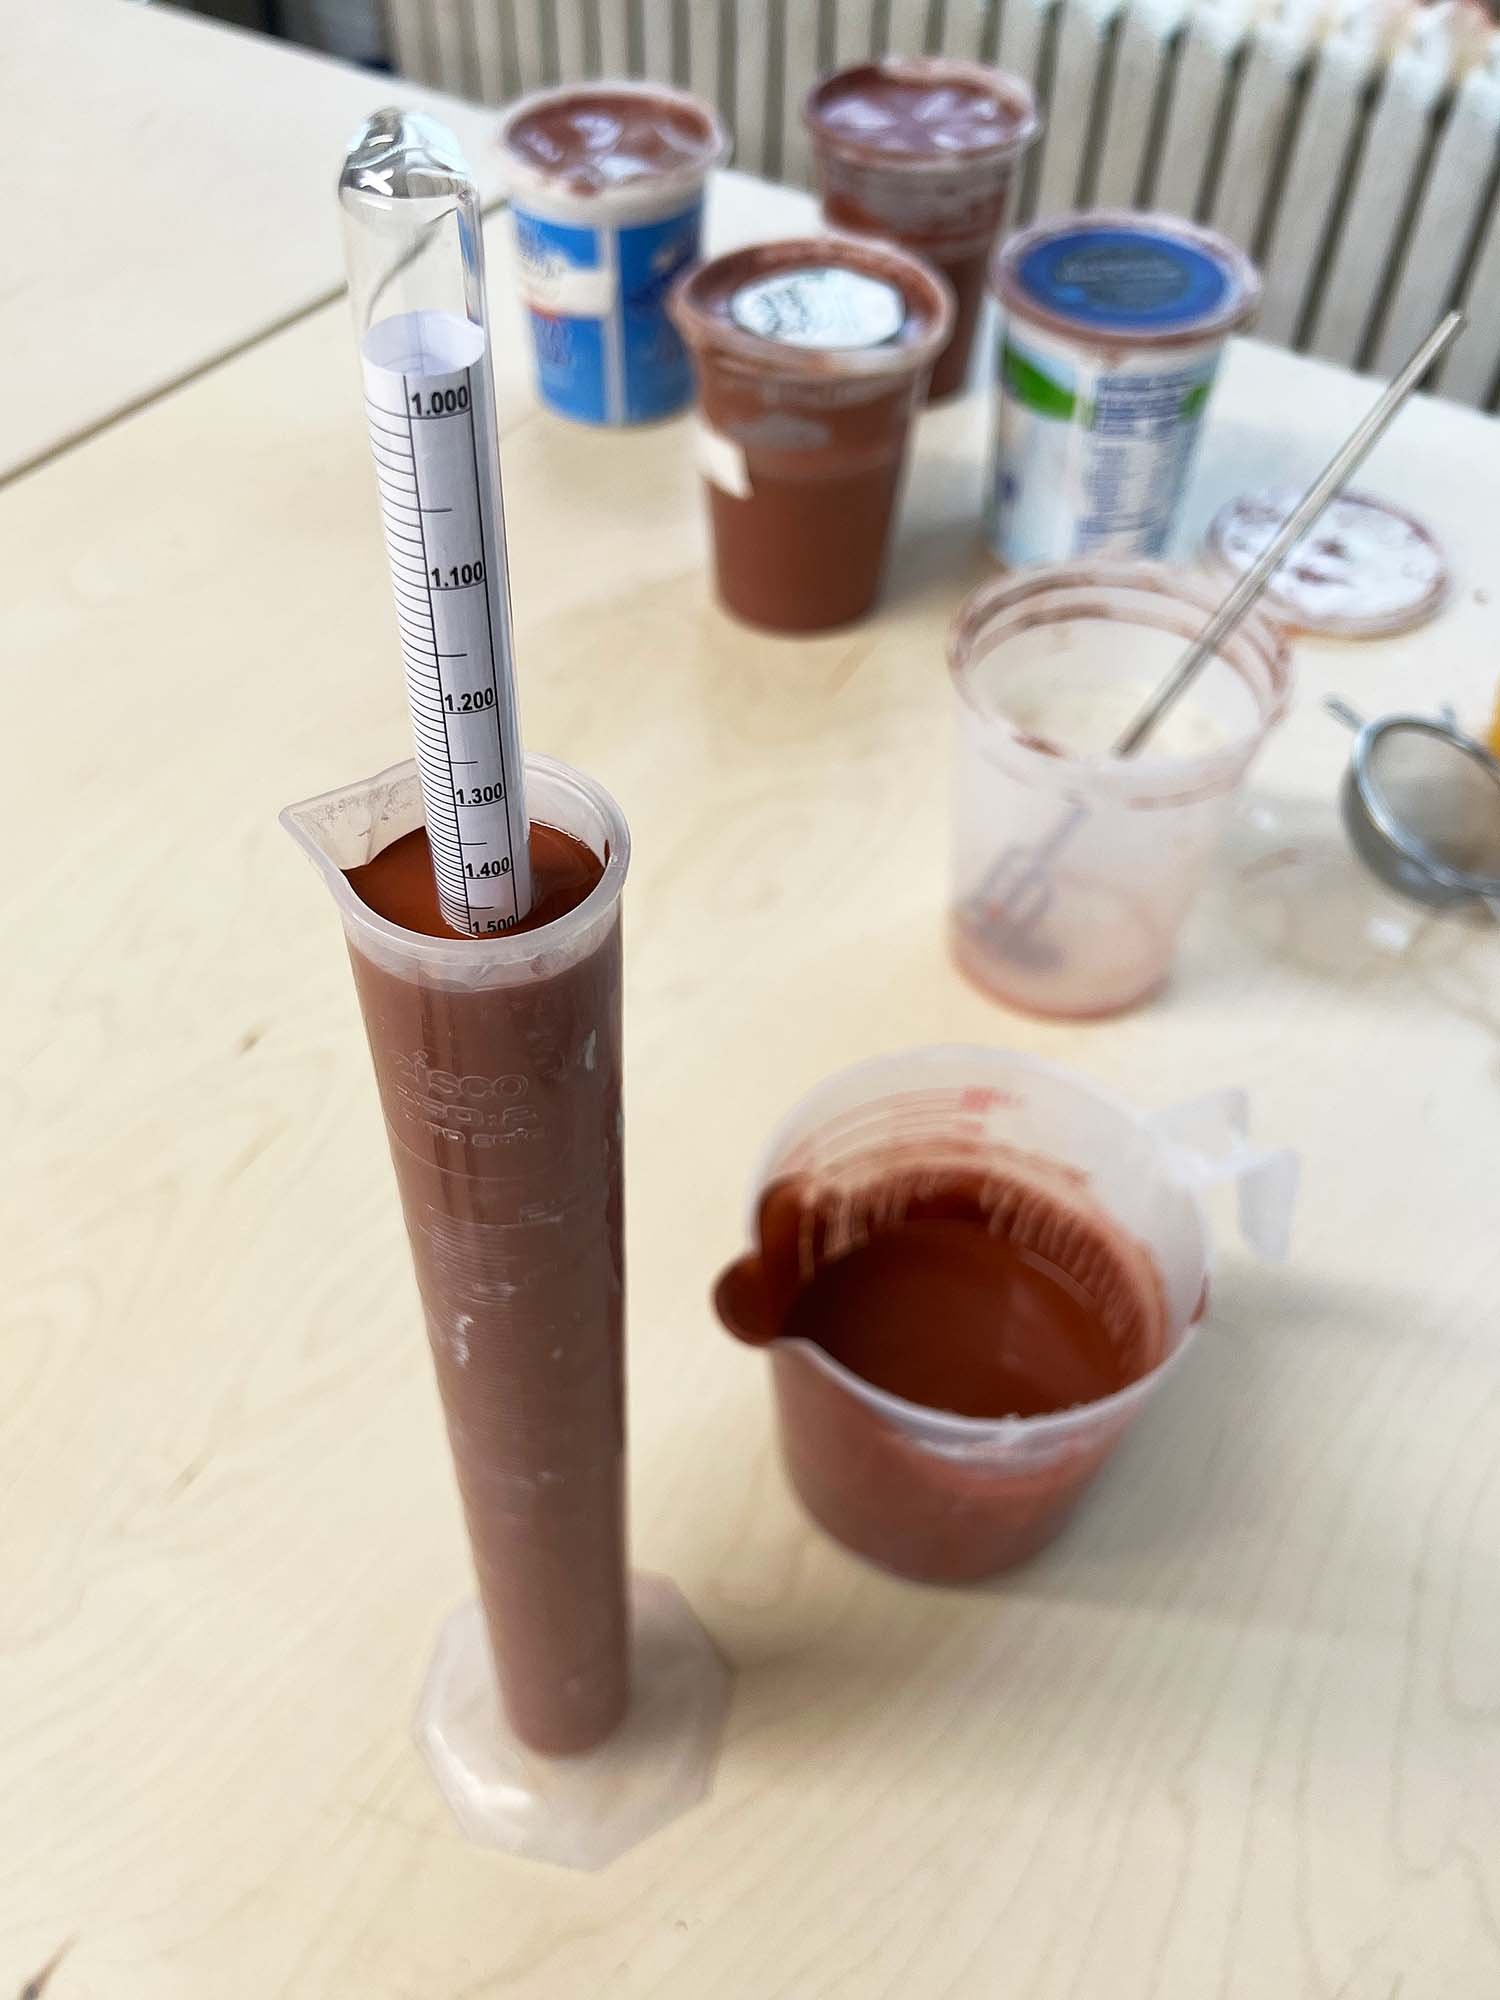
A sieve is an important part of mixing glazes. A sieve insures that particles are broken up and that the ingredients are evenly distributed in the glaze. Proper mixing and straining also reduces glazes flaws, generally resulting in a more even glaze. If you are mixing glazes from dry powder or from scratch, you must run them through a sieve. Generally, I have a variety of sieves in the studio including a simple kitchen sieve, a smaller tea strainer, and specialized tools such as the Talisman Rotary Sieve.

The Talisman Rotary Sieve.
Talisman Rotary Sieve
The best tool for sieving glazes is the Talisman Rotary Sieve. This is a large, hand-cranked sieve that will fit over a 5 or 10 gallon bucket. It has three brushes which can be removed for cleaning (or replaced if worn out) and removable screens. This allows you to choose which size of mesh to screen your glaze. Typically, this is done somewhere between 80 to 120 mesh. The Talisman Rotary Sieve is expensive, usually $170-250, but it makes short work of the sieving process and the brush system helps break up smaller particles, resulting in a uniform glaze batch. It’s an incredibly well-built tool and if handled with respect, it will hold up for decades of use. Talisman Rotary Sieves are typically only available from speciality clay supply stores, so shop clay stores online or contact your local clay supplier.

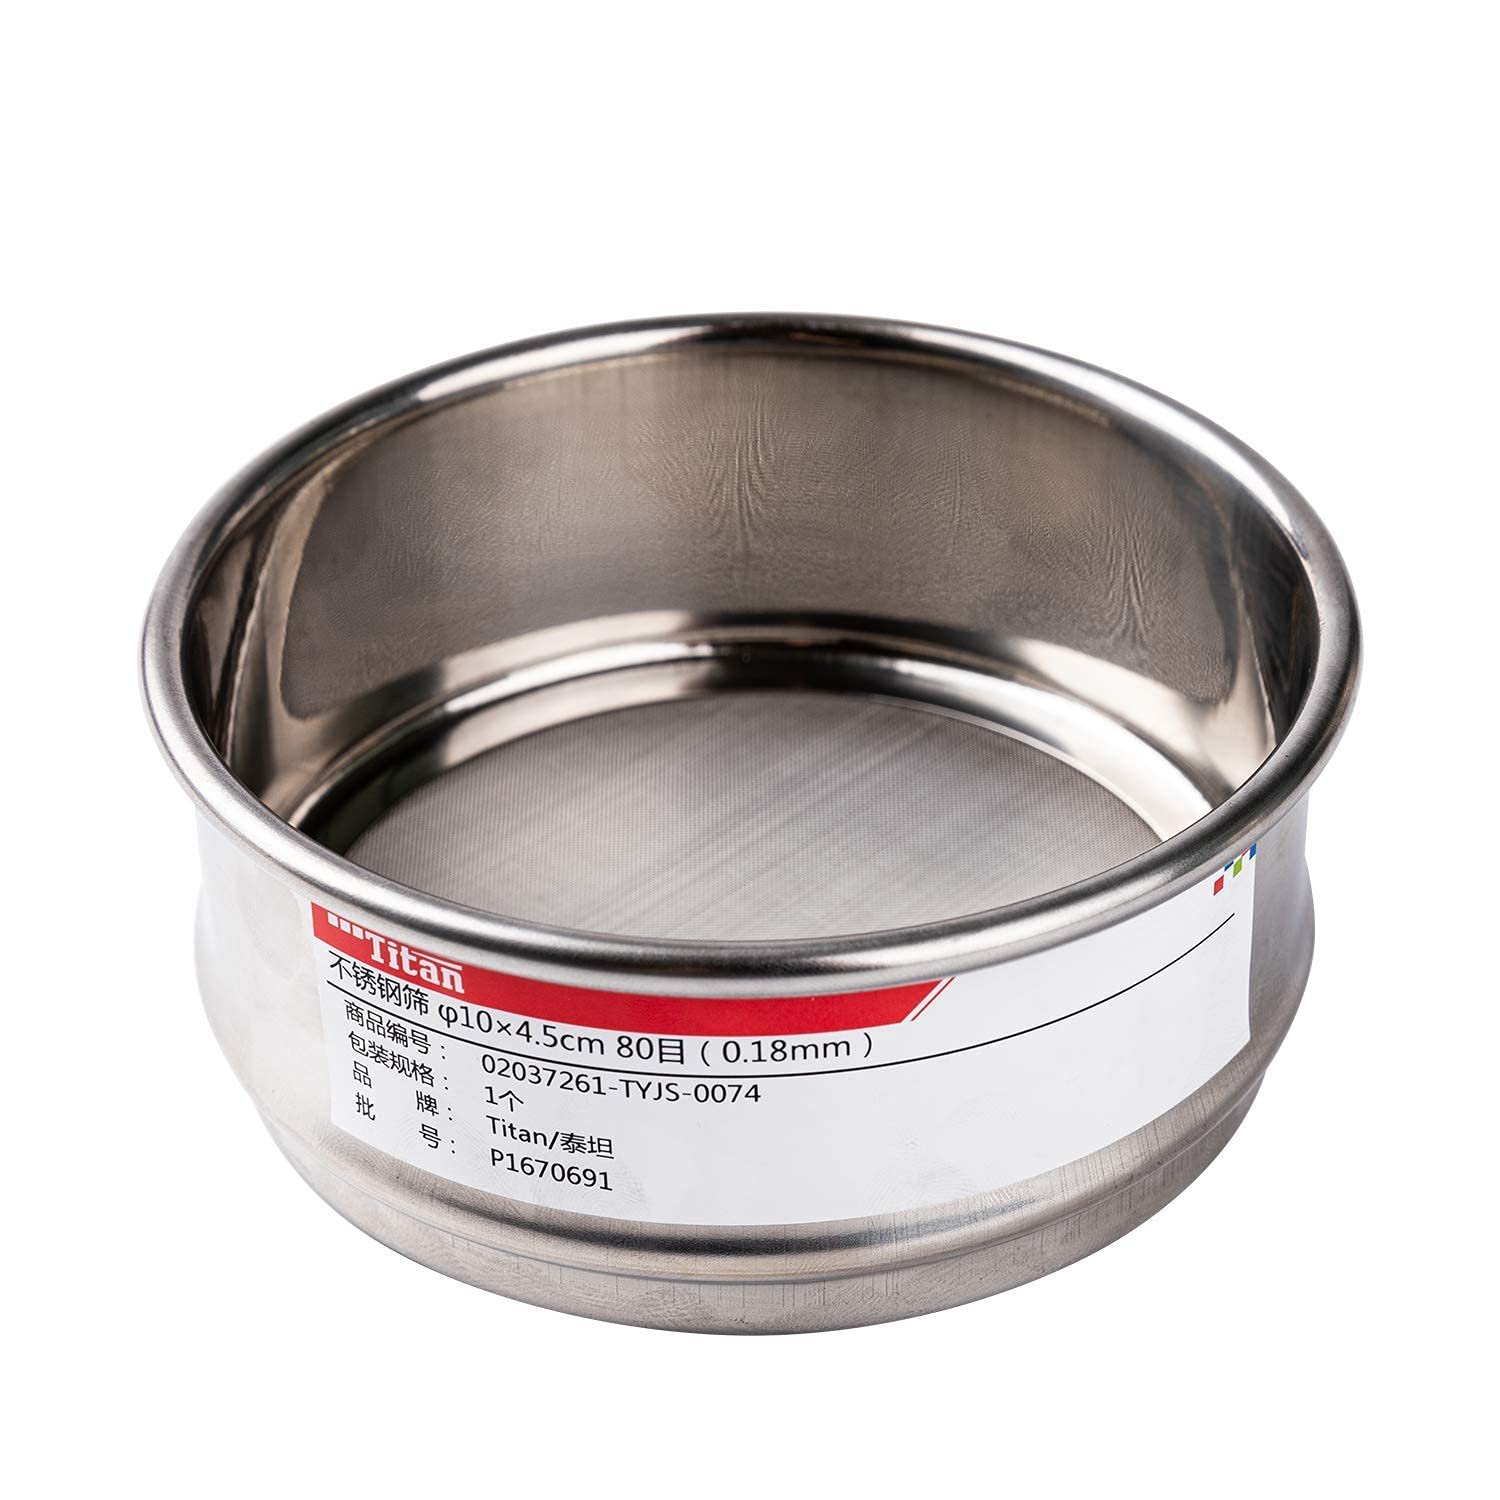
Talisman Test Sieve
Test Sieves
Another option, especially for glaze test batches, is a cup sieve such as the Talisman Test Sieve. These small sieves are stackable, come in a variety of mesh sizes from 5 to 250, and are really well built. Typically, screening your glaze at 40 mesh first and 80 mesh second will get the job done. Talisman sieves are 4 1/2 inches wide at the top and 3 1/4 inches wide on the bottom level.
If Talisman sieves aren’t available, the Labalpha 4 inch wide metal test sieves are great too.

Labalpha 4 inch wide metal test sieve.
Labalpha Metal Test Sieves or Talisman Test Sieves
$24 each at Amazon
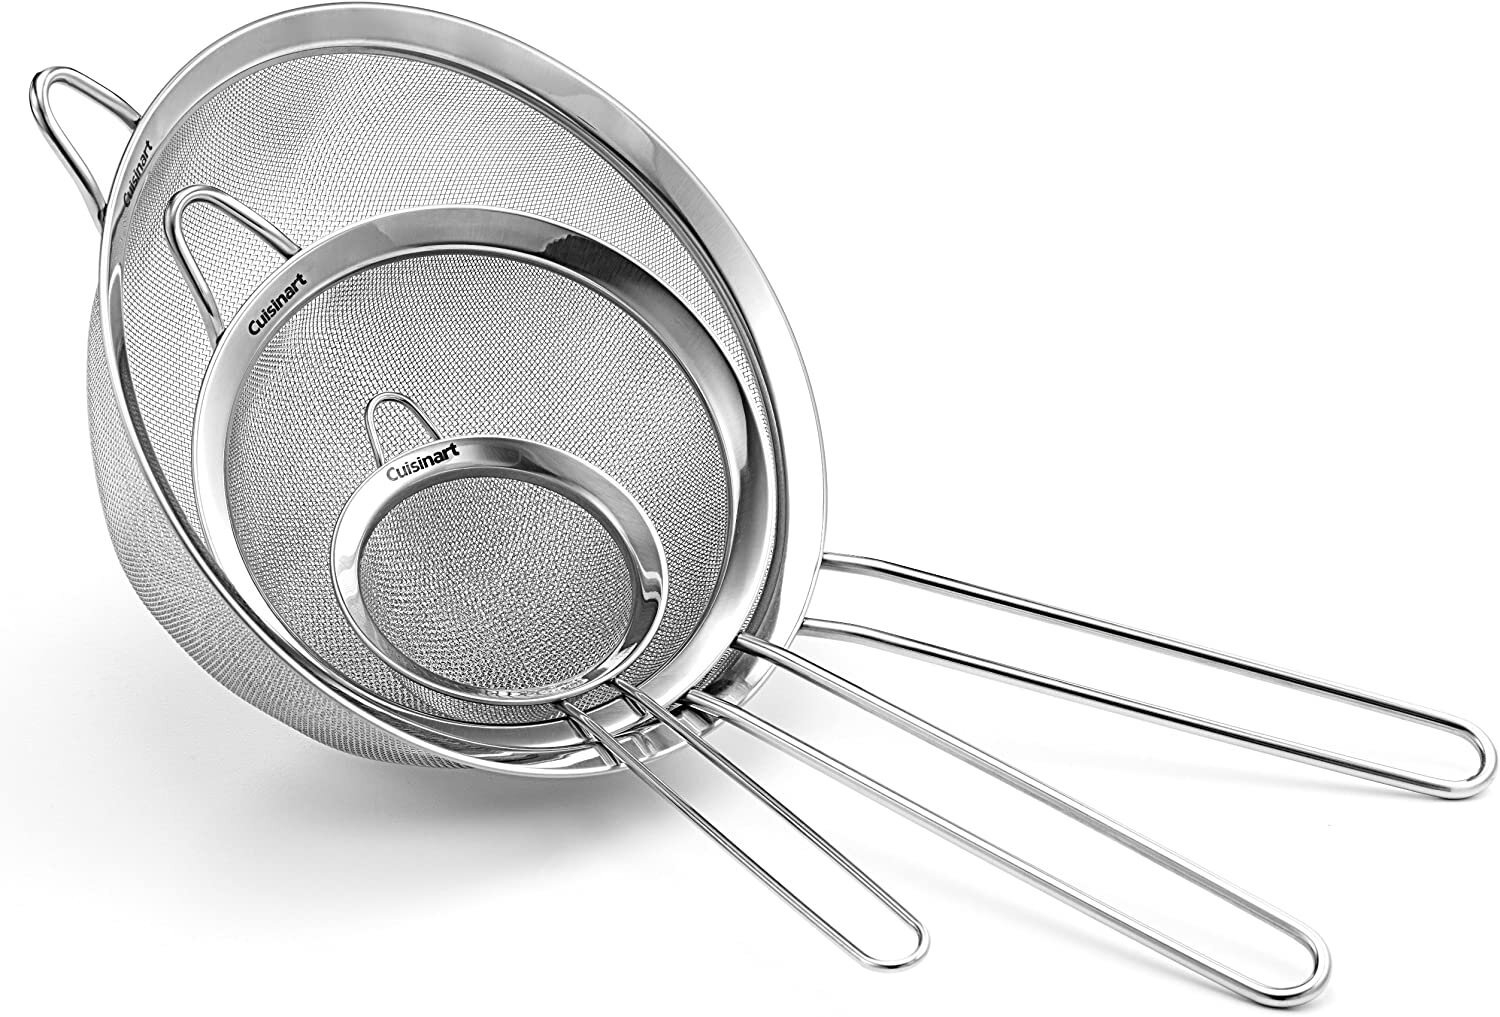
Cuisinart Fine Mesh Steel Strainer
Fine Mesh Steel Strainers
Another useful tool is a kitchen steel mesh strainer. These are not fine enough for a final glaze strain, but the wider mesh is still useful for quickly breaking up chunks of material. They are also great for quickly processing glaze in order to remove any bisque chunks.
When mixing glaze, materials such as Wollastonite, Soda Ash, Borax, Zinc Oxide, and most oxides used for colorants and others must be run through glaze sieve (usually 80 mesh), but if you start with a kitchen sieve, you’ll get the big chunks out quickly and can have an easier time with the glaze sieve. Smaller strainers such as a tea strainer are also useful for quickly running an underglaze or small batch through mesh. Sometimes, a simple mix and strain can bring a thickened glaze, underglaze, or slip back to being easy to use.
A great option for a kitchen steel mesh strainer is the Cuisinart 3 pack of Fine Mesh Metal Strainers. The all-metal design makes it easy to clean and maintain, and the variety of sizes will help with most small to medium glaze batches, or if you need to quickly strain a chunky material before running it through a finer mesh. There is also a link to a similar product by ExcelSteel at Home Depot.
Cuisinart Fine Mesh Metal Strainer 3 pack
$16 at Amazon
Excelsteel Strainer 3 Pack
$17.50 at Home Depot
Recommended Sieve Sizes
Here’s a useful chart of recommended sieve mesh sizes to use when mixing glaze, slip, and casting slip.

Face Masks and Dust Protection
Dust protection and personal protection equipment is vital when mixing glazes. The main worry is any sort of airborne particles, particularly the finest particles such as silica. Repeated exposure to these particles, found in all dry glaze and clay materials, can lead to respiratory problems. Some also choose to wear plastic gloves when mixing and using glazes. The best thing when thinking about gloves is to assess your own risk and work to understand what is in glazes and what may be dangerous.
Respirator

The 3M Half Facepiece Respirator with P100 cartridge style filters.
The best dust protection is a respirator. These devices are reusable, fit on your face more tightly than a dust mask, and the filters can be replaced as needed. Although moisture can build up, I find them to be more comfortable than a paper or surgical type mask, and they definitely provide a tighter fit. One drawback though, is you can’t really talk to anyone while they are on.
For a respirator, a great option is a 3M half facepiece respirator with P100 filters. They are usually widely available, so it’s easy to find replacement filters in stores or online.
If you don’t want to get a respirator, at the very least get a N95 or KN95 mask and wear it whenever you are working with dry glaze or clay materials. Also be aware, fine particles can remain in the air for a while, use caution when mixing and try to keep dust out of the air.
For more, see our complete article on dust masks for studios.
3M Half Facepiece Respirator with P100 Dust Filters
$28 at Amazon or $29 at Lowes
3M Half Facepiece Respirator with P100 VOC Cartridges
$39 at Home Depot
Mixing Blades and Paddles
The right mixer blade will make your glaze and slip mixing quick and efficient. It’s best to stock different size mixers for mixing different amounts of glaze. These are the mixing blades I stock in my own studio.

The small Jiffy LM10 Mixer Blade, also called a laboratory mixer.
Small Mixer Blade
To mix pint jars and small cups, the Jiffy LM10 Mixer Blade is just the right size. It’s 10 1/4” long with a 1 1/4” head.
This Mixer Blade can usually be found for around $20

Helix mixer blade for 1 to 2 gallon buckets
MEDIUM MIXER BLADE
For one to two gallons, I prefer a helix mixer designed for 1 gallon buckets. It’s cheaper than a metal blade but it can really mix. As long as you don’t grind the plastic blades against buckets, these economical blades should last for years and also work well for jobs such as mixing plaster. They also have blades for 1 quart and 5 gallons, and these plastic blades are generally more economical than metal mixing blades.
Helix 1 Gallon Mixer Blade
$8.25 at Amazon

The Jiffy ES Mixer Blade for 2 to 10 gallon buckets of glaze.
LARGE MIXER BLADE
For 5 or 10 gallon buckets, the Jiffy ES mixer blade is the way to go. It has a 20 1/2” long, 3/8” shaft and the head is 3 3/4” wide. It’s designed for 2 to 5 gallon buckets but it will mix up to 10 gallons as long as you have a strong enough drill (usually a corded drill or a higher powered cordless drill)
Jiffy ES Mixer Blade
$49 at Amazon
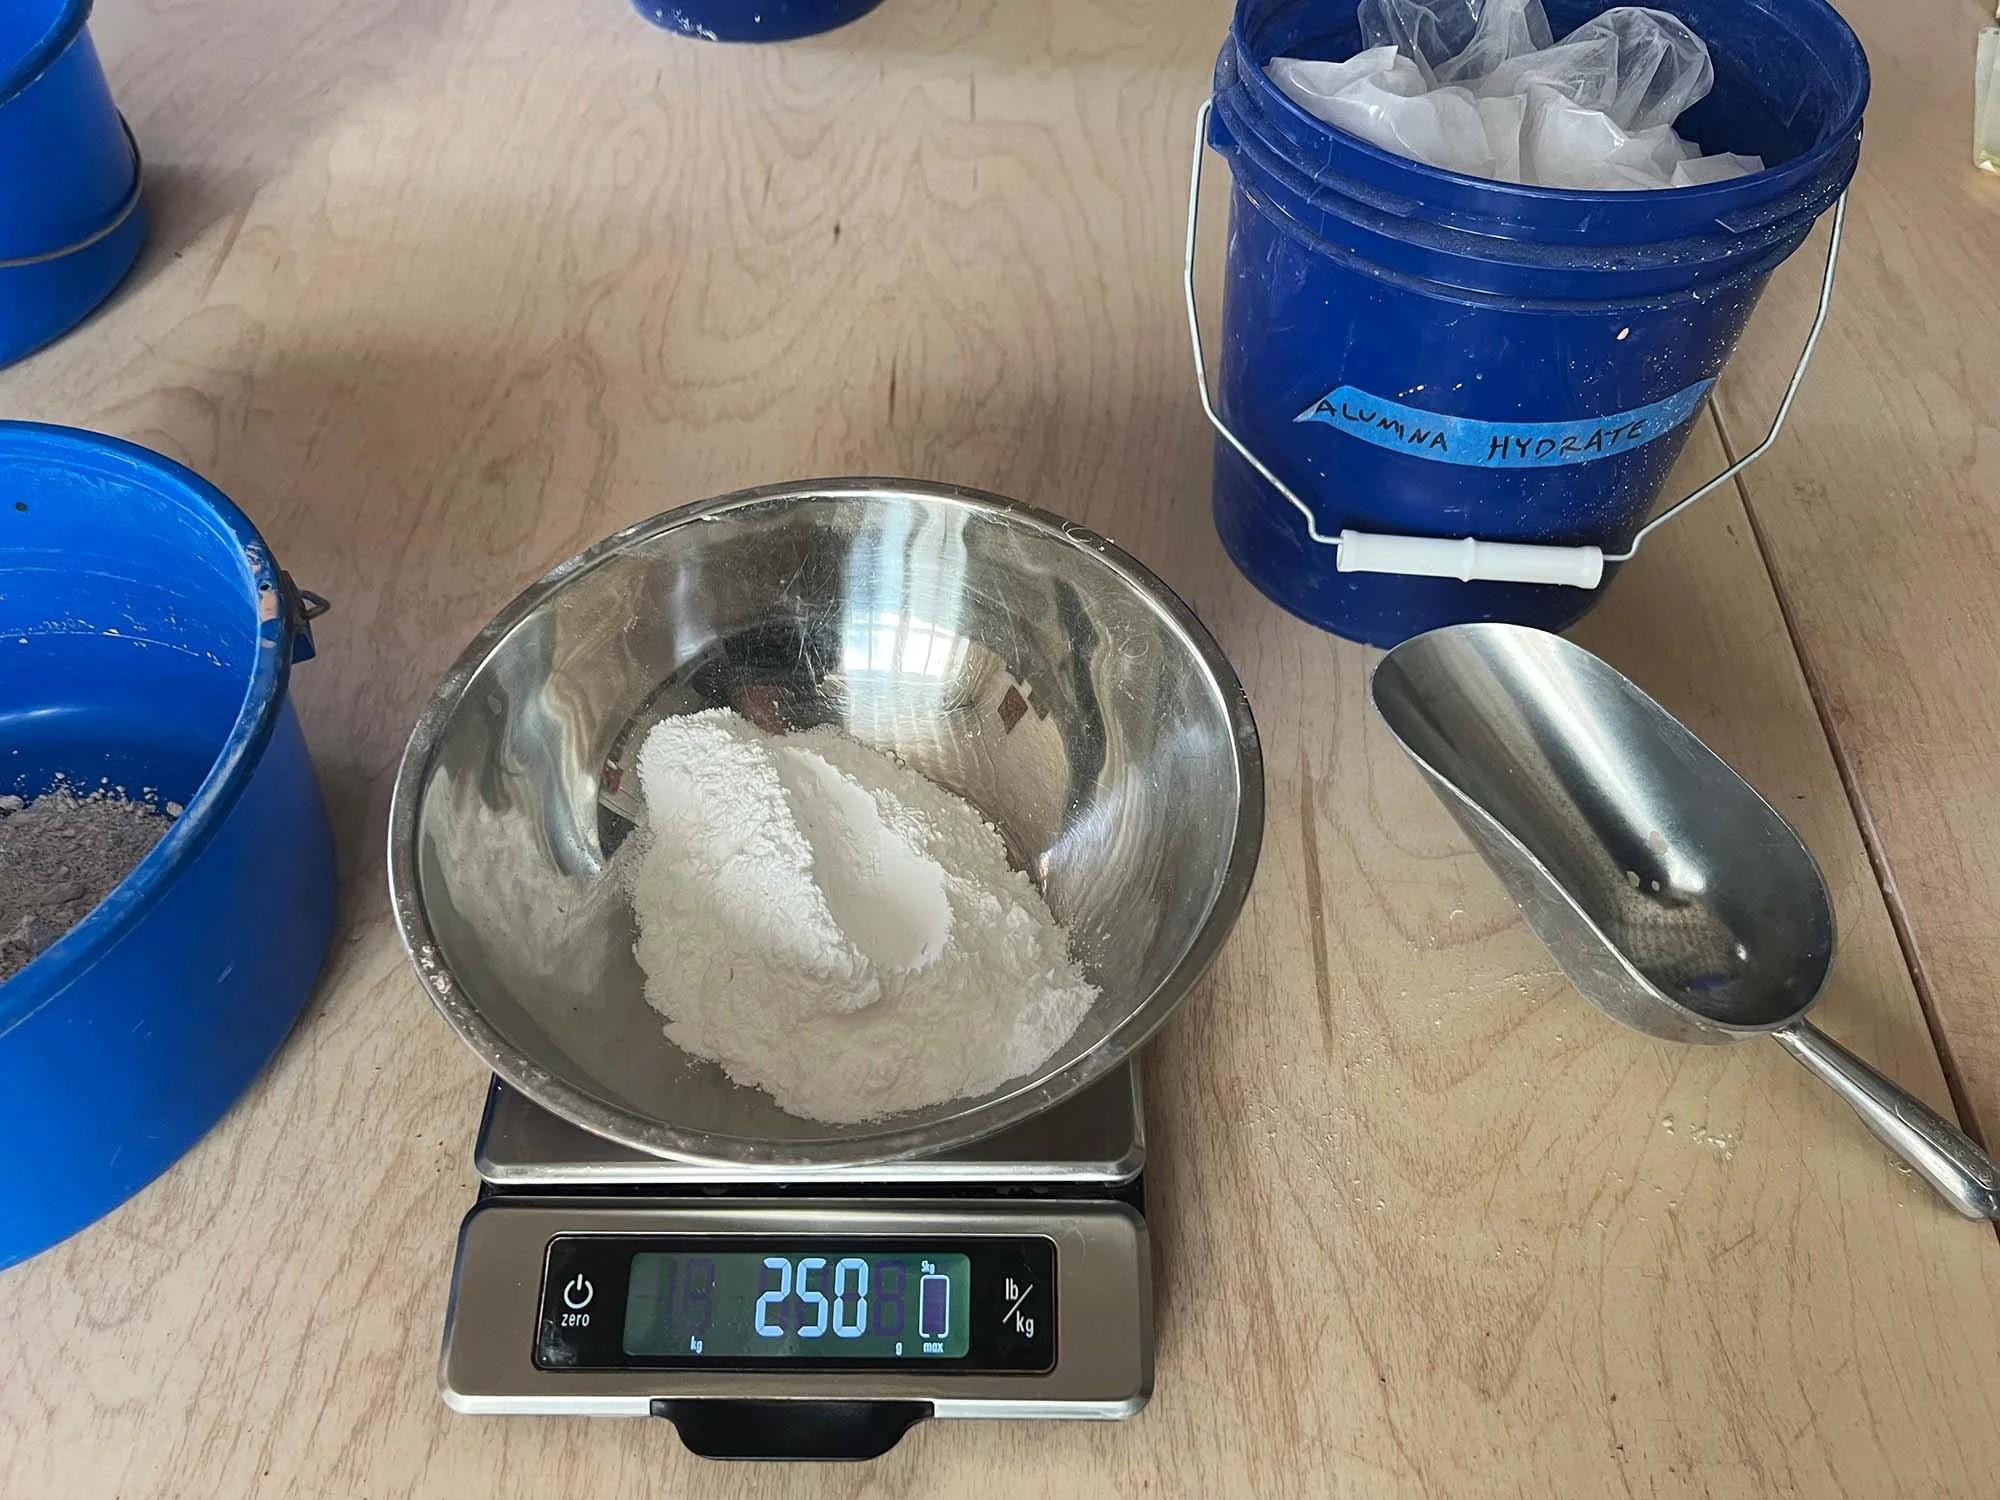
Scales and Accessories
A scale is a must-have for mixing glazes. An accurate, durable scale is a great investment. My favorite is the Oxo 11 Pound Scale. Click here to read a complete guide to scales for ceramic glaze mixing.

The Oxo 11 Pound / 5 KG Scale is great for home or studio use.
The Oxo 11 Pound Scale is designed for kitchen use but it’s a just as useful in the studio. It runs on 4 AAA batteries, and is accurate to 1/8 ounce or 1 gram. A great feature is the pull-out, light up display that allows you to use the scale with larger bowls. The scale has four buttons: a lb/kg toggle, light switch, zero button, and power. The top stainless steel platform can also be removed for cleaning. This scale can accommodate up to 11 pounds or almost 5 kilograms at a time. It’s an incredible amount of features in a scale that typically costs about $45.
Oxo 11 Pound Scale
$45
Metal Scoops

A quality metal scoop makes working with dry materials so much easier. In a pinch, I’ve repurposed small yogurt containers as scoops, but a durable, long-lasting metal scoop is better. For large storage bins or bags, you might get a scoop for each material. Or if you have a collection of 2 to 4 different sizes, you can get through most glaze batches without contaminating between materials, and then wash the scoops after glazing. For really strong ingredients such as red iron oxide, I leave small scoops in each bin so I don’t have to clean the scoops each time I use them.
Metal Scoops
5 ounce: $9.56
12 ounce: $11.76
Wrap-Up
This post has listed my favorite tools and accessories for use when mixing glaze, including drills, immersion blenders, sieves and strainers, dust protection, mixer blades, and scales. It may seem like a lot of stuff, but each tool has it’s role to play in the glaze-mixing process. If you are new to mixing glaze, start with the basics such as a scale, dust-protection and maybe just a wooden spoon, and go from there. You can always add tools as needed.
What are your favorite tools to use when mixing glaze? Let us know in the comments.
You Might Also Enjoy:
How To Mix a Ceramic Glaze From Scratch
Best HEPA Vacuum for Ceramic Studios