How to Test Specific Gravity in a Ceramic Glaze and Why It's Important

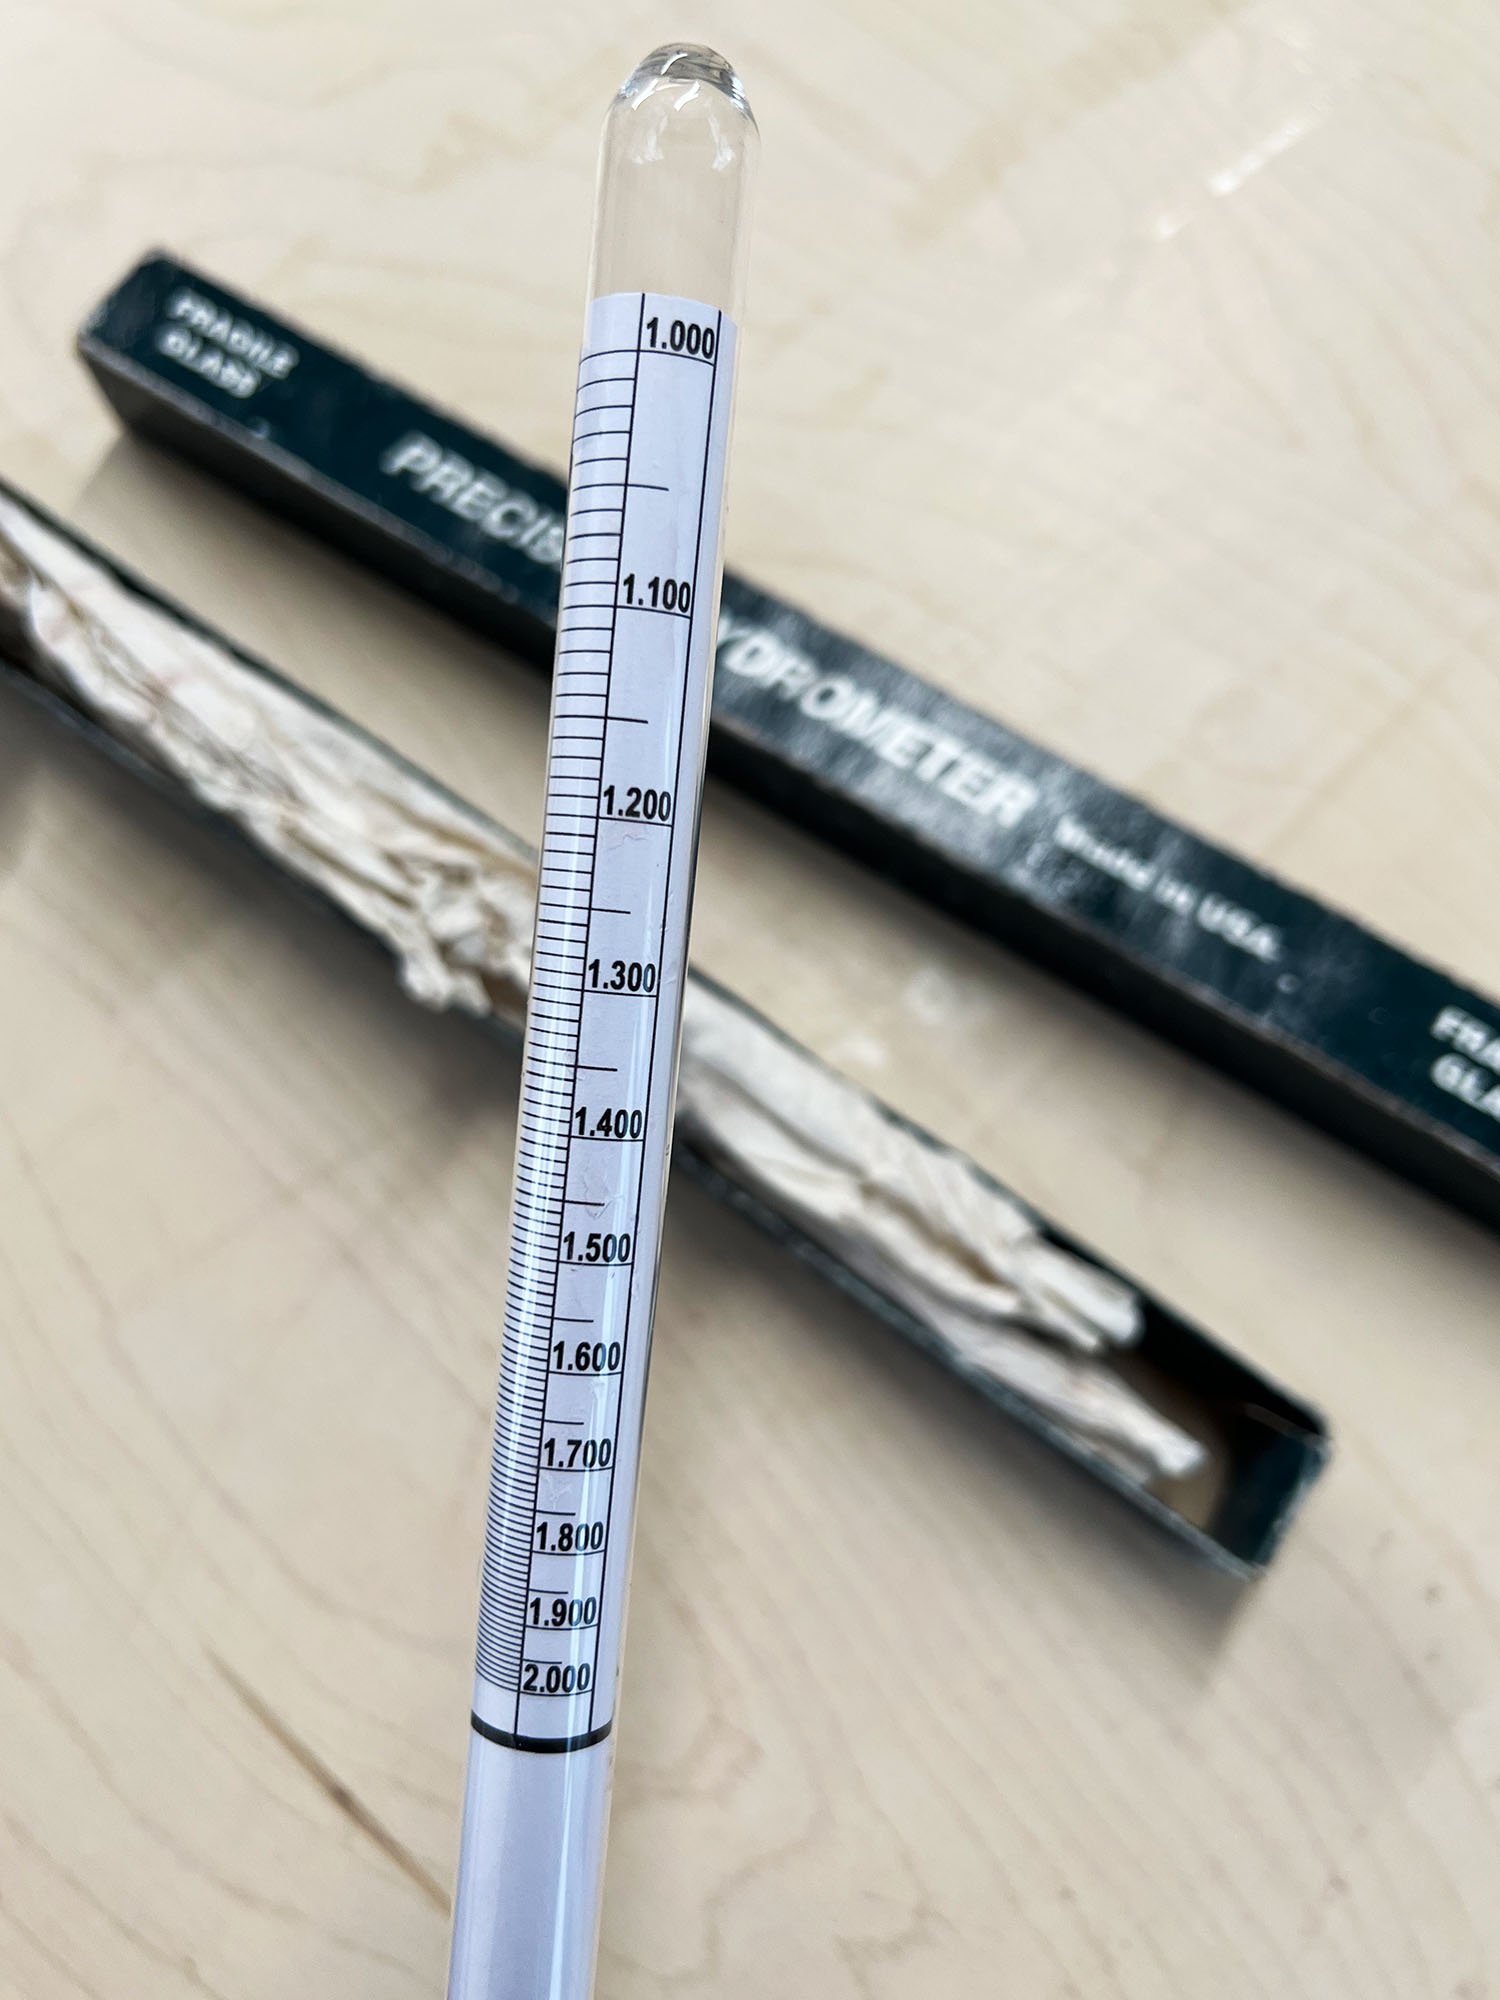
glass hydrometer used to measure specific gravity of a ceramic glaze

A hydrometer is one of measuring the specific gravity of a glaze. For ceramic glazes, use a hydrometer that measures between 1.00 and 2.00.

Testing the specific gravity of a ceramic glaze allows you to accurately measure the ratio of dry materials to water in a glaze, or basically how “thick” a glaze is. It also allows you to maintain a glaze over time, and remix more that will be exactly the same.

Keep in mind that there is not one specific gravity for glazes, instead, each glaze will vary slightly based on the materials in the glaze and the desired application. But in general, glazes range from 1.40 to 1.60.

There are also a few methods of measuring the specific gravity of a glaze. In this post, there will be three options covered:

  • using a hydrometer

  • measuring in a graduated cylinder

  • measuring in a cup


Table of Contents

  1. What is Specific Gravity?

  2. Measuring Specific Gravity with a Hydrometer

  3. Measuring Specific Gravity with a Graduated Cylinder

  4. Measuring Specific Gravity with a Small Cup

  5. Equipment Needed for Measuring Specific Gravity

  6. Summary


What is Specific Gravity in a Glaze?

Specific gravity measures the ratio of dry materials to water in a glaze.

As an example, if you had 150 grams of dry materials mixed with 100 grams of water, your glaze would have a specific gravity of 1.50 (150 / 100 = 1.50)

Water alone has a specific gravity of 1.00 — this will be important in our calculations.

Measuring Specific Gravity with a Hydrometer

Hydrometers are fragile glass tubes with a metal weight and scale.

A hydrometer is a glass tube with a leaded weight that is designed to float and measure specific gravity. They are quick and easy to use, provided that your glaze bucket is deep enough, but they are fragile—extremely fragile. Despite this, they are my favorite way to measure specific gravity. I’ve been using the same hydrometer for years, I just make sure to not drop it and carefully wrap it in paper towels and put it in its box when not in use.

When choosing a hydrometer, make sure to pick a “heavy liquid” or “heavier than water” hydrometer, as there are a variety of hydrometers for different applications. (Shop hydrometers at Amazon)

How to Use a Hydrometer

For glazes, you will need a “heavy liquid” hydrometer that measures between 1.00 and 2.00.

After mixing a glaze, simply place your hydrometer carefully into the glaze bucket and allow it to settle, and then take a reading.

Hydrometer measuring a ceramic glaze at 1.50

A hydrometer measuring a glaze at 1.50. In this instance, the glaze was placed in a graduated cylinder to create a tall enough column for the hydrometer to floate.

Alternately, if your glaze bucket is not tall enough, pour glaze into a graduated cylinder or smaller bucket, and then take a measurement (as pictured).

Hydrometer in a graduated cylinder to measure specific gravity of a ceramic glaze

After taking your reading, adjust your glaze as needed. In general, I like to add water slowly until I reach my desired specific gravity. You may also need to wait a day and then measure again, to make sure your glaze is just how you want it.

As you use your glaze, note the results you are getting out of the kiln and adjust your glaze if needed. Taking notes really helps!

For every glaze I mix, I note the specific gravity when initially mixed. Then, if it seems to be getting thick or changing in some way (water does evaporate over time!) you can measure and adjust.


Measuring Specific Gravity with a Graduated Cylinder

If you don’t have a hydrometer, you can measure a glaze with just a graduated cylinder. Use a cylinder that can measure at least 100 milliliters and a scale. You will need a scale that is accurate to 1 gram or even better, 0.1 grams.

For this method, place your graduated cylinder or cup on a scale and zero out the scale.

Then, fill your cylinder to 100 mL and note the weight. As our calculation is (glaze weight / water alone = specific gravity) the calculation is very simple. If the glaze weighs 145, you have a specific gravity of 1.45. If it weighs 150, your s.g. is 1.50, etc.

As before, adjust your glaze as necessary after measuring, and remeasure.

Measuring Specific Gravity with a Small Cup

If you have a scale but no graduated cylinder, you can still measure specific gravity with a small cup.

The best way to do this is to put the cup on your scale, zero the scale, then fill the cup completely full with water. Note the weight of the water and write this down. Even better: write it on the cup so that you have an easy reference.

Then, empty the cup and refill it completely full with glaze and weigh. You will have to do a quick calculation to determine your specific gravity. If the glaze in the cup weighs 375 grams and the water alone in the cup weighed 250 grams, your glaze has a specific gravity of 1.50 (375 g / 250 g = 1.50).


Shop the Equipment Needed for Measuring Specific Gravity

Heavy Liquid Hydrometer and case

This heavy liquid hydrometer is available at Amazon for $12.

Hydrometer

To measure the specific gravity of a ceramic glaze, you will need a “heavy liquid” hydrometer, or one that measures between 1.00 and 2.00. These are available at ceramic suppliers, or at Amazon.

Graduated Cylinder

plastic 250 ml graduated cylinder with octagonal base

Plastic 250 ml graduated cylinder.

A graduated cylinder is handy for glaze measuring, or for creating a taller column to use a hydrometer.

In my studio, I use a plastic 250 mL graduated cylinder. This is big enough that I can float my hydrometer, or use it to measure 100 mL of glaze.

Scale

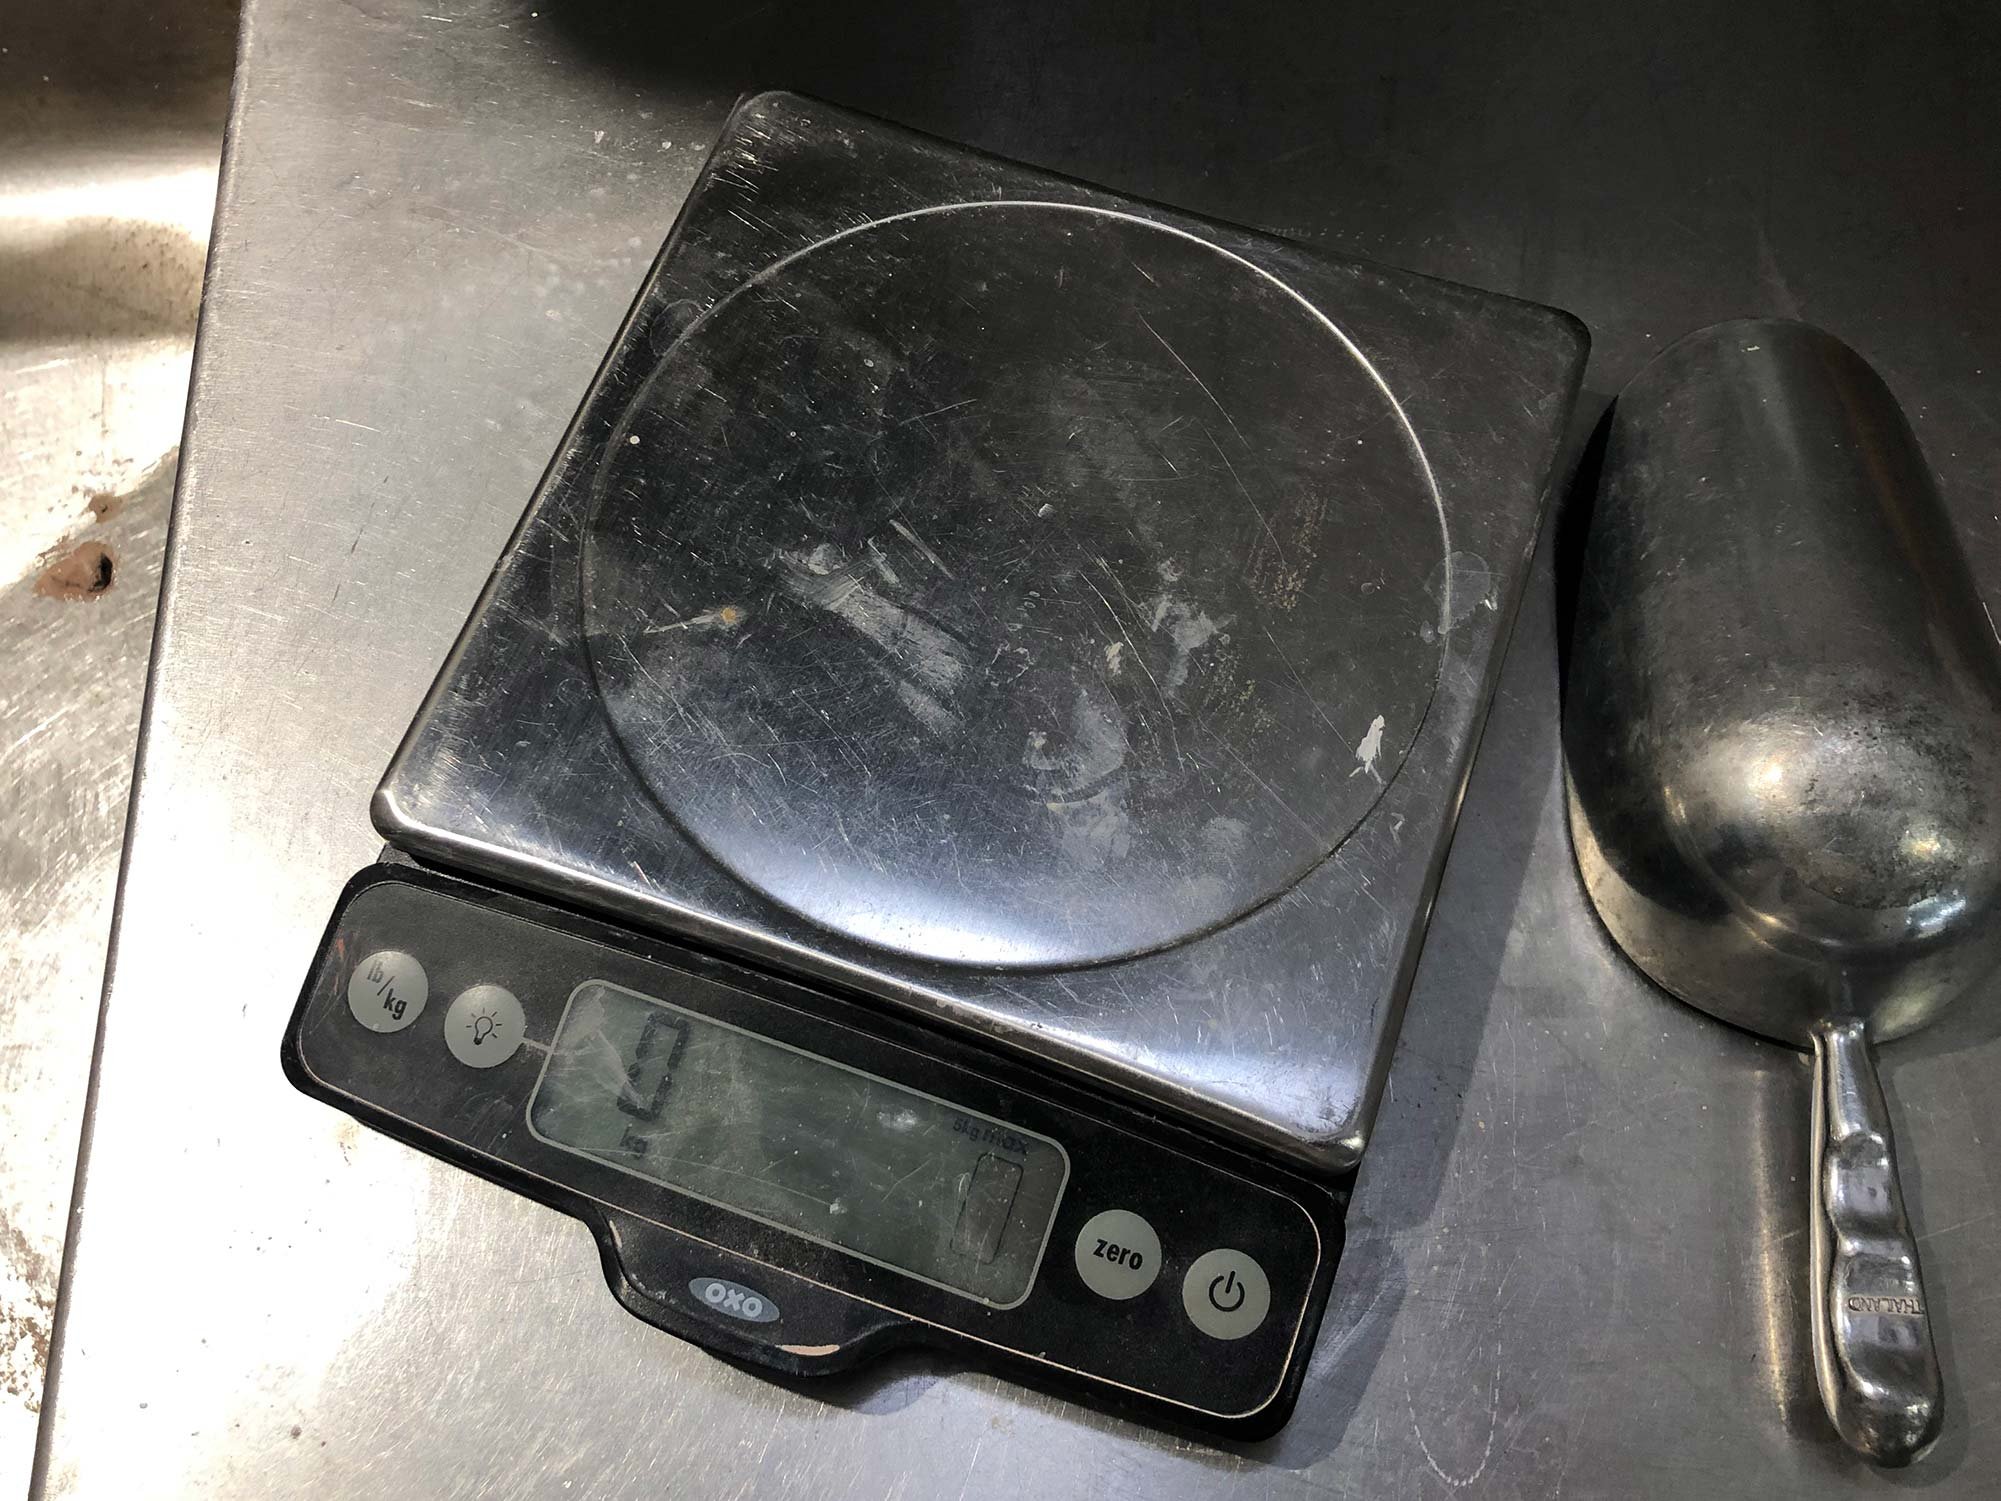
In my studio, I like to use the Oxo 11 lb kitchen scale. It’s durable, accurate to 1 gram, can weigh up to 11 lbs, is easy to clean, and costs around $55. It’s a great scale at a relatively modest price.

If you want something more accurate, a check out the MyWeigh iBalance 5500. It is accurate to 0.1 grams, can weigh up to 5500 grams (approx. 12 lbs), and costs about $250.

For a complete overview of scales for ceramic studios, click here.


Summary

This post has covered three different methods of testing specific gravity in ceramic glazes, and the equipment needed to measure specific gravity. Measuring specific gravity is important for keeping glazes consistent, so that you will get repeatable results from your firings.

How do you measure specific gravity? Let us know in the comments.

The Best Glaze Mixing Accessories For Ceramic Studios

Mixing your own glazes from scratch is cost-effective and allows you to customize glazes to suit your studio. Whether you are mixing a powdered glaze with water, or weighing each ingredient and starting from scratch, having the ability to mix glazes opens up possibilities in your studio. You don’t need a huge set up to get started, a few simple tools and buckets are all you need. Below are reviews of our favorite glaze-mixing accessosories.

This list includes:

  • Drills

  • Immersion Blenders

  • Sieves and Strainers

  • Dust Protection

  • Mixer Blades

  • Scales


Drills

A drill is one of the most important glaze-mixing tools. Sure, you could get a big whisk or paddle and mix your glaze by hand, but….I wouldn’t recommend it.

For a drill, my favorite is the Milwaukee M12 3/8” Drill. It’s compact, well built, and affordable. And it has enough power to mix a 5 gallon bucket and just enough power to mix 10 gallons of glaze. It’s also cordless, which I find easier to use in the studio but you do sacrifice some power and you’ll have to deal with recharging batteries.

There are a lot of drill options out there, with all sorts of options, battery and cord styles. For more info, check out the Studio Manager Cordless Drill Review and our Corded Drill Review


Immersion Blender

For small batches of glaze, especially test batches, an immersion blender is a great tool. Designed for kitchen use, these definitely have enough power to hold up in the studio. I would just make sure you have one dedicated for studio use and a separate blender for kitchen use.

For an immersion blender, I have never noticed much of a difference between name brands and generics. You just want a blender that will work and get your glaze mixed. A great option for this is the Mueller Austria 9 Speed Immersion Blender. You probably don’t need all those speeds, but it does have a turbo button which speeds things up. And at around $30-35, this is one of the more affordable immersion blenders on the market.


Sieves and Strainers

A sieve is an important part of mixing glazes. A sieve insures that particles are broken up and that the ingredients are evenly distributed in the glaze. Proper mixing and straining also reduces glazes flaws, generally resulting in a more even glaze. If you are mixing glazes from dry powder or from scratch, you must run them through a sieve. Generally, I have a variety of sieves in the studio including a simple kitchen sieve, a smaller tea strainer, and specialized tools such as the Talisman Rotary Sieve.

The Talisman Rotary Sieve.

The Talisman Rotary Sieve.

Talisman Rotary Sieve

The best tool for sieving glazes is the Talisman Rotary Sieve. This is a large, hand-cranked sieve that will fit over a 5 or 10 gallon bucket. It has three brushes which can be removed for cleaning (or replaced if worn out) and removable screens. This allows you to choose which size of mesh to screen your glaze. Typically, this is done somewhere between 80 to 120 mesh. The Talisman Rotary Sieve is expensive, usually $200-250, but it makes short work of the sieving process and the brush system helps break up smaller particles, resulting in a uniform glaze batch. It’s an incredibly well-built tool and if handled with respect, it will hold up for decades of use. Talisman Rotary Sieves are typically only available from speciality clay supply stores, so shop clay stores online or contact your local clay supplier.

Talisman Test Sieve

Talisman Test Sieve

Talisman Test Sieve

Another option, especially for glaze test batches, is a cup sieve such as the Talisman Test Sieve. These small sieves are stackable, come in a variety of mesh sizes from 5 to 250, and are really well built. You probably just need one or a few, I’d suggest an 80 to start and in my own studio, I generally just use 40 mesh for a rough sieve and 80 mesh for a fine sieve.

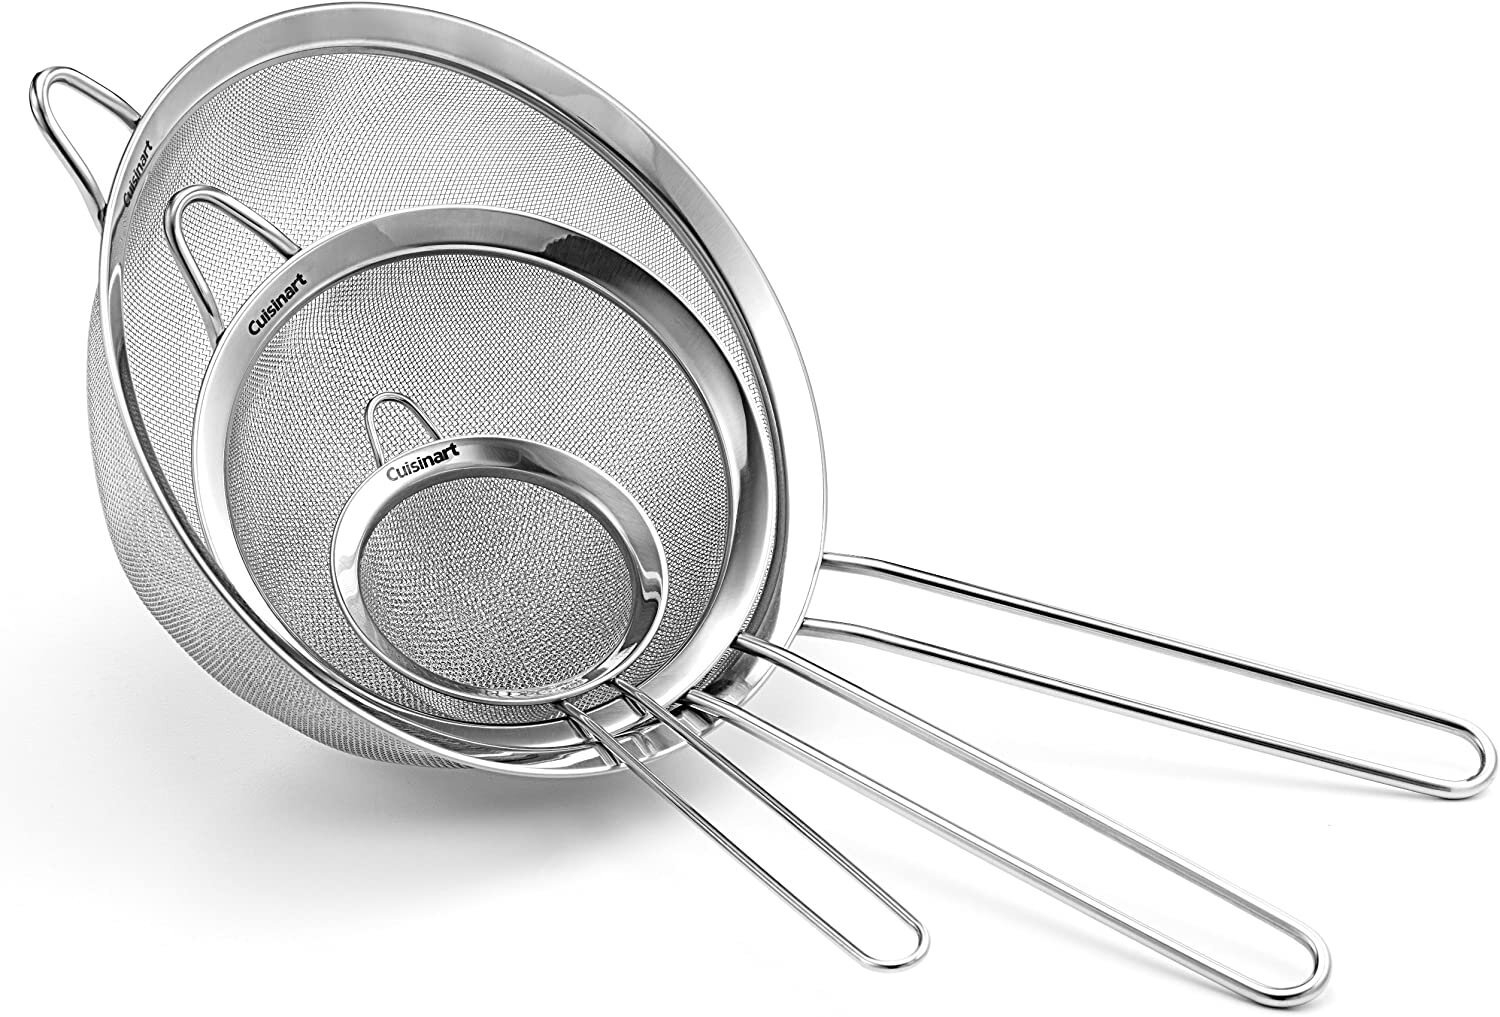
Cuisinart Fine Mesh Steel Strainer

Cuisinart Fine Mesh Steel Strainer

Fine Mesh Steel Strainers

Another useful tool is a kitchen steel mesh strainer. These are not fine enough for a final glaze strain, but the wider mesh is still useful for quickly breaking up chunks of material. They are also great for quickly processing glaze in order to remove any bisque chunks or other small things.

When mixing glaze, materials such as Wollastonite, Soda Ash, Borax, Zinc Oxide, and most oxides used for colorants and others must be run through glaze sieve (usually 80 mesh), but if you start with a kitchen sieve, you’ll get the big chunks out quickly and can have an easier time with the glaze sieve. Smaller strainers such as a tea strainer are also useful for quickly running an underglaze or small batch through mesh. Sometimes, a simple mix and strain can bring a thickened glaze, underglaze, or slip back to being easy to use.

A great option for a kitchen steel mesh strainer is the Cuisinart 3 pack of Fine Mesh Metal Strainers. The all-metal design makes it easy to clean and maintain, and the variety of sizes will help with most small to medium glaze batches, or if you need to quickly strain a chunky material before running it through a finer mesh. There is also a link to a similar product by ExcelSteel at Home Depot.


Recommended Sieve Sizes

Here’s a useful chart of recommended sieve mesh sizes to use when mixing glaze, slip, and casting slip.

Suggested Sieve Size.jpg

Face Masks and Dust Protection

Dust protection and personal protection equipment is vital when mixing glazes. The main worry is any sort of airborne particles, particularly the finest particles such as silica. Repeated exposure to these particles, found in all dry glaze and clay materials, can lead to respiratory problems. Some also choose to wear plastic gloves when mixing and using glazes. The best thing when thinking about gloves is to assess your own risk and work to understand what is in glazes and what may be dangerous.

Respirator

The 3M Respirator

The 3M Half Facepiece Respirator with P100 cartridge style filters.

The best dust protection is a respirator. These devices are reusable, fit on your face more tightly than a dust mask, and the filters can be replaced as needed. Although moisture can build up, I find them to be more comfortable than a paper or surgical type mask, and they definitely provide a tighter fit. One drawback though, is you can’t really talk to anyone while they are on.

For a respirator, I have always used a 3M half facepiece respirator with P100 filters. They are usually widely available, so it’s easy to find replacement filters in stores or online. It can be hard to tell if the filters are getting full of dust, so I generally buy new filters every 6 months. It can round around $20 for new filters, but as someone who works full time in ceramic studios, I don’t want to take any risks with my lungs.

If you don’t want to get a respirator, at the very least get a N95 or KN95 mask and wear it whenever you are working with dry glaze or clay materials. Also be aware, fine particles can remain in the air for a while, use caution when mixing and try to keep dust out of the air. For more, see our complete article on dust masks for studios.


Mixing Blades and Paddles

The right mixer blade will make your glaze and slip mixing quick and efficient. It’s best to stock different size mixers for mixing different amounts of glaze. These are the mixing blades I stock in my own studio.

The small Jiffy LM10 Mixer Blade

The small Jiffy LM10 Mixer Blade, also called a laboratory mixer.

Small Mixer Blade

To mix pint jars and small cups, the Jiffy LM10 Mixer Blade is just the right size. It’s 10 1/4” long with a 1 1/4” head.

 
Helix mixer blade for 1 to 2 gallon buckets

Helix mixer blade for 1 to 2 gallon buckets

MEDIUM MIXER BLADE

For one to two gallons, I prefer a helix mixer designed for 1 gallon buckets. It’s cheaper than a metal blade but it can really mix. As long as you don’t grind the plastic blades against buckets, these economical blades should last for years and also work well for jobs such as mixing plaster.

 
The Jiffy ES Mixer Blade for 2 to 10 gallon buckets of glaze.

The Jiffy ES Mixer Blade for 2 to 10 gallon buckets of glaze.

LARGE MIXER BLADE

For 5 or 10 gallon buckets, the Jiffy ES mixer blade is the way to go. It has a 20 1/2” long, 3/8” shaft and the head is 3 3/4” wide. It’s perfect for 5 gallon buckets and it will mix up to 10 gallons as long as you have a strong enough drill (usually a corded drill or a higher powered cordless drill)


Scales and Accessories

A scale is a must-have for mixing glazes. An accurate, durable scale is a great investment. My favorite is the Oxo 11 Pound Scale. To read about other scale options, the Studio Manager scale review can be found here.

The Oxo 11 Pound / 5 KG Scale is great for home or studio use.

The Oxo 11 Pound / 5 KG Scale is great for home or studio use.

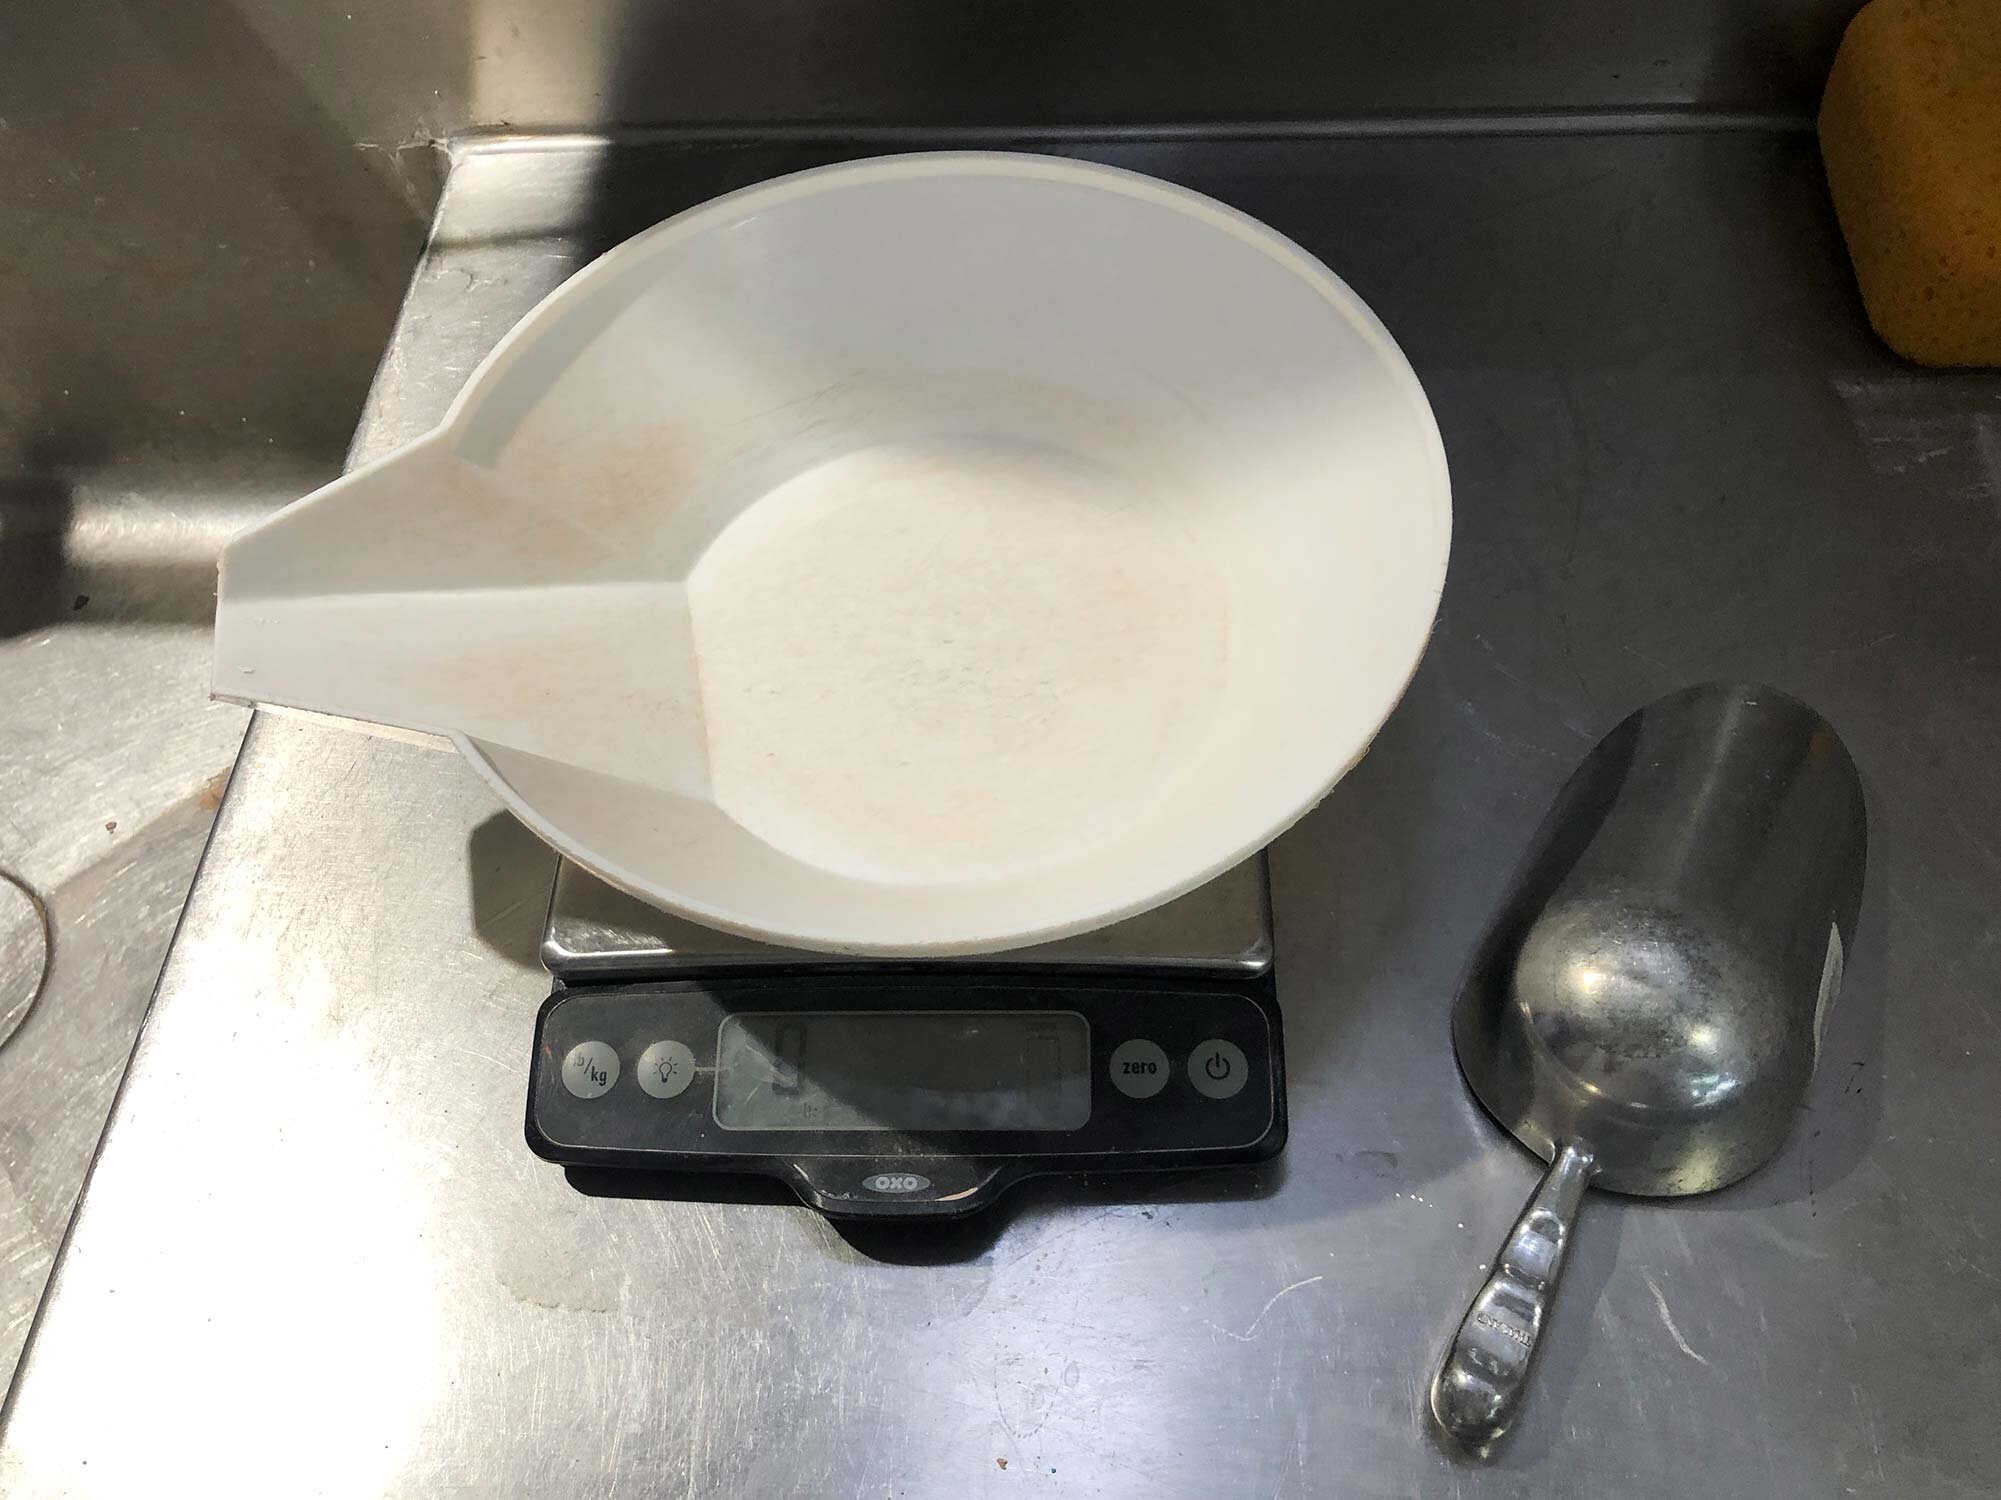
The Oxo 11 Pound Scale is designed for kitchen use but it’s a just as useful in the studio. It runs on 4 AAA batteries, and is accurate to 1/8 ounce or 1 gram. A great feature is the pull-out, light up display that allows you to use the scale with larger bowls. The scale has four buttons: a lb/kg toggle, light switch, zero button, and power. The top stainless steel platform can also be removed for cleaning. This scale can accommodate up to 11 pounds or almost 5 kilograms at a time. It’s an incredible amount of features in a scale that typically costs about $50.


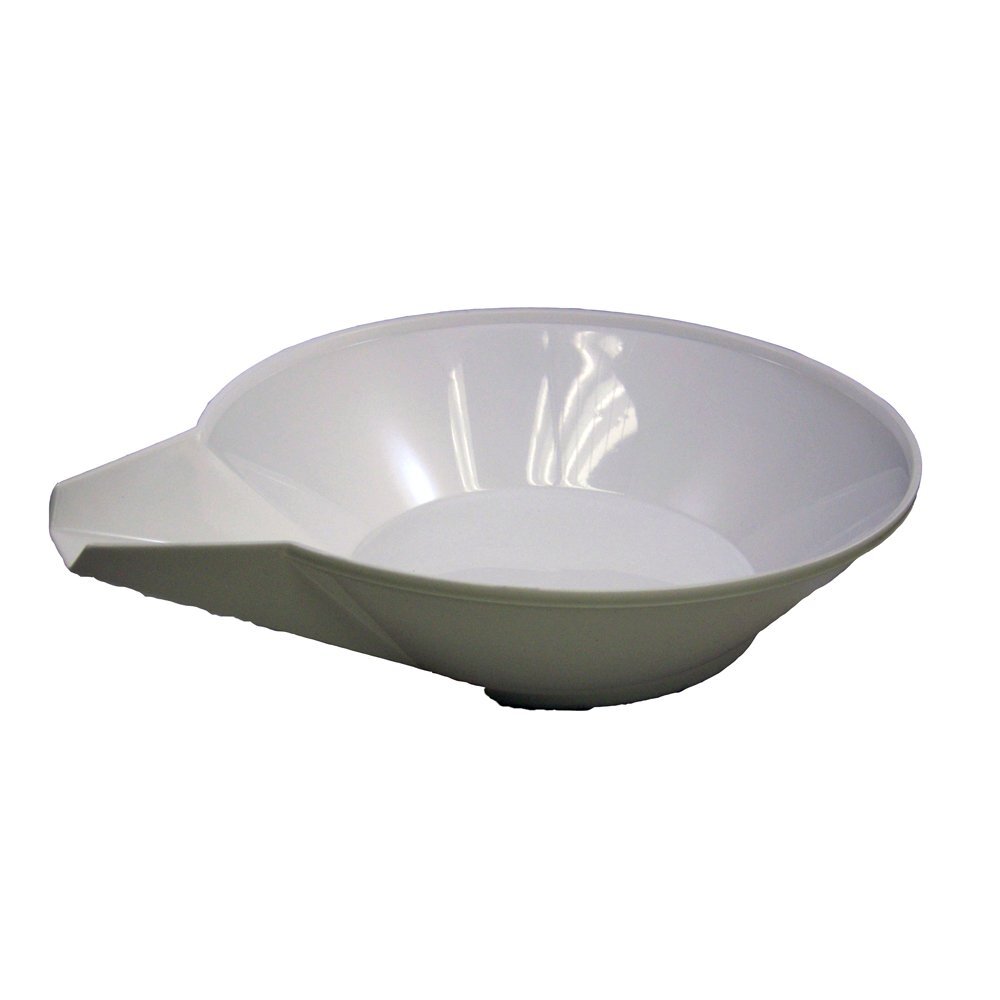
Ohaus Maxi-Scoop Bowl

The Ohaus Maxi-Scoop bowl.

The Ohaus Maxi-Scoop bowl.

The Ohaus Maxi-Scoop is my favorite bowl to use when weighing dry ingredients. Made of polypropylene, it is 10 inches wide, has a pouring spout, and is durable and easy to clean. It holds a lot of material, typically up to about 2500 grams, and the open, wider design makes it easier to use in my opinion. Of course, you can use any sort of bowl to measure dry ingredients, but this one just seems to be ideal for scales and it’s the one I reach for first when I’m mixing glaze.


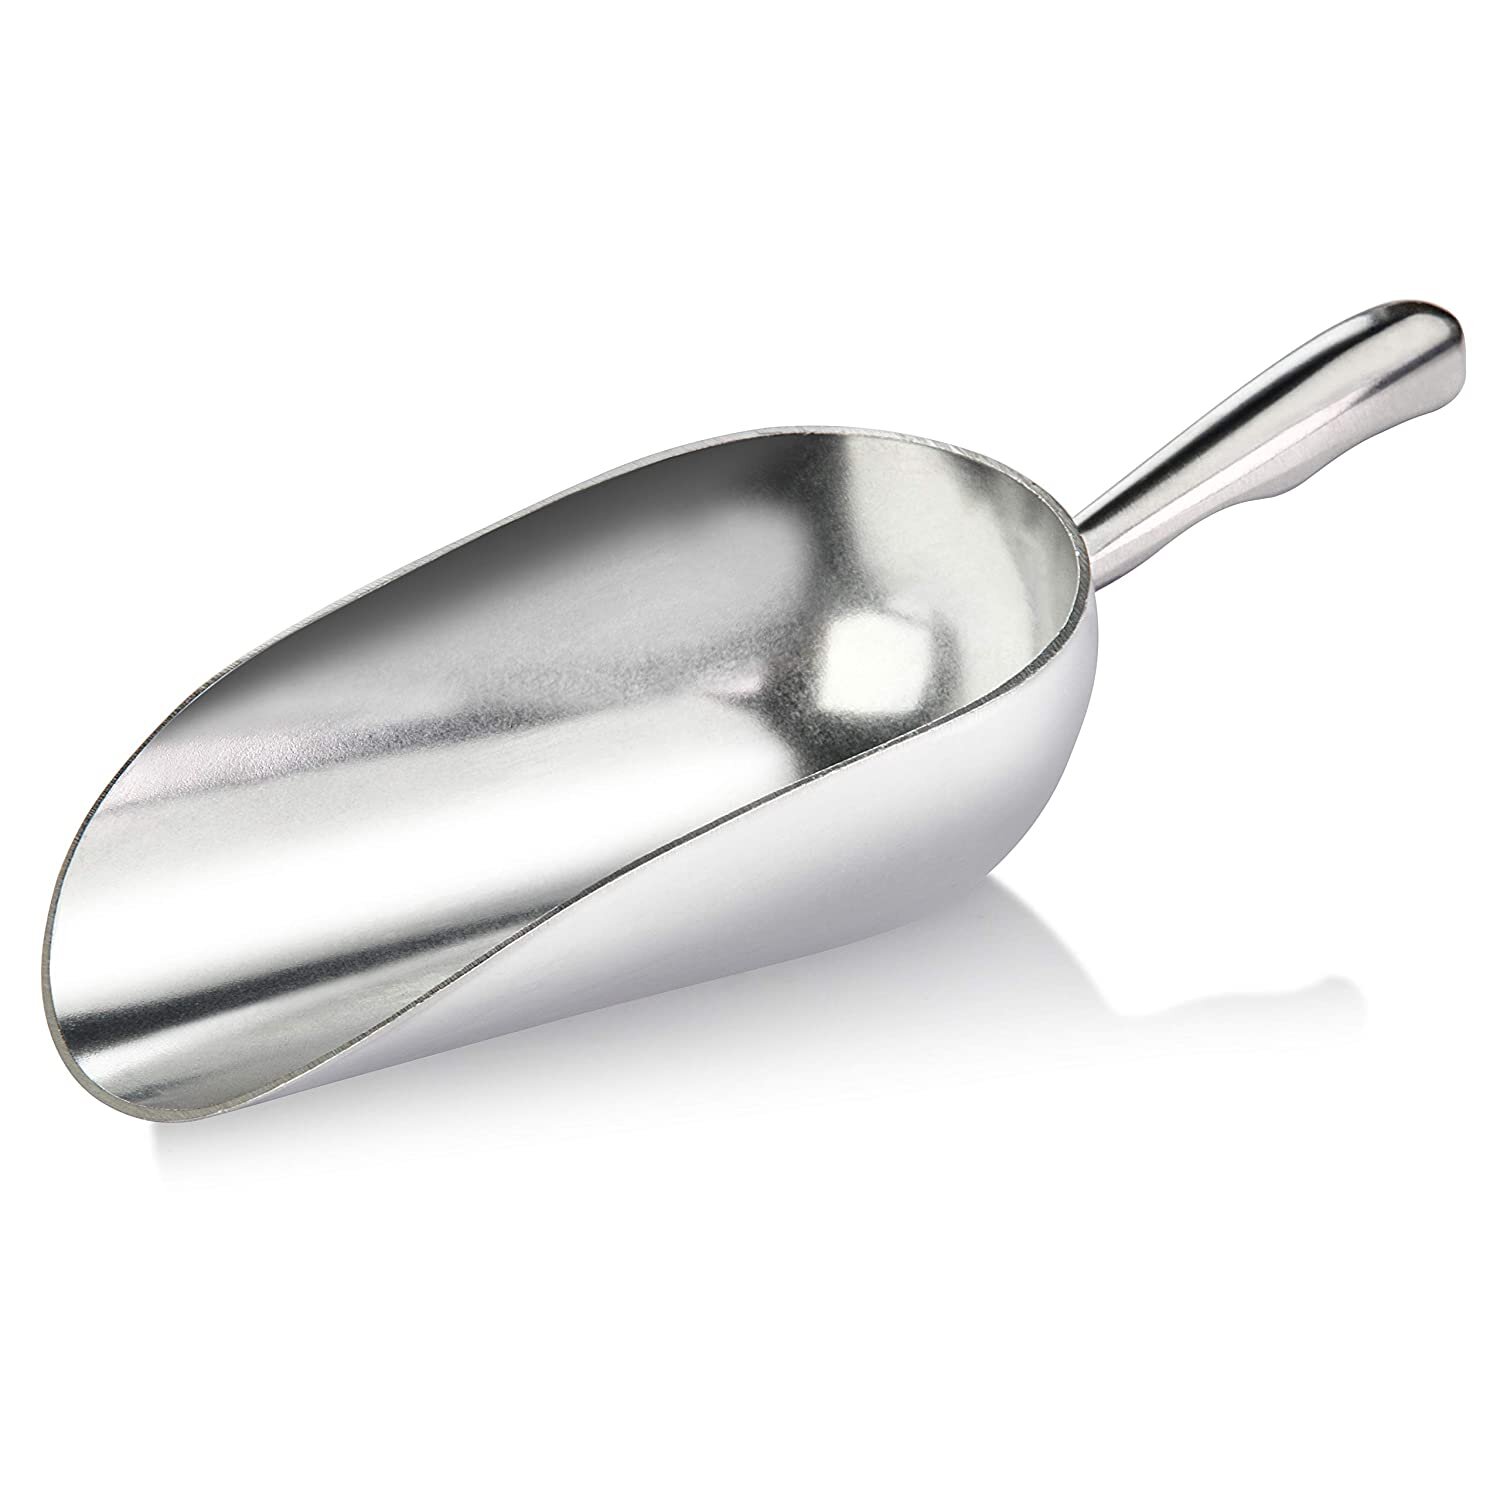
Metal Scoops

metalscoop.jpg

A quality metal scoop makes working with dry materials so much easier. In a pinch, I’ve repurposed small yogurt containers as scoops, but a durable, long-lasting metal scoop is better. For large storage bins or bags, you might get a scoop for each material. Or if you have a collection of 2 to 4 different sizes, you can get through most glaze batches without contaminating between materials, and then wash the scoops after glazing. For really strong ingredients such as red iron oxide, I leave small scoops in each bin so I don’t have to clean the scoops each time I use them.


Wrap-Up

This post has listed my favorite tools and accessories for use when mixing glaze, including drills, immersion blenders, sieves and strainers, dust protection, mixer blades, and scales. It may seem like a lot of stuff, but each tool has it’s role to play in the glaze-mixing process. If you are new to mixing glaze, start with the basics such as a scale, dust-protection and maybe just a wooden spoon, and go from there. You can always add tools as needed.

What are your favorite tools to use when mixing glaze? Let us know in the comments.


The Best Scales for Ceramic Studios and Workshops

Updated and revised, June 14, 2021

The OXO 11 Pound Food Scale is the top pick for a studio scale. It is accurate, affordable, durable, and has a pull-out, light-up display. It’s shown here with the Ohaus Maxi-Scoop bowl and a metal scoop.

The OXO 11 Pound Food Scale is the top pick for a studio scale. It is accurate, affordable, durable, and has a pull-out, light-up display. It’s shown here with the Ohaus Maxi-Scoop bowl and a metal scoop.

A scale for a studio or workshop is a heavily-used tool that needs to be accurate, easy to use, and durable. These days, you can get a great scale without spending a lot of money. This post will cover affordable but durable scales that get the job done and hold up under the heavy use of an academic or community ceramic studio.

TOP PICK: OXO 11 Pound Food Scale

The OXO 11 Pound Scale, going strong after years of studio use.

The OXO 11 Pound Scale, going strong after years of studio use.

The OXO Good Grips 11 Pound Scale is the top pick for a scale in a ceramics or art studio. With accuracy to 1 gram, this scale has a large enough capacity for most glaze or plaster-mixing needs. It’s made for home kitchen use but is super tough and has thoughtful design features such as a pull-out, light-up display. It runs on 4 AAA batteries, and is accurate to 1/8 ounce or 1 gram. It is simply incredible that a scale under $50 is this accurate. For similar or more accurate scales (options like this reviewed below) you’ll easily pay $100 or more.

The pull-out, light-up display on the OXO 11 Pound Scale.

The pull-out, light-up display on the OXO 11 lb capacity scale (Shop at Amazon)

The scale has four buttons: lb/kg toggle, light switch, zero, and power. It’s simple and intuitive, and the pull-out display helps if you are using wide bowls. The top stainless steel platform can also be removed for cleaning.

This scale can accommodate up to 11 pounds or almost 5 kilograms at a time. The display will help you know when you’re reaching capacity by displaying more bars on the right-hand side. When mixing glaze, the 5,000 gram capacity is definitely enough. But if you work with larger amounts of material, a higher-capacity scale is reviewed below.

Prior to working with the OXO 11 Pound Scale, I only wanted to use more professional scales with 0.1 gram accuracy. But this is an affordable, durable, well built, and most importantly, accurate scale. The 1 gram accuracy is exact enough for most purposes, and it will survive many years of use in any studio. I liked this scale so much that I bought the smaller OXO 5 Pound Food Scale for use at home.


Table of Contents

  • Top Pick: OXO Good Grips 11 Pound Scale

  • Budget Pick: Accuteck All-In-One Scale

  • Upgrade pick: MyWeigh iBalance 5500

  • Heavy Duty Pick: MyWeigh HD-300 Shipping Scale

  • Manual Scale Pick: LEM Stainless Steel Scale

  • Other Scale Options

  • Scale Accessories

  • Summary


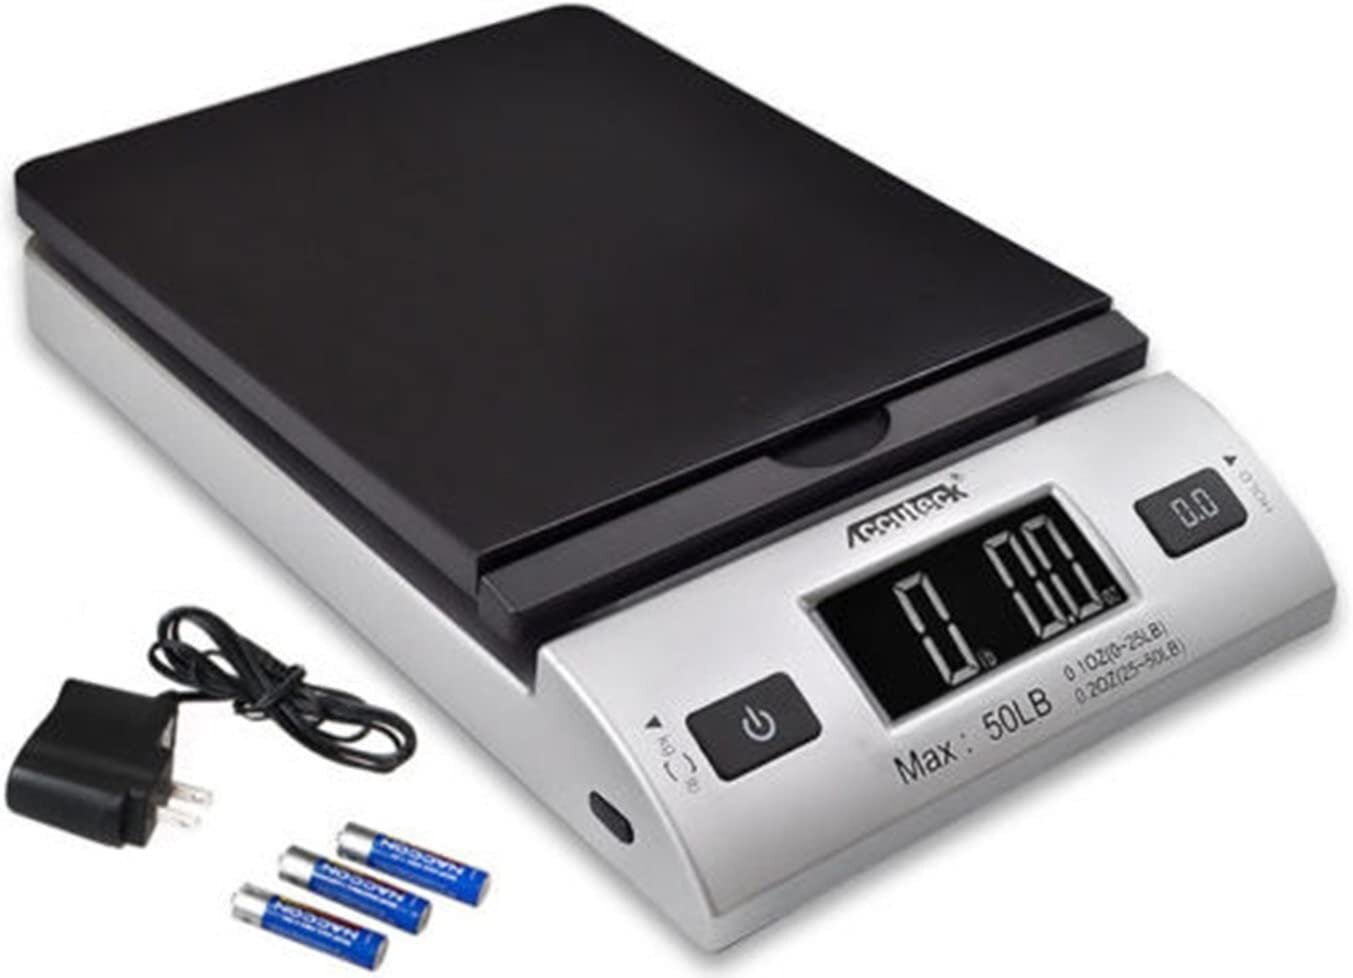
Budget Pick: Accuteck All-in-One Digital Scale

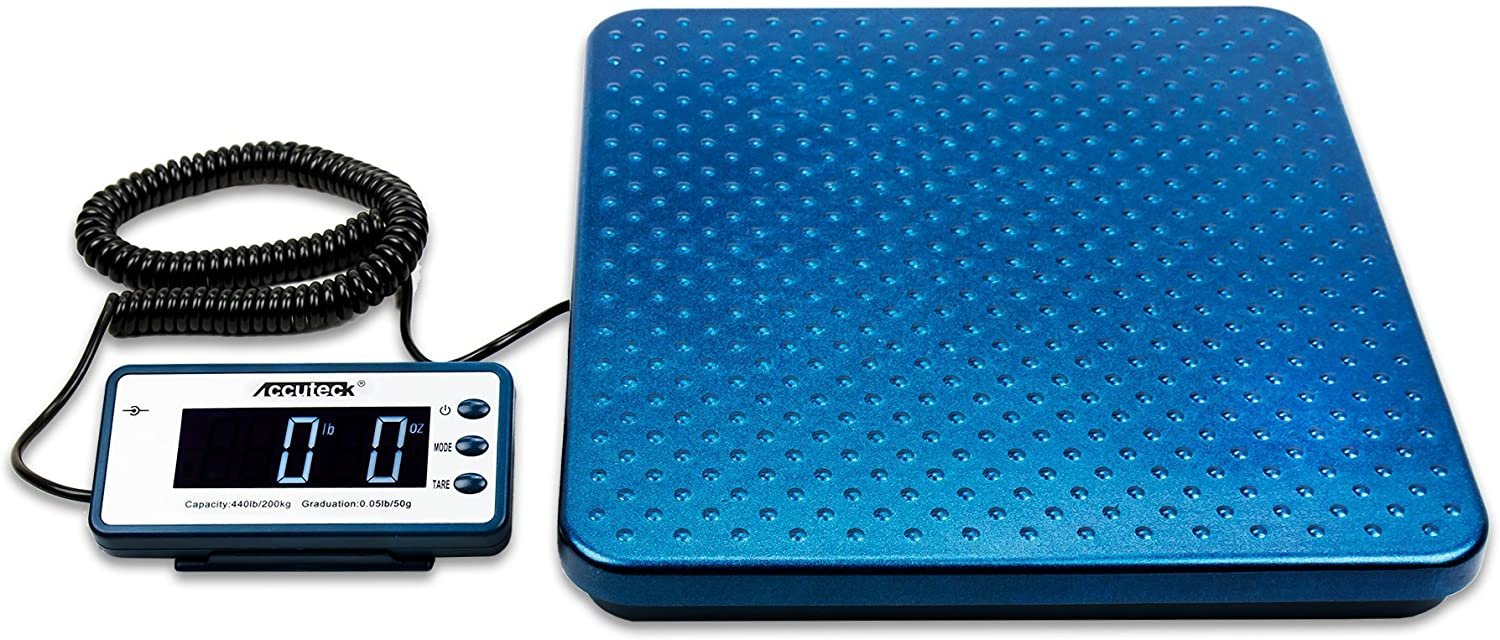
The Accuteck All-In-One 50lb Digital Scale (Shop at Amazon) is a great budget option. It can weigh up to 50lbs of material, is well-built, and is very affordable—usually priced under $20. I have been using one in a busy community ceramics studio for 3 years and it has held up under heavy use.

This scale runs on 3 AAA batteries or an optional 5V plug-in adapter. It is accurate to 0.2 ounce, or about 2 grams. It is definitely not as accurate as our top pick, but if you need something for the occasional glaze batch, it will be ok. It is also great to keep on the wedging table for measuring pieces of clay.

When I originally purchased this, I didn’t expect it to be so well built and have been extremely happy with the purchase. In a world full of low-quality generics and knock offs, I would definitely recommend this scale if you are on a budget. The only drawback is that it is only accurate to about 2 grams. This scale wouldn’t be very accurate if you were measuring small quantities of glaze materials.


Upgrade Pick: MyWeigh iBalance 5500

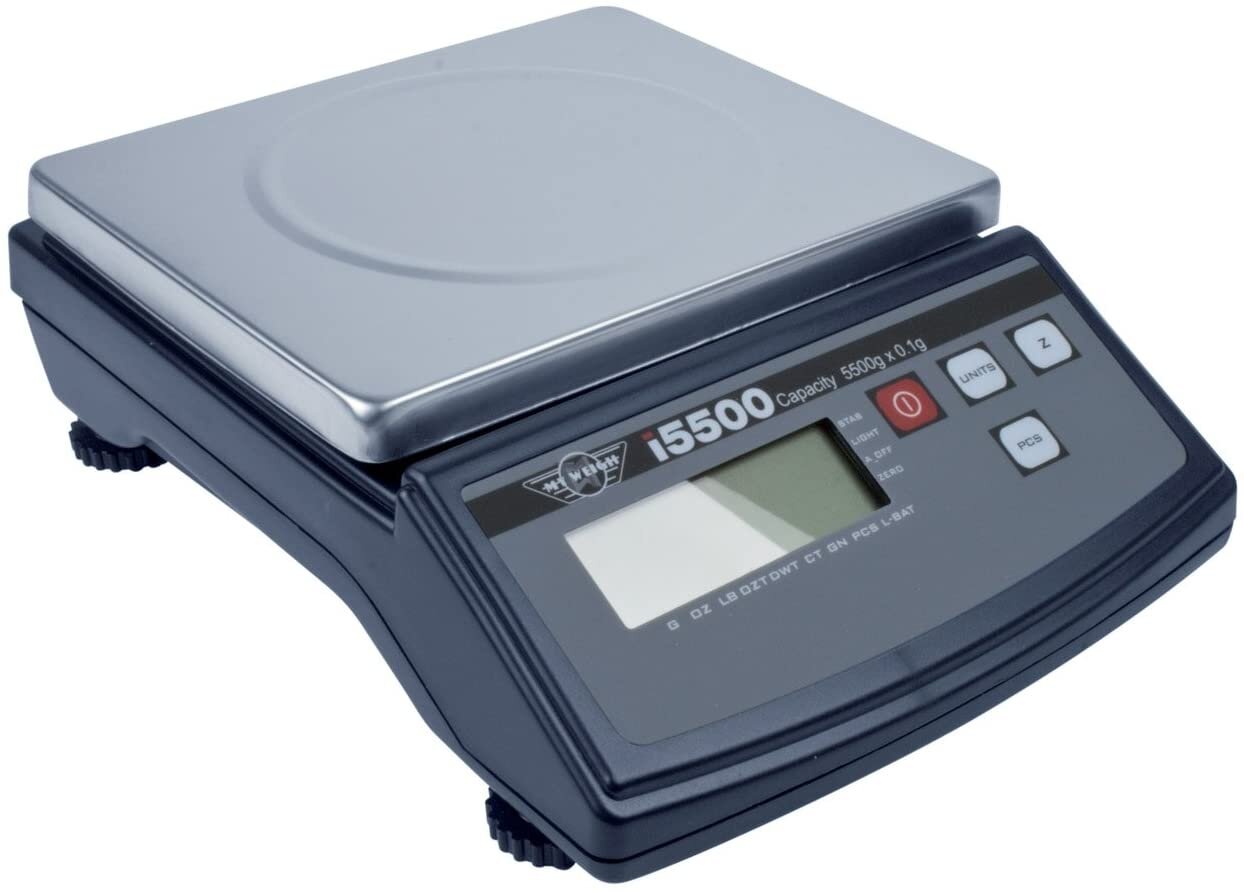
The MyWeigh iBalance 5500 scale is accurate to 0.1 grams and has a 5500 gram / 12 lb capacity.

The MyWeigh iBalance 5500 scale is accurate to 0.1 grams and has a 5500 gram / 12 lb capacity.

The MyWeigh iBalance 5500 (Shop at Amazon) is a great upgrade pick for a studio scale. It’s accurate to 0.1 grams while maintaining a large capacity of 5500 grams or about 12 pounds. It has a stainless steel top, optional AC power adapter, simple and intuitive buttons, and a 3 year warranty. The four feet can be independently leveled too.

It’s a workhorse for glaze mixing that allows you to do large batches, or fine tune a small amount of material to a high degree exactitude. You’ll pay more for this accuracy — around $150 at the time of this post — but if you need the range from a few grams to larger amounts, this scale will deliver. There are other models in the MyWeigh iBalance line too, ranging up to 11000 gram capacity.


Heavy Duty Pick: MyWeigh HD-300 Shipping Scale

MyWeigh 300 shipping scale.jpg

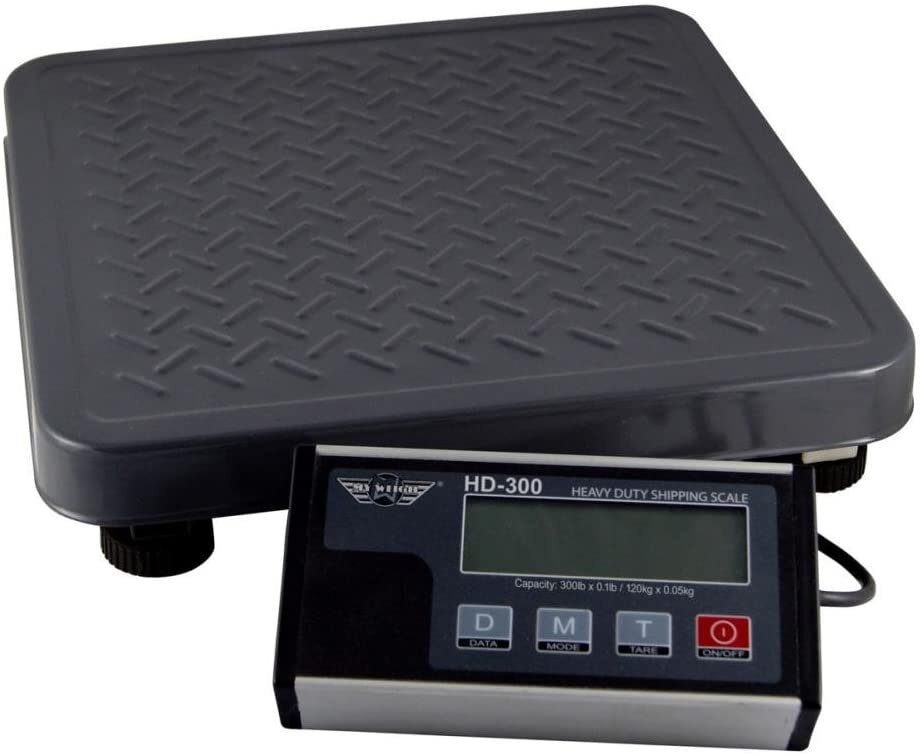
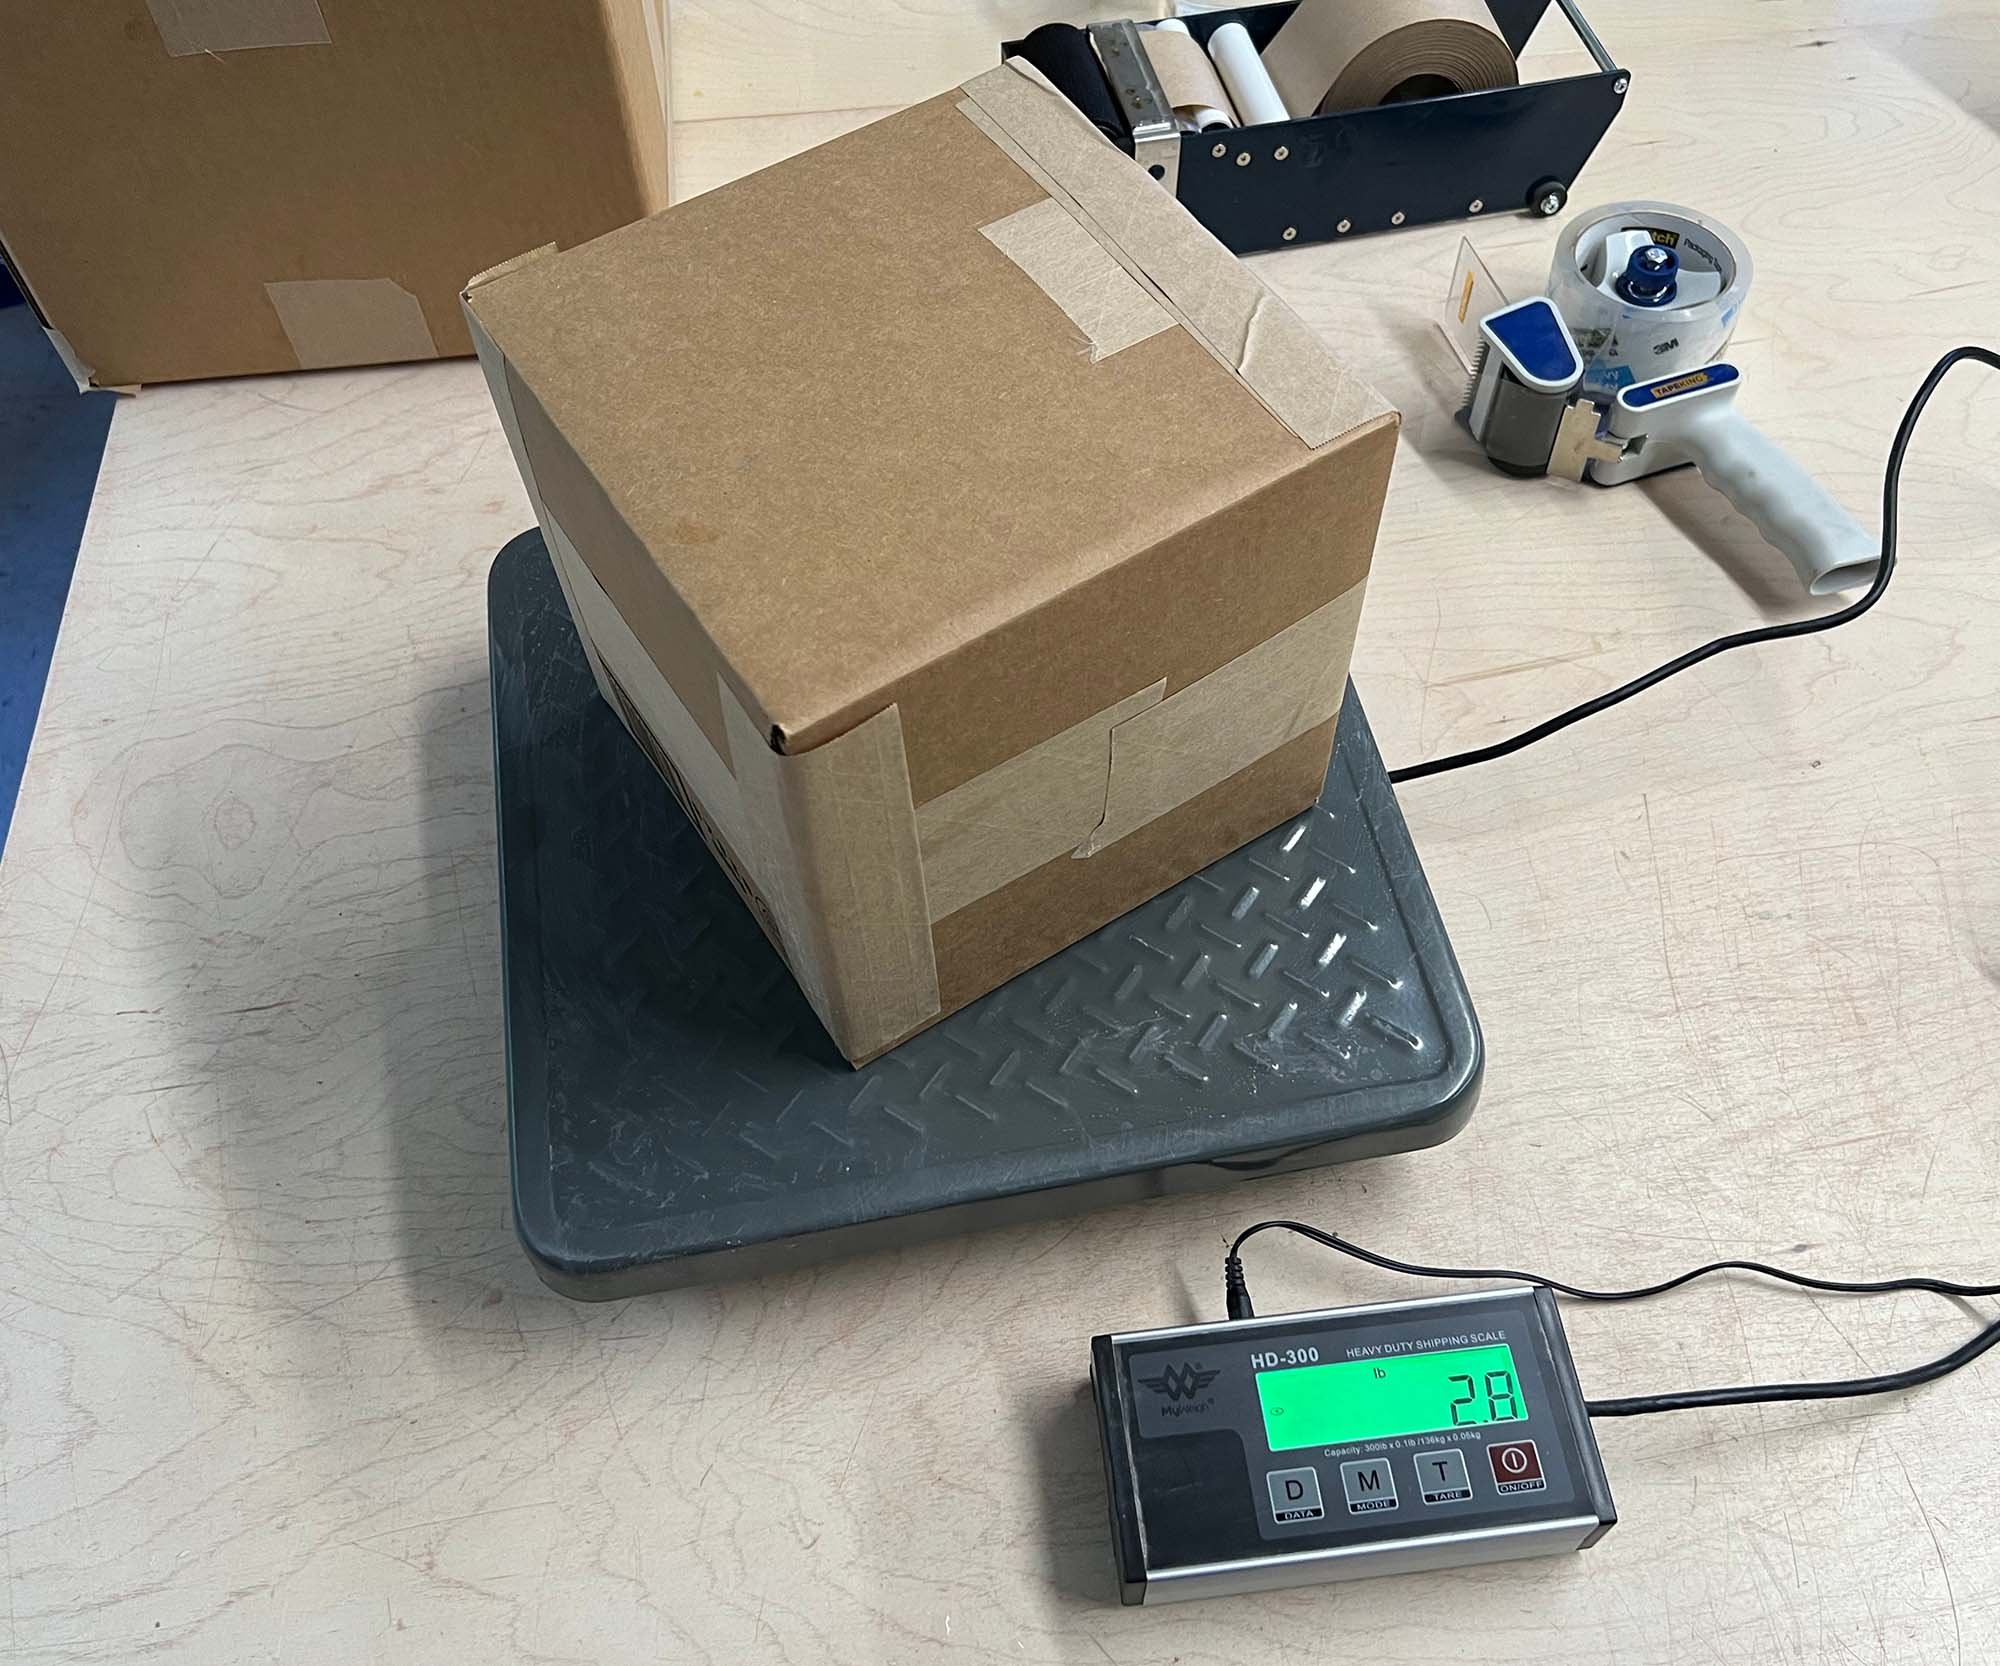
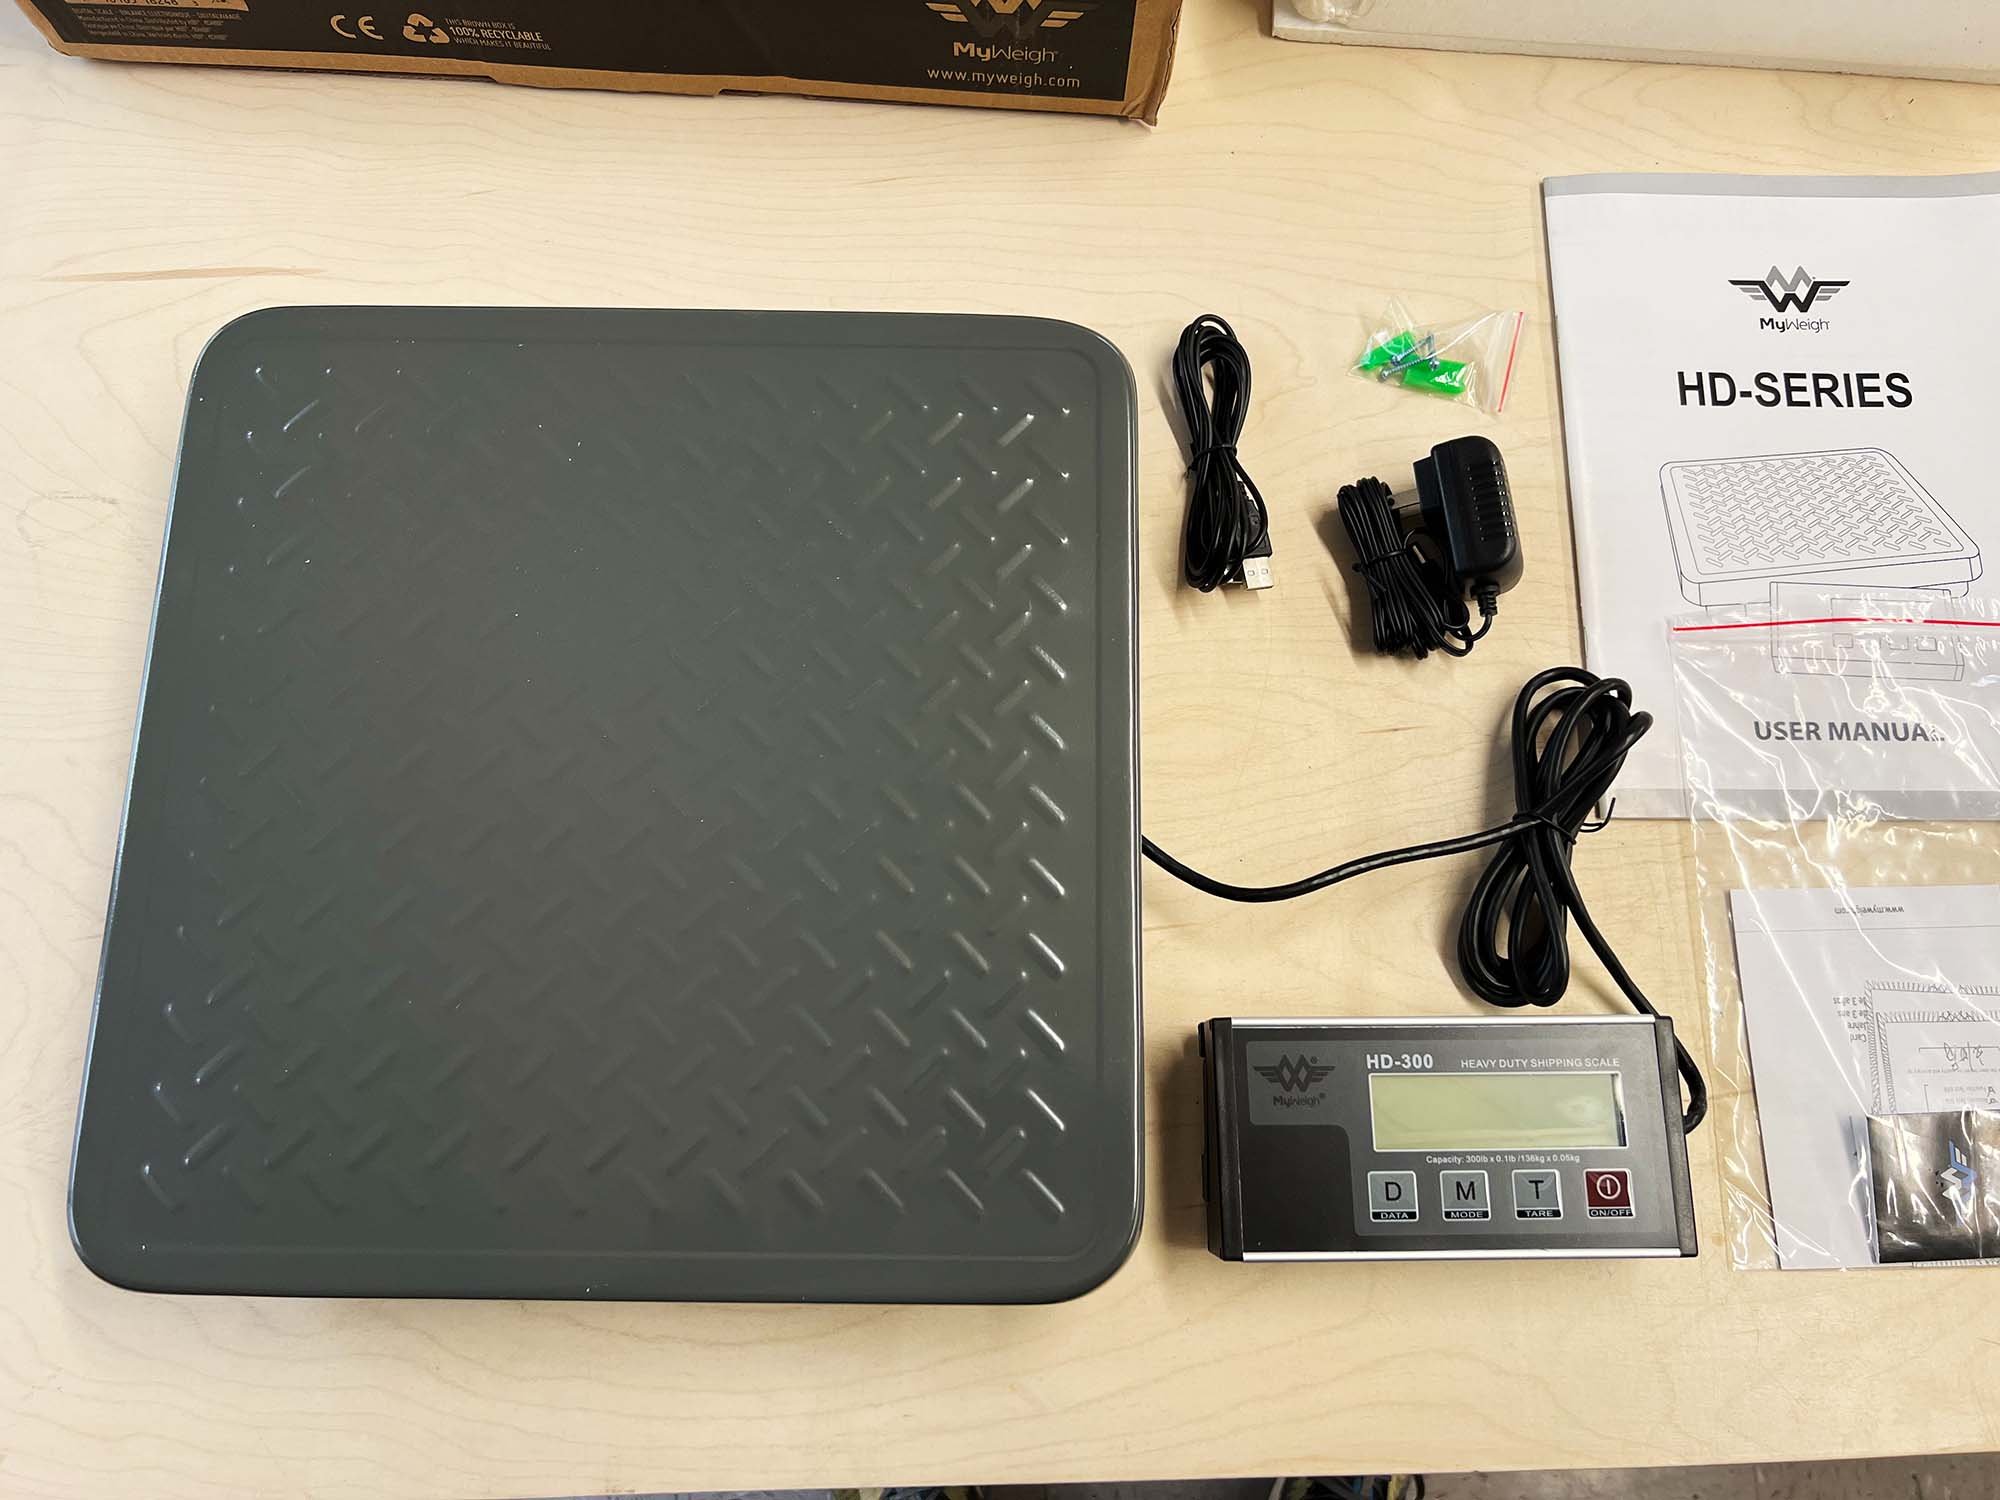
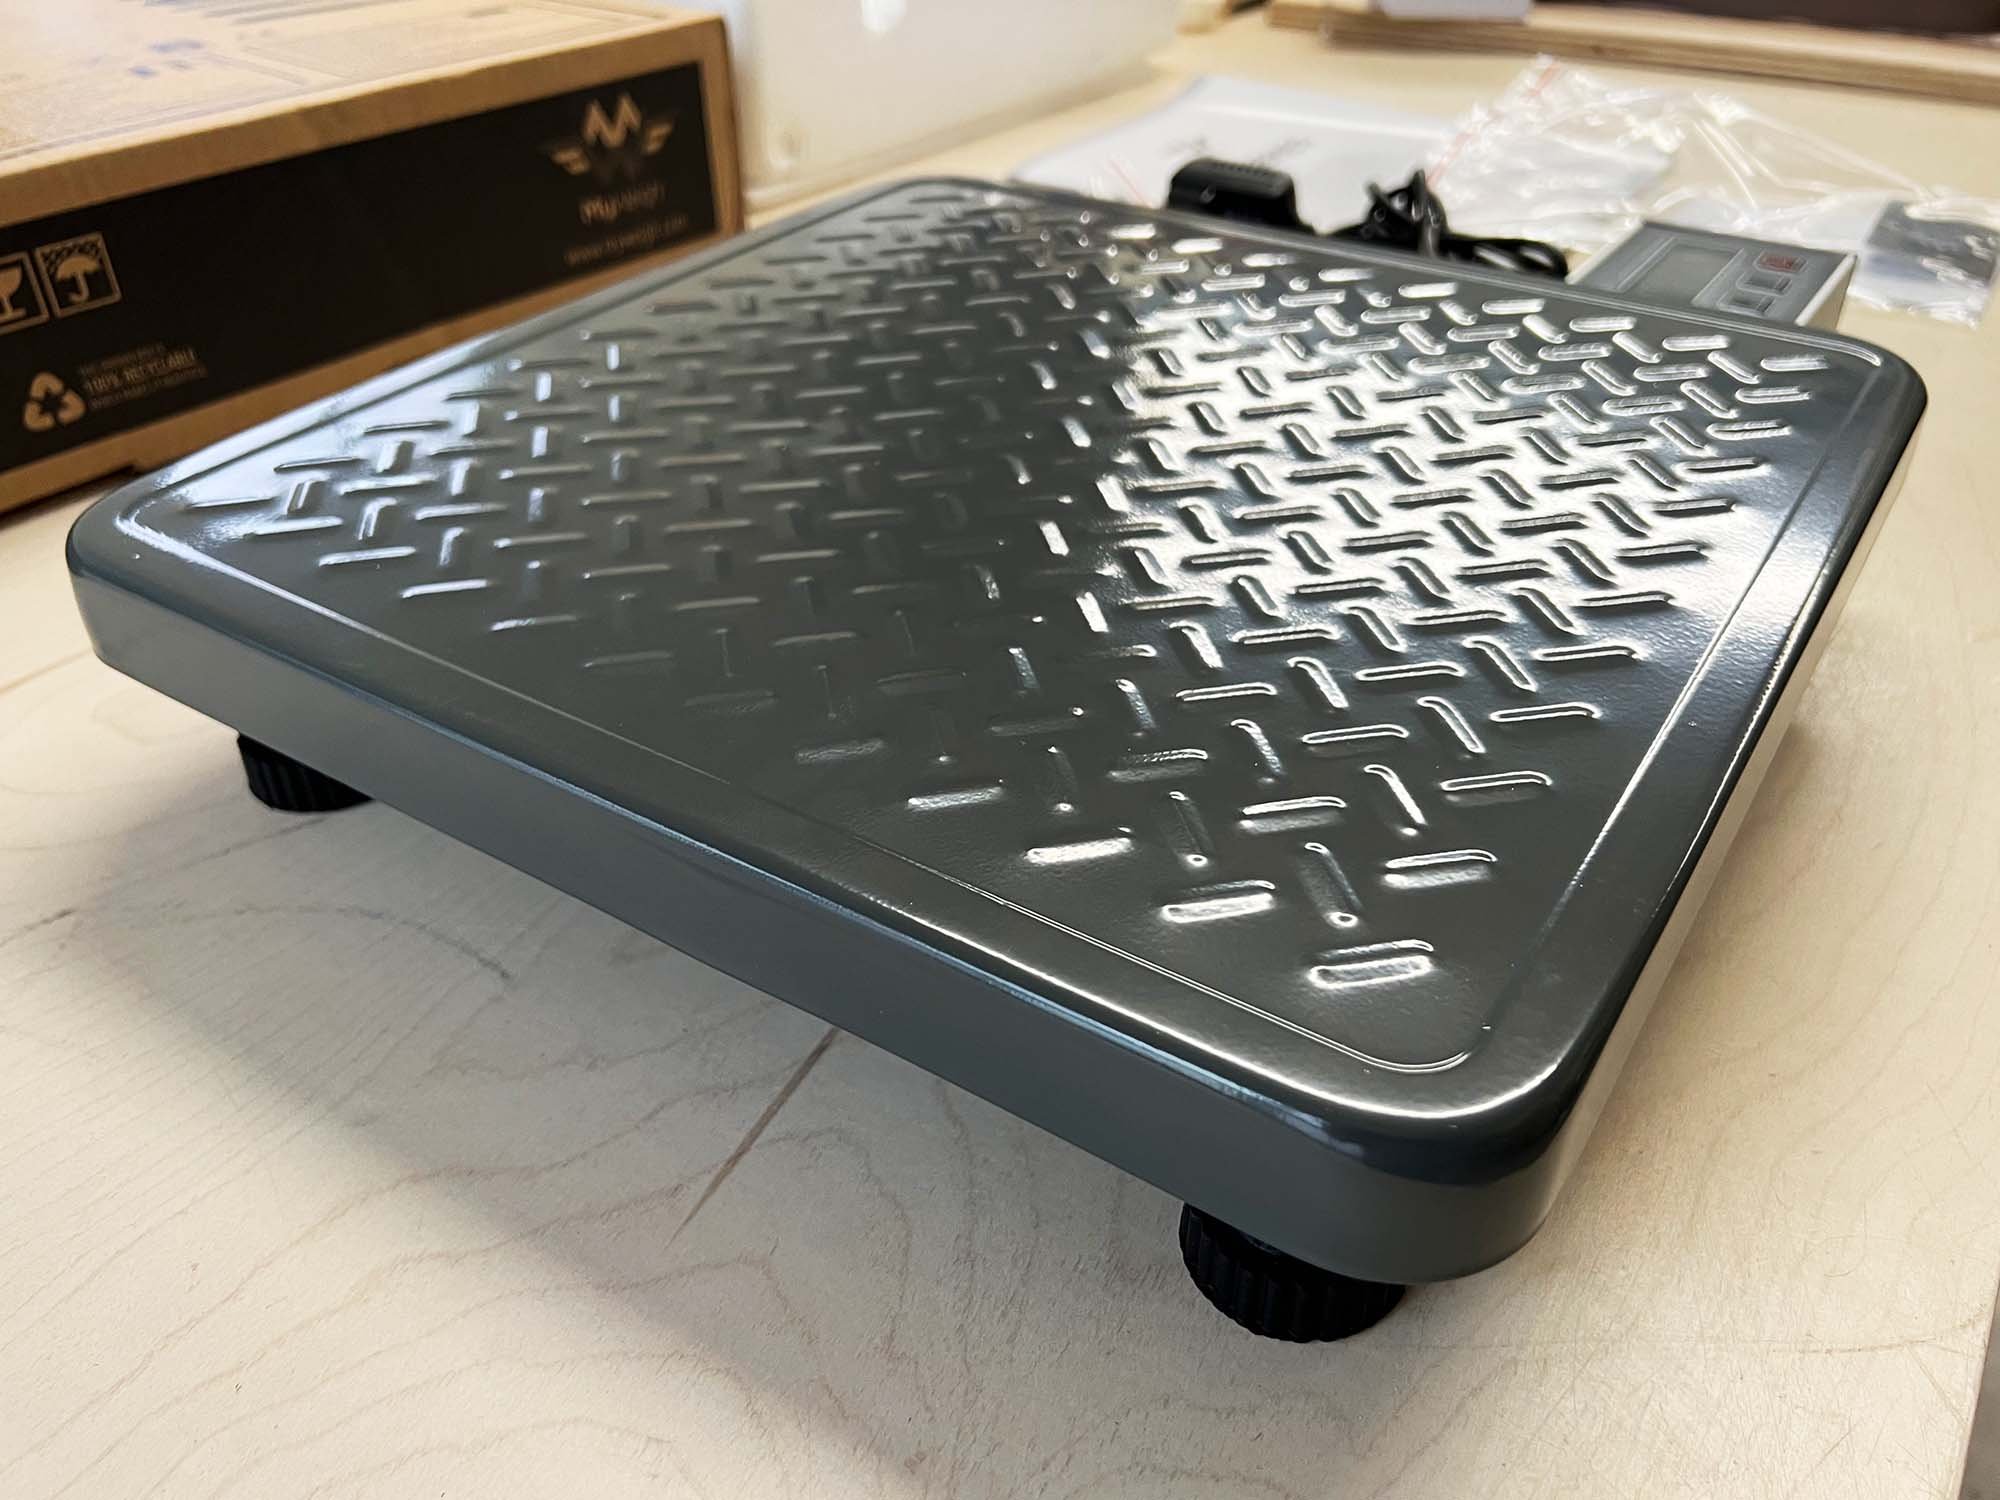
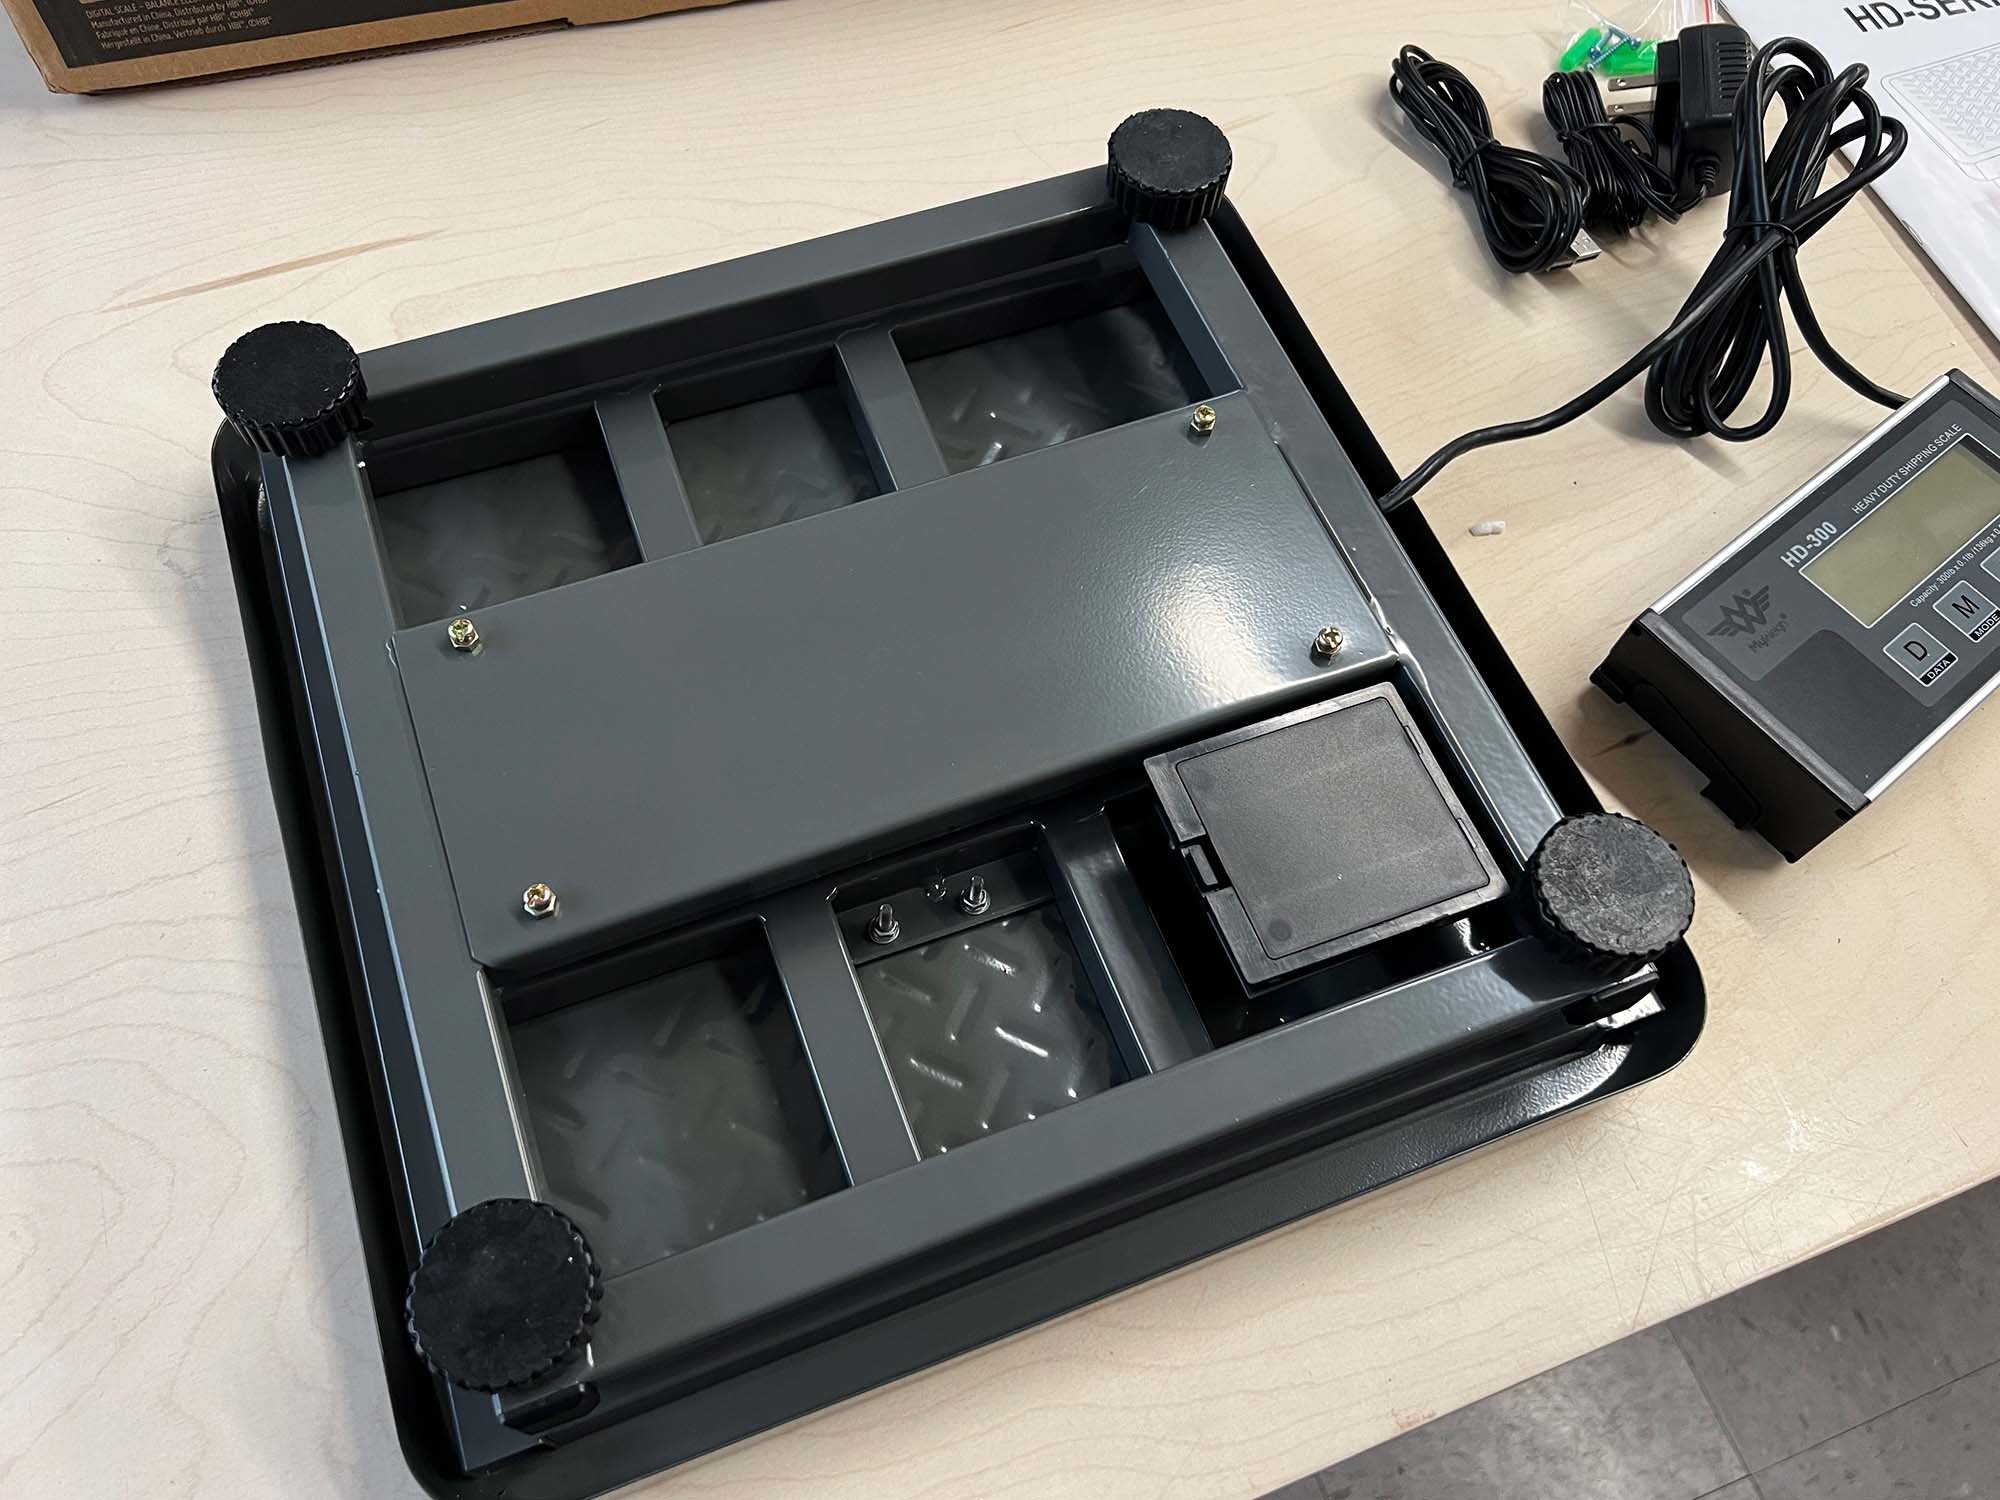
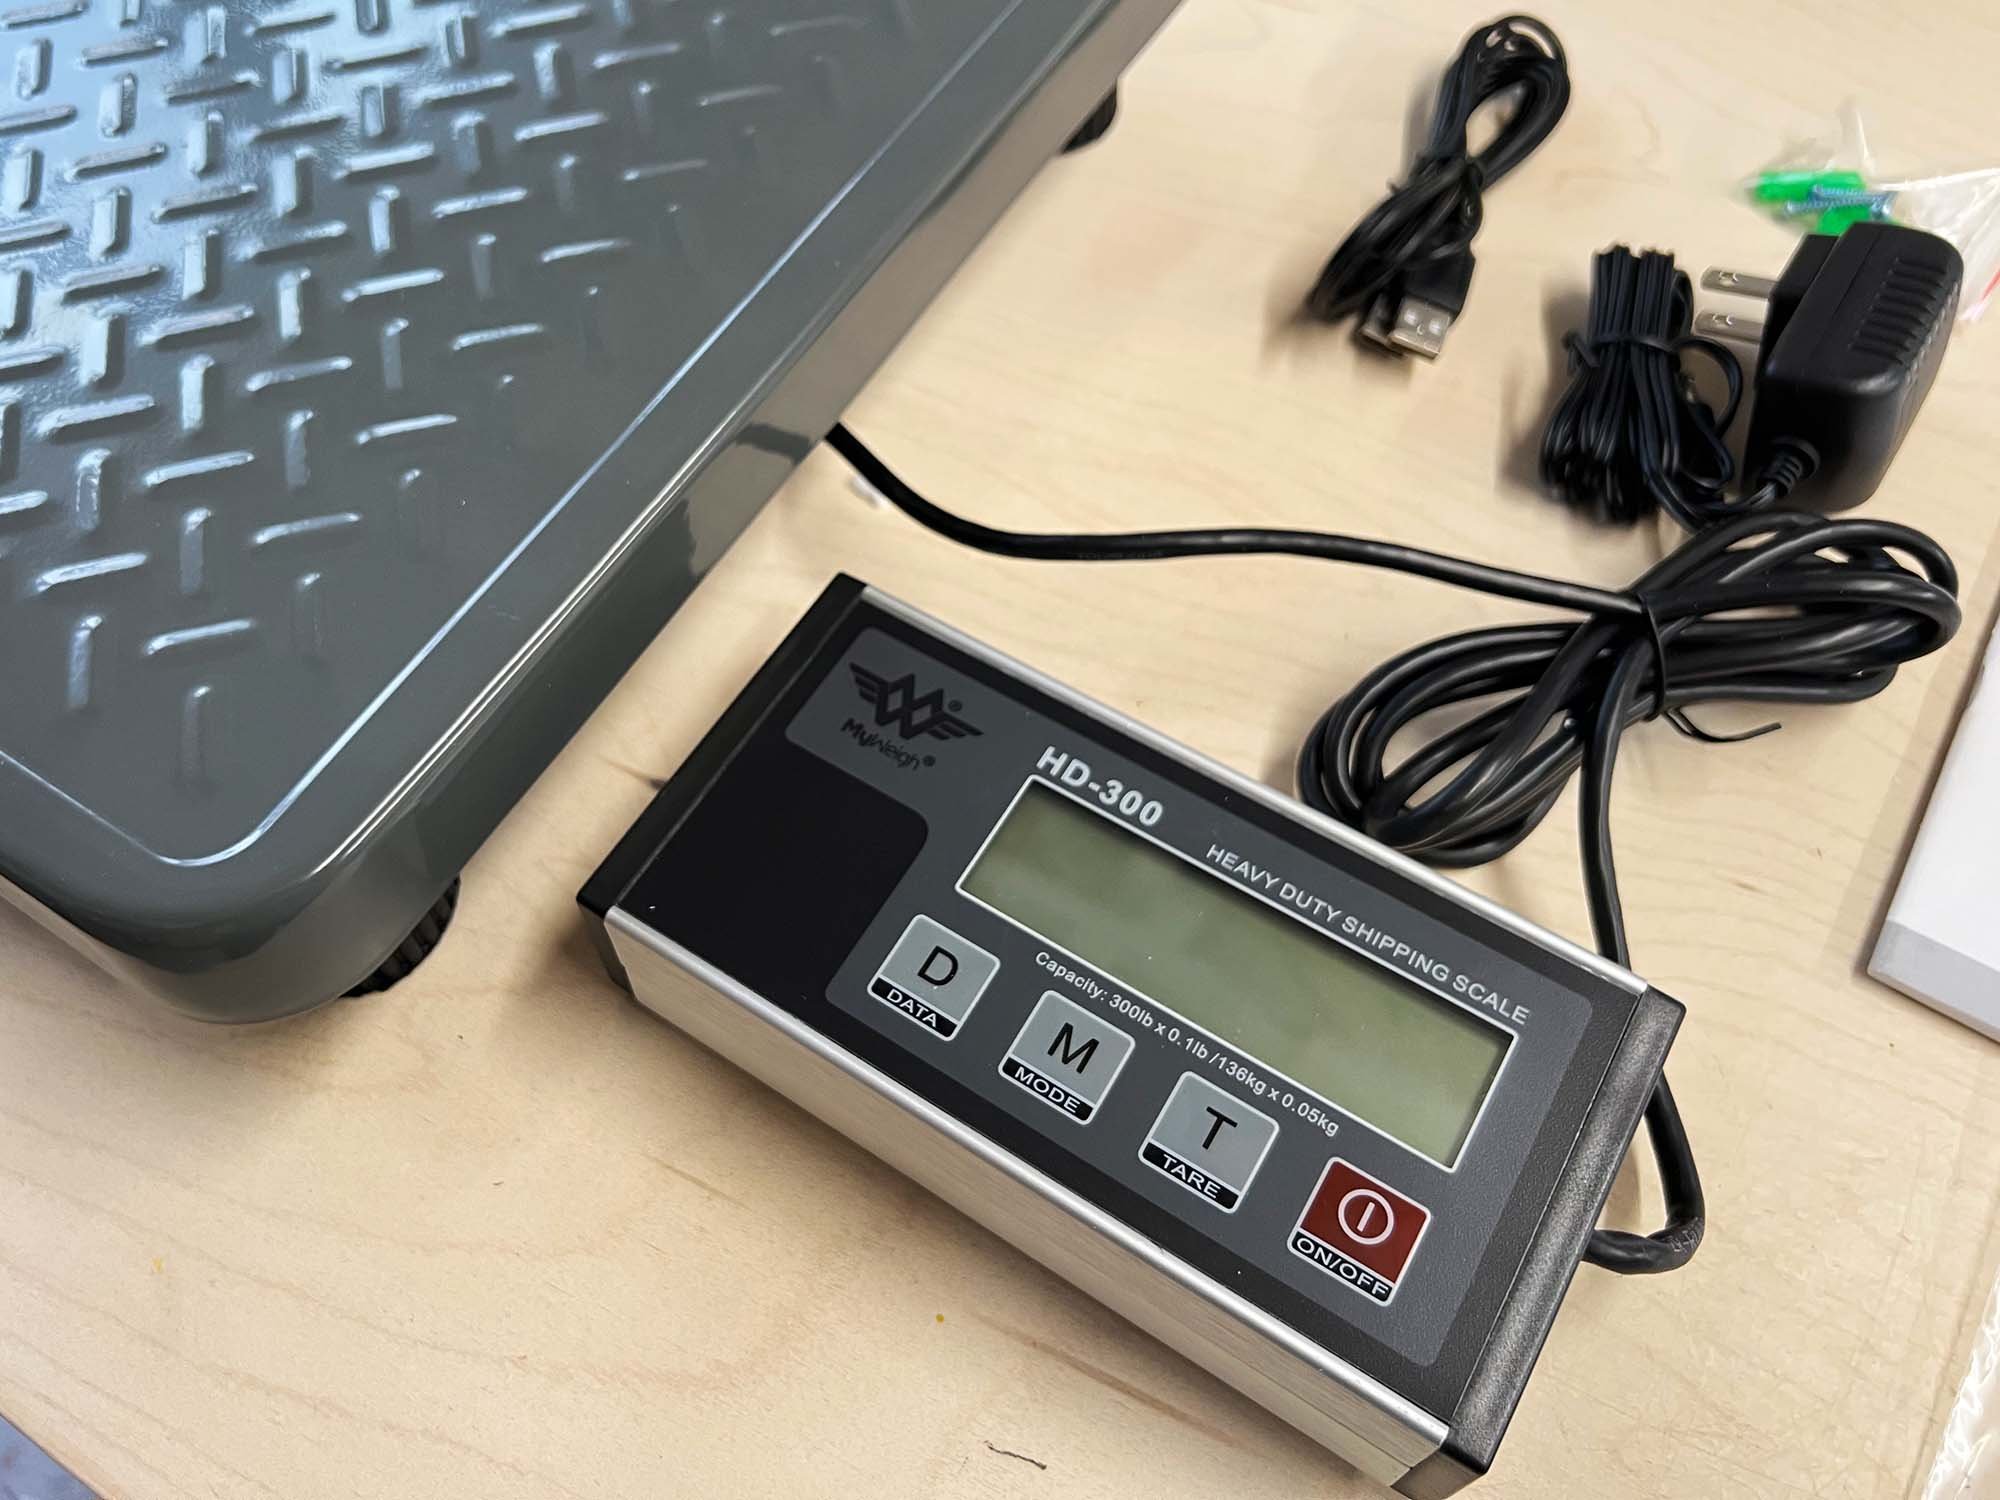
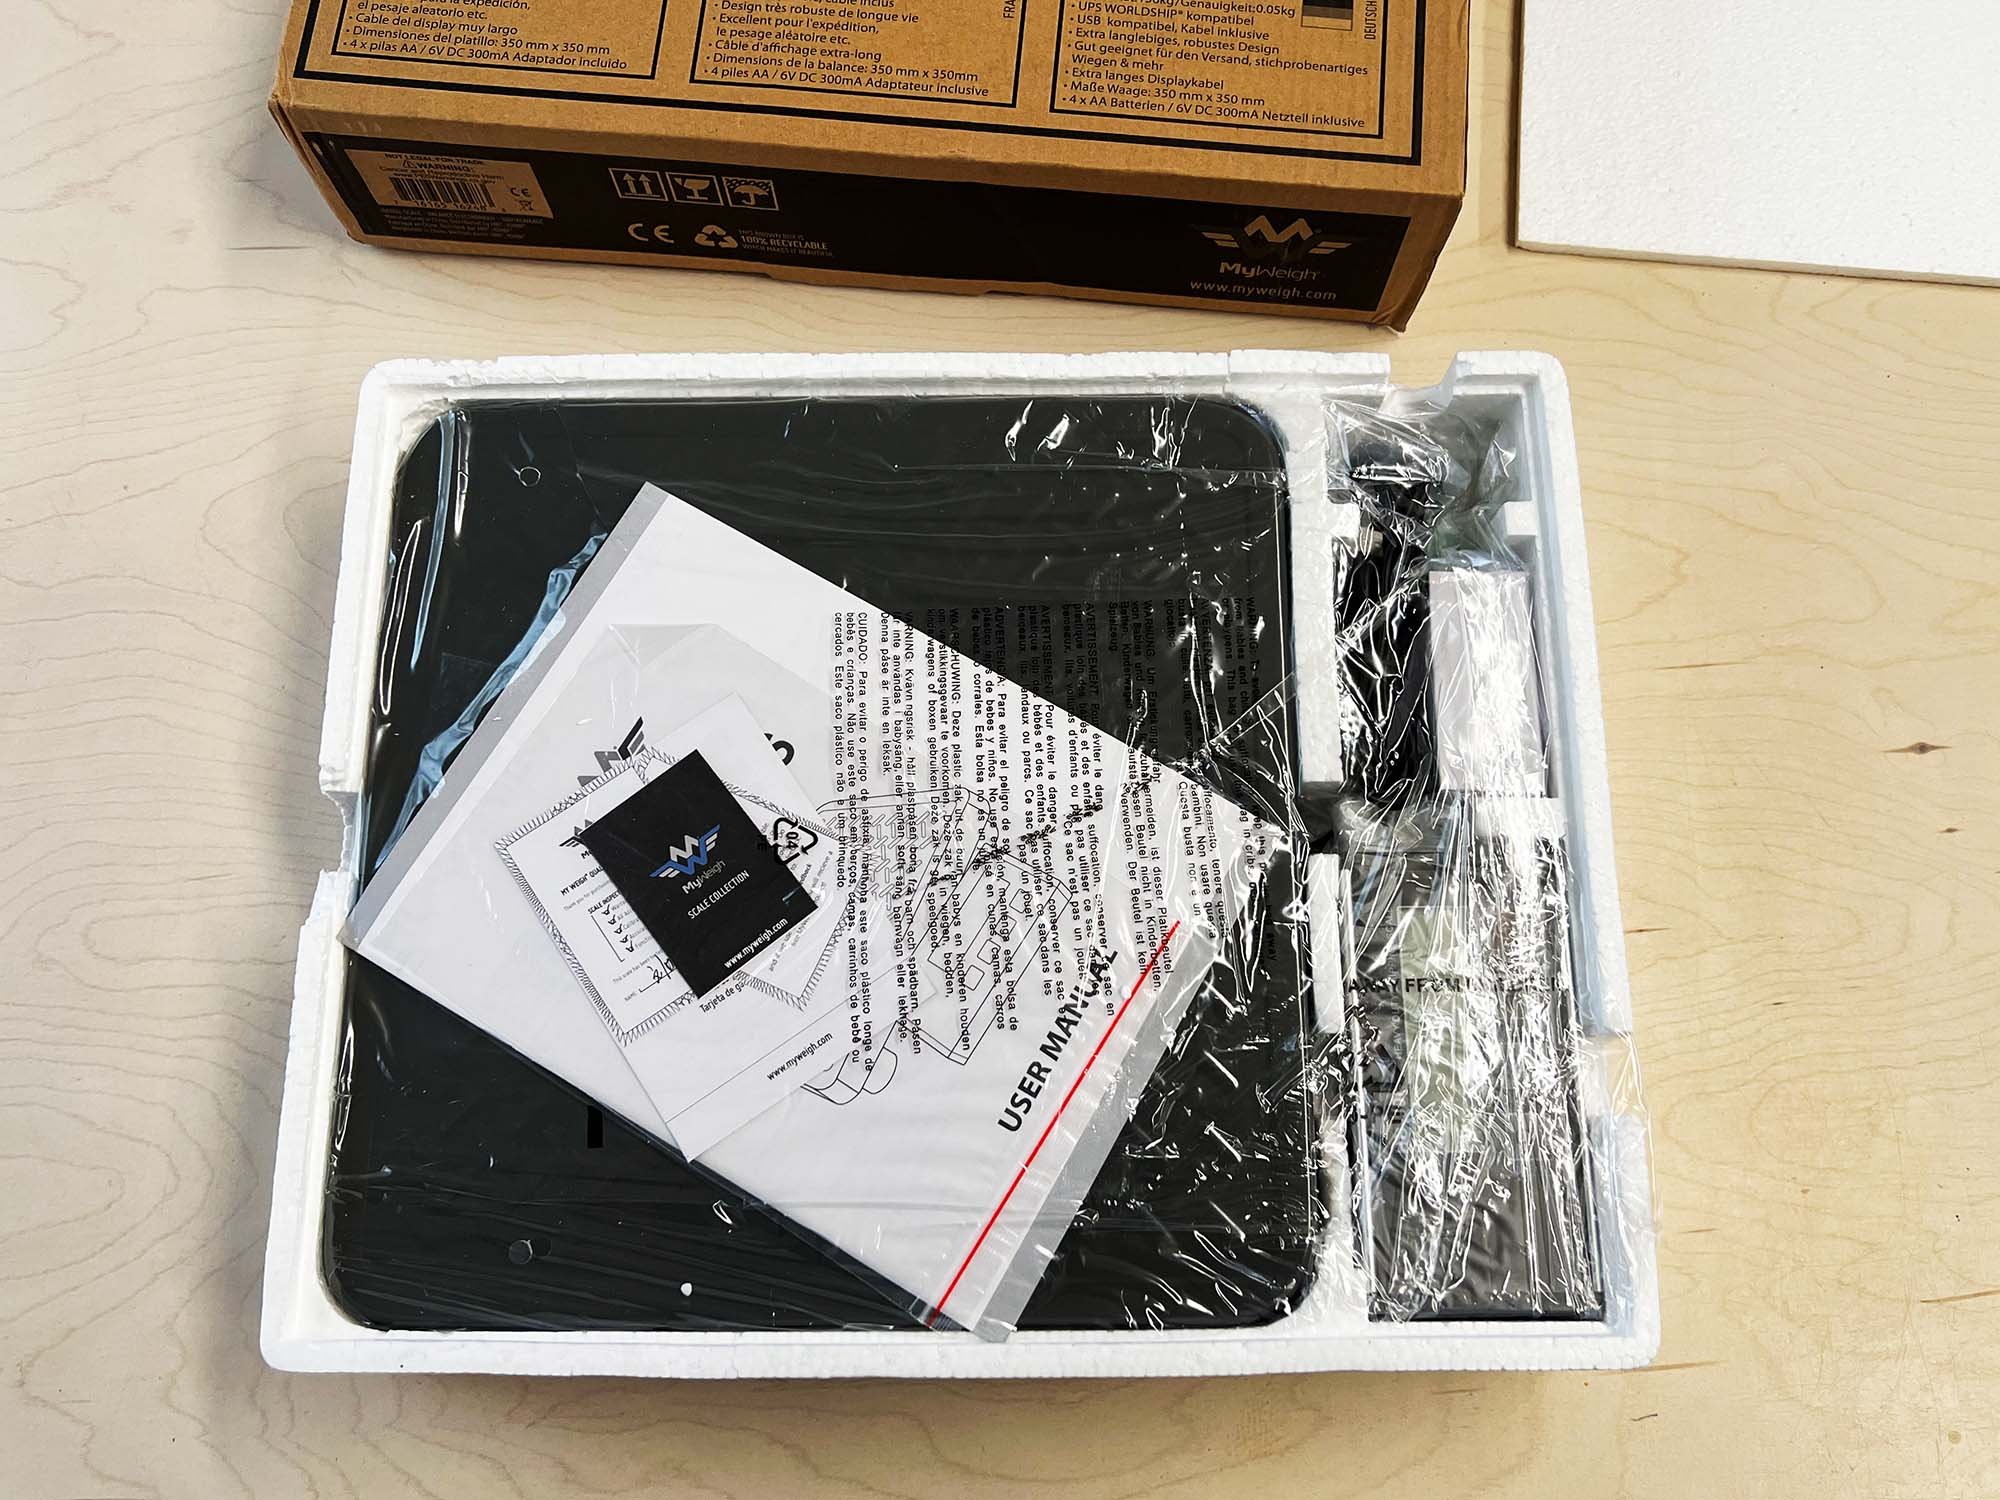
The MyWeigh HD-300 Heavy Duty Shipping Scale (shop at Amazon) is the top pick for a shipping scale, but it’s also accurate enough for large batches of plaster, concrete, or other studio materials. It can measure up to 300 pounds with an accuracy of 0.1 lbs or to within about 2 ounces. It has a steel top and a remote display on a six foot cord, so you can easily get the weight of even the largest package. It’s powered by 4 AA batteries or an optional AC power adapter. It also has a built-in USB port, if you want to set up communication with printers or other devices. Finally, it has adjustable feet and easy to clean surfaces. This is a great heavy duty scale that comes in around $130. There are plenty of cheaper shipping scales, but if you read online reviews closely, you’ll see that they fail or are inaccurate, while this scale is built too withstand the test of time.


Manual Scale Pick: LEM Stainless Steel Scale

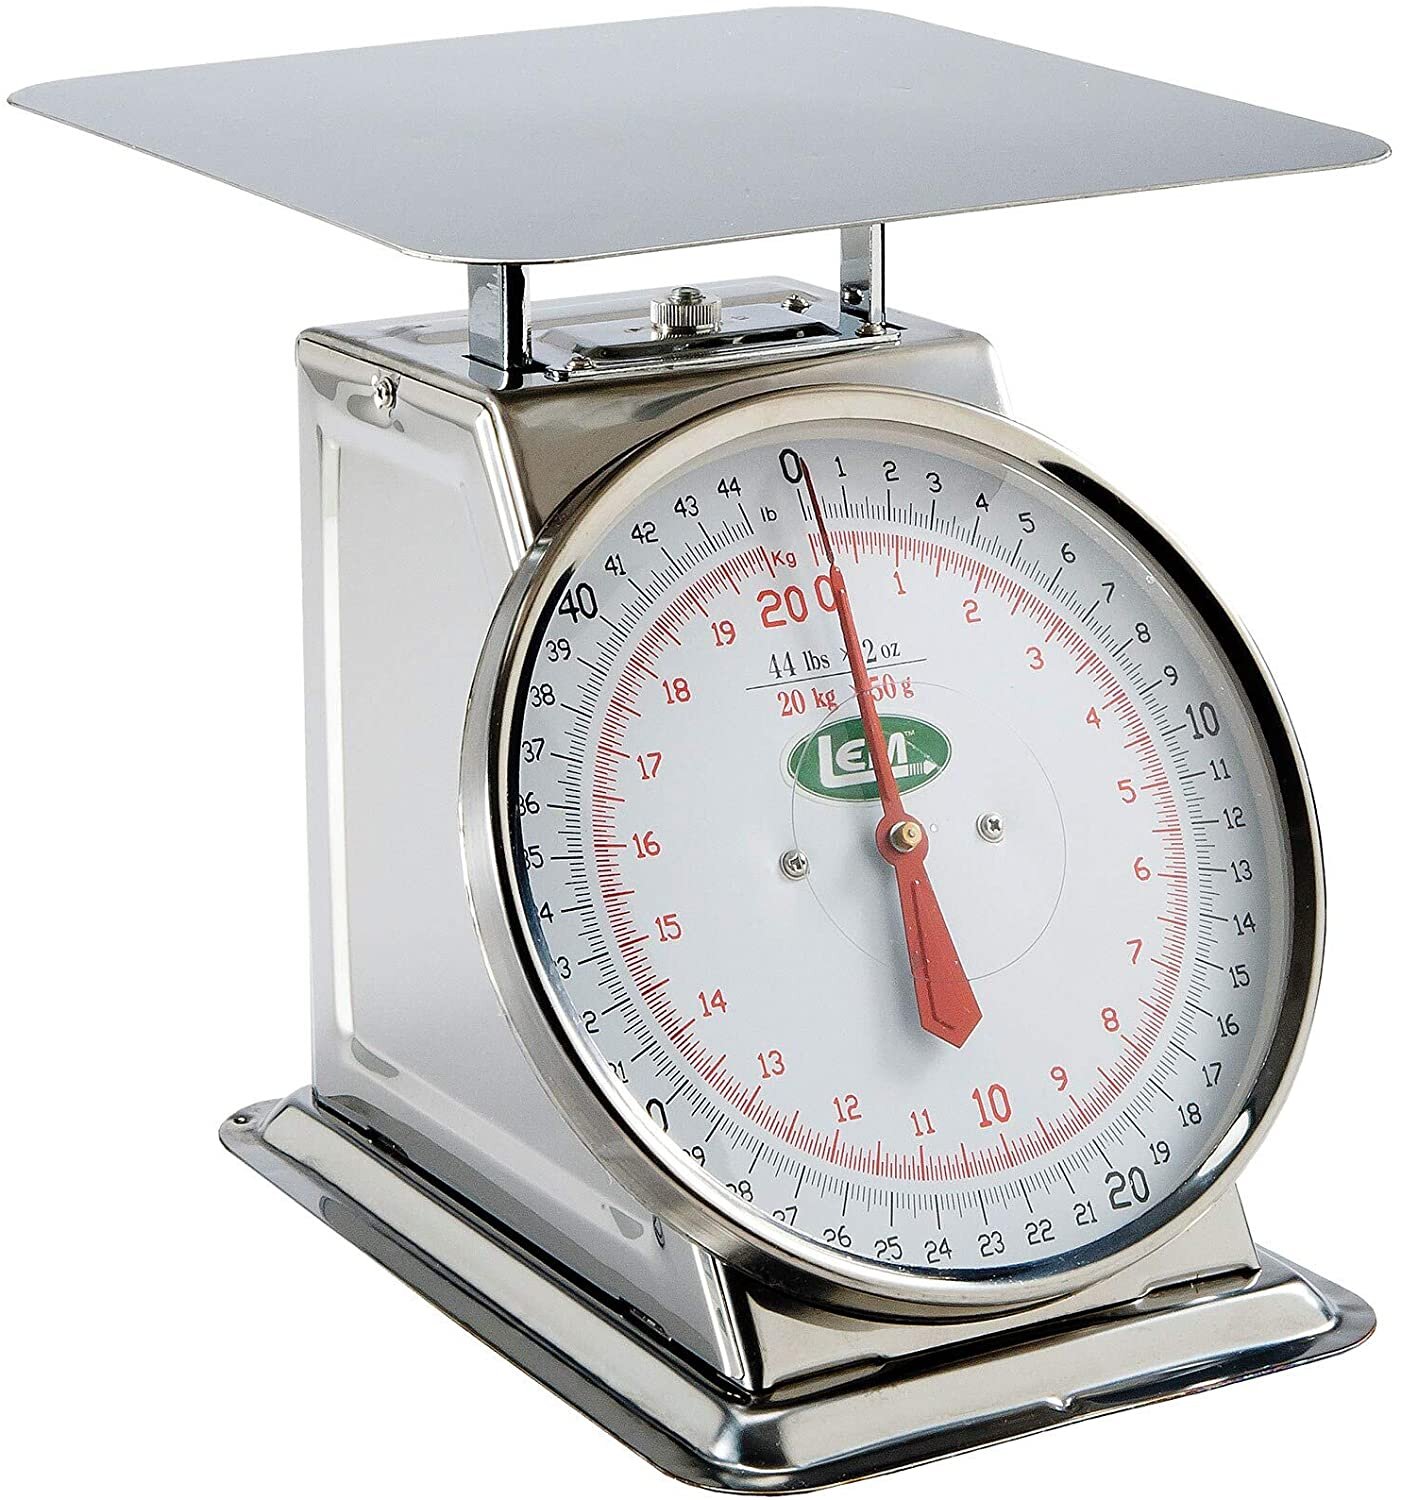
The LEM Stainless Steel Scale.

The LEM Stainless Steel Scale.

The LEM Stainless Steel Scale is a great option for weighing wet clay, plaster, or as a shipping scale. It has a 10” x 8” steel platform, and can weigh up to 44 lbs / 20 kg with an accuracy of 2 ounces or around 50 grams. It’s not accurate enough for mixing glazes, but for just about everything else, this is a great option that is affordable, durable and doesn’t need any batteries or plugs. Sometimes it’s good to keep it simple and for $30, you can’t go wrong with this scale.


Other Scale Options

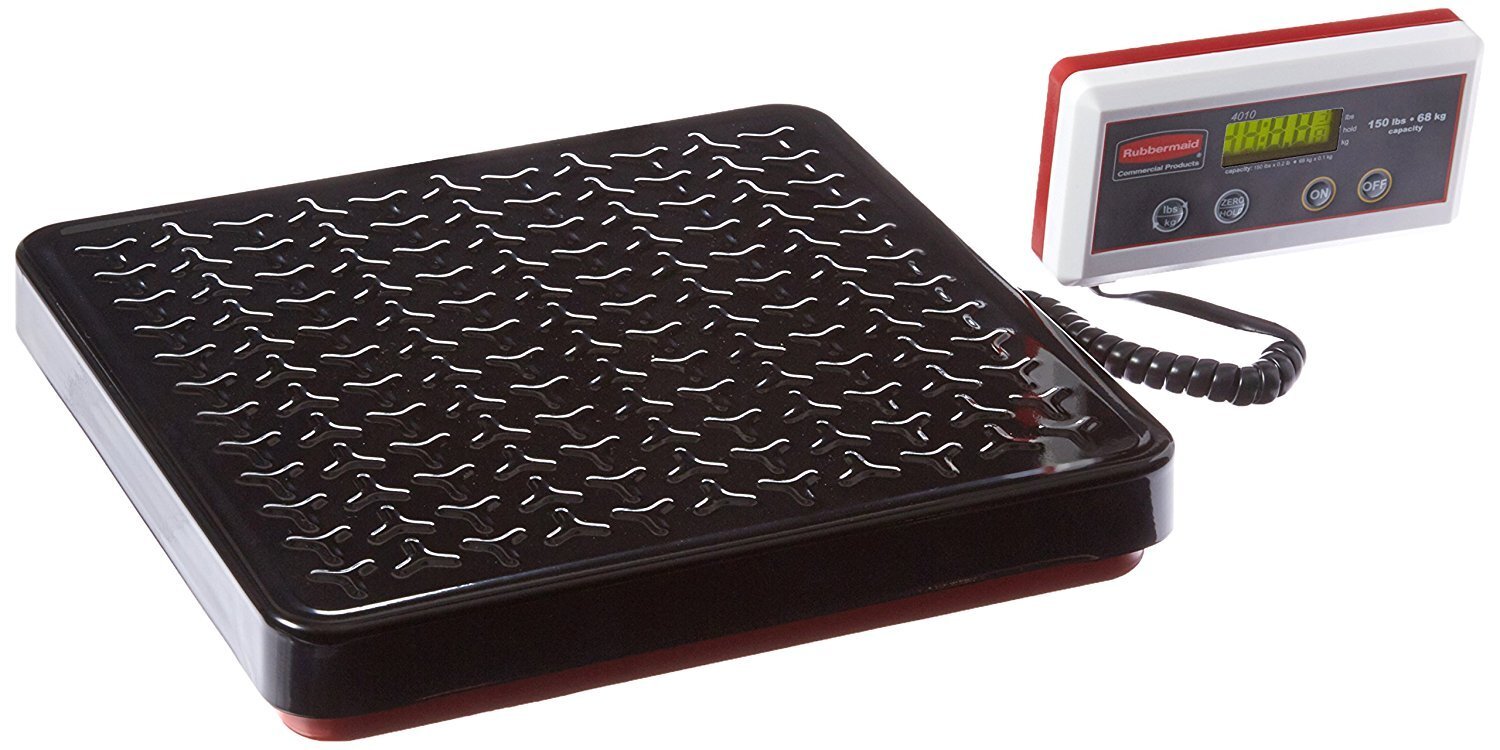
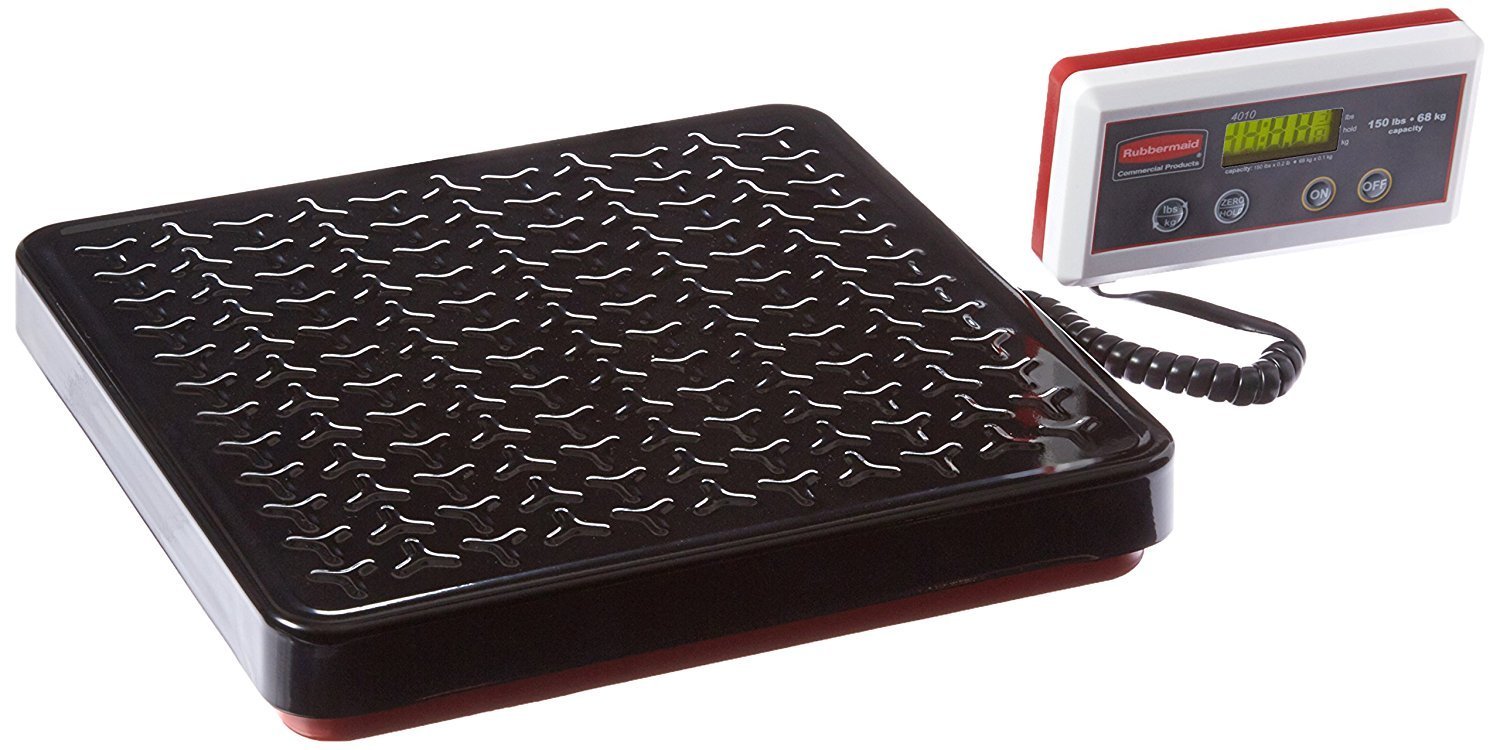
Rubbermaid Commercial 150lb Digital Scale

The Rubbermaid Commercial 150 Pound Scale is another option for a rugged scale that can measure packages, plaster, or any type of material.

It has a wide metal platform, and the display can be mounted on the wall or pulled to the side with a 9 foot cord. The scale has a capacity of 150 pounds or 68 kilograms, and runs on a 9V battery or option AC adapter.

The drawback of this scale is that it is only accurate to about 1/2 pound. Previous models of this scale were more accurate to around 2/10 of a pound, so it is disappointing that Rubbermaid has let the quality drop. There are also complaints online about this unit, specifically the controller, breaking after a few months of use. That hasn’t been my experience though, so I would still recommend this with the caveat that you treat the control / display panel carefully. It’s priced about the same as the MyWeigh shipping scale, or around $130.


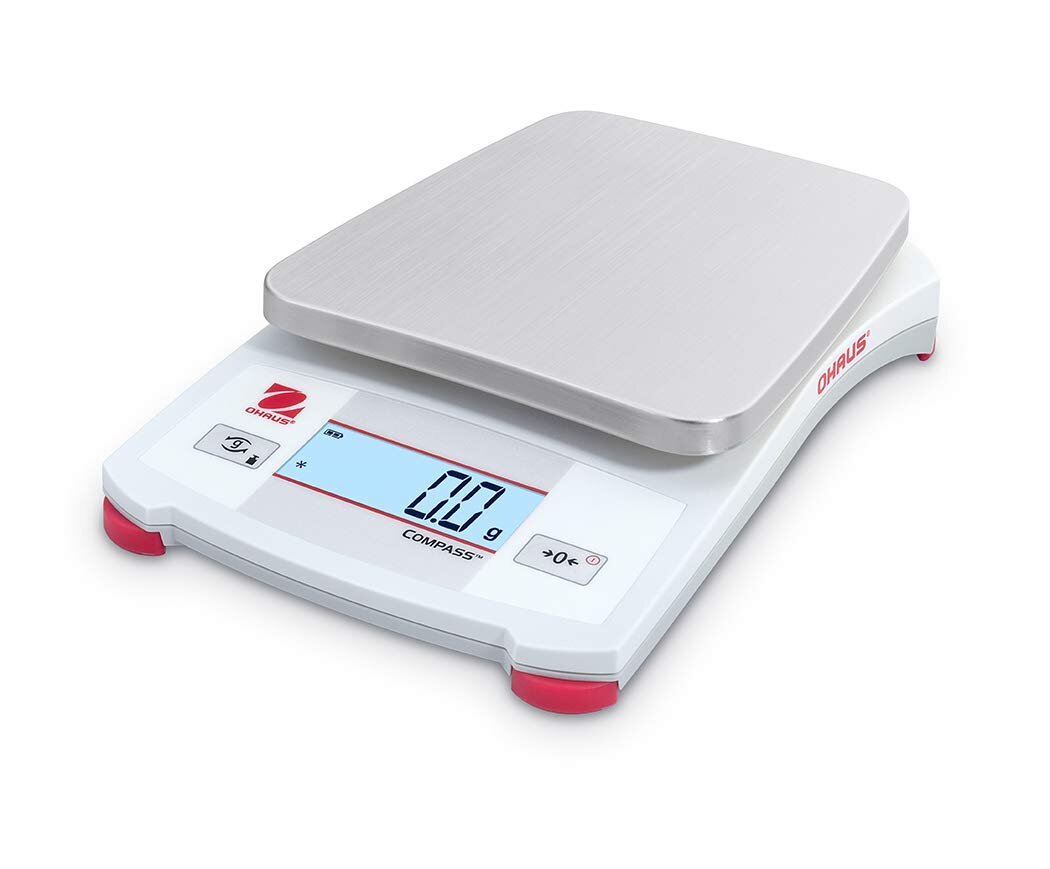
The Ohaus CX1201 Scale, 1200 gram capacity with 0.1 gram accuracy.

The Ohaus CX1201 Scale, 1200 gram capacity with 0.1 gram accuracy.

Ohaus Digital Scale

Ohaus is one of the most trusted names in scales, and the the Ohaus Portable Balance CX1201 is accurate to 0.1 grams with a capacity of 1200 grams or about 2.6 pounds. It costs a bit over $100 and runs on 3 AA batteries or an optional plug.

I prefer the larger capacity of the MyWeigh 5500, but this scale has a balance of accuracy, cost, and quality that is hard to beat. If you regularly measure smaller batches of glaze and need 0.1 gram accuracy, this scale will deliver.


Triple Beam

The Ohaus Triple Pro Scale

The Ohaus Triple Pro Scale

“Triple-beam lyrical dream” as Biggie used to rap, these types of scales were the standard for drug dealers and glaze chemists alike. Now, almost everyone has switched to digital scales. I definitely have. But, if you want to go old school or want to keep it simple and not worry about batteries or breakdowns, a triple-beam scale is the way to go. They are extremely accurate, long-lasting, and durable. It just takes longer to get a measurement.

Ohaus makes a great scale, the Triple Pro Mechanical Triple Beam with a 610 to 2610 gram capacity that is accurate to 0.1 grams. The scale has a basic capacity of 610 grams, but you can add counterweights to increase the capacity to 2610 grams. If you want to invest in a long-term piece of equipment, this is the kind of tool you could pass down to your grandchildren.


Favorite Scale Accessories

The Ohaus Maxi-Scoop bowl for weighing dry materials.

The Ohaus Maxi-Scoop bowl for weighing dry materials.

Ohaus Maxi-Scoop Bowl

The Ohaus Maxi-Scoop is my favorite bowl to use when weighing dry ingredients. Made of polypropylene, it is 10 inches wide, has a pouring spout, and is durable and easy to clean. You can get quite a bit of dry material piled up in this bowl, and the open, wider design makes it easy to use. Of course, you can use any sort of bowl to measure dry ingredients, but this one just seems to be ideal for scales and it’s the one I reach for first when I’m mixing glazes.


metalscoop.jpg

Metal Scoops

Metal scoops are the easiest way to pick up glaze materials, plaster, or any dry material. They are also long lasting and easy to clean. A variety of sizes works, or some people like to keep an individual scoop in each bucket of material.


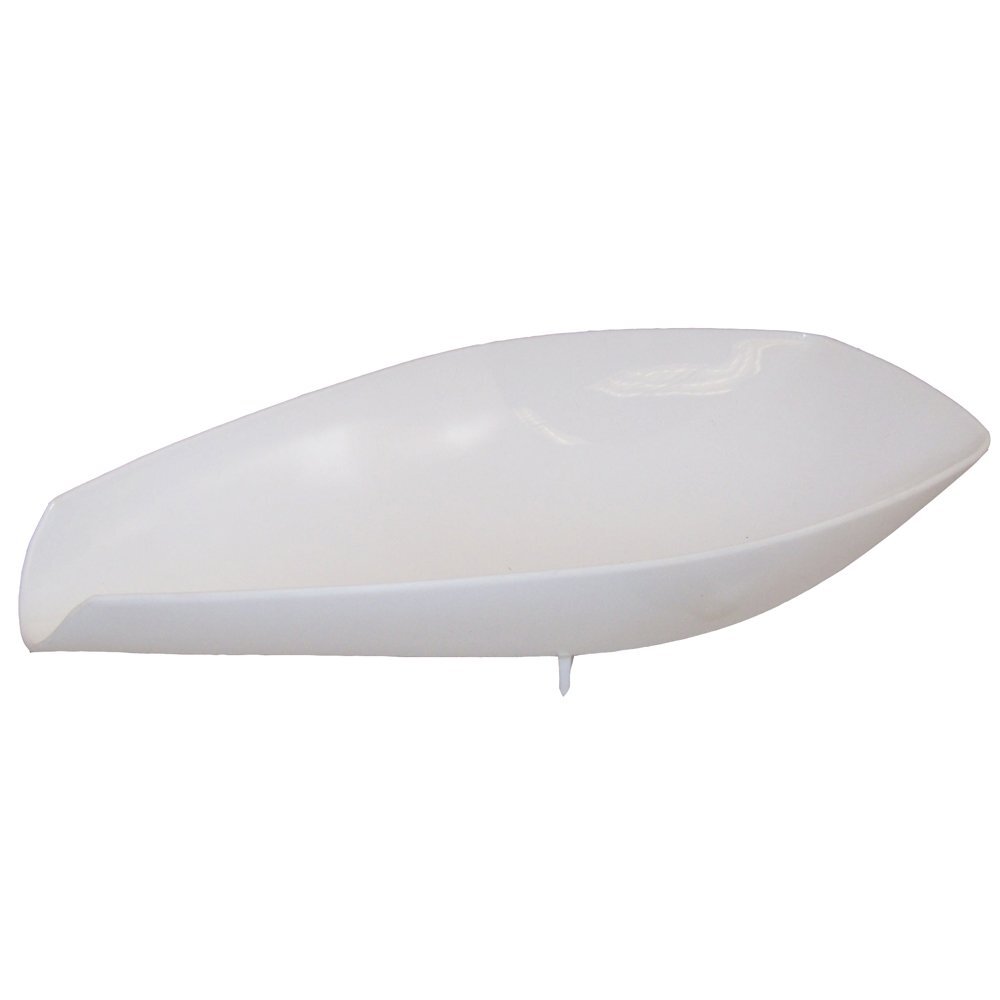
Ohaus Footed Scoop Bowl

The Ohaus Footed Scoop Bowl.

The Ohaus Footed Scoop is another great option for mixing dry materials. It doesn’t hold as much material as the Maxi-Scoop, but the design of this bowl is much easier to pour. There’s also a metal option in this design, which is super long lasting, but it’s very expensive.


Summary

This post has covered a variety of scale options suitable for a ceramics, sculpture, or art studio. Many of these will work at home too. My top pick is the OXO 11 Pound Scale for it’s combination of accuracy, durability, and price. But there are a variety of other options too, along with my favorite accessories for mixing glaze and other materials.

What scale do you use in your studio? Let us know in the comments.