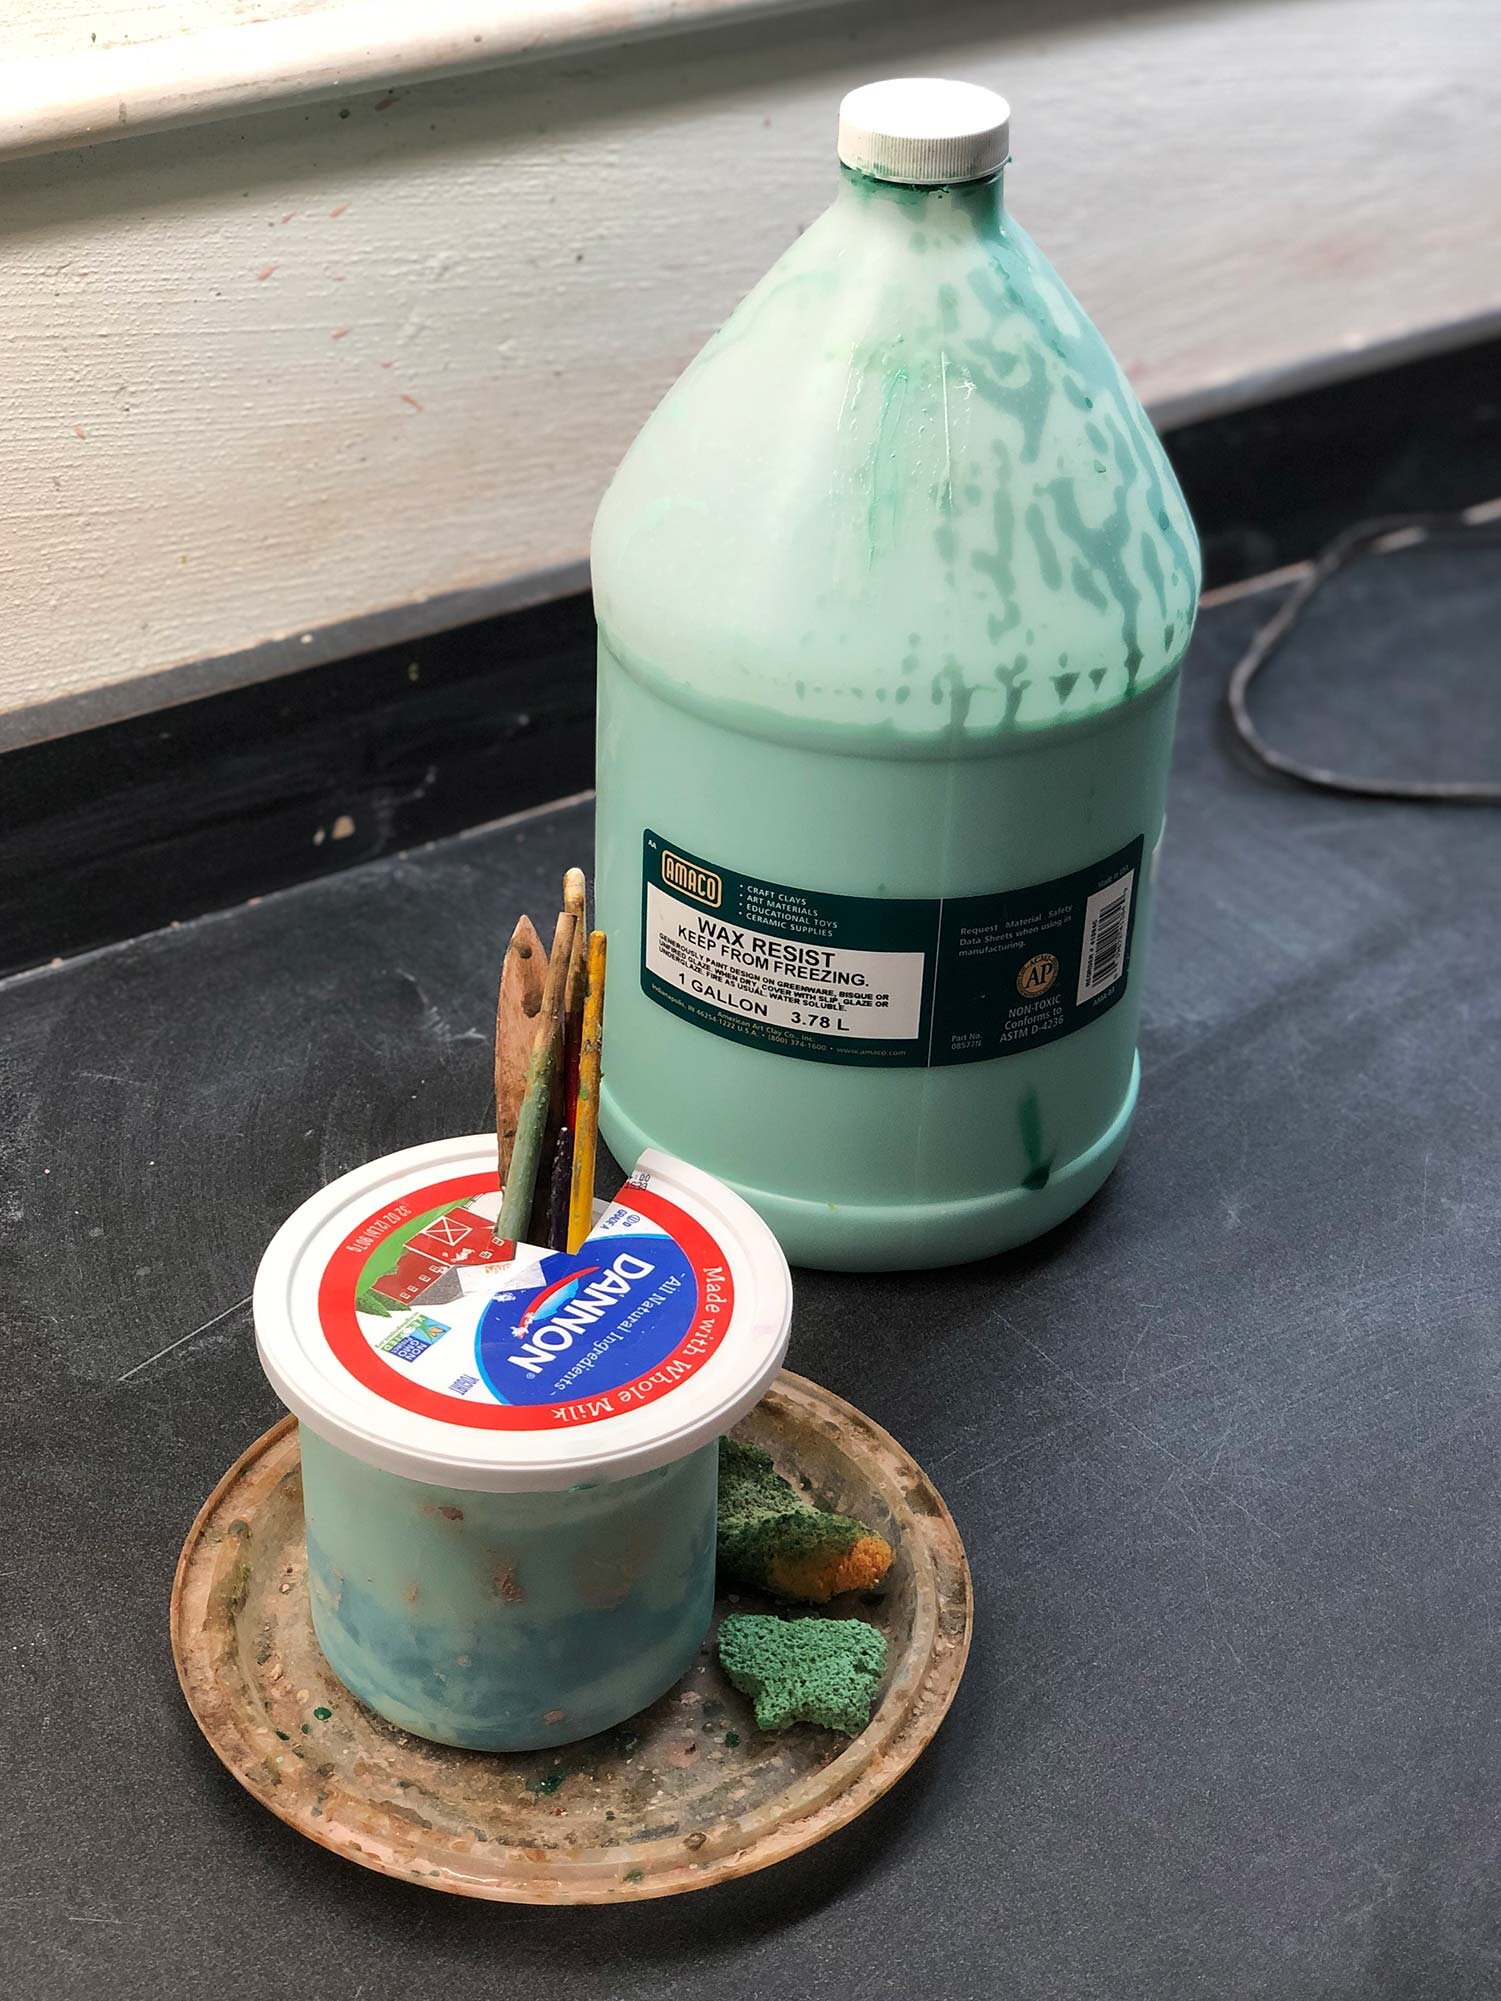
10 gallon buckets are a great way to store glaze and dry materials in a studio. The larger size accommodates bigger pieces for glaze dipping, and a 10 gallon bucket will easily hold about 50 lbs of any dry material, such as plaster or glaze ingredients. It’s important, however, to have a sturdy, long-lasting bucket.
The best 10 gallon bucket for glazes and other studio uses is the Carlisle Bronco 10 Gallon Bucket. It has thick walls and smooth interior. Other buckets, such as the new version of the Rubbermaid Brute 10 gallon, have upraised interior fluting that get in the way of mixing glazes or dipping work. For this reason, the Carlisle Bronco 10 gallon bucket is our top pick.
This post will review a few 10 gallon bucket options, describe the problems I ran into using the Rubbermaid bucket, and explain why I prefer the Carlisle Bronco.
Table of Contents
Carlisle Bronco 10 Gallon Bucket
Rubbermaid Brute 10 Gallon Bucket
Rubbermaid Commercial 10 Gallon Ice Bucket
Summary
Carlisle Bronco 10 Gallon Bucket
The Carlisle Bronco is the best 10 gallon bucket I’ve used. It has sturdy walls, a smooth interior, and will be a long-lasting addition to your studio. It looks like the “old style” Rubbermaid Brute, and is virtually identical to the more expensive Rubbermaid Ice Bucket. Most importantly, it has a completely smooth interior that allows for easy glaze mixing or scooping of dry materials.
The Carlisle Bronco 10 Gallon is 16 inches in diameter and 17 inches tall. Carlisle makes lids for 10 gallon buckets, or a Rubbermaid 10-gallon lid will fit perfectly. It’s also available in a variety of colors, including white, black, gray, blue, red, green, yellow, and purple.
It may seem like a simple thing, but having the right bucket really can make a difference in the functionality of your studio, and for that reason, go with the Carlisle Bronco.

The Carlisle Bronco 10 Gallon Bucket is available in a variety of colors.
Rubbermaid Brute 10 Gallon Bucket
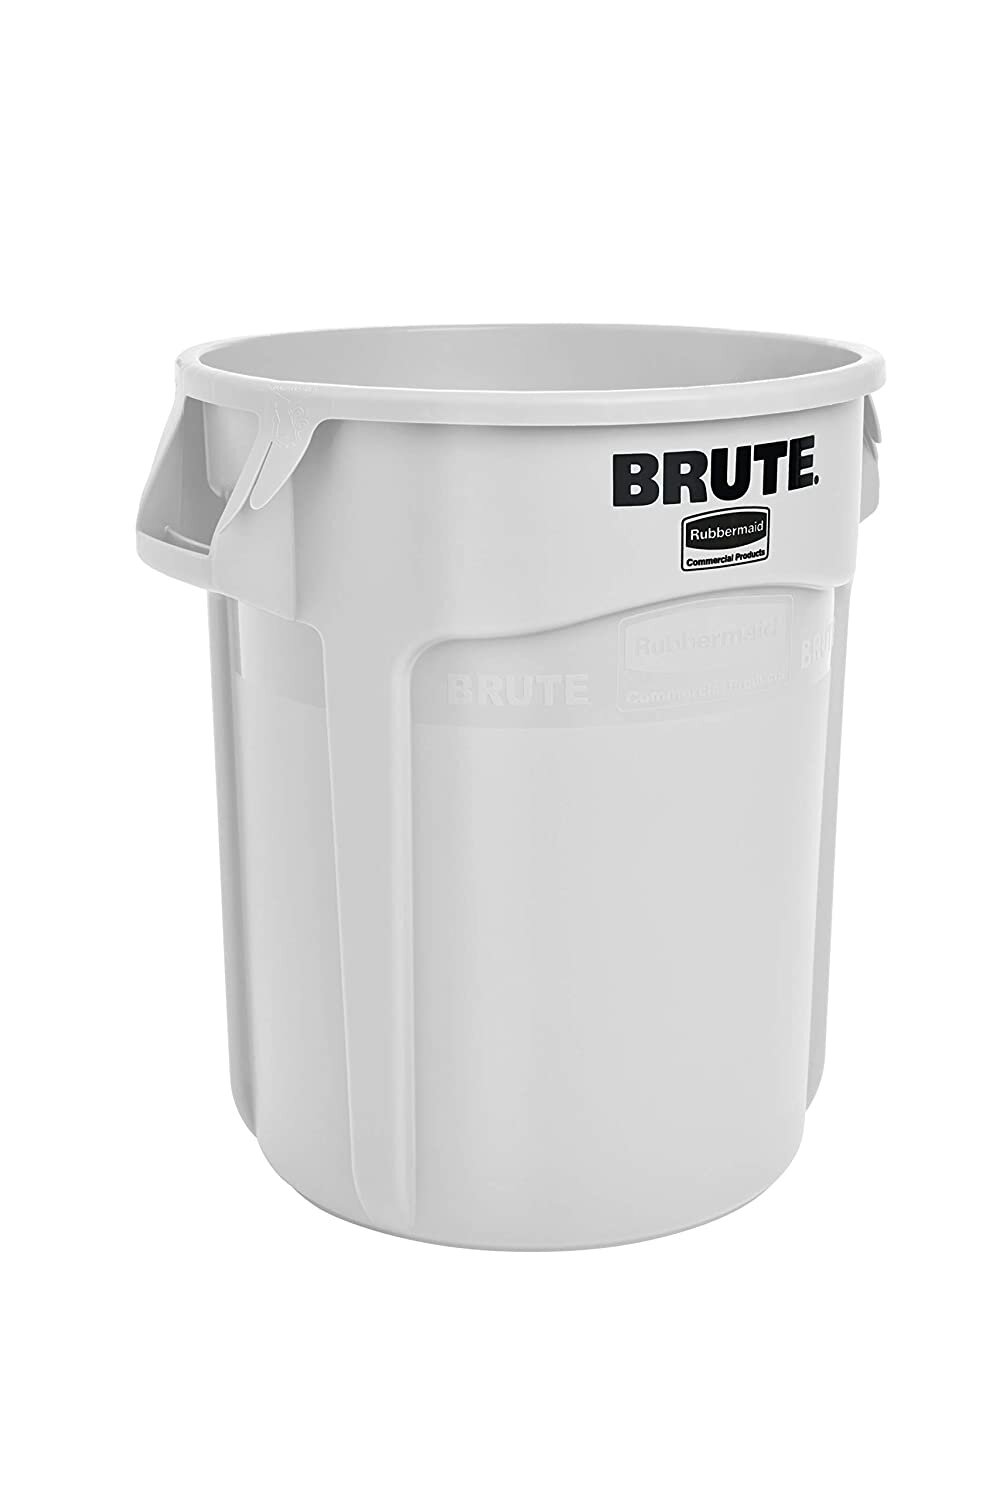
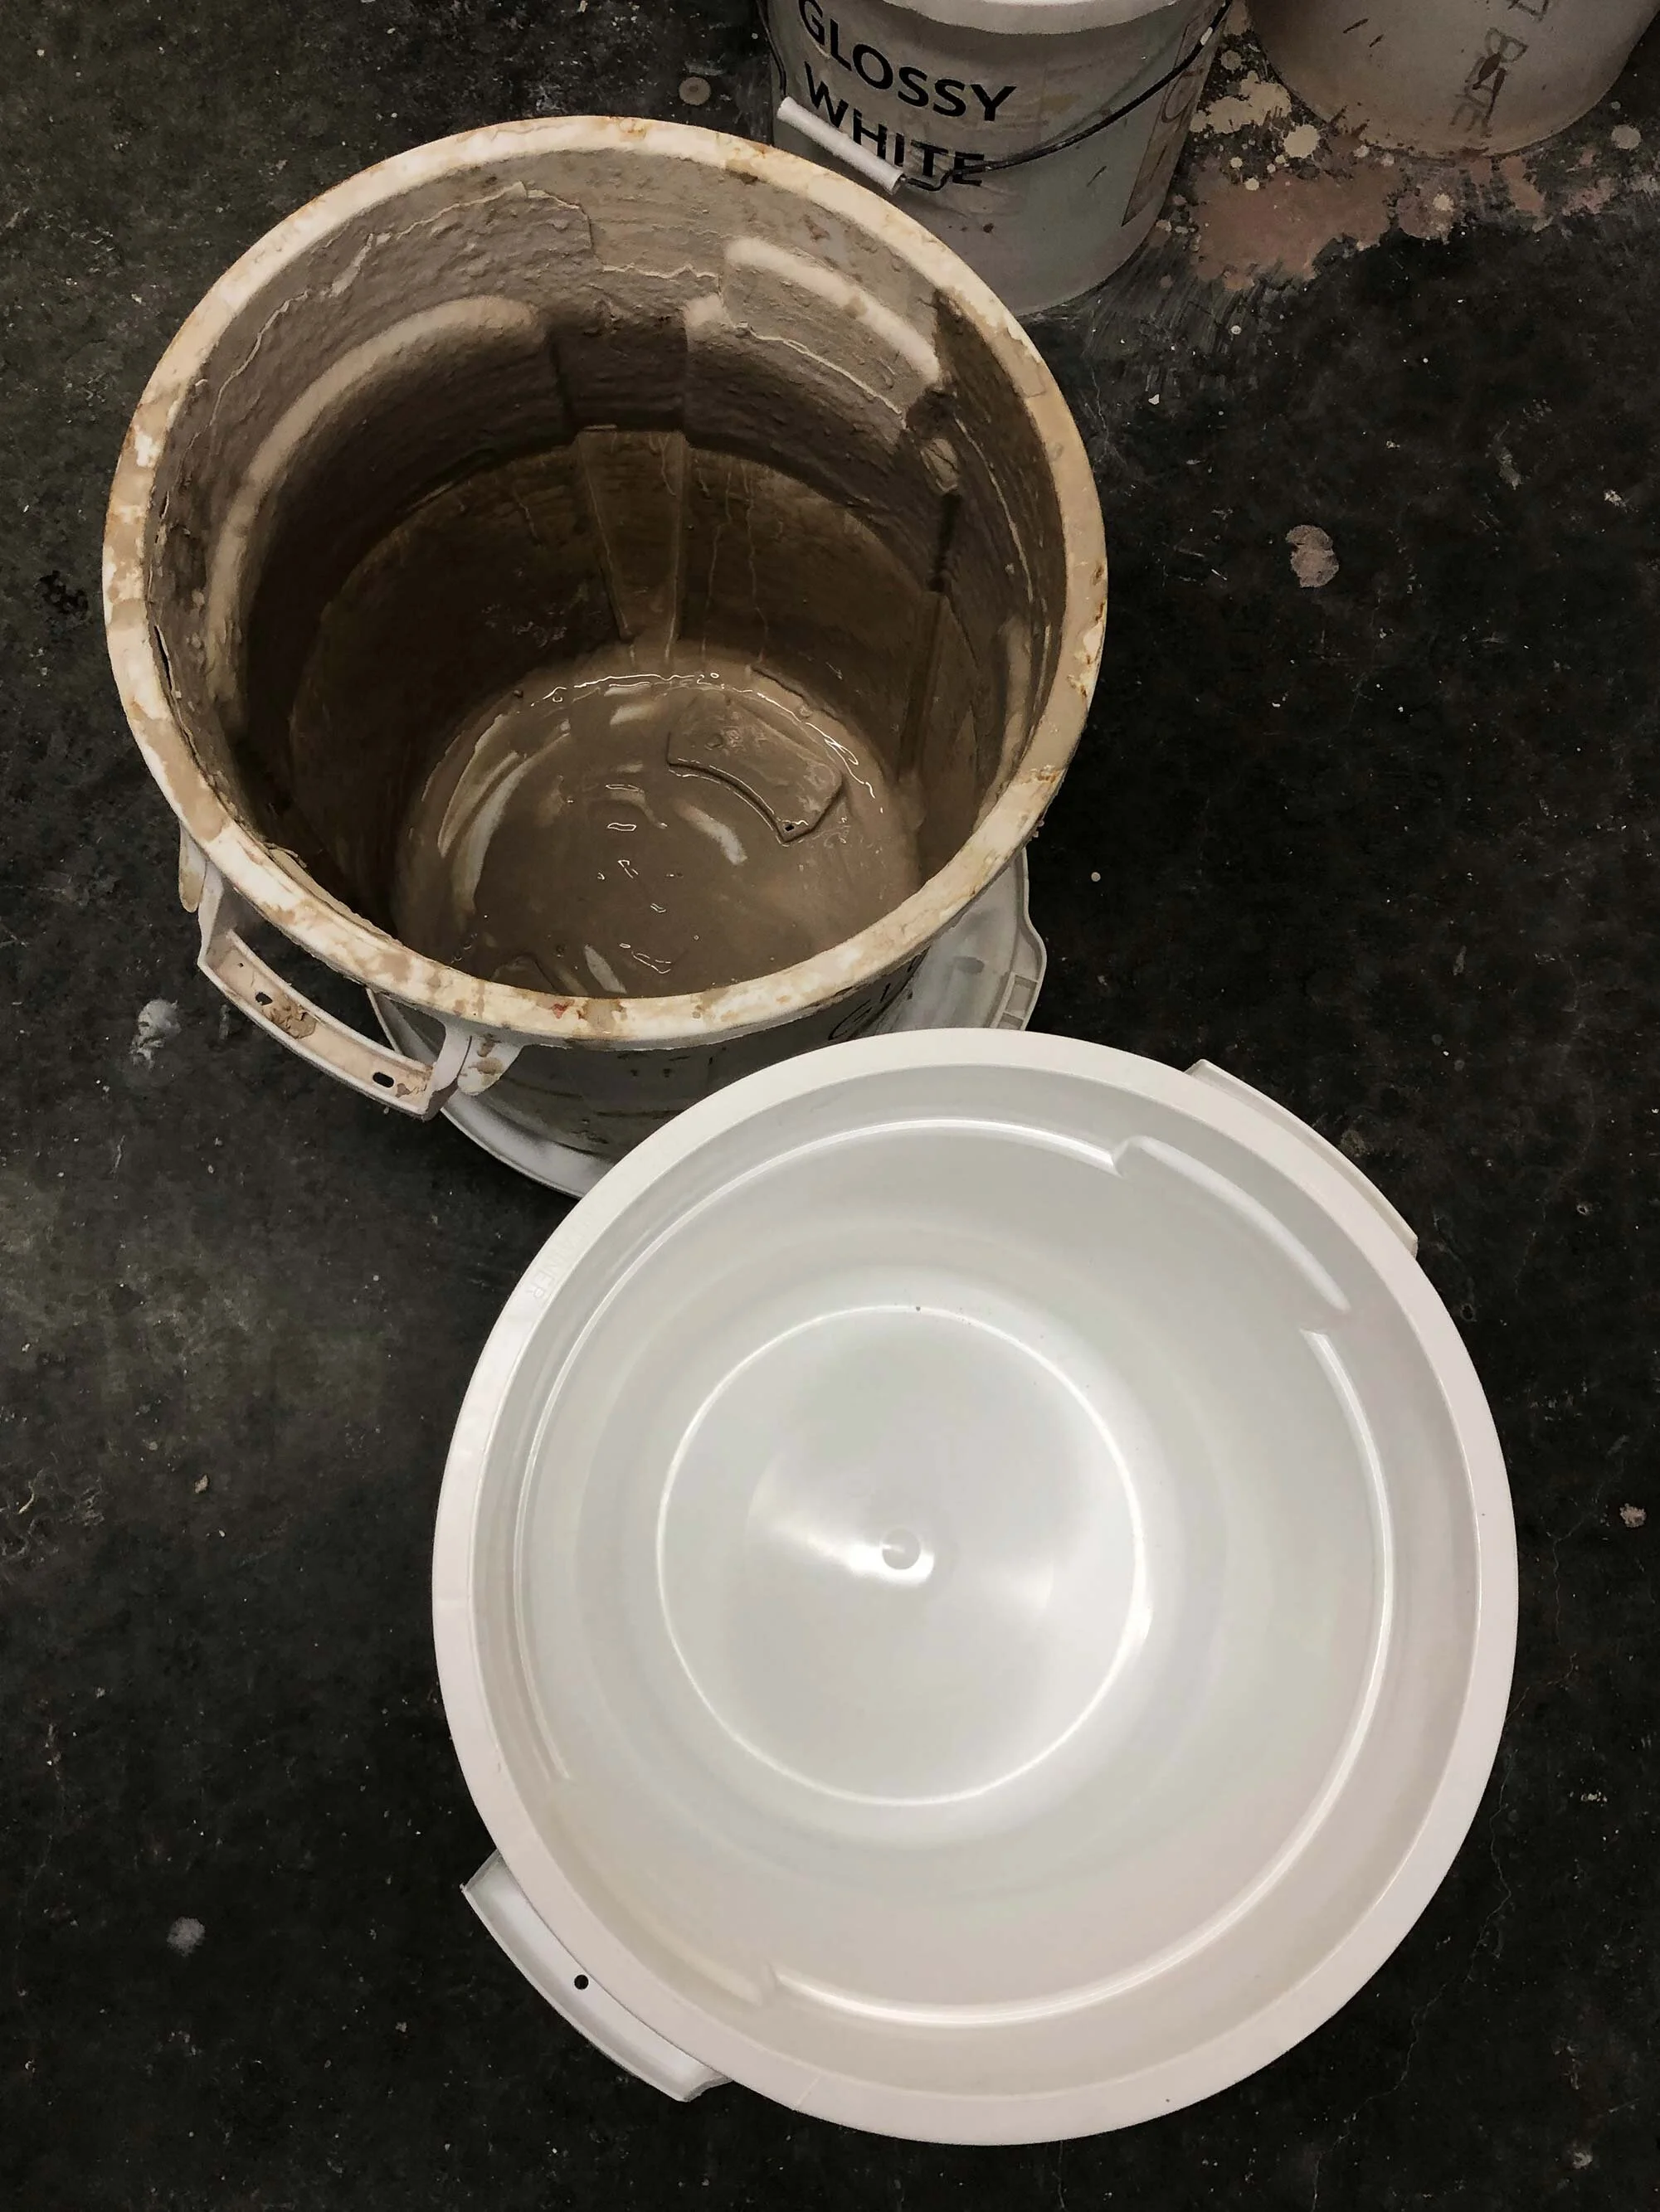
The Rubbermaid Brute 10 Gallon Bucket. Note the fluting on the side: good for trash can liners, bad for glaze mixing
I’m generally a fan of most Rubbermaid commercial products, but I can’t recommend the Rubbermaid Brute 10 Gallon Bucket as a glaze bucket or for dry materials storage. This is now advertised as a garbage / trash bucket and that is only what it is for. It has fluting down the sides and upraised reinforcement in the base. This allows it to be made from less plastic (which is good) but the bumps and exposed plastic corners on the inside do not work well with a ceramic studio.
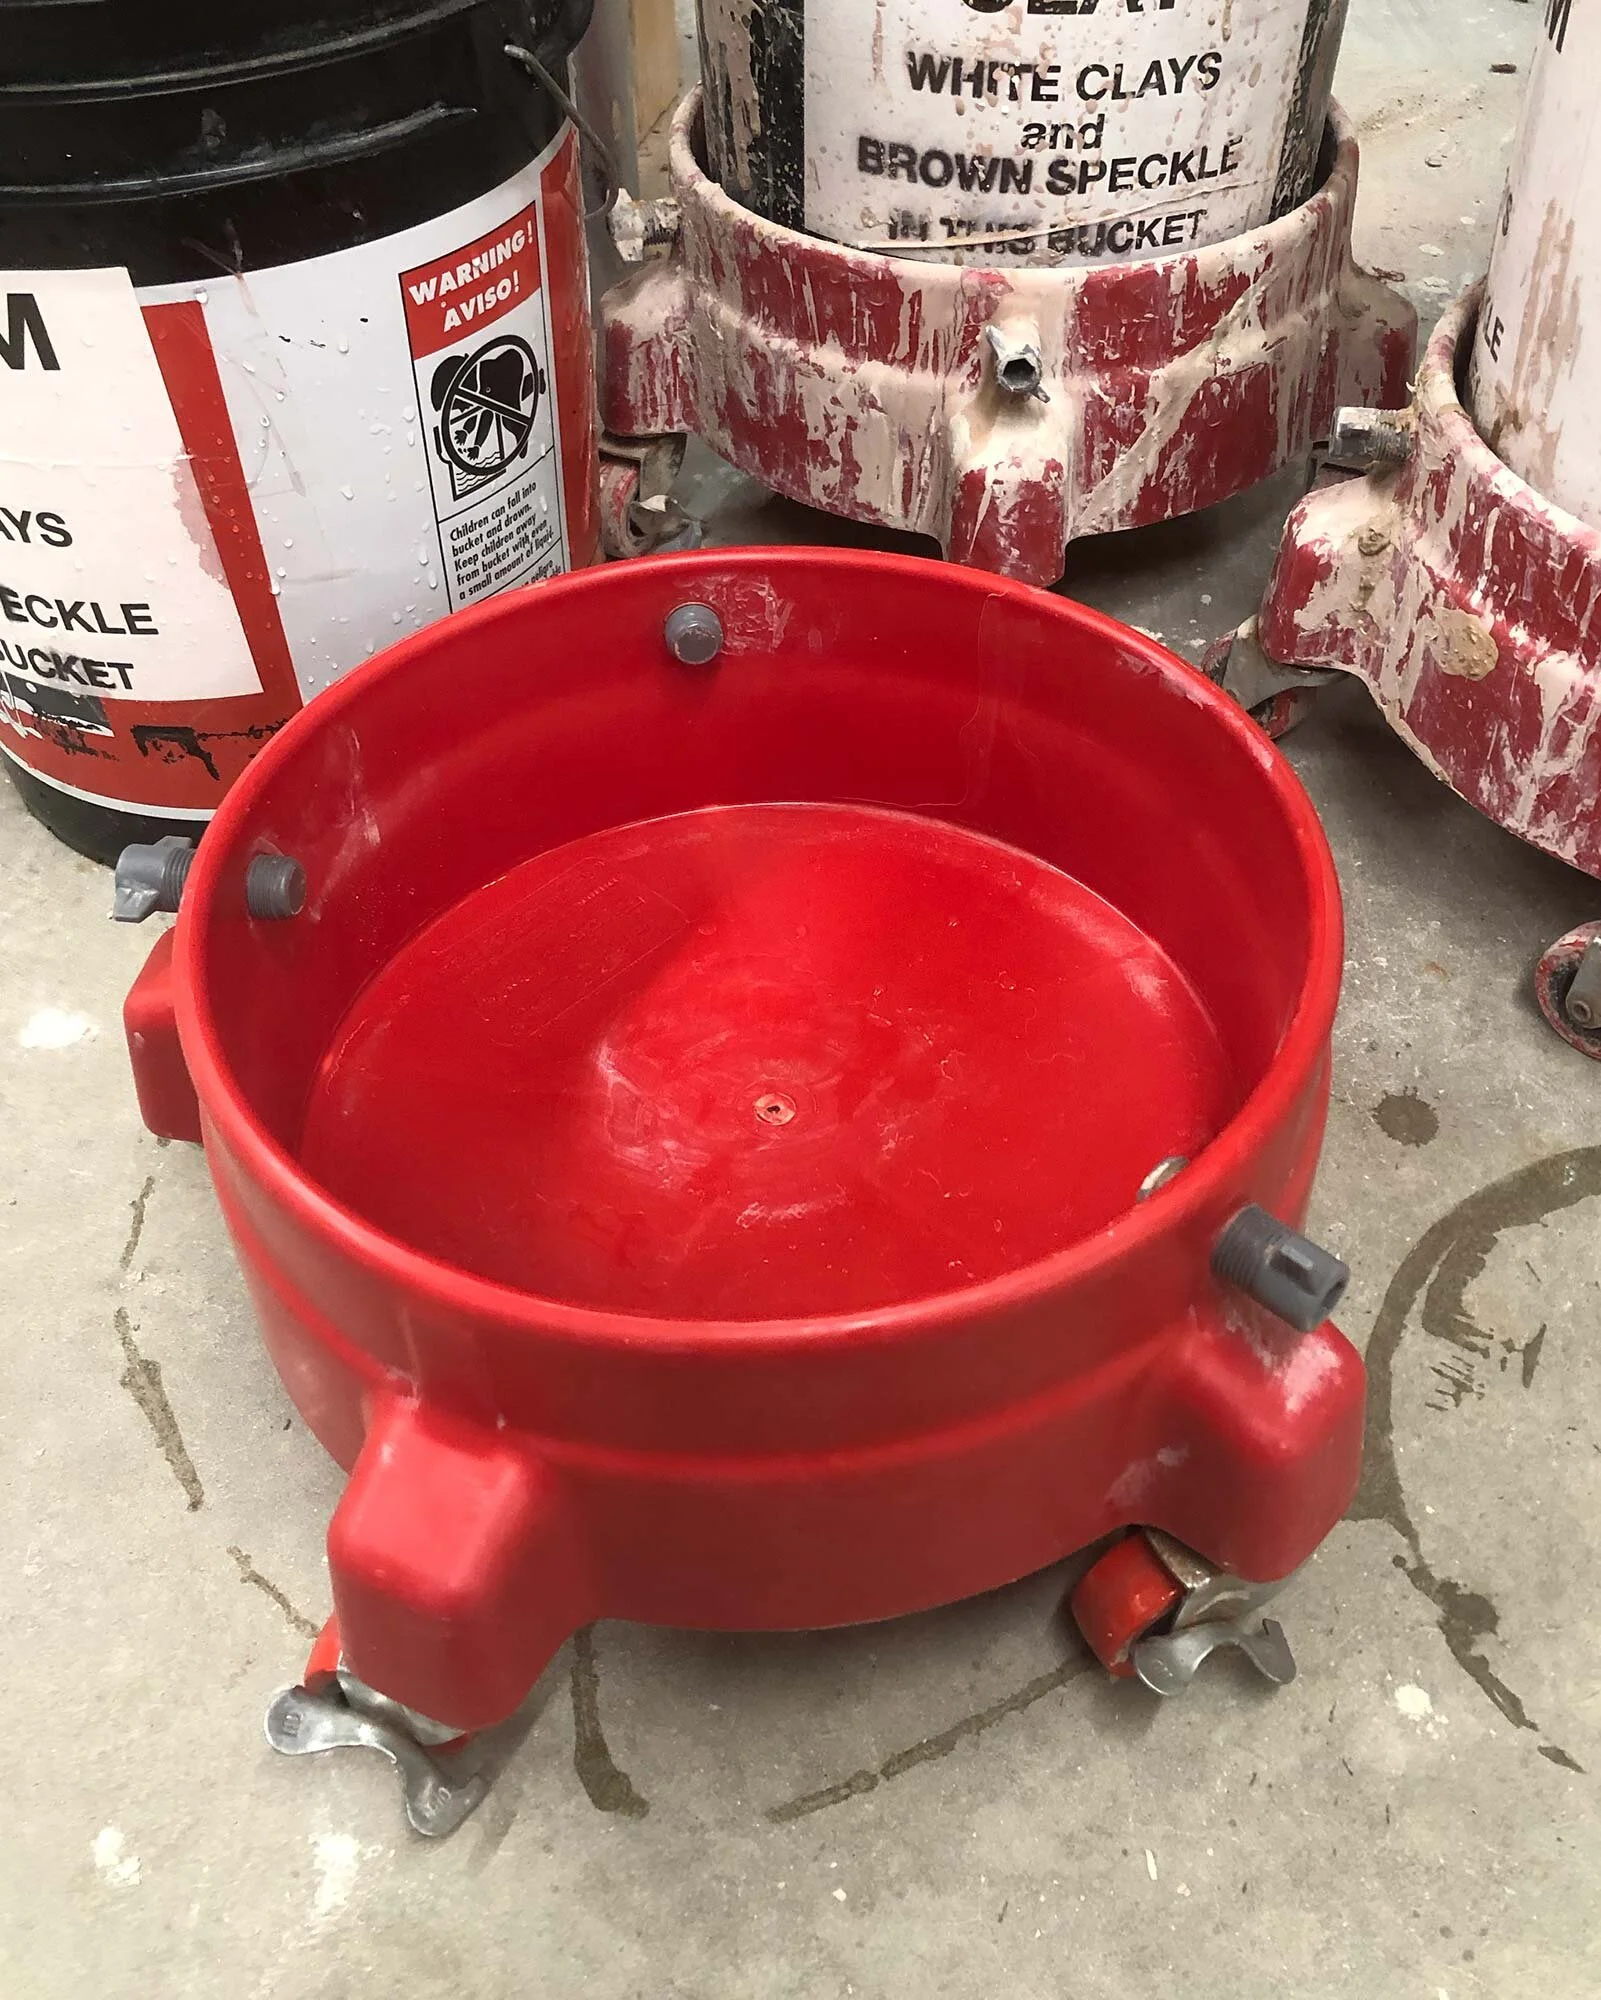
I ordered one of these as a glaze bucket for the busy community studio I manage, and within a few months, a student drilled a hole in the bottom. The hole was made with a cordless drill with a Jiffy ES-21 mixer blade, and this metal blade and the upraised base on the Brute did not work well together. (See pics below)
If you need a trash can, this is a lightweight option that is cheaper than the Carlisle Bronco. Just don’t plan to use it for anything else.
Comparing the Carlisle Bronco and Rubbermaid Brute
Here’s two pictures showing the hole that was drilled in the upraised section of the Brute Bucket:


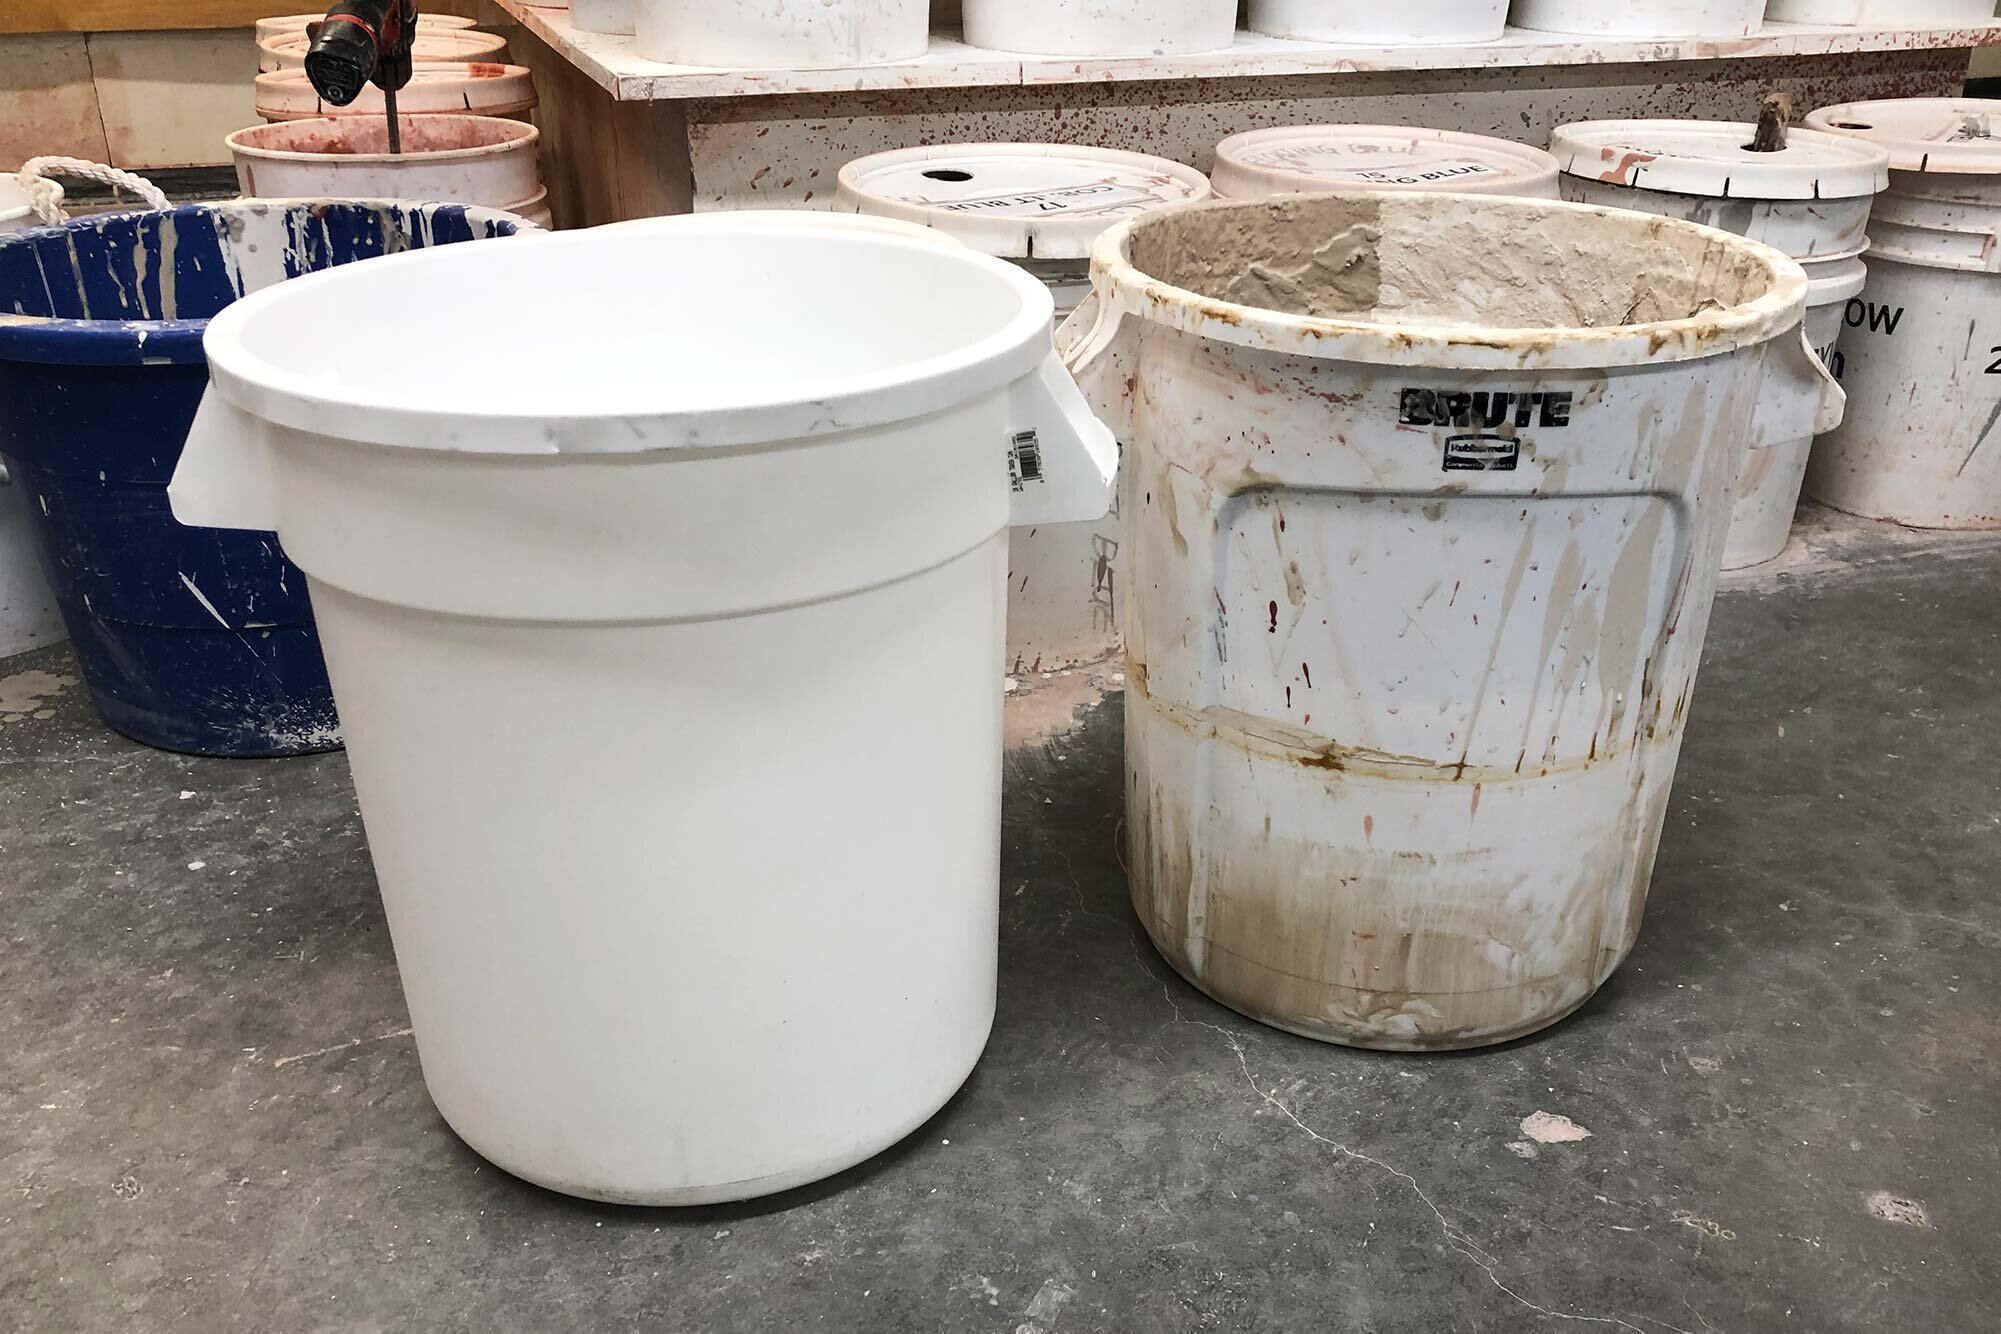
Below are two photos showing the Bronco (the clean bucket) in comparison to the Rubbermaid Brute. Note the upraised base of the Brute and the fluting, while the Carlisle Bronco is smooth inside.

The Rubbermaid Brute (dirty) alongside our new Carlisle Bronco 10 gallon bucket.
Rubbermaid Brute Ice Bucket

A very similar option to the Carlisle Bronco is the Rubbermaid Brute 10 Gallon Ice Bucket. It’s confusing that Rubbermaid has two 10 gallon bucket options on the market, but note that this is the “old” style with no fluting etc, and a smooth interior. It’s basically the same as the Carlisle Bronco, but costs a bit more.
Like the other buckets here, it is 17 inches tall and around 16 inches wide. This is a great option for a glaze bucket, but I’d save a few bucks and go with the Carlisle.
10 Gallon Bucket Accessories

The Rubbermaid Sliding Lid and Scoop is available for 10, 20, and 32 gallon buckets.
Sliding Lid: A standard lid is fine but the Rubbermaid sliding lid (pictured at right) is an interesting option for storing dry materials. Designed for food-service storage, it would also be great for glaze materials and dry clay storage.
Glaze paddles: The smooth, even interior of the Bronco will work great with powered drill mixers as well as paddles, such as the MKM Glaze Paddle.
Drills: A cordless drill is usually just powerful enough to mix a 10 gallon bucket of liquid, but a corded drill will definitely get the job done. For our complete review of cordless drills, click here. For corded drills, click here.
Glaze mixing accessories: For a guide to glaze-mixing tools and accessories, click here.
Finally, here’s a how-to about mixing glazes from scratch.
Summary
I’m always on the hunt for the best buckets and tools, so if anything changes, I will update this post. But for now, the Carlisle Bronco is the 10 gallon bucket I will be using in my studio.
Do you have other favorite options for 10 gallon buckets? Please share in the comments.