A corded drill is always worth having in a studio or home workshop. They are powerful, durable, and affordable. The trade off is that you have to deal with a cord. But if you are working near a power source and don’t mind the cord, there is nothing better and more powerful. This post will review a few recommended drills, cover the advantages and disadvantages of a corded drill, and share some tips on how to use drills for mixing glazes and other studio tasks. If you are looking for a cordless drill, check out our review here.
TOP PICK: DeWalt DWD 115K 3/8” Variable Speed Drill

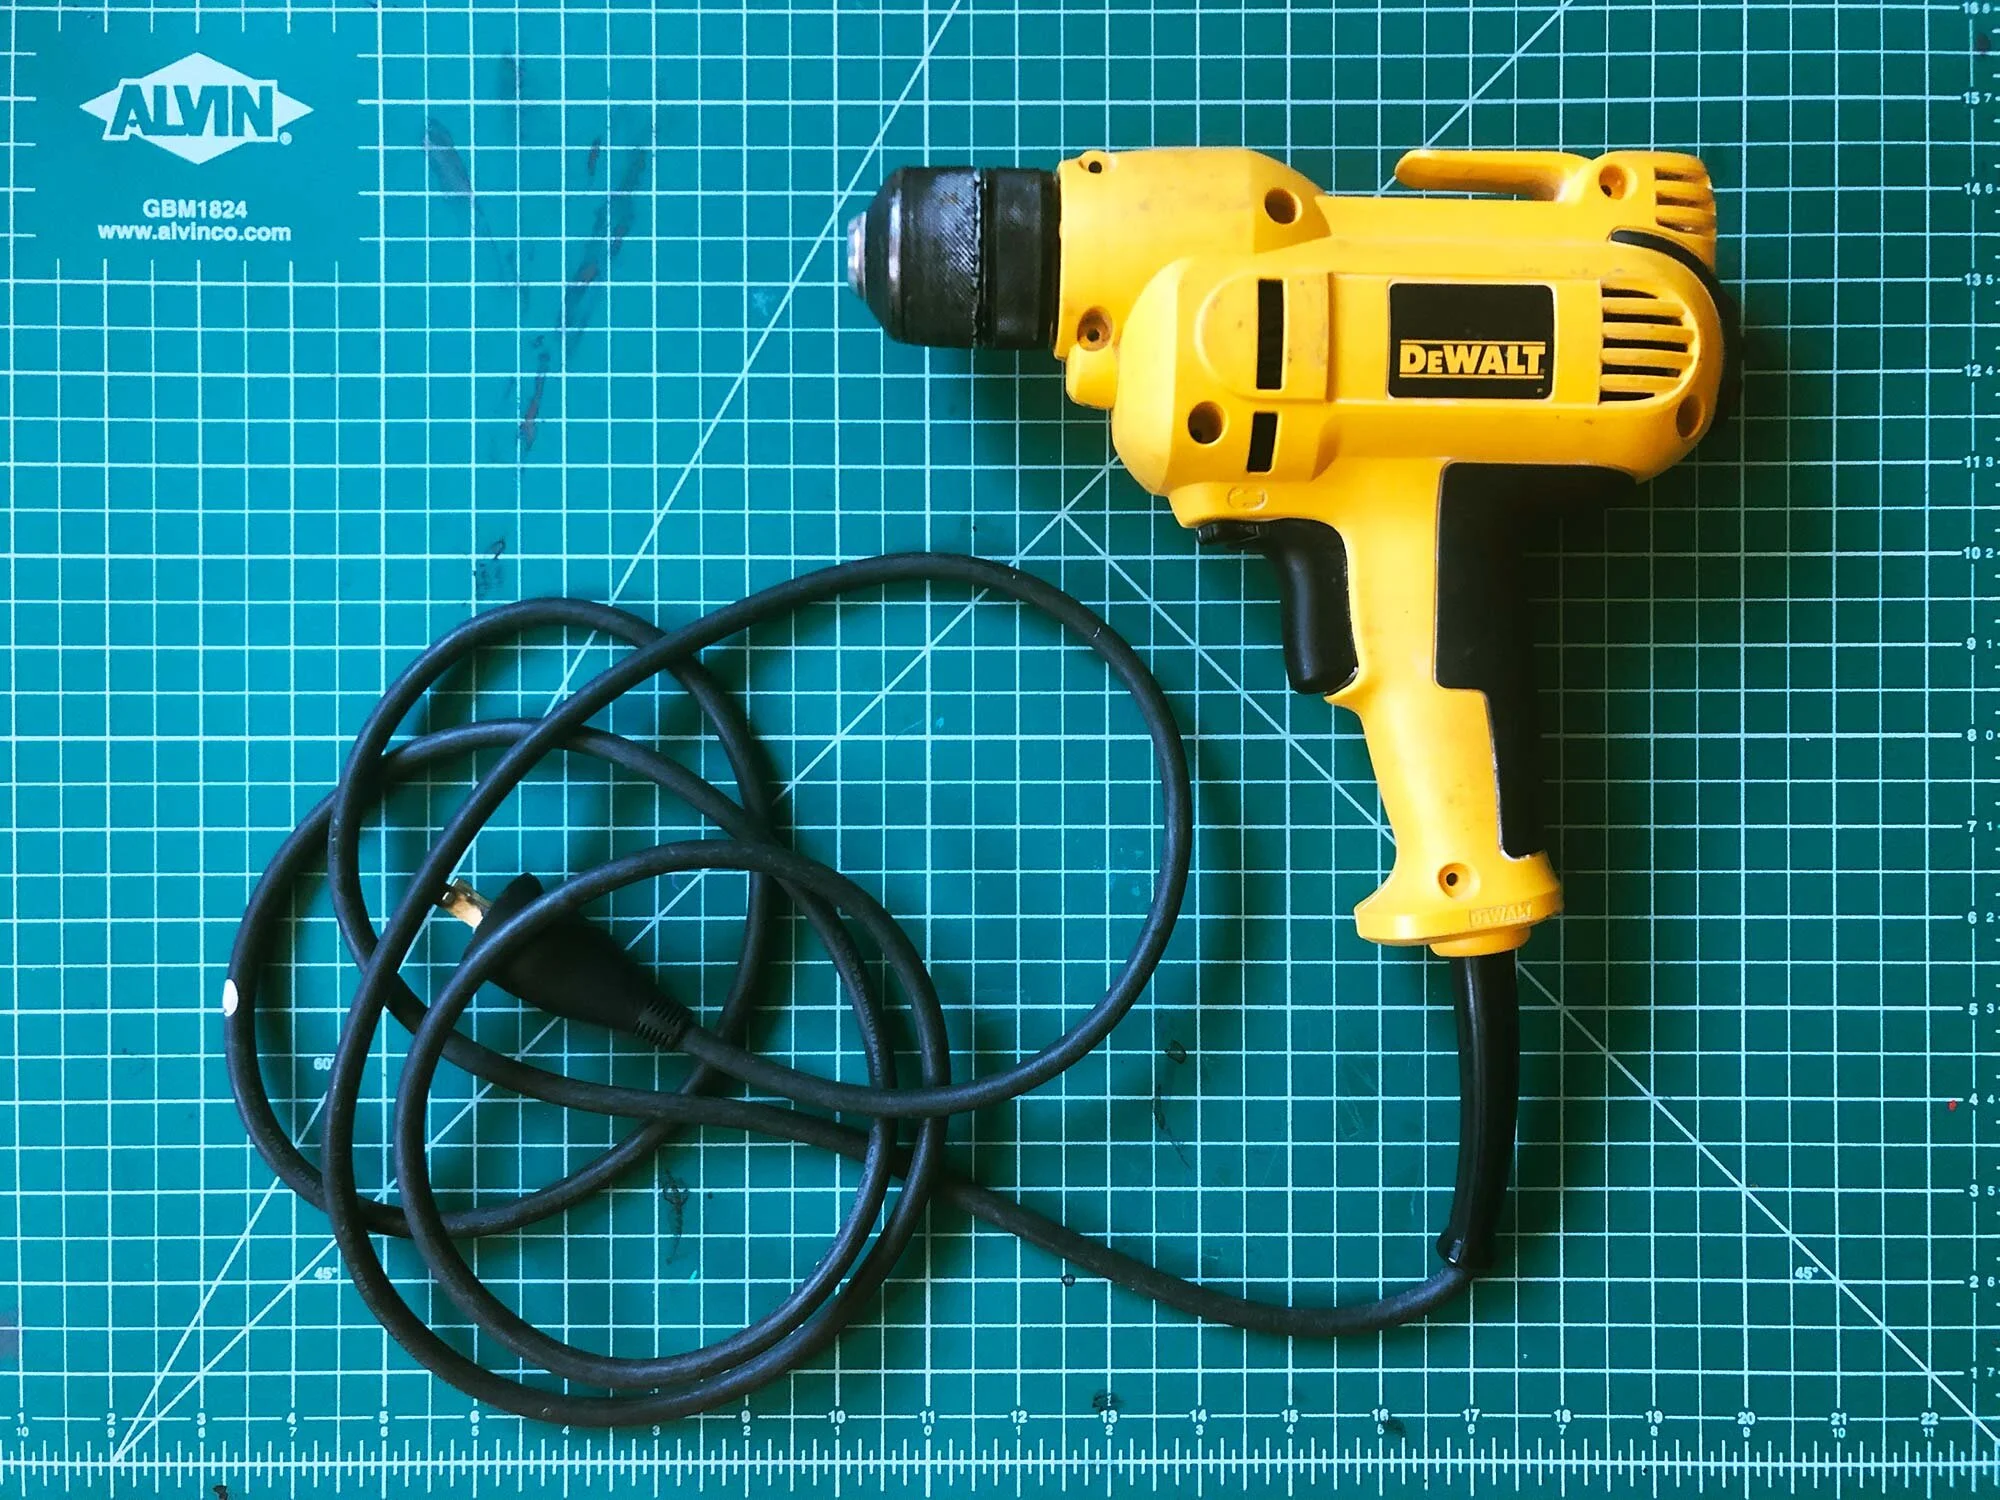
The DeWalt DWD 115K Drill is my top pick for a corded drill. It’s what I use — my DWD 115 from 2008 is still going strong after more than a decade of heavy use. The newest model, the 115K, is virtually unchanged from previous models. Why mess with a classic? The drill is on the heavy side, weighing just over 4 lbs, but it is solid, evenly balanced, has a ton of torque, and will do almost everything you need it to do in a very affordable package. It’s especially great for drilling and using with mixing blades. It’s not a contractor-grade jobsite drill, but for the rest of us, this is the best corded drill. A full review of this drill is below
Table of Contents
Top Pick: DeWalt DWD 115K 3/8” Drill
Runner Up: Metabo HPT 3/8” Drill
Third Pick: Bosch 3/8” Drill
Other Corded Drill Options
Favorite Mixing Blades and Drill Accessories
Corded vs Cordless Drills: Advantages and Disadvantages
Background and Research
Summary
Top Pick: DeWalt DWD 115K 3/8” Drill
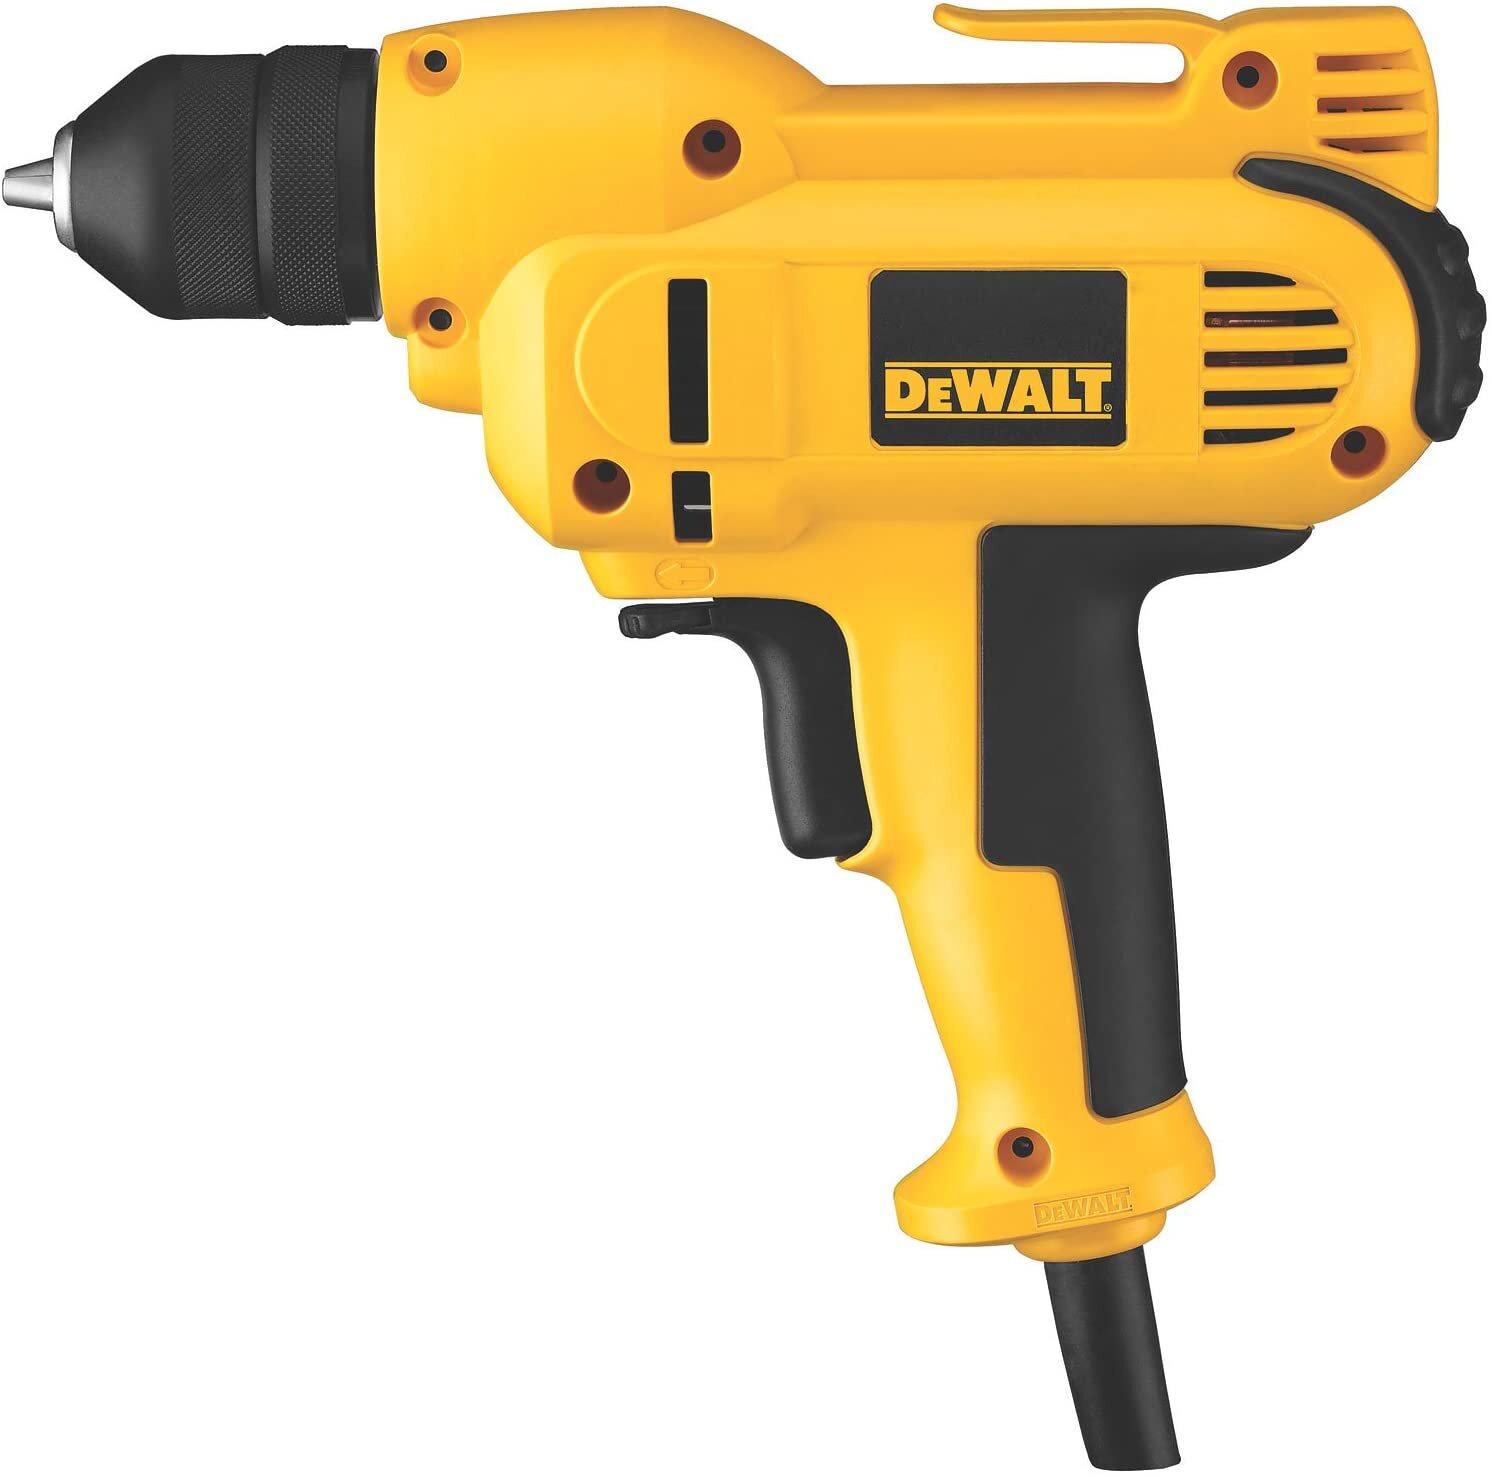
The DeWalt DWD 115K 3/8” Drill with variable speed and keyless chuck.
The DeWalt DWD115k 3/8” Drill is my top pick for a corded drill and it’s far and away the best drill in this category and price among any brand. It is durable, powerful, and affordable. I’ve used a DWD115 model for more than a decade, and it is held up under heavy use. I expect my drill to last for decades longer! The DeWalt 115 model is a classic and the newest model is little changed. The 115K is not a lightweight drill, weighing 4.1 lbs, but it feels evenly balanced and despite the weight is comfortable to use. It has a convenient flip-switch right above the pistol-trigger, to toggle between forward and reverse without moving your hand. It has a well-built keyless metal chuck, but there is a model with a keyed chuck, if that is your preference.
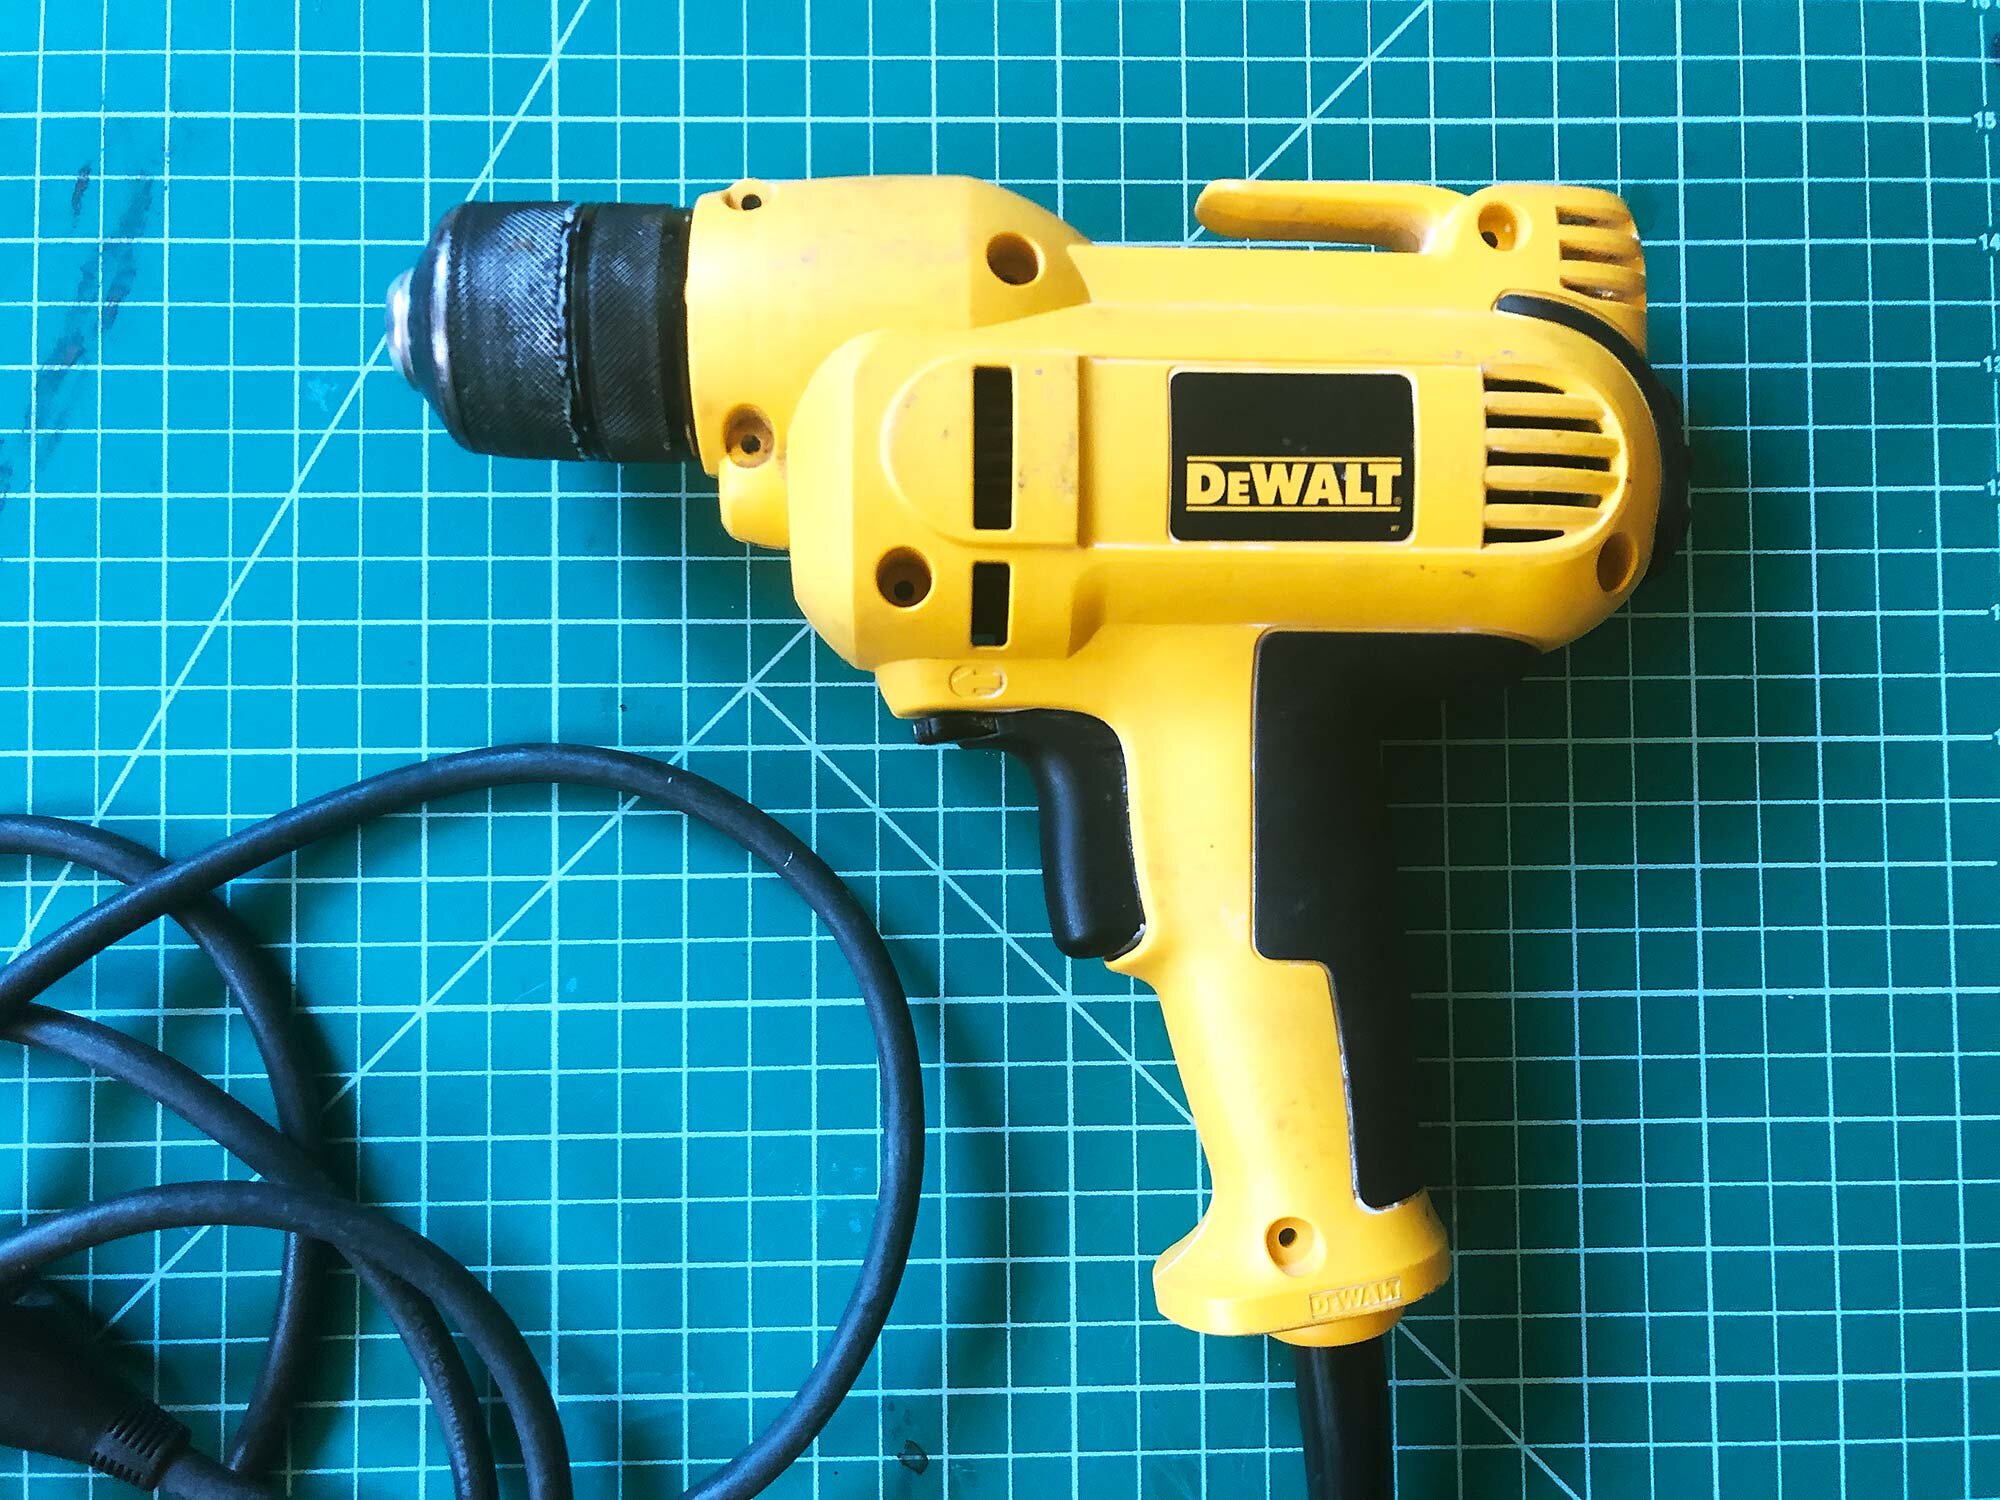
My drill: a DeWalt 115 Drill that is still looking good after more than a decade of use. This model of drill is a classic.
The drill doesn’t come with a very long cord, so you’ll most likely need a quality extension cord to put this into use. You’ll also need to get drill bits and mixer blades, which are covered farther down in this post.
I used to work in a busy academic studio where one of these DeWalt drills was used for mixing glazes. The DeWalt endured all sorts of misuse at the hands of the students (glaze splashes, dirty hands, etc.) and it kept going strong.
If a corded drill is what you need, this is the drill to get. It is tough, powerful, and well-built. If it’s maintained, it might be the only corded drill you ever buy.
Second Pick: Metabo HPT 3/8” Drill

The Metabo HPT 3/8” Drill
The DeWalt DWD115K is such a leader in this category that it’s hard to recommend other drills. But the Metabo HPT 3/8” Drill is a distant second.
Metabo is a rebranded version of Hitachi Power Tools (hence, the HPT in the name) and it has many great features: an all-metal keyless chuck, decent amount of power, good ergonomics, and an affordable price of around $50. You can definitely get a lot more features if you step up to a 1/2” drill and are willing to spend $100 or more, but this drill is a good compromise.

Close up of the variable-speed dial on the trigger. It’s a funky, awkward design.
Hitachi made quality, long-lasting tools and the rebranded Metabo should be the same. But it’s just been since the Fall of 2018 that the Metabo rebrand took place so the jury may still be out on what changes, if any, happened with the name change.
Compared to the top pick, you get a similar all-metal keyless chuck, almost as much power (7.0 amps as opposed to 8.0) and a drill that is 1 pound lighter, at just over 3 lbs. I will happily trade a bit of power for a lighter drill that is comfortable to use over time.
The trade off comes in the trigger. It’s got a variable-speed dial built right into the trigger, which is a very funky design. And flipping between forward and reverse is not as easy with just one hand as the on the DeWalt.
This drill will run you about $15-20 less than the DeWalt and occasionally, Amazon has refurbished or “renewed” versions of this drill for $25. You can’t beat that for a decent drill, and if money is the bottom line, this is a good drill.
Third Pick: Bosch 1006VSR 3/8” Drill

The third pick is the Bosch 1006VSR 3/8” variable-speed, corded drill. Bosch makes high-quality, well-respected products and this is a good drill. It’s just not as good as our top pick, but it’s also $10-15 cheaper. Rather than an all-metal chuck, it has a metal chuck with a plastic collar. In my experience, these plastic collars or plastic chucks just don’t stand the test of time but when I make this consideration I’m thinking about heavy use over 5 or 10 years in a communal studio, where the drill is getting used on an hourly basis for mixing glazes. Your use may vary.
Aside from the partially-plastic chuck, this drill has 6.3 amps (as opposed to 8 on the DeWalt), has a large, two-finger trigger, and a button to switch between forward and reverse. The button is not as ergonomic as the DeWalt, but it does stay locked in place.
The drill weighs 4 lbs, about the same as the DeWalt but 1 lb more than the Metabo. Aside from that, it’s a standard, well-built drill that should handle most things needed in a studio or at home.
As stated before, the DeWalt is the clear market leader for this type of drill. But if I was choosing between the second pick and the Bosch, I would evaluate my trust in the Bosch name, how I felt about an all-metal chuck versus this plastic-collar chuck, and the difference in the weight of the drills. The Bosch was almost my second pick but I don’t have as much confidence in the chuck.
Other Corded Drill Options
As with any electronic tool or gadget, there’s an innumerable amount of options and designs from both name-brand and generic makers. Hopefully the three drills above will give you a starting point. But there are some other drills to consider, which I’ll cover briefly.
The first drill I ever bought was a Craftsman, and the Craftsman 7 amp 3/8” drill is very similar to the model I had and used for almost 10 years. Generally, I’m a fan of Craftsman products (Must be all those years of hanging out in my grandfather’s woodshop with his Craftsman tools) and this drill is ok. But with a plastic chuck? I don’t know. It does have a toggle forward/reverse switch like the DeWalt, and a “lock on” switch for continuous use. But it’s just not as good as our top picks.
The Porter Cable 6-amp, 3/8” drill looks quite similar to the Craftsman model in make and build, including a plastic chuck and a toggle forward/reverse switch, and the “lock on” button on the handle. It’s another old-school brand that I want to trust, but a drill like this makes me wonder if it is coasting on its history and basically rebranding a generic drill.
The Black and Decker 6 amp 3/8” Drill is in many ways similar to the drills above, but it has a plastic chuck. Online reviewers noted that there was some “play” in the chuck if they didn’t get the bit set just right. I mention this drill here as a comparison. Generally, I don’t ever buy Black and Decker tools as I find that they are cheaply made and do not last over the long haul.
More Powerful / Larger Drills
So far, every drill I’ve mentioned has a 3/8” opening in the chuck. If you want a step up in power or size, there are some great 1/2” models that don’t cost too much more than our top pick.
Dewalt has a 7.8 amp, 1/2” drill with a keyed chuck that runs about $100, or a more powerful 10 amp, 1/2” drill for about $120. These are both great drills with the same level of DeWalt quality throughout.
Milwaukee also has an 8 amp 1/2” drill with a keyed chuck for around $120 that is well built, powerful, and long lasting.
If you are really having a hard time deciding what kind of drill you need, the best thing is to go to a store and handle them and see what feels good to you. If the store will let you try drilling something, then you’ll really know what is the best drill for you.
Mixing Blades and Accessories for Your Drill
With your drill, you’ll need bits, screws, and mixer blades to put it to work. Here’s what I recommend:
DRILL BITS AND SCREWS
Any quality brand of screws and drill bits should get the job done. But just like drills, there are tons of options out there. Your local hardware store might be the easiest way to see what you need in person, but for shopping online, here are some links:
Drill bits: This basic 14-piece set from DeWalt is a great place to start.
Screwdriver set and bits: This set from DeWalt covers all the basics.

Hollow Core Diamond Drill Bits from Neiko
DIAMOND BITS
Diamond bits really help if you are working with glass, tile, hard plastic, or ceramic. For glazed ceramics, diamond bits are your only option for cleanly drilling a hole.
This 5 piece set of diamond-dusted, hollow core bits from Neiko has decent quality despite being less than $10. It will cut holes right through bisqueware (make sure to do it under running water) and it will also work on glazed ware. Just be slow and steady when using these on glazed ware, and use proper protection such as goggles.

The small Jiffy LM10 Mixer Blade
SMALL MIXER BLADE
To mix pint jars and small cups, the Jiffy LM10 Mixer Blade is just the right size. It’s 10 1/4” long with a 1 1/4” head.

Helix mixer blade for 1 to 2 gallon buckets
MEDIUM MIXER BLADE
For one to two gallons, I prefer a helix mixer designed for 1 gallon buckets. It’s cheaper than a metal blade but it can really mix. As long as you don’t grind the plastic blades against buckets, these economical blades should last for years and also work well for jobs such as mixing plaster.

Jiffy ES Mixer Blade closeup.
LARGE MIXER BLADE
For 5 or 10 gallon buckets, the Jiffy ES mixer blade is the way to go. It has a 20 1/2” long, 3/8” shaft and the head is 3 3/4” wide.
Corded vs. Cordless Drills
A corded and cordless drill each have their advantages and disadvantages. I like to have both but most people get by with just one drill. If you are looking for a cordless drill, check out our cordless drill recommendations here. Here’s some things to consider when choosing a drill:
Advantages of a Corded Drill
Affordable: Cheaper and more powerful than a cordless drill.
More power: You’ll get a stronger motor and heavier build quality on a corded drill than a cordless drill at similar prices.
Instant torque: You don’t have to wait for a corded drill to get up to speed.
No stopping to change or recharge batteries.
No future expense of replacing batteries as they wear out.
Less wasteful: A corded drill won’t result in worn-out batteries that need to be recycled or disposed.
Disadvantages of a Corded Drill
A corded drill limits you to being plugged in to a power source or working with an extension cord.
Usually Heavier: The extra weight may not work for everyone. I’m thinking of shared ceramic studios with students of all ages. A lighter cordless drill is more accommodating for all.
For certain projects, such as drilling screws, corded drills are almost too powerful. Crazy, huh? Cordless drills are generally weaker and you’re not as likely to over-torque or damage screws, etc. A gentle touch on any corded, variable-speed drill should work, but if you have a heavy trigger finger, get a less powerful drill. Or — this is another reason to have both types of drill. A corded drill is great for drilling and using with mixing blades, while a weaker cordless drill is perfect for driving screws.
Considerations for all drills
Keyless or keyed chucks? Generally, a keyed chuck can be locked in super tight, but you’ll need to use (and not lose) the key. Keyless chucks are more convenient but can wear out
How often do you use the drill? If it’s infrequent, you may find that a cordless drill always has a dead battery when you need to use it.
BACKGROUND
I have used tons of different drills over the years, and this review is based on that experience along with looking at many recent reviews of corded drill reviews and every other source I could find, include user reviews on Amazon and checking out models in person. In the studio, I like to use the best tools at the lowest price. What that means in practice is I avoid the super-cheap brands such as Black and Decker, or Ryobi, and will generally choose the base models of top quality brands such as Milwaukee, Bosch, and DeWalt. I totally understand the need for a powerful, $200+ drill for a construction job site. But in my experience, the entry-level drills are powerful enough for most uses. They work for me and I think they’ll work for you too.
Wrap-Up
This post covered top picks for corded drills, as well as some useful tools and accessories. My top pick was the DeWalt DRD115K 3/8” drill. It’s a durable, powerful drill that is versatile, comfortable, and should work for most situations in a studio or home workshop. With this drill, I keep a variety of mixer blades, as well as drill bits, screwdriver bits, and hollow-core diamond bits.
A corded drill is a vital tool in the studio. What type of drill do you like to use? Let us know your favorite models and accessories in the comments.