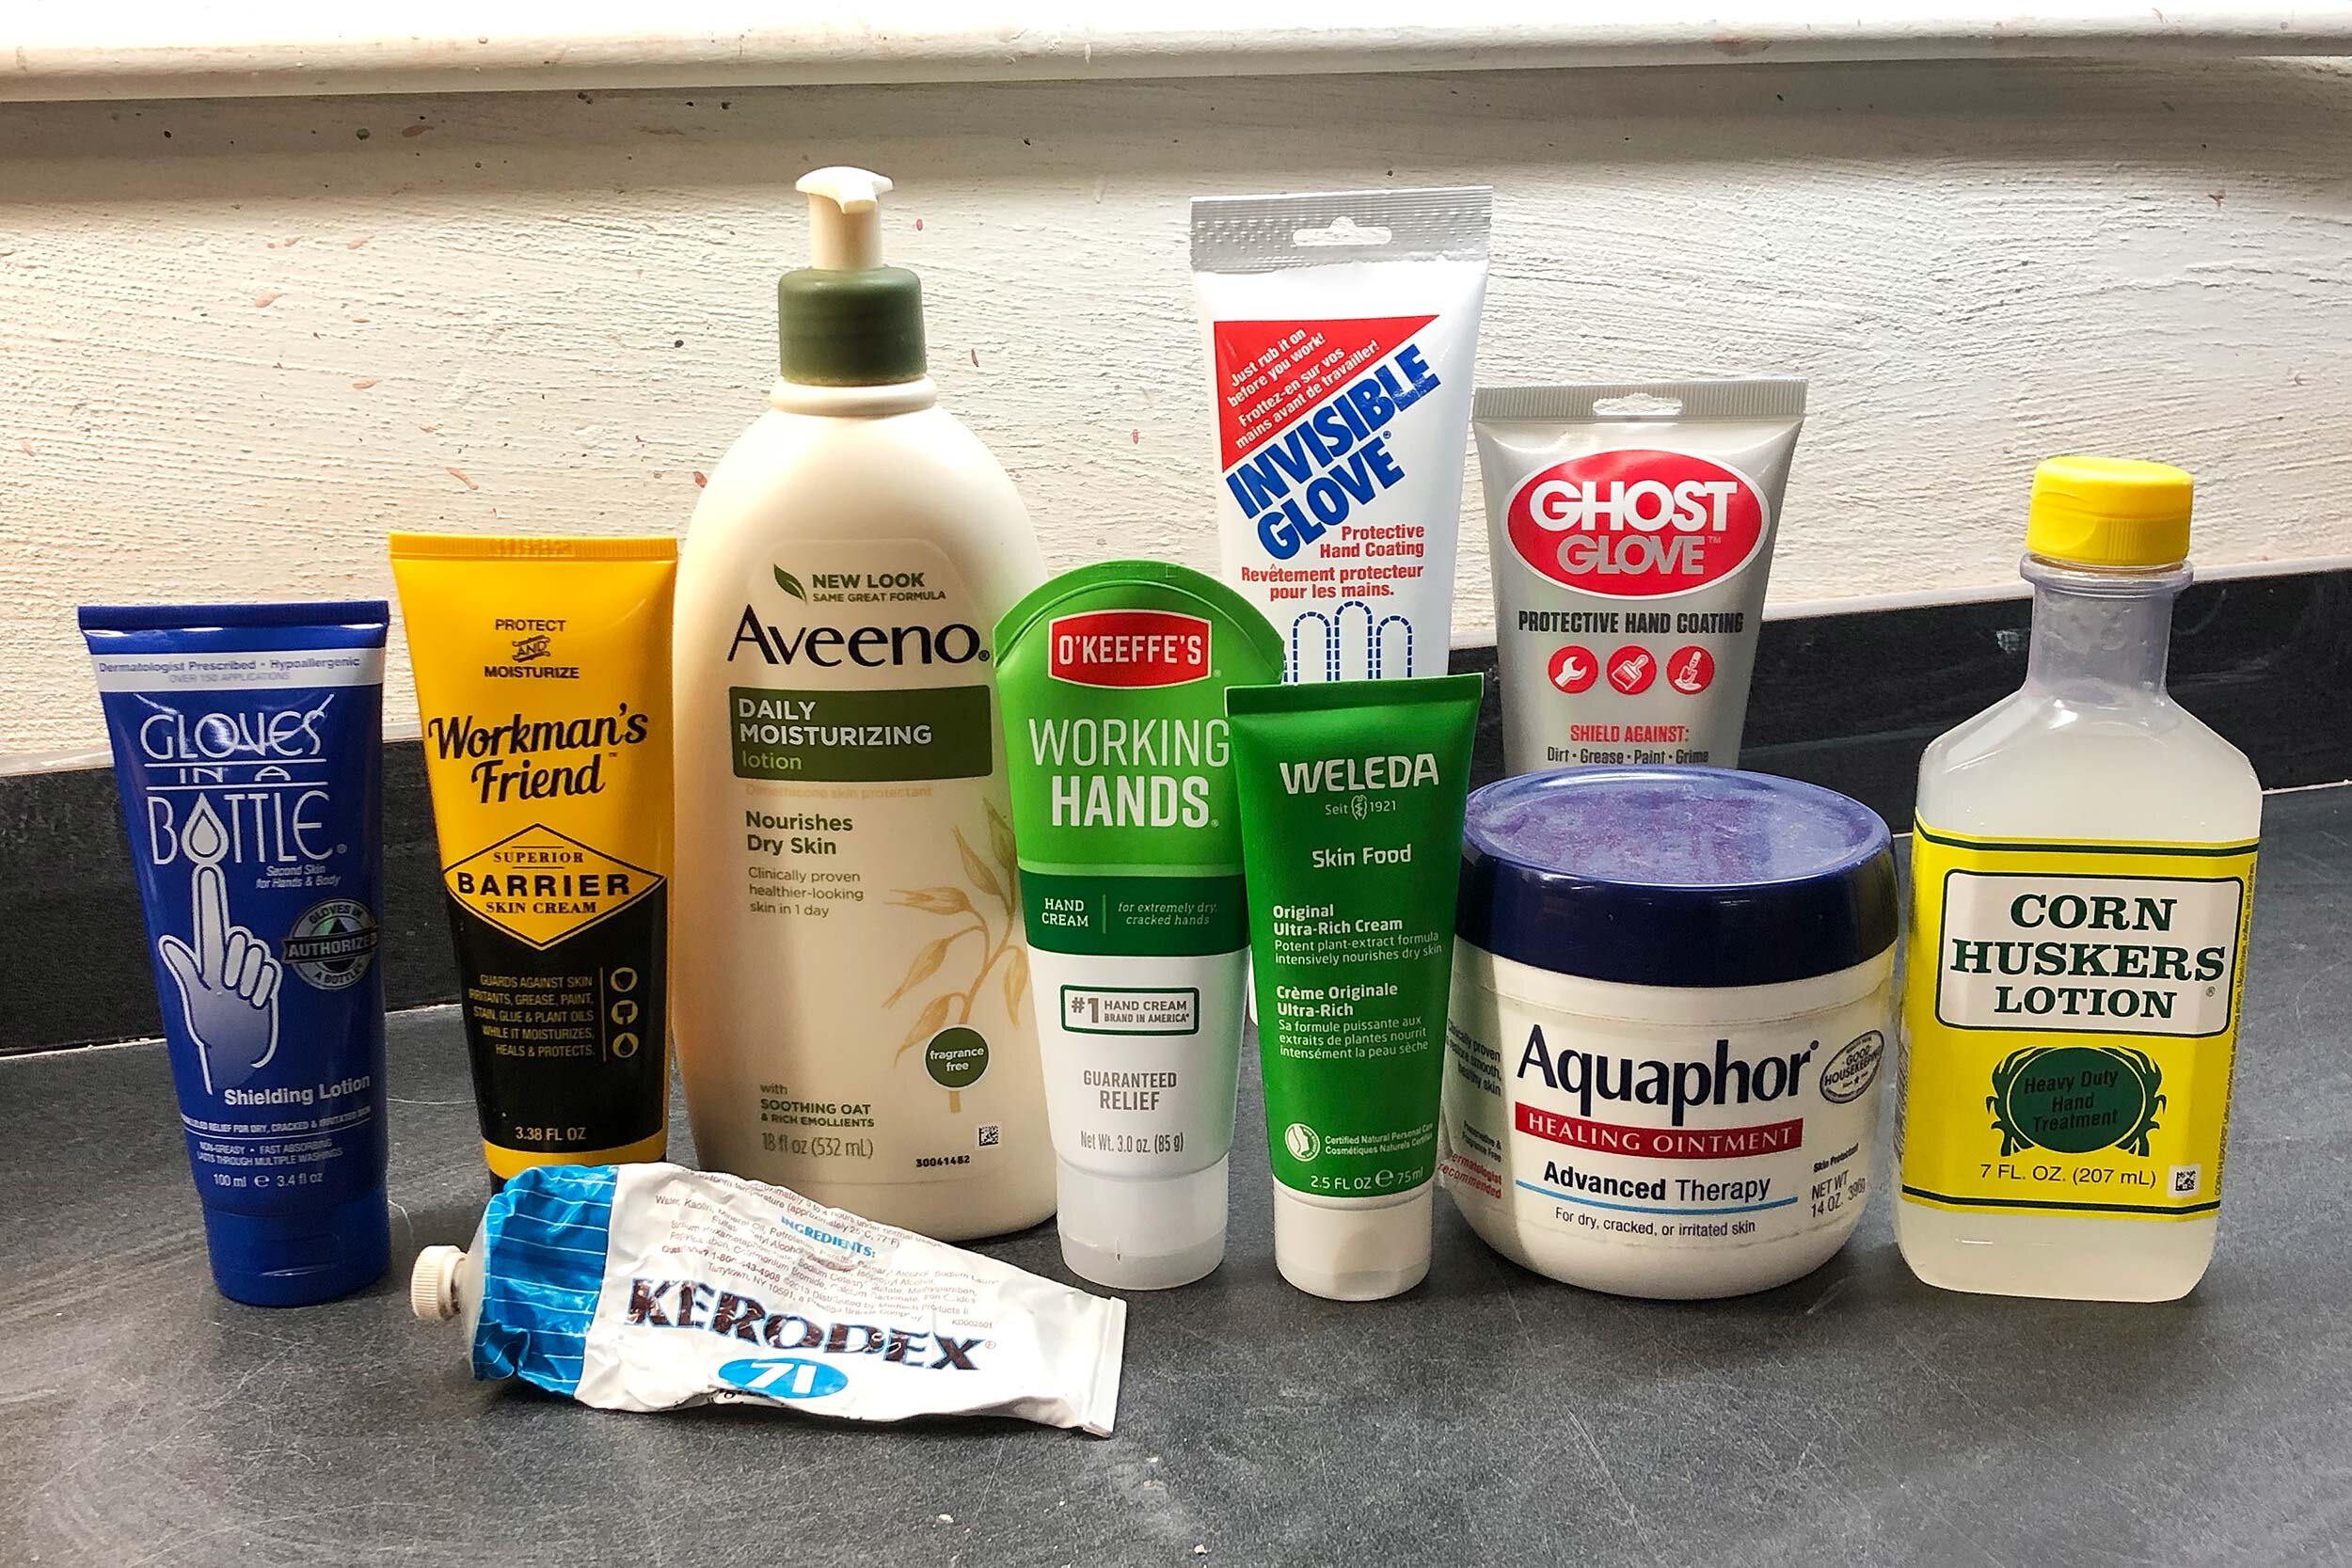
For this post, 10 hand creams were tested to determine the best product for potters, sculptors, artists, or anyone who works in a workshop or studio. Based on my experience in ceramic studios, I wanted to find the hand cream that would stick around, keep hands healthy, and not interfere with work. A few creams are clearly superior.
Top picks:
O’Keeffe’s Working Hands Cream (shop at Amazon) is the top pick. It is non-greasy, soaks in quickly, and sticks around. It’s got a bit of wax in it but doesn’t seem sticky or thick. It’s also affordable and does exactly what it says: protect working hands. That’s why it’s the top pick for a studio cream.
Aquaphor Healing Ointment (shop at Amazon) is the next pick. It can be a bit greasy for some uses, but it sticks around through intense wet work and a little bit goes a long way.
The third pick is Weleda Skin Food (shop at Amazon). It’s a rich, luxurious cream that is a pleasure to use, smells great, and has become the hand cream I use at home to start and end the day.
Full reviews are below but first, some history: For more than 10 years, my go-to studio hand cream was Kerodex 71. It’s a non-greasy, water-repellent cream that contains kaolin clay, mineral oil, and paraffin wax. This makes it a long-lasting, effective barrier cream for workshops and studios. Alas, it seems that it is no longer in production. (Please MedTech Products Inc. of Tarrytown, NY, bring it back!)
To find a replacement, I tried a bunch of creams designed as barrier, hand creams, and “invisible gloves,” along with a few other favorites, and did a head-to-head test. Results and favorites are below. Please note, almost any of these creams will be better than using nothing. Skin, hands, and studio tasks vary so my hope is that these reviews guide you to the perfect hand cream for your situation.
EDIT: After making the initial picks, I posted this in a few pottery forums and got a LOT of feedback. Many agreed with the top picks, but potters have a lot of thoughts on this topic. I’ve included some of the most recommended products at the end of this post, and plan to test more for a future review. In general, my favorite studio hand cream is something that contain a bit of wax or paraffin, such as O’Keeffe’s Working Hands or Kerodex.
Compare prices on the top 3 picks:
Table of Contents
Top Pick: O’Keeffe’s Working Hands Cream
Second: Aquaphor Healing Ointment
Third: Weleda Skin Food
Honorable Mention: Aveeno Daily Moisturizing, Corn Husker’s Lotion, Workman’s Friend,
Not quite right: Gloves in a Bottle, Invisible Glove, and Ghost Glove
The (discontinued) Old Favorite: Kerodex 71
Some tips, recipes, and ideas on healing cracked, dried out hands
Other suggestions for hand creams
Wrap-Up: The Best Hand Cream for Artists
Top Pick: O’Keeffe’s Working Hands Cream
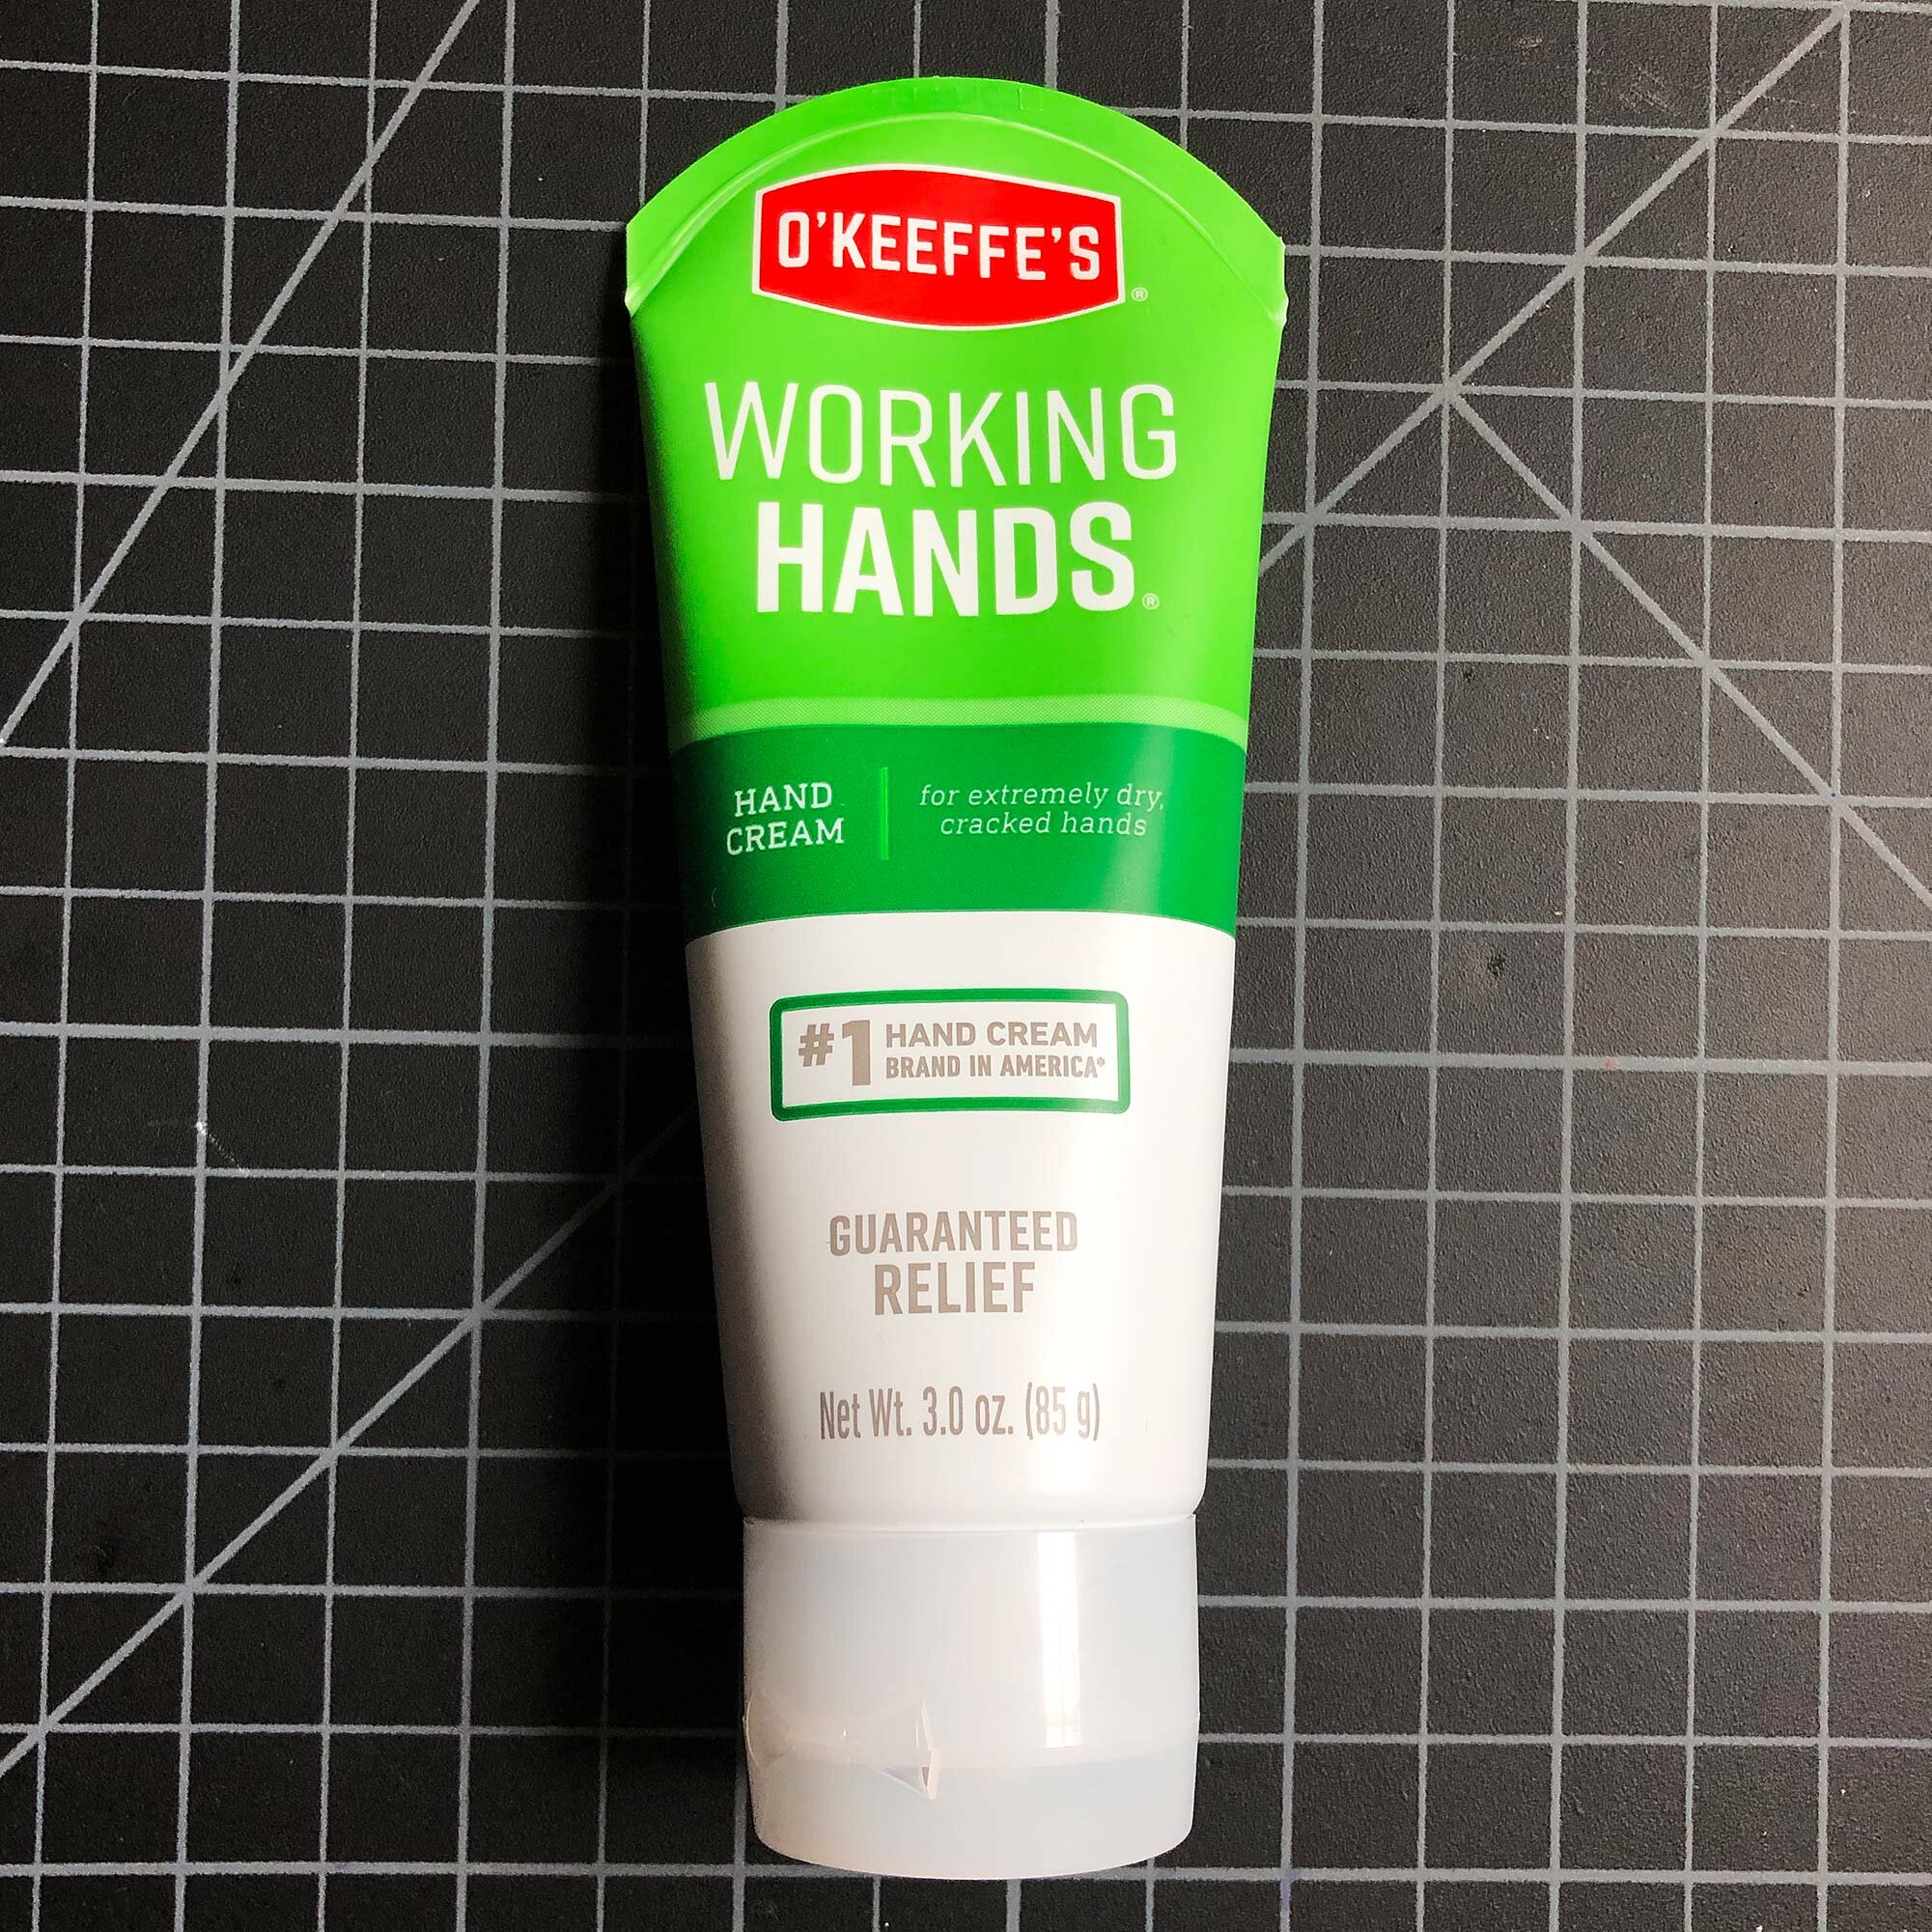

After testing, the top pick is O’Keeffe’s Working Hands Cream. It is a moisturizing cream that also contains a bit of paraffin, making it an ideal replacement for my previous favorite, Kerodex 71. This cream is quick to dry, non-greasy and had no smell. In testing, it stuck around through multiple washes. During heavier uses, like throwing pots, the cream was gone almost immediately from palms and fingertips, but it did stick around on knuckles and the backs of hands. There is no cream that survives heavy use such as direct contact with clay, but it was quick and easy to re-apply O’Keeffe’s throughout the day and it kept skin healthy. Throughout the testing period, this became the lotion returned to most frequently.
Drawbacks: There were no problems or concerns with this cream. It’s economical, does what you need it to do, and works as advertised. This is why it is the top pick.
O’Keeffe’s Working Hands Ingredients: Water, Glycerin, Stearic Acid, Isopropyl Myristate, Ceteareth-20, Cetyl Alcohol, Cetearyl Alcohol, Aluminum Starch, Octenylsuccinate, Sodium Hydroxide, Acrylates/CID-30 Alkyl Acrylate Crosspolymer, Paraffin, Dimethicone, Propylene Glycol, Iodopropynyl Butylcarbamate, Diazolidynyl, Urea
Second Pick: Aquaphor Healing Ointment


The second pick is Aquaphor Healing Ointment. If you’ve never tried it, it is similar to Vaseline or petroleum jelly, but contains a few other ingredients such as Lanolin Alcohol and Glycerin. It will help protect your hands and can be used on the rest of your body too. It’s also used to temporarily protect minor cuts, scrapes, or burns, and seems to be a popular recommendation from pediatricians. It works on babies and kids, and it works in the studio too.
Aquaphor goes on easily but does stay a bit greasy. During testing, it stayed on through normal use, providing a long-lasting protection that could be felt throughout the course of a few hours. Although it costs more than petroleum jelly, it’s still an economical option because you just need a small dab at a time. And the extra ingredients make it a superior ointment to generic petroleum jelly. It’s a solid option and for some of our friends, it’s their favorite studio hand cream and protectant.
Drawbacks: This is one to avoid if you are concerned about getting grease on your projects, such as working with ceramic bisqueware or drawing / painting. It does stay a bit “wet” or oily longer than most creams, but will eventually absorb into the skin.
Aquaphor Ingredients: Petrolatum, Mineral Oil, Ceresin, Lanolin Alcohol, Panthenol, Glycerin, Bisabolol
Third Pick: Weleda Skin Food
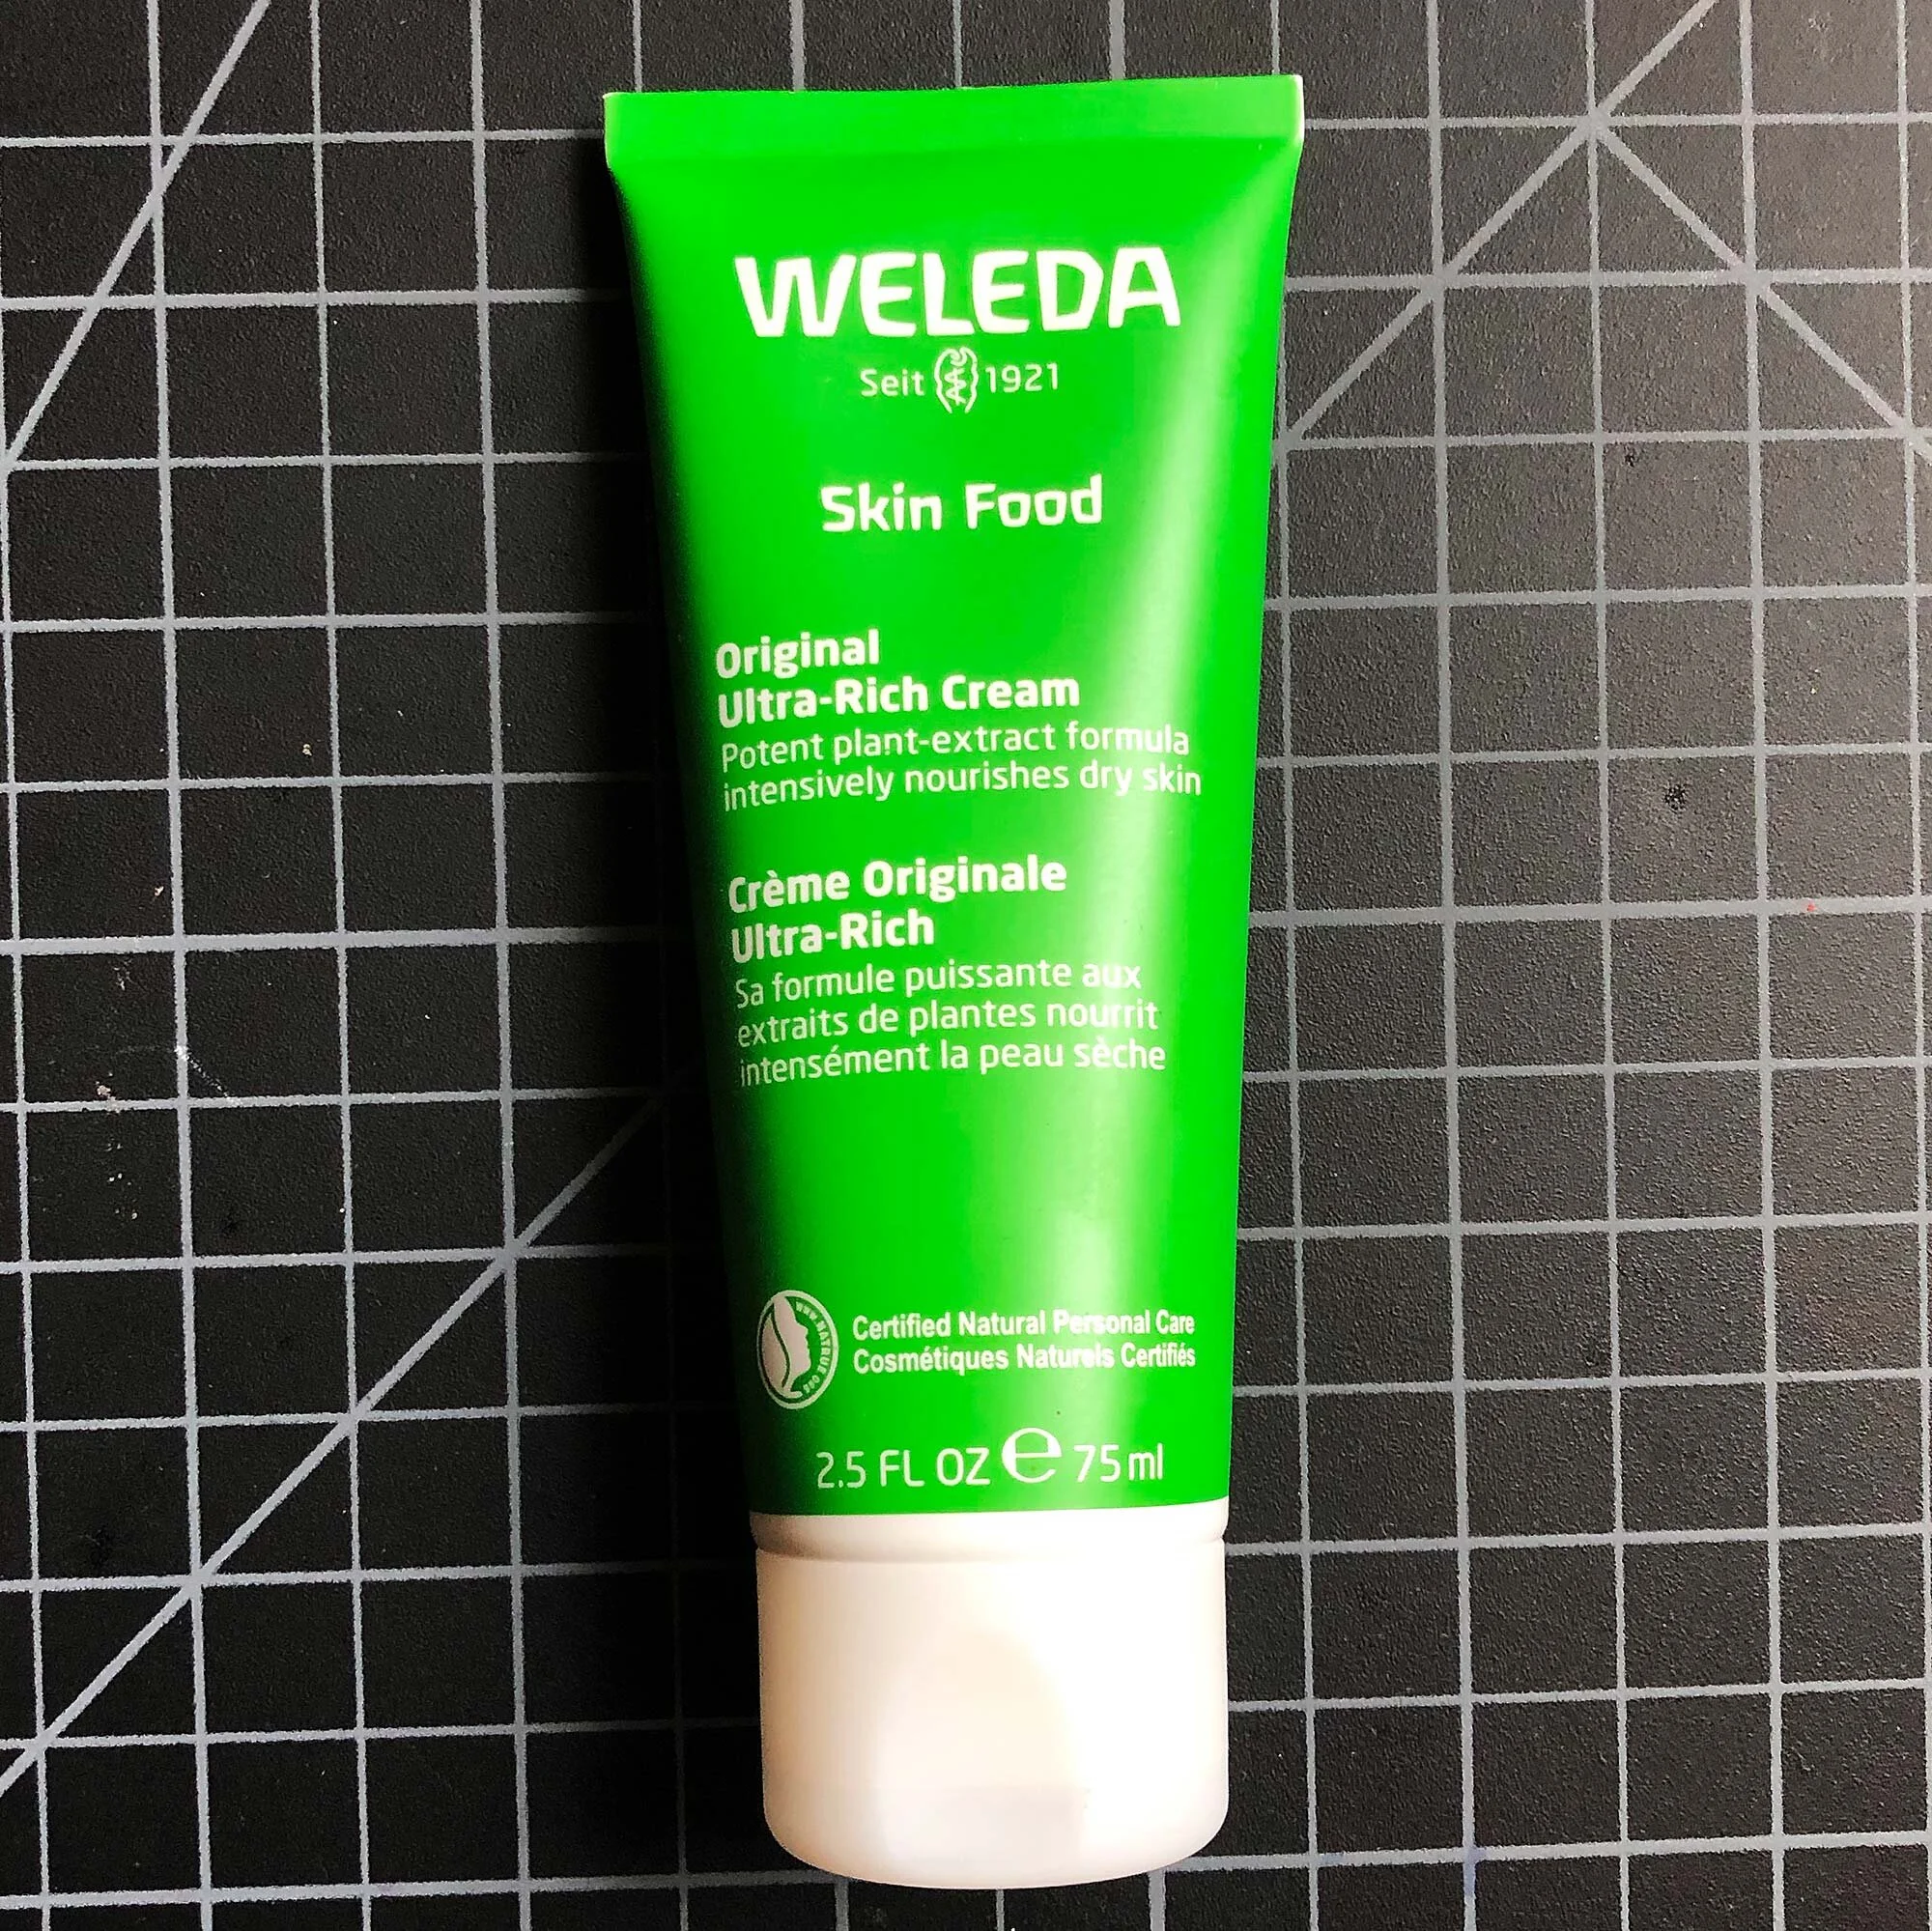

The third pick is Weleda Skin Food. Described as an “ultra-rich cream,” this is definitely the creamiest, most luxurious product reviewed. It smells great too—kind of a floral / essential oil smell that is very pleasant. The beeswax makes it similar to a barrier cream, but it’s not advertised that way. It’s just a really nice, thick cream that works great in the studio or at home. If it wasn’t on the more expensive side, I would rank this first or second. Through this testing it became a new favorite cream for day-to-day use at home, especially for hands and dry patches like elbows.
Drawbacks: Like Aquaphor, this cream stays “wet” or oily on your skin for a bit. Definitely something to avoid if you wanted to immediately begin working with paper, canvas, or bisqueware, as some oil could transfer to those surfaces. It’s also the most expensive cream reviewed. For those reasons, it ranked this third in this review.
Weleda Skin Food Ingredients: Water, sunflower seed oil, lanolin, sweet almond oil, alcohol, beeswax, glyceryl linoleate, hydrolyzed beeswax, fragrance from natural essential oils, pansy extract, rosemary leaf extract, chamomile flower extract, calendula flower extract, cholesterol, limonene, linalool, geraniol, citral, coumarin.
Honorable Mention: Aveeno Daily Moisturizing Lotion

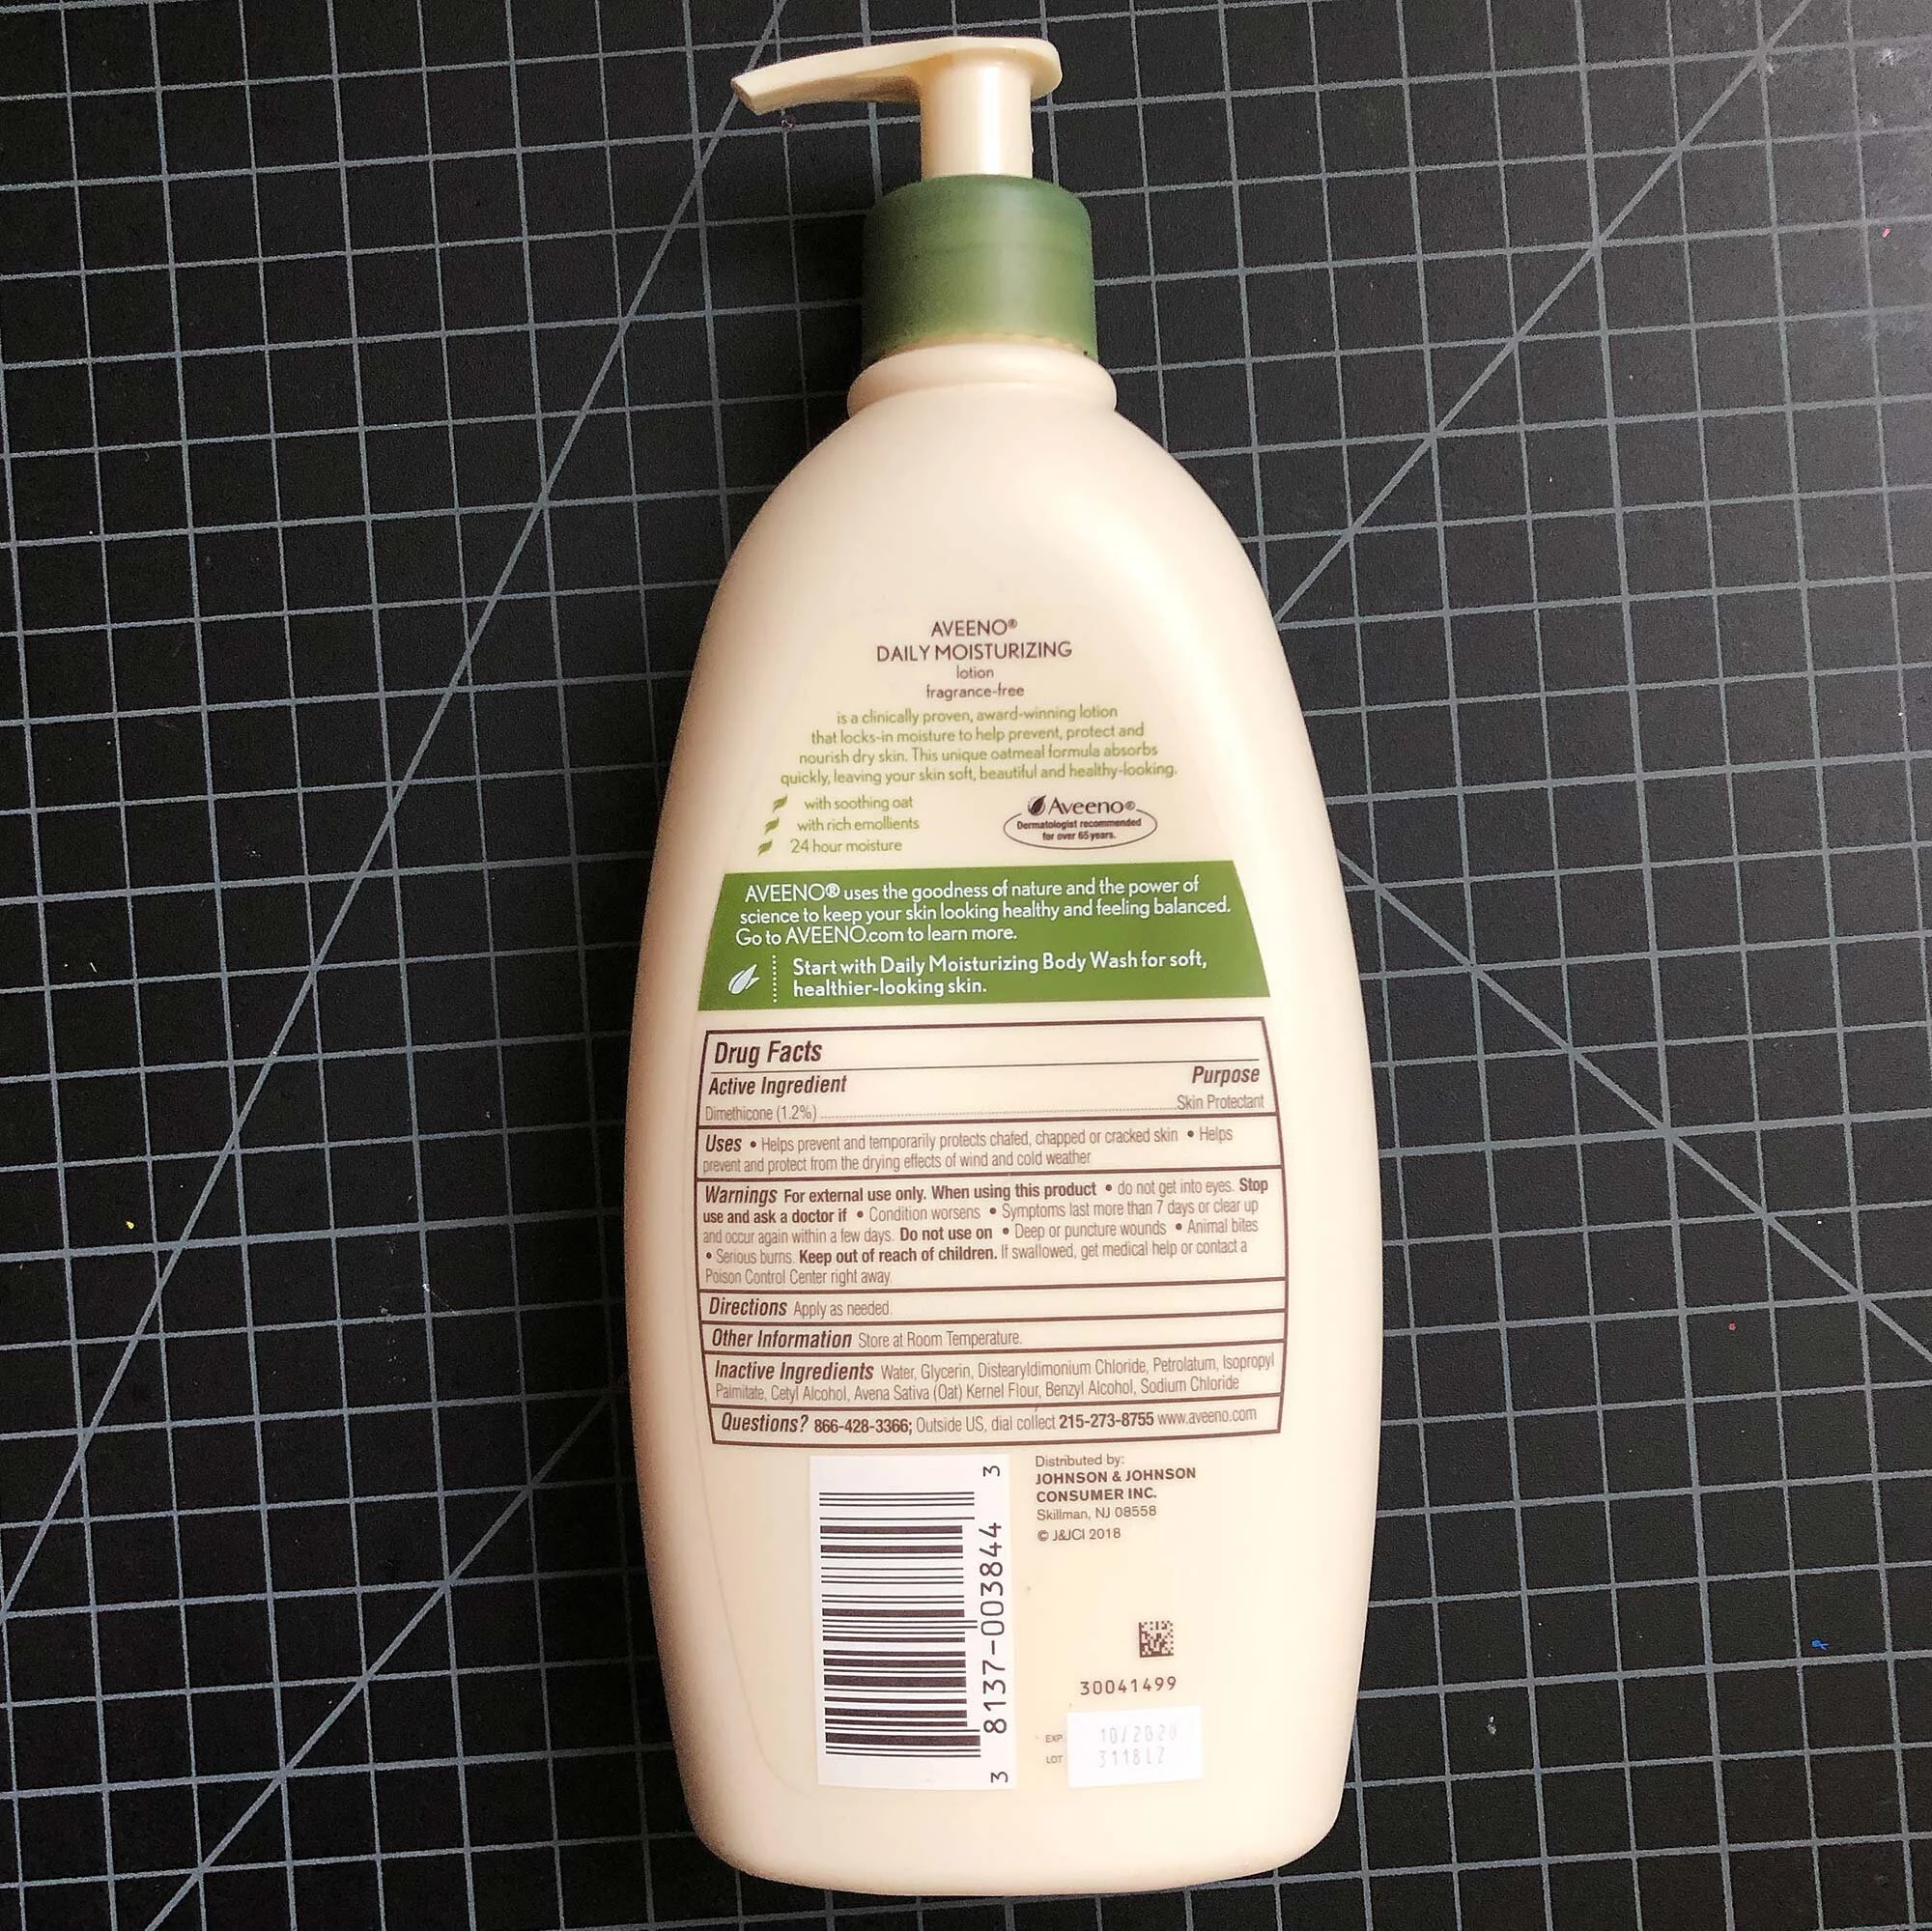
Aveeno Daily Moisturizing Lotion is the top pick in the Honorable Mention category. If you are looking for just one lotion for studio and home, this would be it. It applies easily and absorbs quickly, doesn’t feel greasy, is economical, and the fragrance-free option is a plus. All in all, a great daily lotion for hands and skin. One bonus: It’s not advertised except for a small mention on the bottle, but it contains dimethicone, a silicone-polymer skin protectant that is used in more expensive barrier creams.
Drawbacks: This is a standard daily lotion and is thinner than a skin cream. It doesn’t contain any wax or thicker ingredients and is not formulated for a high-intensity use such as O’Keeffe’s Working Hands. But it’s a fine lotion and does the job.
Aveeno Daily Moisturizing Lotion Ingredients: Active Ingredient: Dimethicone 1.2% Inactive Ingredients: Water, Glycerin, Distearyldimonium Chloride, Petrolatum, Isopropyl Palmitate, Cetyl Alcohol, Avena Sativa (Oat) Kernel Flour, Benzyl Alcohol, Sodium Chloride.
Corn Husker’s Lotion


The next honorable mention is Corn Huskers Lotion, which I have seen listed as a potter’s favorite on a few online forums. Think of it as gel-like, almost-liquid version of petroleum jelly. Unlike petroleum jelly or Aquaphor, it absorbs quickly into the skin. After applying, your skin feels smoother and not exactly slippery, but that definitely seems like an effect of the second ingredient, glycerin.
This is also a product that you might add to your throwing water when working on the pottery wheel (some people use baby oil). I don’t do the baby-oil-in-throwing water, but some swear that this addition of oil to the water keeps their hands from getting beat up.
Drawbacks: This product has a baby powder smell that sticks around for a bit. Not my favorite odor. For that reason, it was dropped it into the honorable mention category.
Corn Huskers Lotion Ingredients: Water, Glycerin, SD alcohol 40-B, algin, oleoyl sarcosine, methylparaben, triethanolamine, cyamopsis tetragonoloba (guar) gum, fragrance, calcium sulfate, calcium chloride
Workman’s Friend Barrier Hand Cream


Workman’s Friend Barrier Cream certainly seemed like it could be a great replacement for Kerodex 71, but after testing, I’m not sure this product lives up to that billing. It’s definitely a cream and has a thicker feel and application than a lotion such as Aveeno, but for the extra cost and all the extra words on the package, it just didn’t live up to the hype. It has 1% dimethicone, a silicone-polymer skin protectant and lubricant, but so does Aveeno Daily Moisturing. It’s also about double the price of the top pick. That said, it is a nice cream that I did enjoy using.
Drawbacks: More expensive for what seems to be a slightly thicker cream version of Aveeno lotion, it also doesn’t have the advertised barrier capabilities that the top three picks definitely have. This is a cream I’ll use but wouldn’t buy again as there are cheaper, better options.
Workman’s Friend Barrier Cream Ingredients: Deionized Water, Steric Acid, Propylene Glycol, Glyceryl Stearate, Isopropyl Palminate, Ricinus Communic (Castor) Seed Oil, Cyclopentasiloxane, Phenoxyethanol, Ethylhexylglycerin, Sodium Hydroxide, Mineral Oil, Simmondsia Chinensis (Jojoba) Seed Oil, Xantham Gum, Disodium EDTA, Acrylates Copolymer, Aloe Barbadensis Leaf Extract.
Not Quite Right:
Gloves in a Bottle
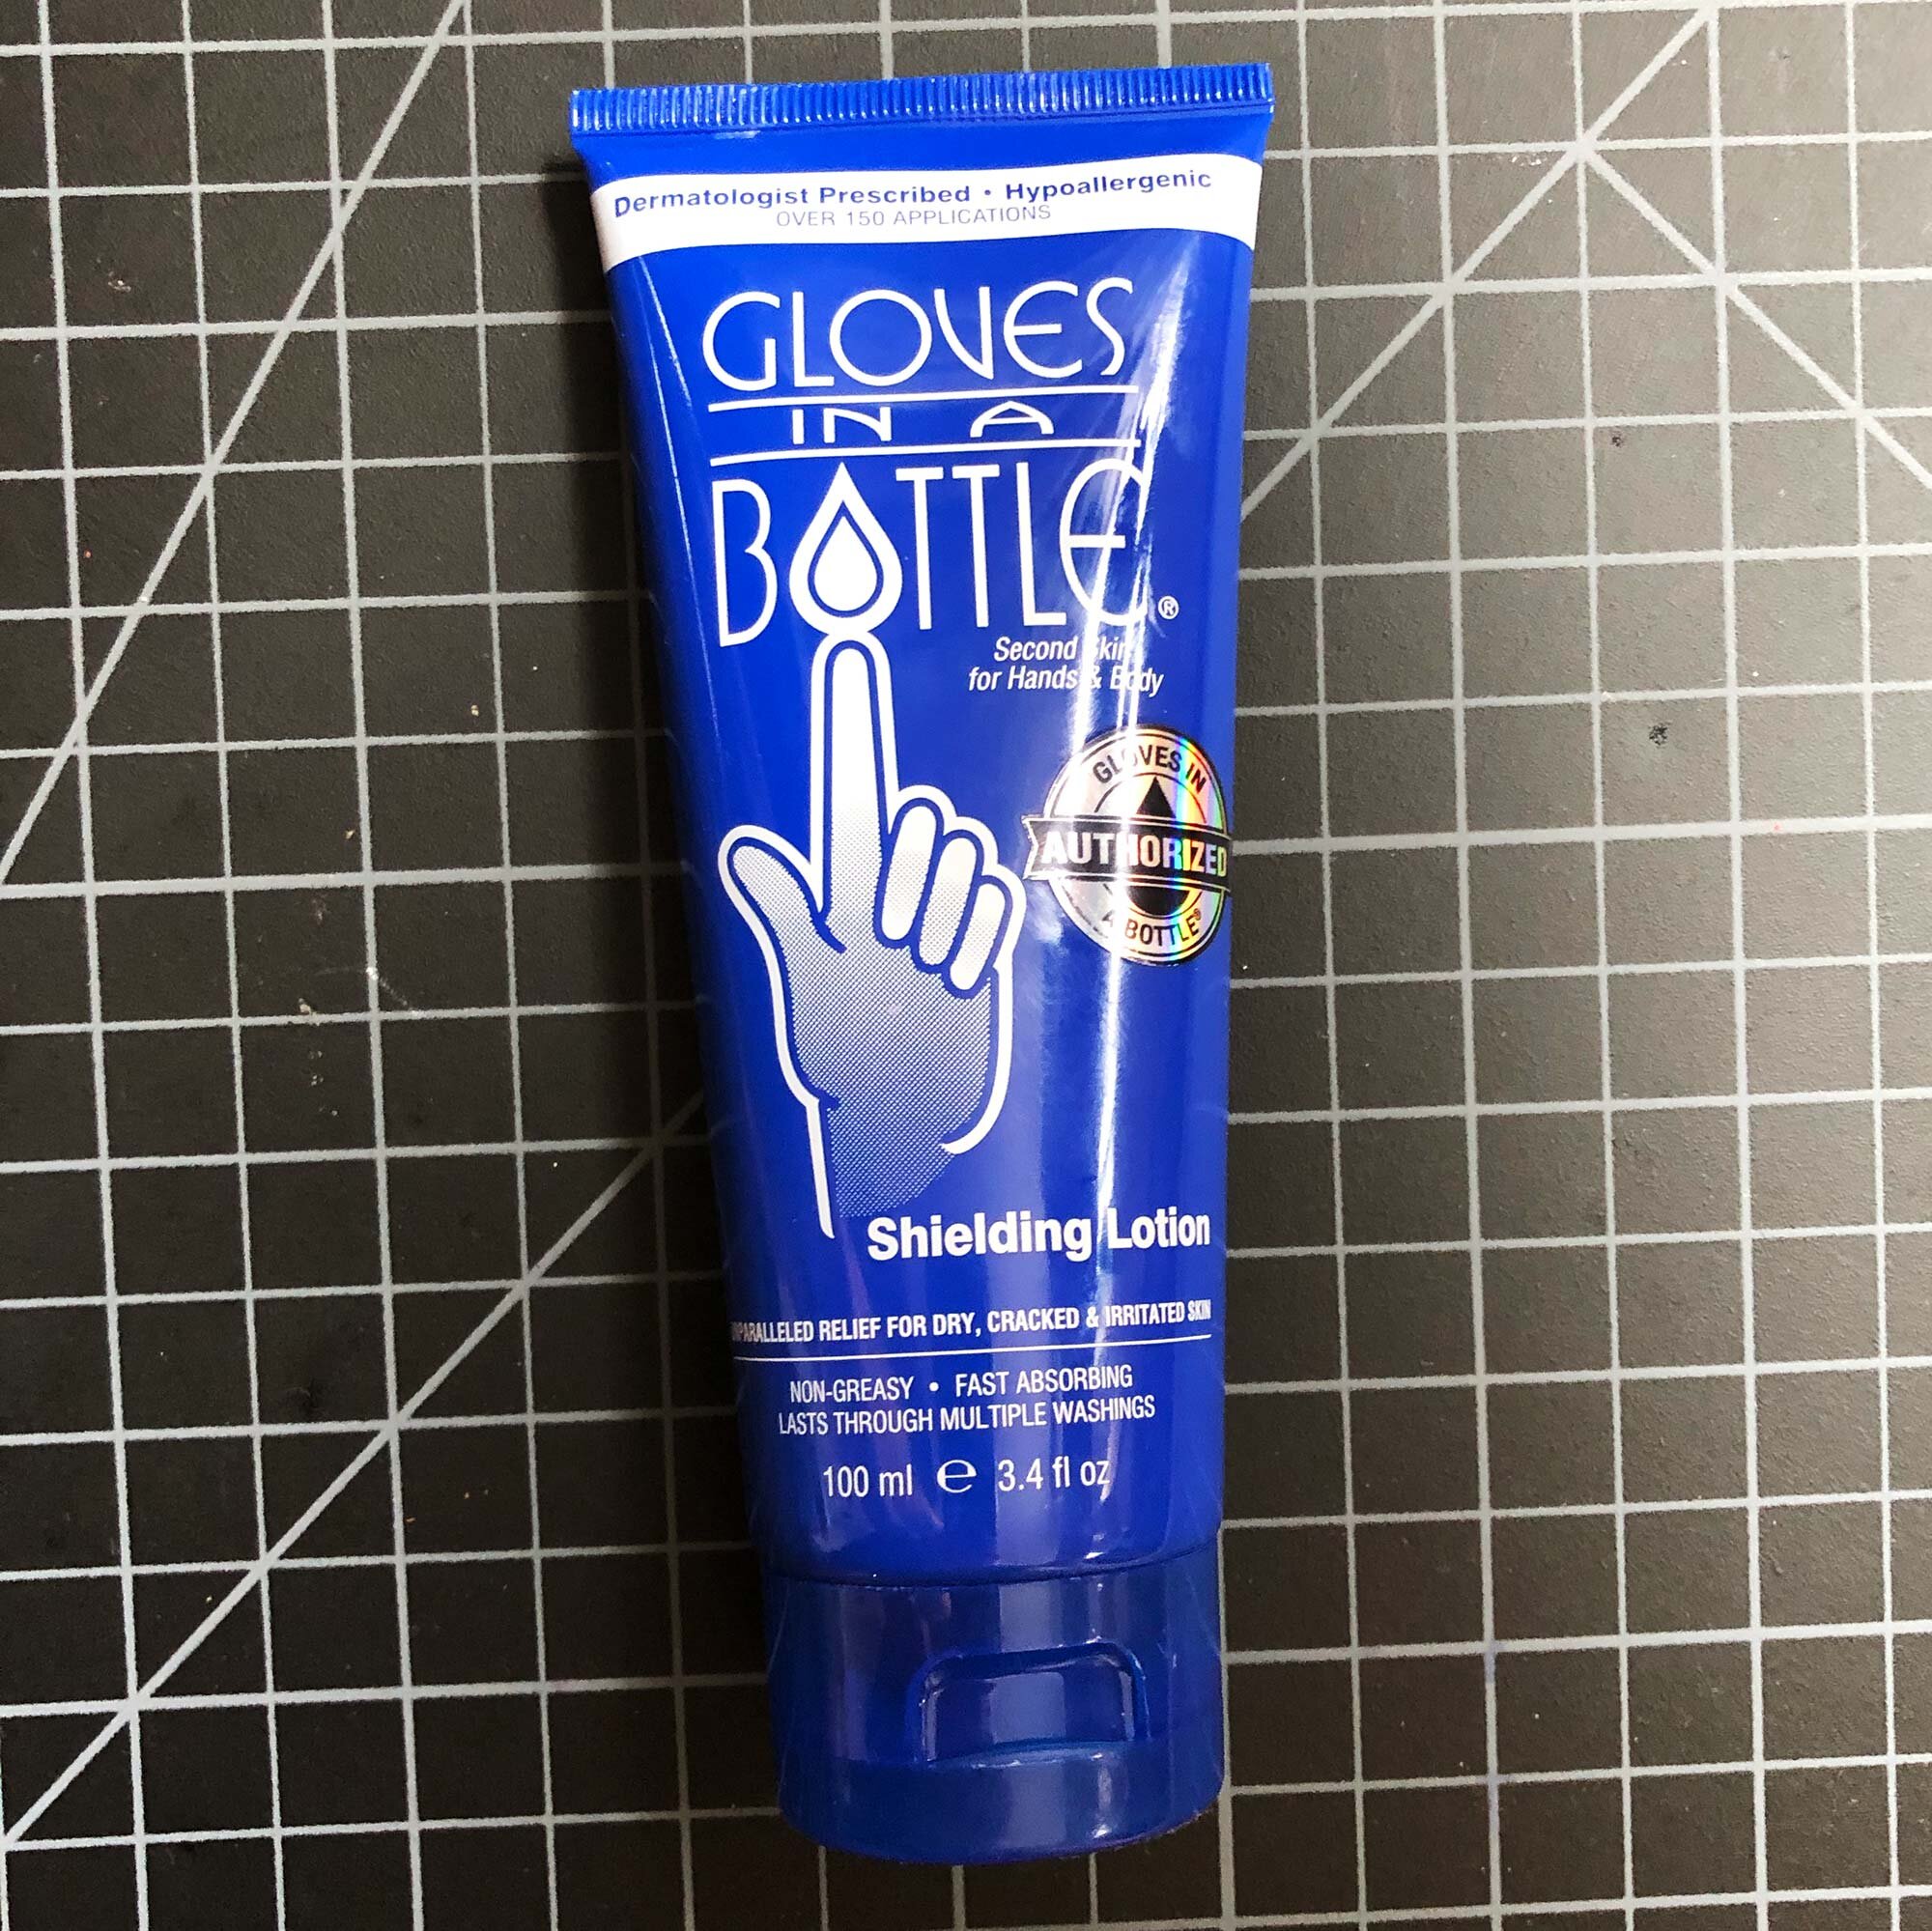

Like the Workman’s Friend Hand Cream, I had high hopes for Gloves in a Bottle as I have seen it for sale at many ceramic supply shops. But it did not deliver. It’s a lotion, not a cream, and it applies easily. It takes three to four minutes to dry completely on your skin and for a few of those, it has a slightly tacky or sticky quality. Taking this long to dry definitely involves some planning. After it dries, it’s seems a lot like a regular lotion and didn’t have any special sort of effect. I don’t feel it’s worth paying extra for a product like this.
Drawbacks: Maybe it was just my skin, but upon repeated washing, Gloves in a Bottle had an astringent effect and seemed to promote drying in my fingertips. I double checked this effect over multiple days, and it dried out my fingertips each time. I just did not have good luck with this product.
Gloves in a Bottle Ingredients: Purified Water, Dimethicone, Stearic Acid, Glycerin, Cetyl Alcohol, Isopropyl Myristate, Stearyl Alcohol, Triethanolamine, Xantham Gum, Hydroxypropyl Methylcellulose, VP/ Eicosene Copolymer, Steareth-21, Phenoxyethanol (preservative)
Not Quite Right Part 2: Ghost Glove and Invisible Glove


Ghost Glove and Invisible Glove seem like great (albeit almost identical) products. But they weren’t what I was looking for. They are basically thick, spreadable soap that will protect your hands when you’re working with a greasy substance. When you’re ready to clean up, boom, everything washes right off. For a wet use, like ceramics or plaster, they would wash off right away. And if you were working with dry media, these products could easily rub off onto paper or canvas.
Drawbacks: Great products for working with greasy, oil substances. Neither contains any sort of moisturizer. Seemed like fine products, but not right for us or for a ceramics or sculpture studio. Seems more for a machine or automotive shop, and could be a good choice for artists working with oil paint.
Ghost Glove Ingredients: Glycerin, Water, Sodium Silicate, Soap, Emulsifier, Fragrance, Preservative
Invisible Glove Ingredients: Water, Glycerin, Sodium Silicate, Soap, Fragrance
The (Discontinued) Old Favorite: Kerodex 71
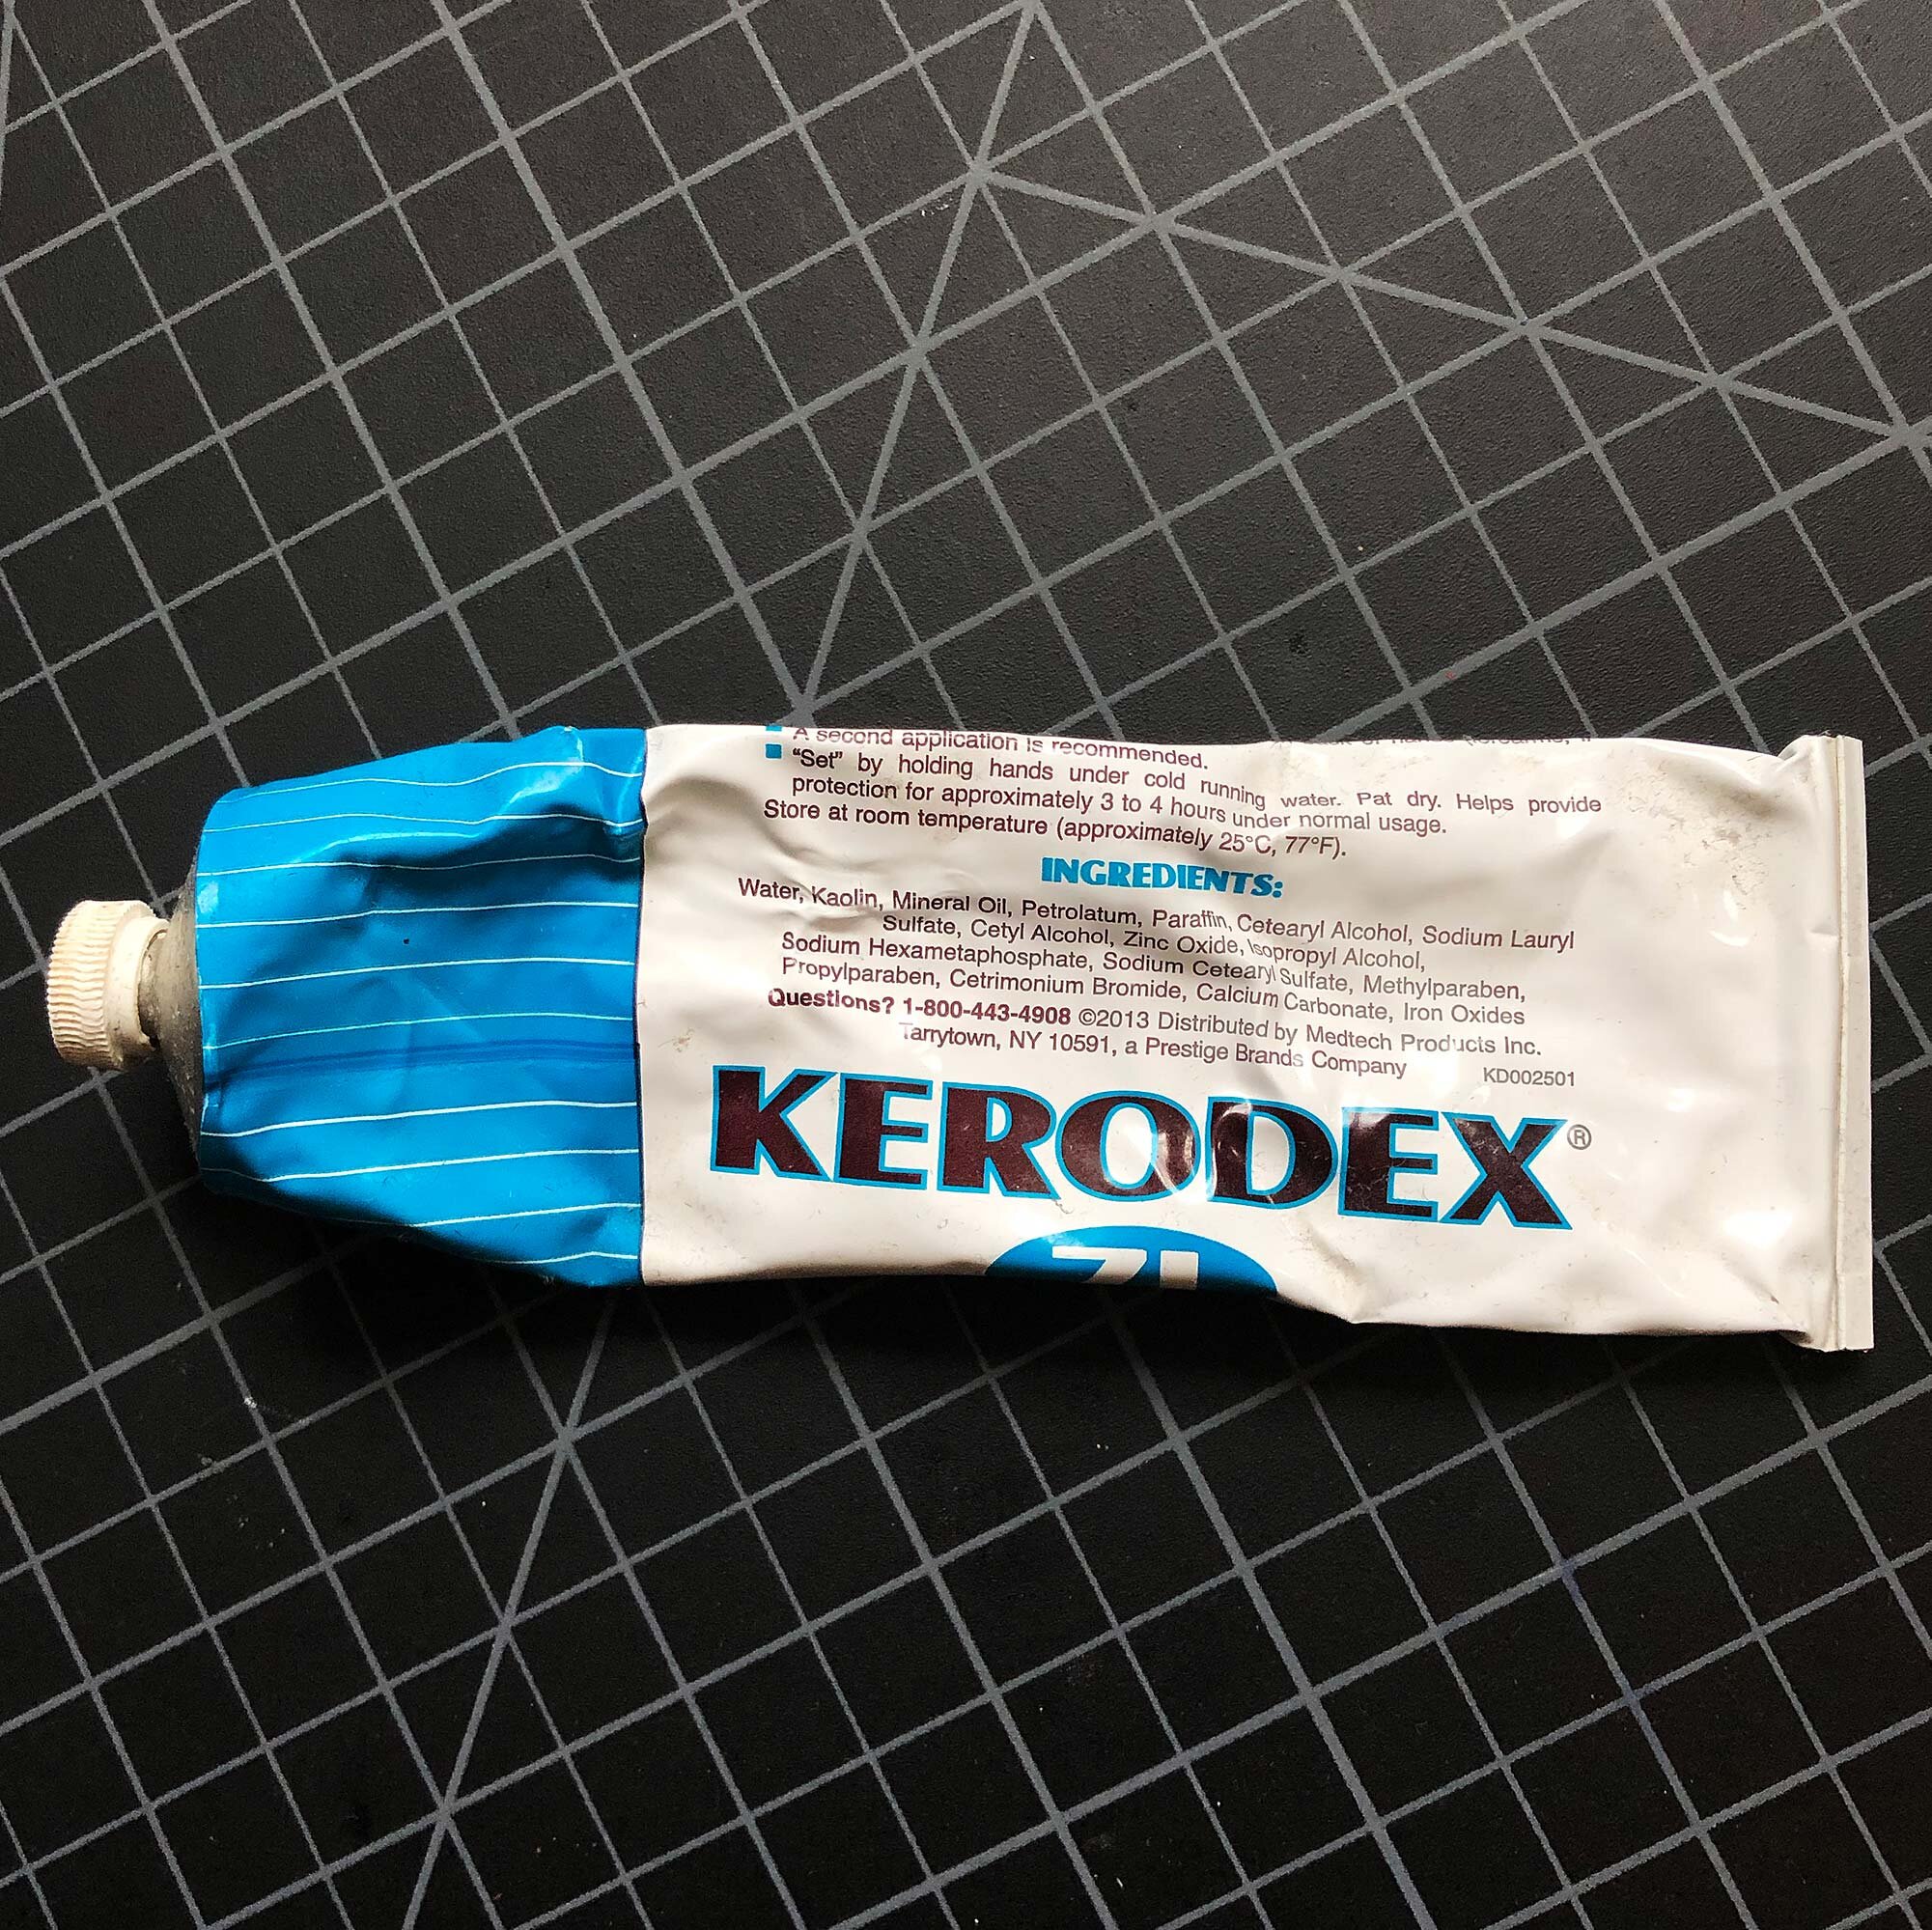

I’ll close out this post with some pictures and info on Kerodex 71. I haven’t seen this for sale in a few years. Looking at the ingredients, it really stands out that kaolin (aka china clay) is the second ingredient. Combine that with mineral, petrolatum, and paraffin, and you’ve got a great barrier cream that also moisturizes. If any hand cream manufacturers out there are reading this, bring it back!
Kerodex Ingredients: Water, Mineral Oil, Petrolatum, Paraffin, Ceteryl Alcohol, Sodium Lauryl Sulfate, Cetyl Alcohol, Zinc Oxide, Isopropyl Alcohol, Sodium Hexametaphosphate, Sodium Cetearyl Sulfate, Methylparaben, Propylparaben, Cetrimonium Brodime, Calcium Carbonate, Iron Oxides
Some tips, recipes, and ideas on healing cracked, dried out hands
If you have cracked or very dried out hands, here are some tips to get them healed. You may need to take a break from working with clay, especially intensive activities such as throwing, mixing glazes, or reclaiming clay.
Aquaphor or Vaseline under band aids, surgical gloves, or night-time gloves
If you have cracked fingertips or knuckles, apply petroleum jelly such as Aquaphor or Vaseline, and then cover it with a band-aid or night-time gloves. Alternately, put surgical gloves over the cream or lotion for about an hour.
Add Baby Lotion to Throwing Water
I haven’t tried but have heard good things! You could also try this with Corn Huskers Lotion. One thought is this might make your reclaim clay a bit stinky.
Mix Your Own Skin Lotion
This simple recipe was suggested was:
Mix in a blender:
16oz Vitamin E cream
16 oz Vaseline
27oz jar of Baby Lotion
Other suggestions for hand creams
As mentioned at the top, I posted the first version of this review in a few pottery forums and got a LOT of suggestions. Potters have strong opinions about what works for them. I plan to test as many of these products as I can, and add them to this review in the future. Until then, here’s the feedback:
O’Keeffe’s Working Hands: Many commenters agreed with the top pick of O’Keeffe’s Working Hands cream. Some preferred the version in a tub, which they find to be a bit thicker. But overall, more commenters preferred O’Keeffe’s than any other product, echoing my endorsement. Many others wrote in to say that they also really like Weleda’s hand creams, such as Skin Food.
Bag Balm Ointment was the next most recommended hand cream. Some said it was a bit greasy, but that it works great. It has a simple, 4 part recipe and has been around for more than 100 years.
Potters Skin Butter from Cara Mae Skincare was the next most-recommended hand cream after Working Hands and Bag Balm. Originally developed in 2004 by a potter for other potters, it looks great for any kind of hard working hands! In addition to the website, you can find it on Etsy.
Burt’s Bees Hand Salve was also highly recommended. If you go with Burt’s Bees, some preferred the Hand Repair Cream.
A number of people replied to say that their favorite hand cream is just 100% Shea Butter. Easy and natural! Others preferred just straight coconut oil for their working hands.
The Body Shop Hemp Hand Protector also had a number of fans. This one is not cheap but it has ecstatic reviews on Amazon and other sites.
Cerave was also a popular mention. The Therapeutic Hand Cream seems ideal, but the company makes a variety of products.
Gold Bond Ultimate Healing Hand Cream had a number of fans.
Neutrogena Norwegian Formula Hand Cream also had some vocal fans.
The following products had just one or two people recommend them, but we are including the list here in the hopes it may help you identify the best hand cream for your situation.
A&D Ointment (yes, the diaper cream but works for wet hands too!)
Crabtree & Evelyn Gardeners Hand Cream
Curel Ultra Healing Intensive Lotion
Eucerin Original Healing Cream and Advanced Repair Hand Cream
First Aid Beauty Ultra Repair Cream
Kiehl’s Ultimate Strenght Hand Salve
L’Occitane Shea Butter Hand Cream
Lubriderm Daily Body and Hand Moisture
Malaleuca Renew Intensive Skin Therapy Lotion (commenter said this is also good for treating new tattoos)
Wrap-Up: The Best Hand Creams for Art and Ceramic Studios
In this post, I’ve shared results from testing 10 different hand creams. My favorite was O’Keeffe’s Working Hands Cream, followed by Aquaphor, and then Skin Food. Each of these moisturizes and protects your hands, and will stick around through some moderately heavy use such as throwing on the pottery wheel.
What hand creams or lotions do you use? Please share in the comments.