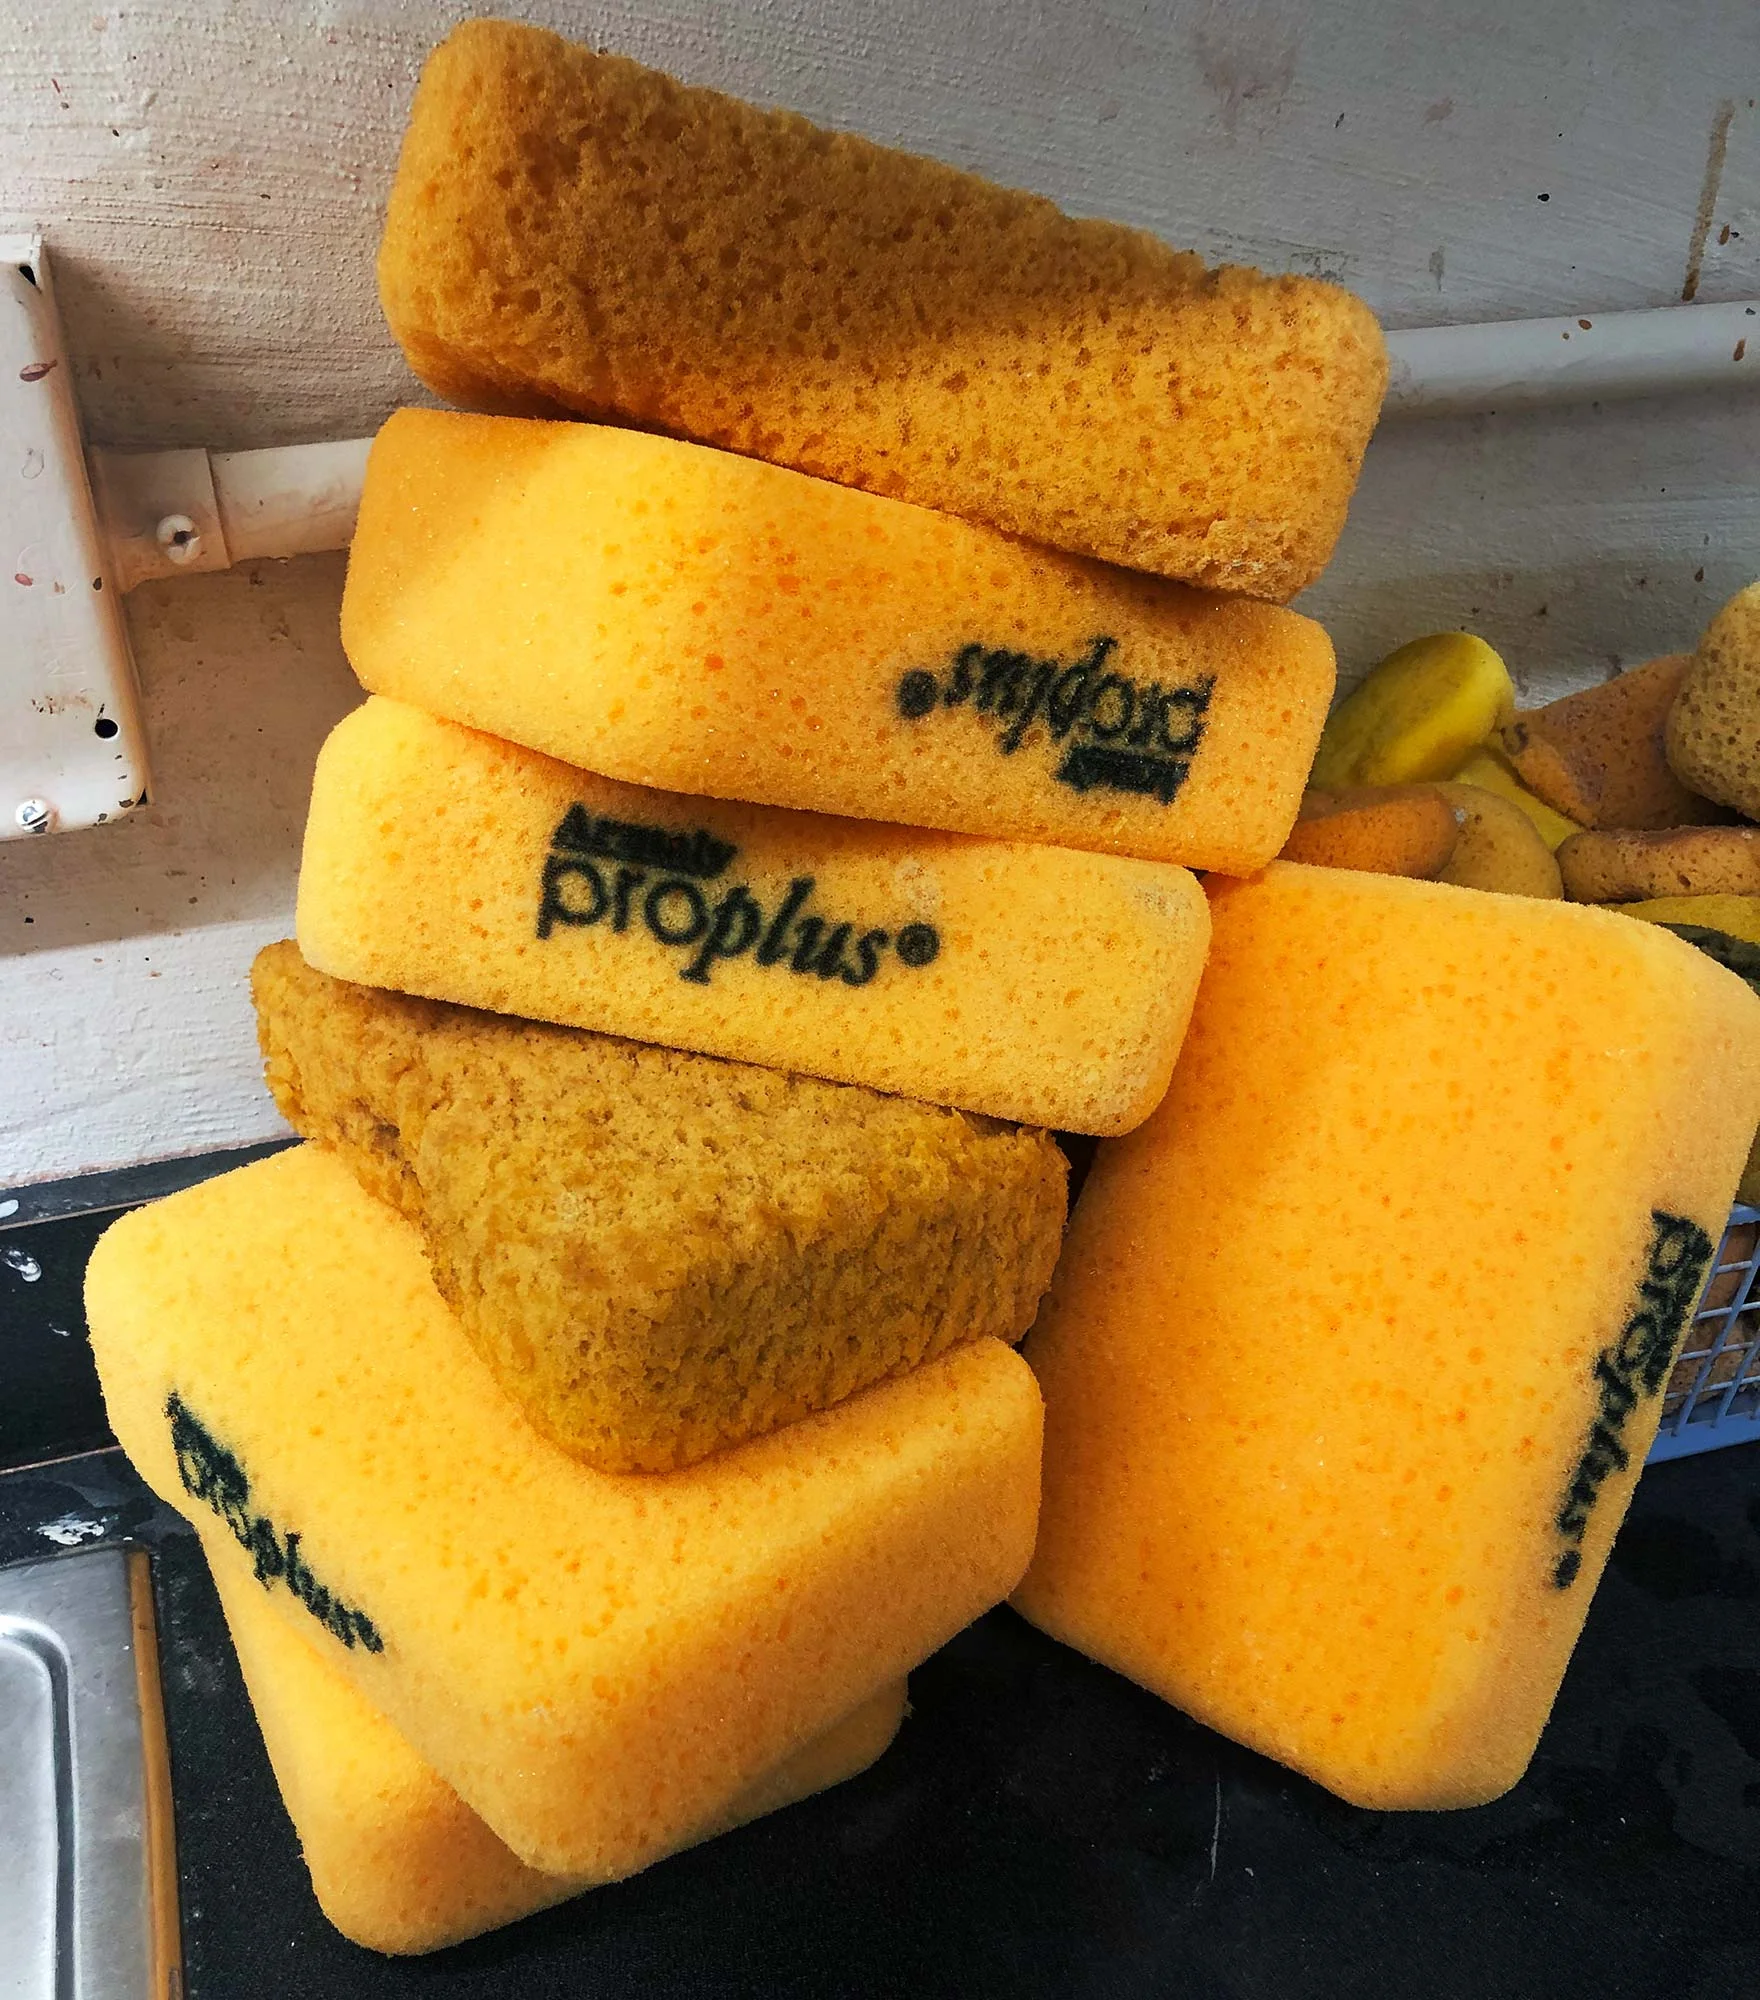
A stack of large yellow sponges. Bright yellow are new sponges, the darker sponges are about six months old.
Every art studio needs cleaning, and large yellow sponges are one of the most effective cleanup tools. They can wipe, mop up liquid, and be used over and over again. If you are working with clay, this is a must have tool in the studio. Small sponges, rags, or towels will simply not compete with the large surface area, long life, flexibility, and reusability of these sponges.
The only problem is that most large yellow sponges for sale online are low-quality generics that can disintegrate and fall apart, sometimes within weeks.
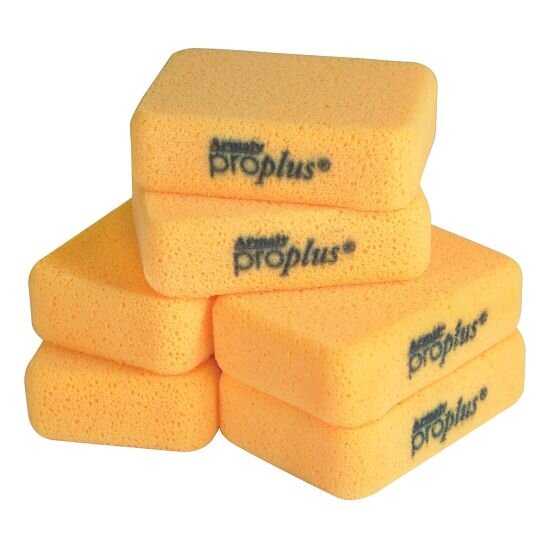
The best large sponge I’ve found is the Armaly ProPlus Heavy Duty Grouting and Concrete Sponge. For the past several years, I’ve been using these sponges in a busy community ceramics studio and the sponges will hold up under heavy use for six months or more. There is simply not a comparable sponge on the market and I believe these sponges are worth the slightly extra price, especially when they are being used day after day and don’t need to be replaced as often.
Shopping tip: Lowes generally has the best prices for these sponges. At the time of this post, Lowes had a 6 pack for $15.49 and the same pack of sponges was $32 at Amazon.
For our guide to wheelthrowing and other small sponges, click here.
Table of Contents
Top Pick for Heavy Duty Large Sponges
Advantages of Armaly ProPlus Heavy Duty Grout Sponges
Other Quality Sponge options
What you can do with large yellow sponges
Wrap-up: The best Heavy Duty Large Yellow Sponges
Top Pick for Large, Heavy Duty Sponges
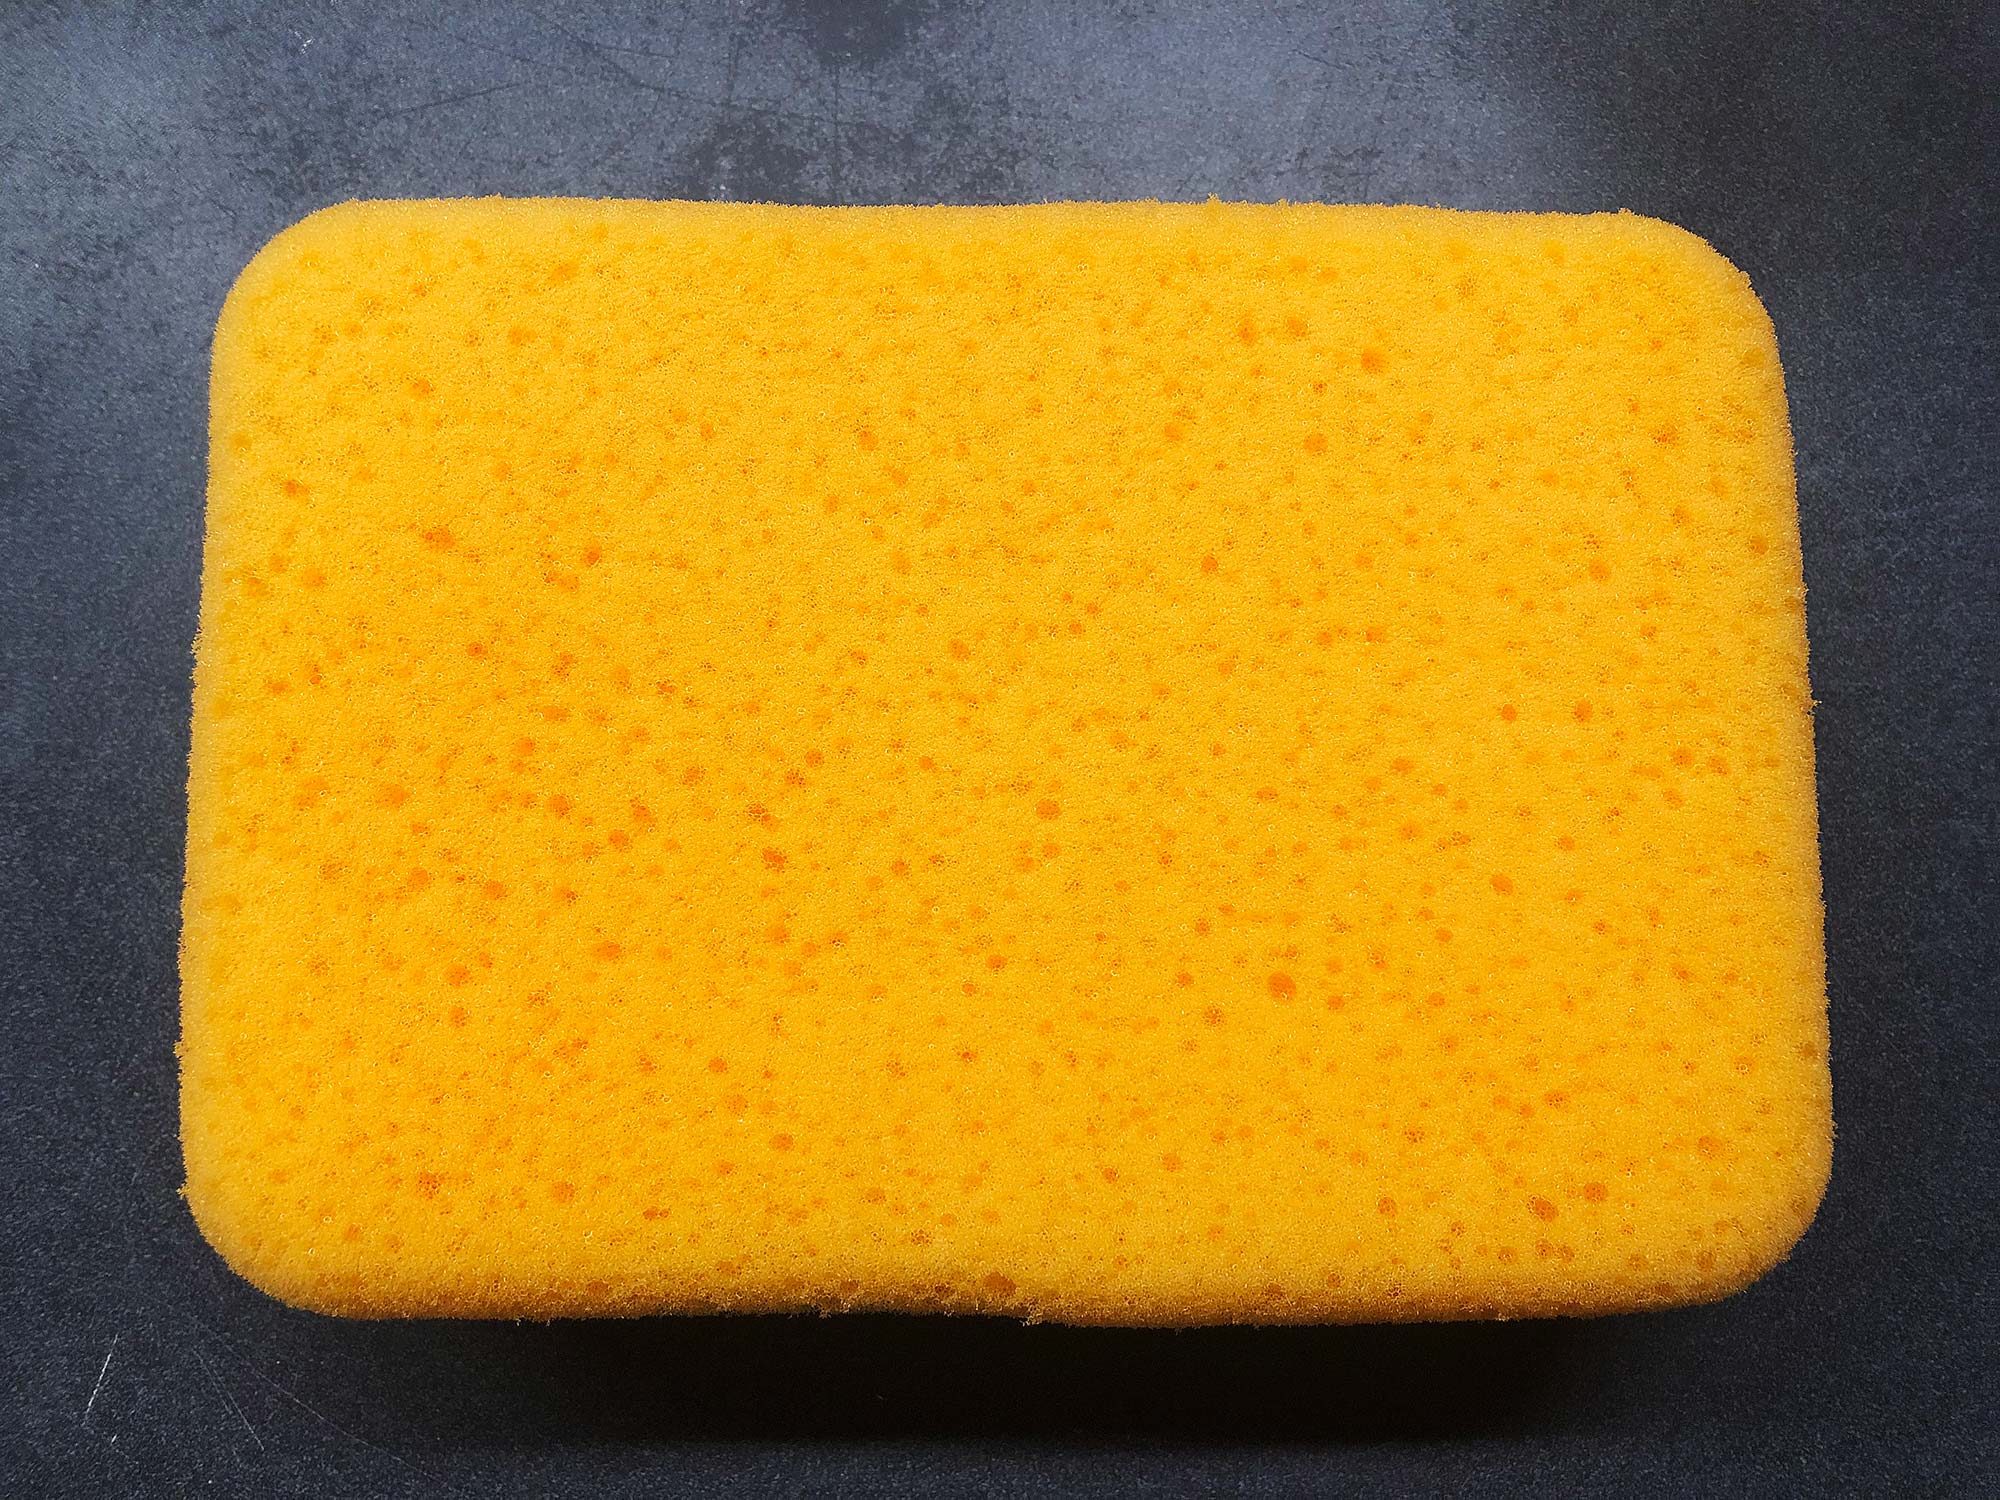
Detail of the pore structure on a new Armaly ProPlus Heavy Duty sponge.
The Armaly ProPlus Heavy Duty Grouting and Concrete Sponge is the top pick for the best large yellow sponge. As of this writing, they typically cost around $16–$32 for a 6 pack of sponges, or they can be purchased individually as well. They cost a bit more than other options, but the exceptional life span of these sponges makes them a solid investment for your studio.
The Advantages of Armaly ProPlus Heavy Duty Sponges
These sponges just last and do the job you expect them to do in an art studio, such as clean up, light mopping, or removing glaze. If you were using these sponges for grouting or plaster work, you might think of them as semi-disposable. But in a studio, you want a tool that will last and be useful, and these are a versatile option.
One of the best features of these high-quality polyester sponges is their ability to pick up and then easily squeeze out a large volume of water. These heavy duty sponges hold up for any job and can last six months or longer, even in a shared studio such as a busy ceramics studio. In an individual studio, these sponges might even last a year or two or longer with light usage.
To research large sponges, I’ve bought just about every type of large sponge and put them to use in academic and community studios used by one hundred or more students every week. In this environment, sponges receive almost constant use throughout the day. Some of the supposedly “heavy duty” sponges started to break down in a few weeks—these were typically sponges from generic multipacks. The Armaly ProPlus Sponges are the longest-lasting cleanup sponge that I have used and would recommend for every studio.
Armaly ProPlus Sponges 6 Pack
Lowes: $15.49
Amazon: $32.79
Other Large Sponge Options
QEP Grouting Sponge

The QEP sponges are a great deal at around $9 for a pack of six.
The QEP Grouting, Cleaning and Washing Sponge is another great option for large sponges, and at $9 for a 6 pack, offers an exceptional value. I’ve used these and they do work, they’re just not as long lasting as the Armaly ProPlus sponges. Amazon reviewers also praise the QEP sponges for toughness but quite a few found it to be too tough and didn’t wring out as well. I’d take a tough but not as absorbent sponge over one that breaks down, so if you are looking to save a few bucks, definitely give the QEP sponges a try.
QEP Sponge 6 Pack
$8.97
Creative Hobbies Large Sponges

Creative Hobbies 4 Pack of Large Sponges
Another option is the Creative Hobbies Value Pack of 4 Sponges, currently around $12 for a 4 pack on Amazon. These cost a bit more per sponge than the QEP, but also offer an good value.
Creative Hobbies 4 Pack of Large Sponges
$12

The Armaly ProPlus Grouting Sponges.
Uses For Large Yellow Sponges
Clean up
Pottery wheel and throwing clean up
Light mopping
Glaze clean up on bisqueware
Wetting watercolor paper
Plaster work
Grouting
Concrete
Tile installation
Household cleanup
Car and boat washing
Wrap Up: The Best Heavy Duty Large Yellow Sponge
In our research, we’ve found the Armaly ProPlus Heavy Duty Grouting and Concrete Sponge to be the best large yellow sponge on the market. It combines exceptional durability with a relatively soft sponge that will pick up large amounts of water. In short, it will do what you need a big sponge to do and work over and over, lasting six months or more. Sure, it costs a bit more but the long life is worth it.
The QEP Grouting and Creative Hobbies Large Yellow Sponges are also good options that are more affordable. All three work great, we just expect the Armaly ProPlus to have a significantly longer life in the studio.
What sponges do you use in the studio? Let us know in the comments.