The Carlisle Mop Bucket, one of two top picks for a studio mop bucket.
Updated and revised, June 12, 2021
In a studio, it’s important to have the right clean up tools to keep things neat, organized, and safe. This is especially true in ceramic and sculpture studios, where dust can be an issue. And while any sort of clean up tool will be better than nothing, high-quality, well-designed tools do stand the test of time and most importantly, really work.
This post is an overview of quality clean-up tools that get the job done. These are the exact tools that I use in my studio.
Table of Contents
Dust Pan and Bench Brush
Long Handle Dust Pans / Lobby Pans
Brooms
Sweeping Compound
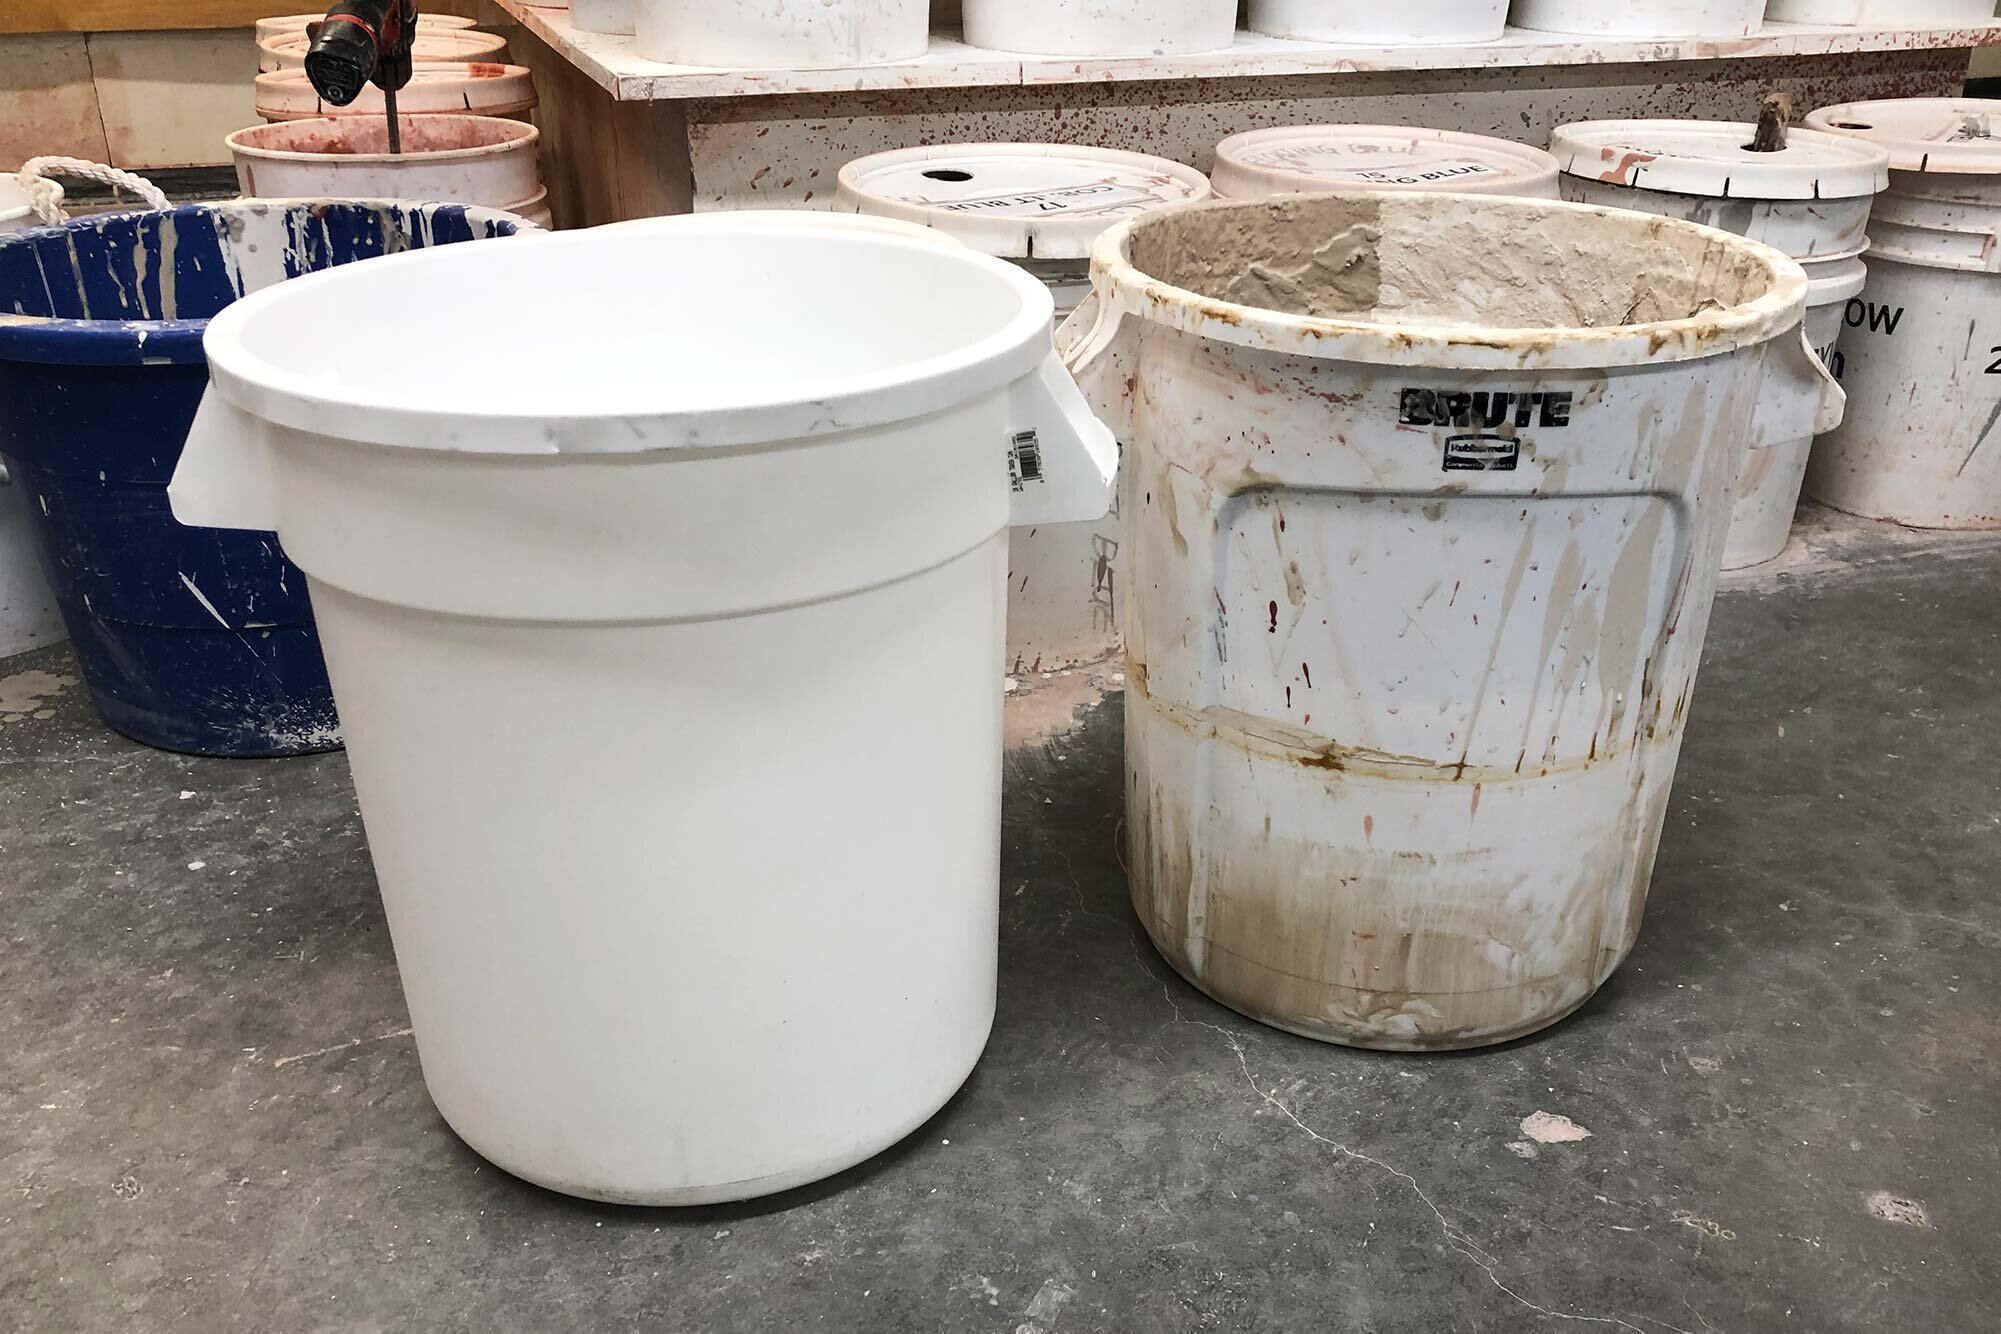
Mop and Bucket: Rubbermaid Commercial and Carlisle
Large Yellow Sponges
HEPA Vacuum
Walk Behind Floor Scrubbers
Clean-Up Recommendations
Summary
Dust Pan and Bench Brush/Duster
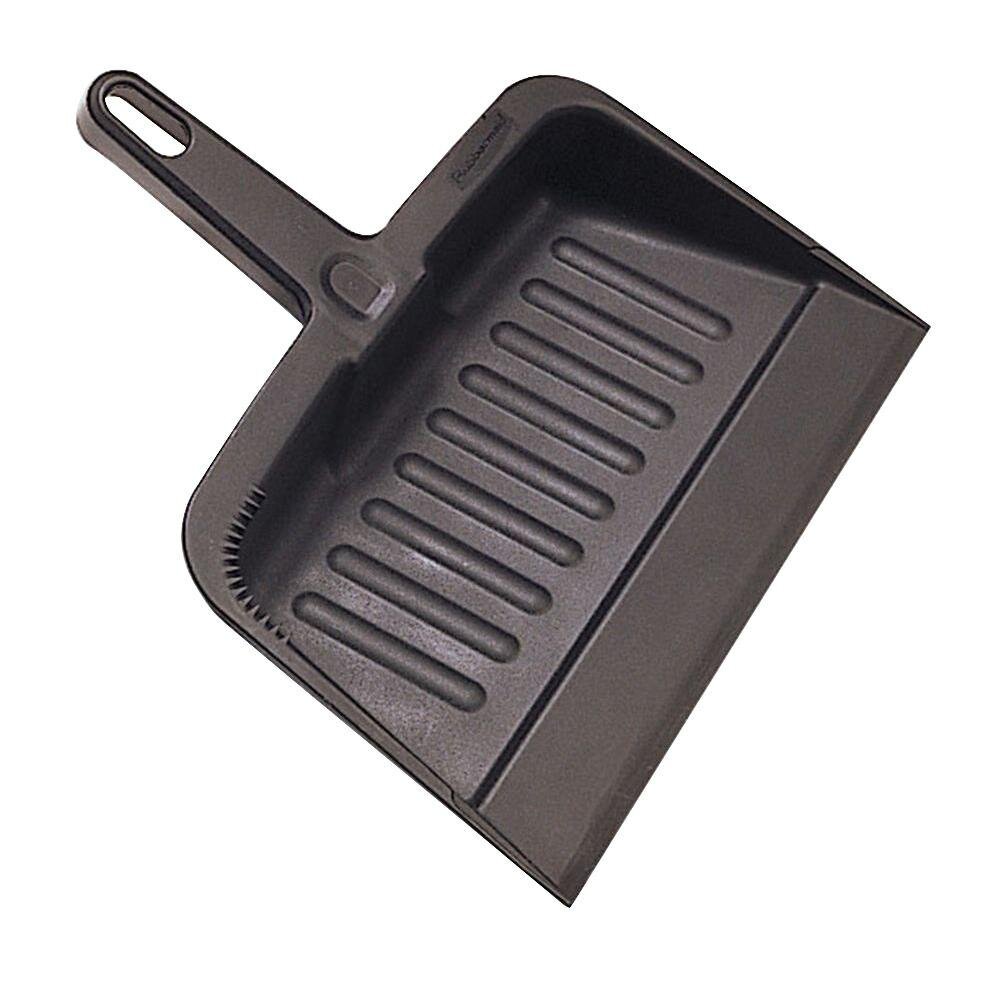
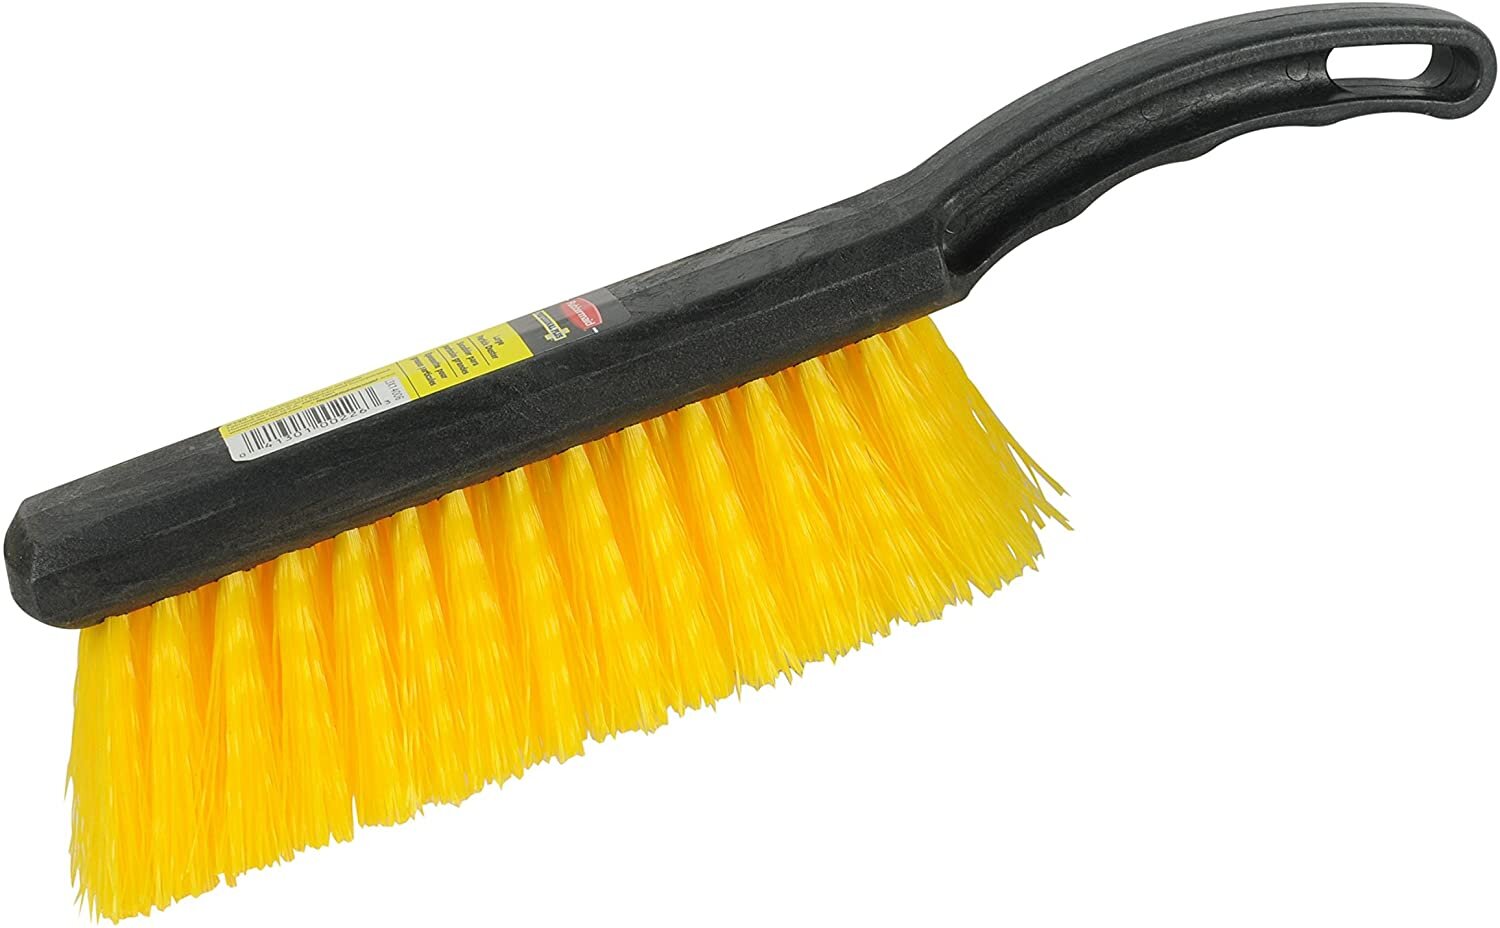
The Rubbermaid Commercial Dust Pan and Bench Brush/Duster are simply the best dust pan and brush combo that I’ve ever used. The pan is sturdy, functional, and hangs nicely on the wall. It is 12.25” wide and about 3 inches deep at the tallest point.
The bench brush is where you really step up your cleaning game: It’s a heavy-duty brush with relatively soft bristles that clean evenly and completely, and can be washed if needed.
This combo is great for cleaning dirty tabletops, sweeping up larger chunks of clay, sawdust, brushing off a kiln shelf, or for light-duty floor cleaning.
When compared to other dust pan and brush combos, there is simply no comparison. These are long-lasting, functional upgrades to your studio. They will last years, if not decades, under normal use.
Long Handle Dust Pans / Lobby Pans
A long handle dust pan and broom are your other tool for dealing with chunks and dust. They really save your back and make cleanup that much easier. And in a shared studio space such as a community studio, having a long-handled dust pan will greatly increase the likelihood of studio members doing their part to clean up.
Oxo Good Grips Sweeping Sets

The slightly larger Oxo Good Grips Sweep Set with the extendable handle broom.
The Oxo Good Grips Sweeping Sets are my favorite long-handle dust pans and broom combos. Thoughtfully designed and sturdy, it’s what I currently use in my studio and I even purchased the smaller combo for use at home.
The larger “extendable handle” set (shop at Amazon) has a 10.8” wide dust pan that is 3.5 inches tall. The dust pan handle is 35” high, and the broom handle can be extended from 35” to 53” inches.
The smaller set (shop at Amazon) has a 9.5 inch wide dust pan that is 3 inches tall, and the dust pan and broom are around 35 inches tall or 38.5 inches when hanging upright.
Both sets are made from the same sturdy plastic and design, including a swiveling dust pan that can lock in place. The thick rubber “comb” on the dust pan help clean the bristles of the broom. This is especially good for removing hair and dust balls that stick to the broom.
The dust pan handle also contains a handy snap, so the set clicks together for easy storage both upright or hanging. In the hanging mode, the head of the broom can be easily tucked into the dust pan. It’s an all-around great combo.
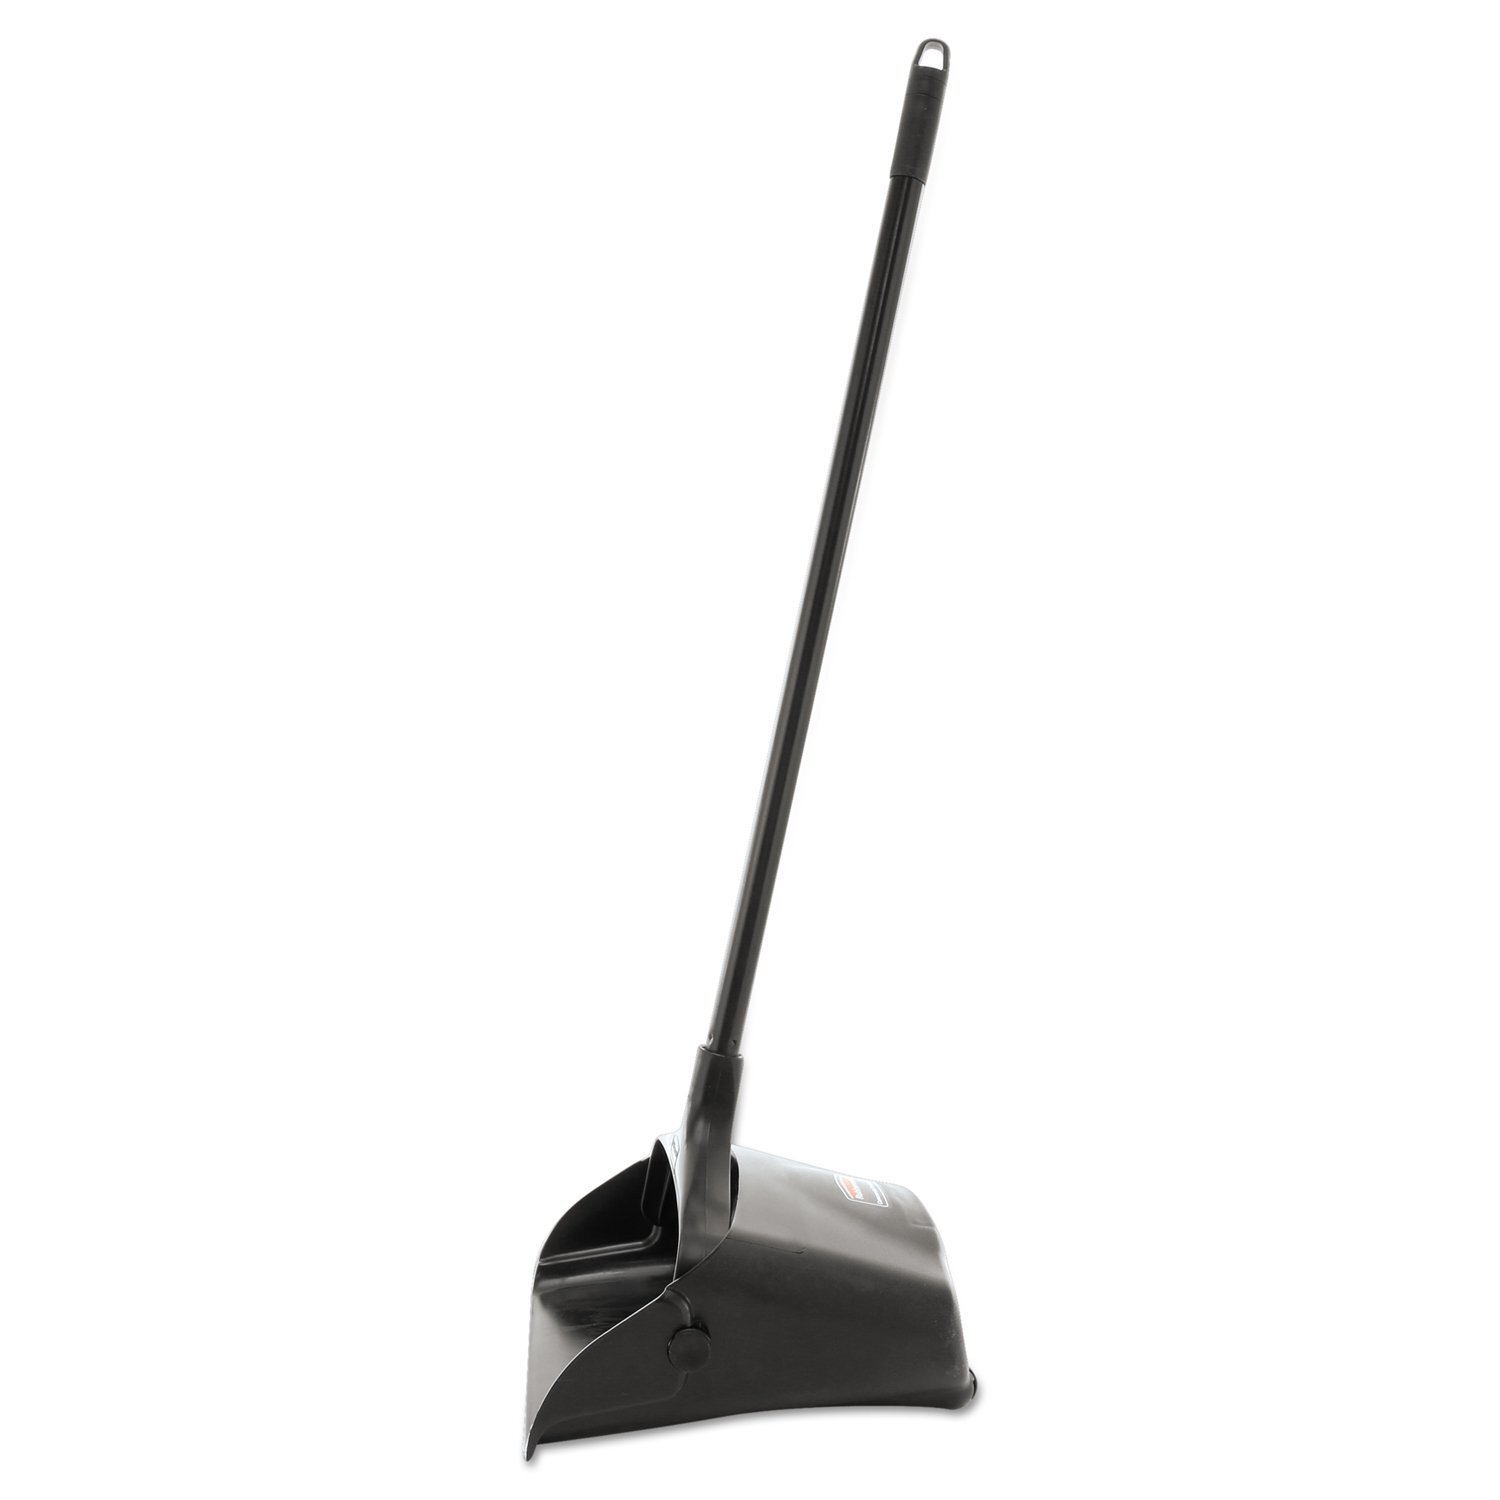
Rubbermaid Commercial Long Handled Lobby Dust Pan
Another great long-handle dust pan option is the Rubbermaid Commercial Lobby Dust Pan. It has a much larger dust pan than the Oxo version, making it perfect for academic studios and larger spaces, such as community or garage studios. It is heavy duty, holds a large amount of dust and trash, and the pan swivels for picking up and dumpling. For storage, it will sit on the ground or can be hung up by the handle hook.
Rubbermaid Commercial Lobby Broom. Just 7.5” wide, so a standard broom may be better for studios.
This dust pan pairs well with either a standard angle broom or the small lobby broom. The lobby broom is 7.5” wide, putting it on the smaller side if your goal is to clean up dust. I generally prefer a standard angle broom (see below) but the lobby broom does have a shorter handle, hangs up easily, and is good for sweeping larger chunks into the dust pan.
My only complaint about this dust pan is it doesn’t have a clip to hold a broom in place. But like most other Rubbermaid Commercial products, this is a well-built tool that will last forever.
Brooms
Angle Broom
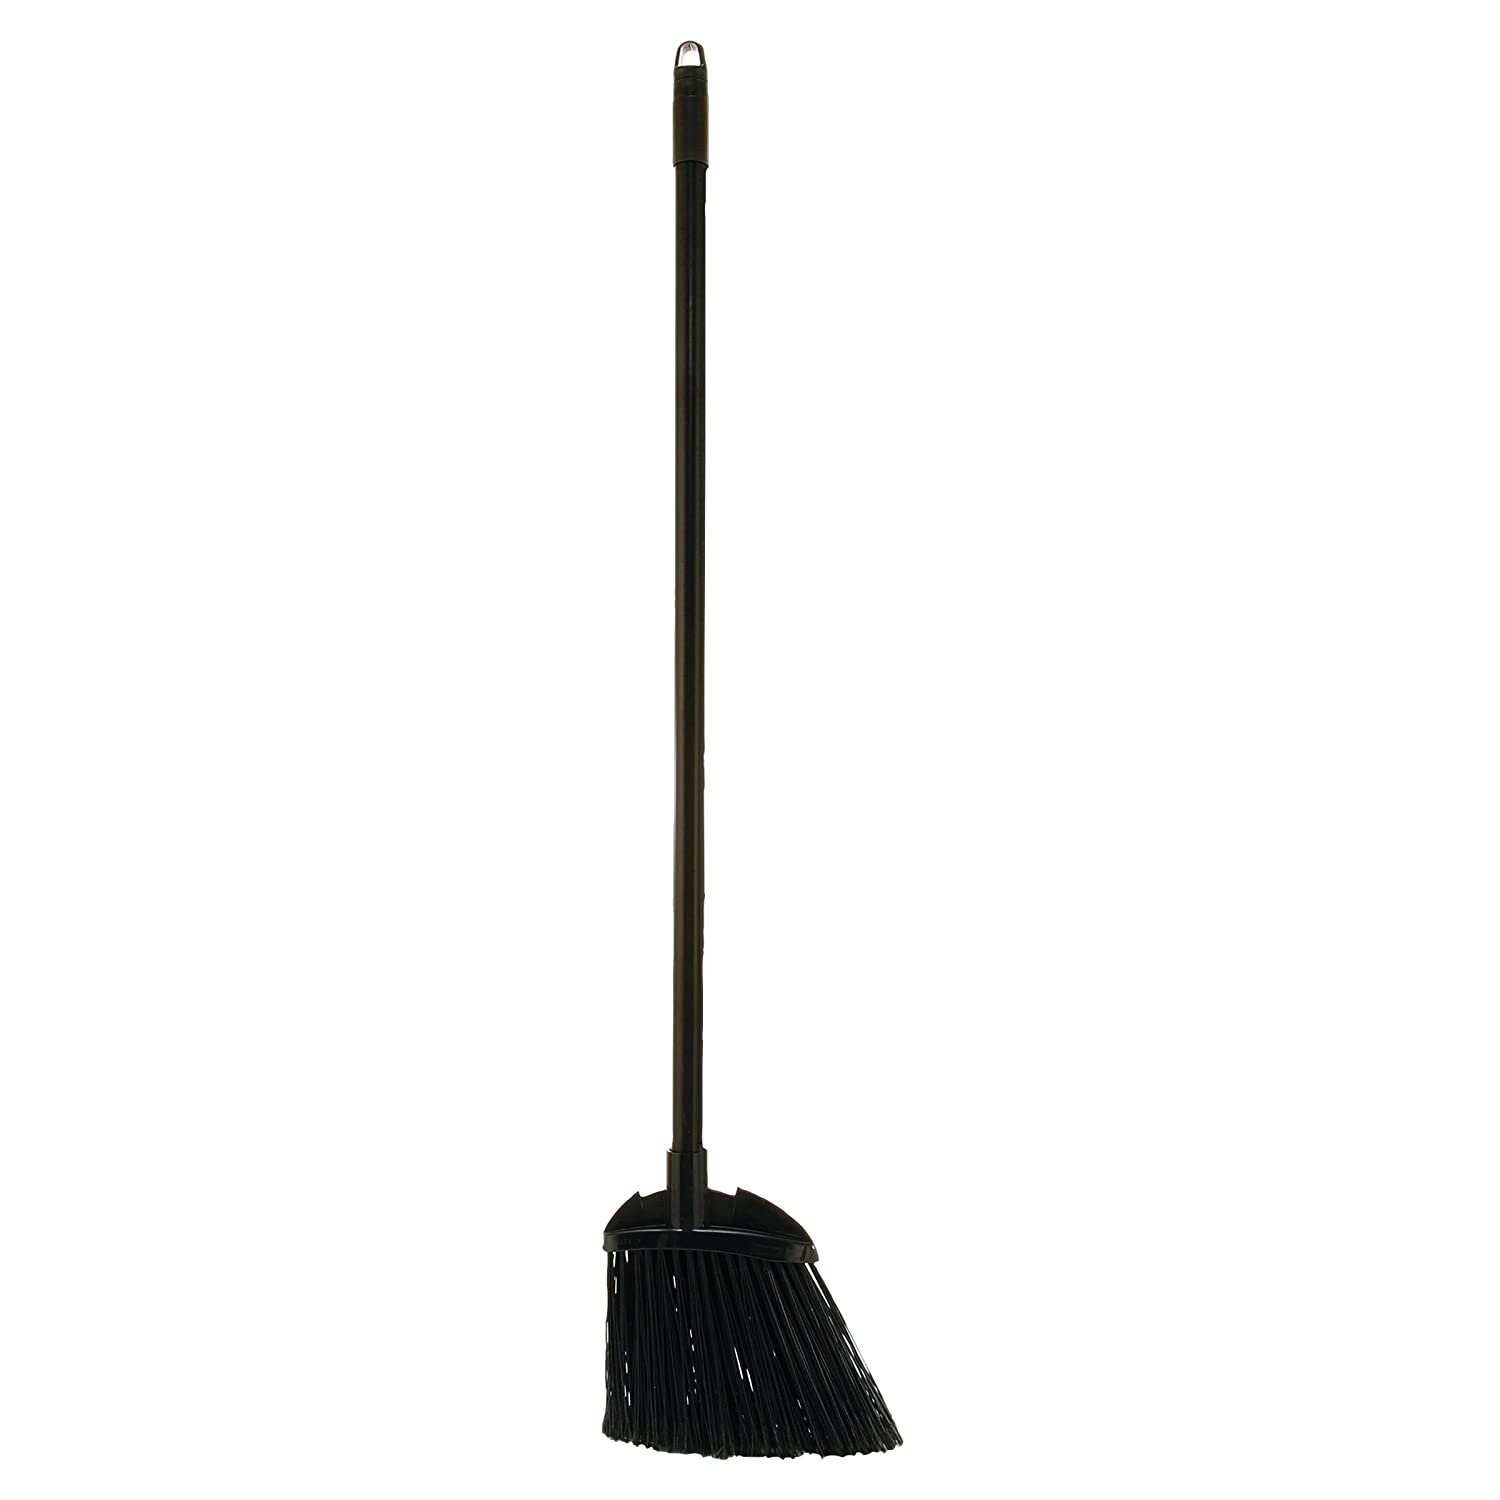
If you are working in a studio that generates dust, such as a ceramic studio or woodshop, you need to be mindful when sweeping and generating any sort of dust. Sweeping compound can help trap dust at the ground level before it gets in the air, but another way to avoid creating airborne dust is to sweep gently with a soft-bristled broom. Move dirt deliberately into piles, then get it into your dust pan and you should be fine.
The best all-purpose broom for a studio is a simple angle broom. My favorite is the Rubbermaid Commercial 10.5” angle broom. It’s a quality broom and if you ever do actually wear out the brush head, you can buy replacement heads.
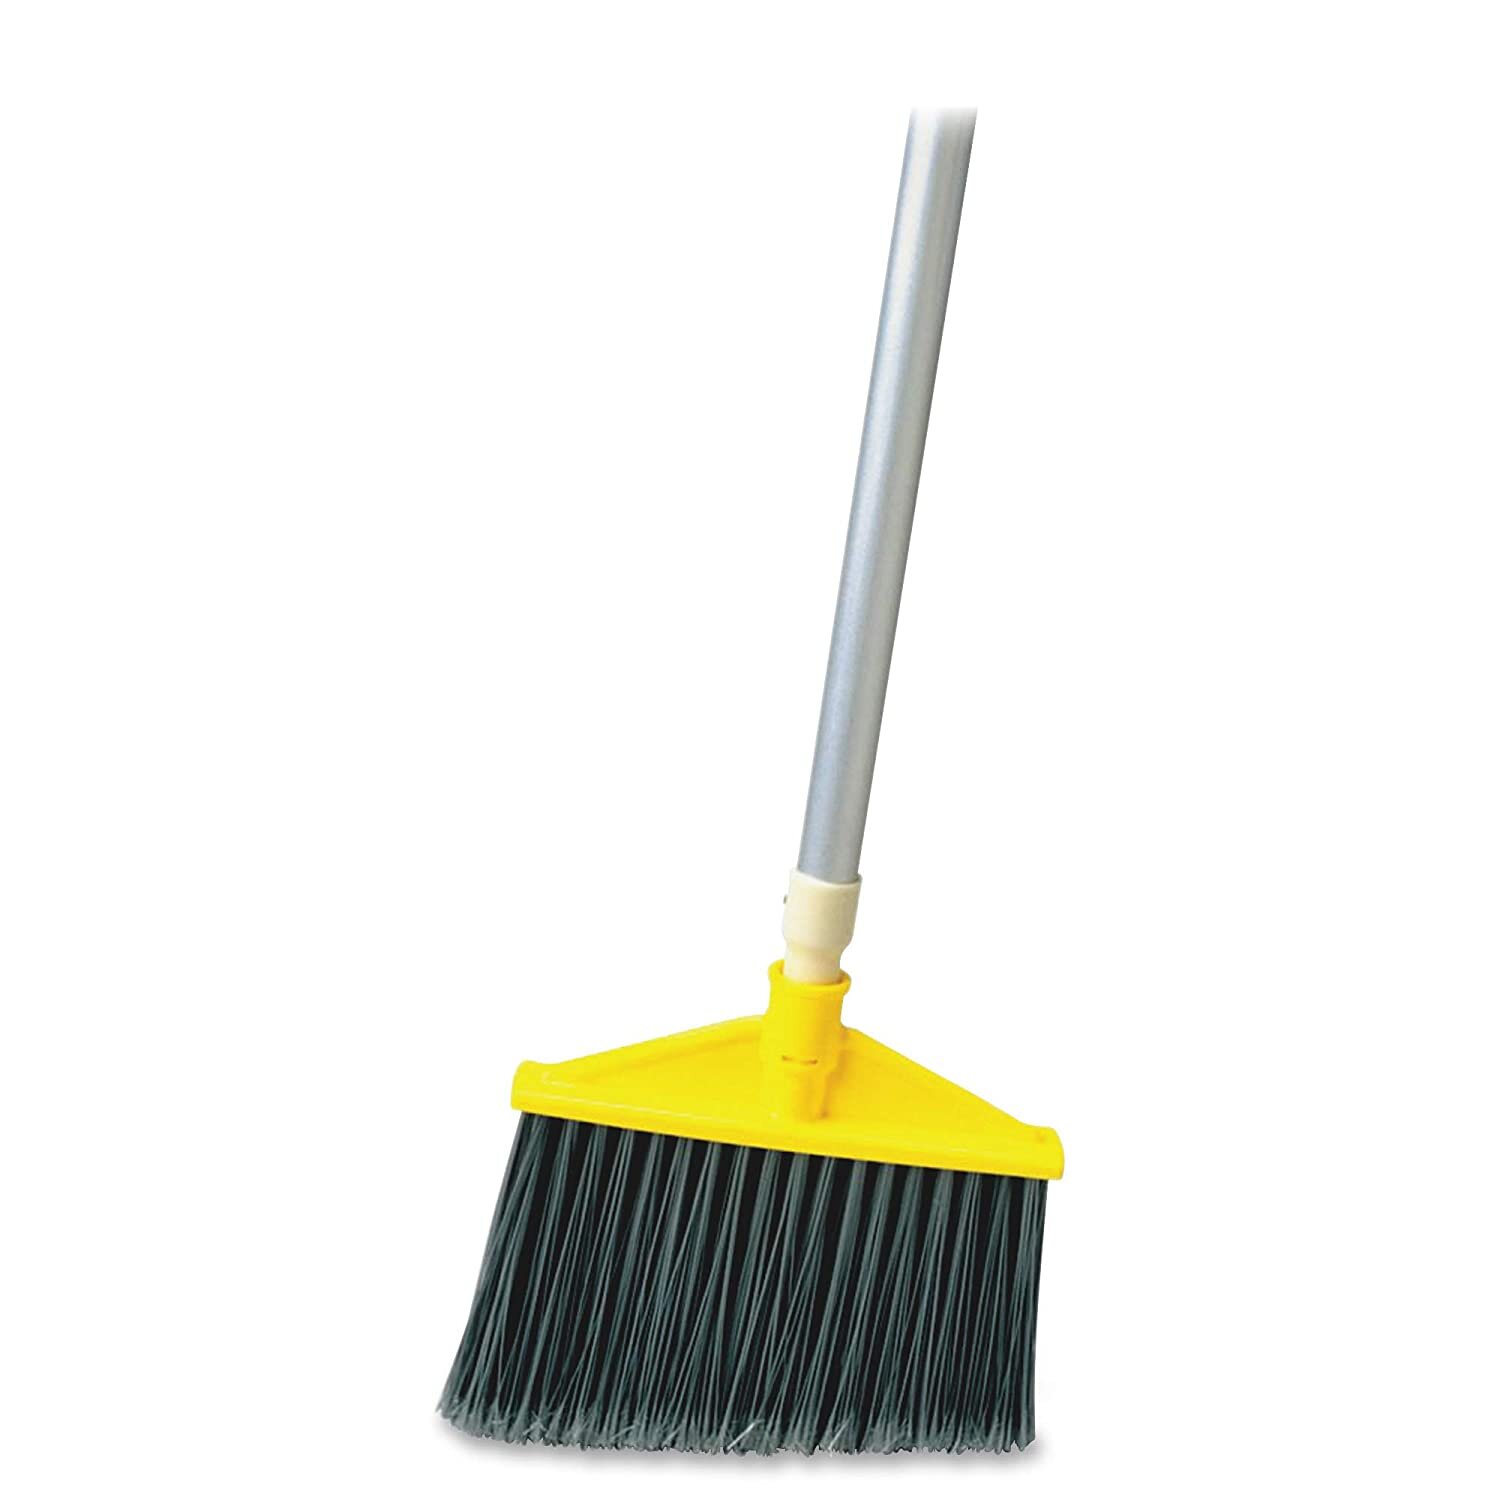
Push Broom
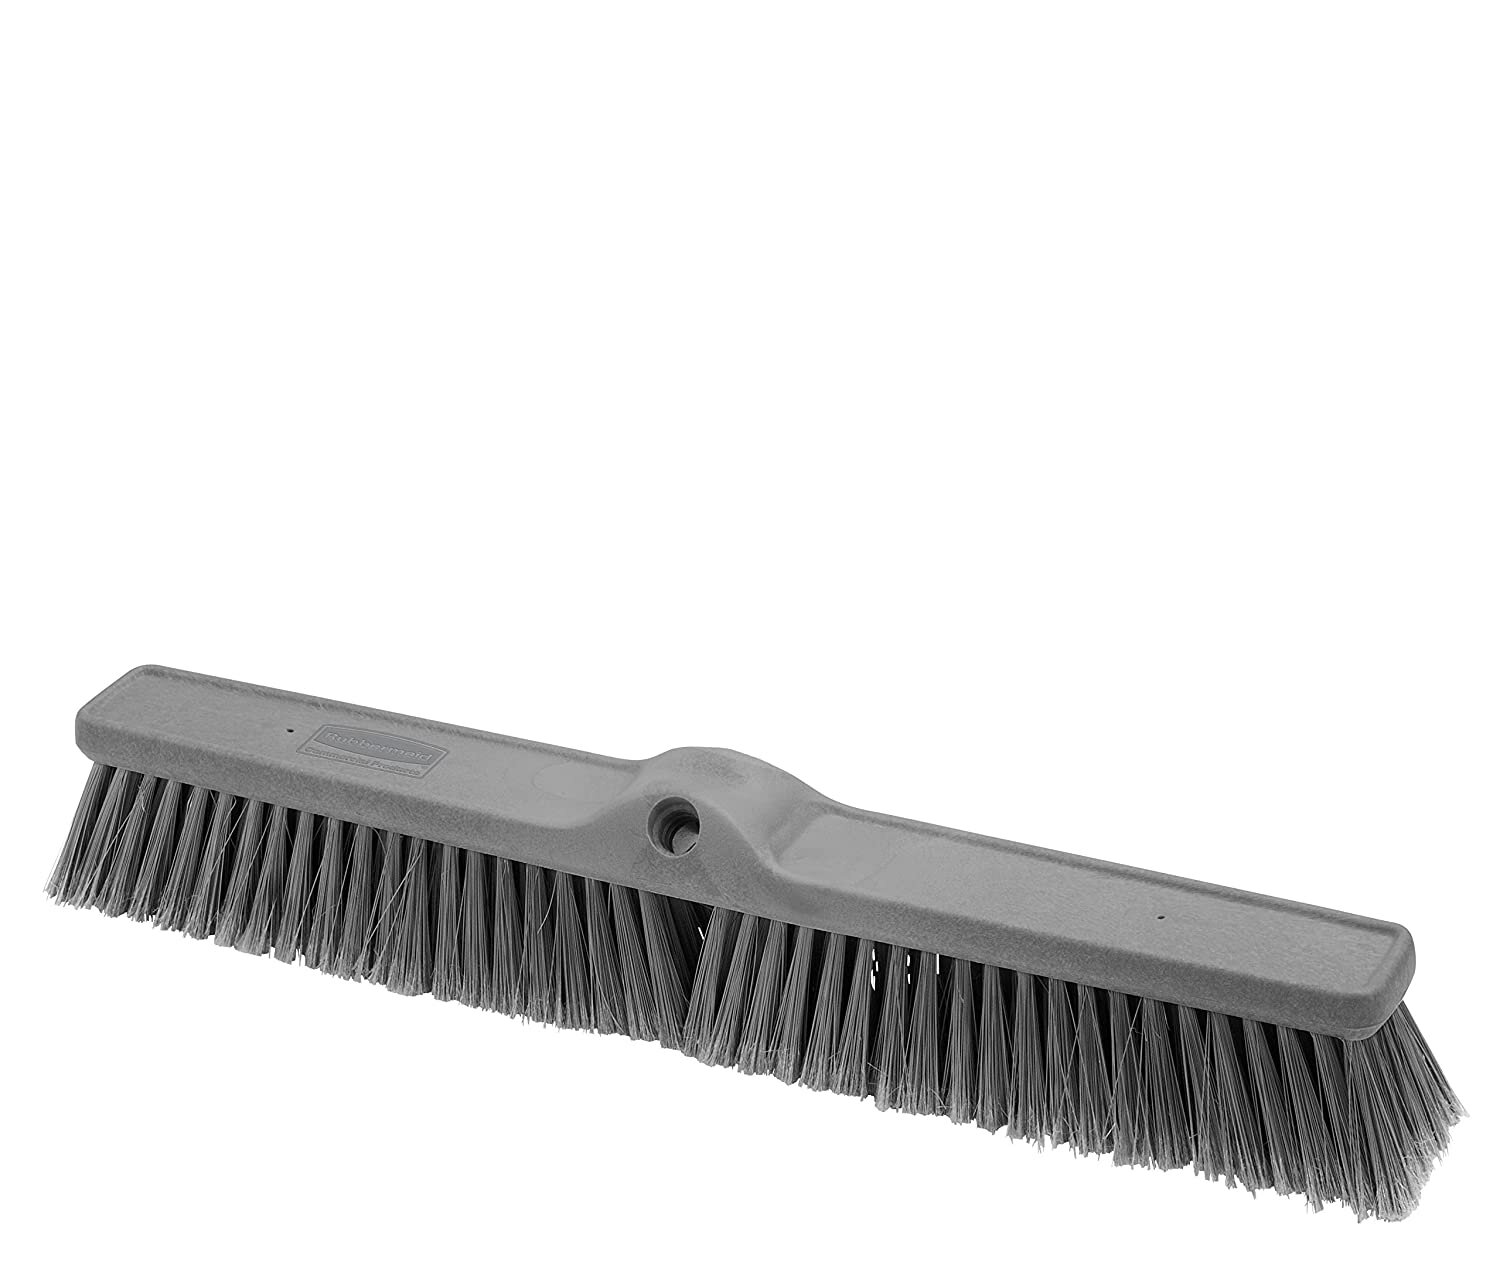
Rubbermaid Commercial Smooth Surface Fine Duty brush head for a push broom.
For larger rooms, you may want to also have a push broom or two. These are especially great for larger academic studios, outdoor concrete pads, or hallways. It’s harder to maneuver these around table legs and chairs.
As mentioned above, the way to go with possibly dusty floors is to get the softest bristles possible. For a push broom, the Rubbermaid Commercial Smooth Surface Fine Duty brush head is the way to go. Pair it with a broom handle, and you’ll have a great broom.
Sweeping Compound
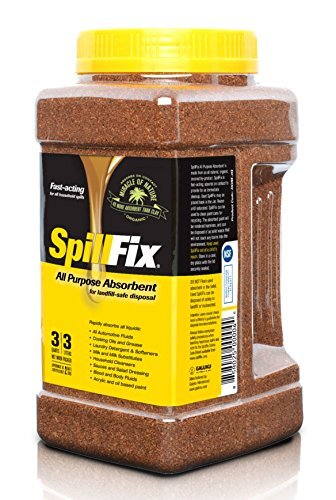
SpillFix all purpose absorbent / sweeping compound.
Anytime you are sweeping a dry or dusty floor, sweeping compound will greatly reduce or eliminate any potential airborne dust and help you grab all the dust and debris. Sweeping compound is typically some form of oily sawdust. It is tacky enough to grab dust and dirt, but dry enough that there is no trace of oil left on the floor. Some sweeping compounds also double as absorbents for oil or other materials.
The best way to use sweeping compound is to fill a plastic cup with a bit of sweeping compound and fling it in a low, horizontal motion in order to distribute it evenly. Then, sweep as normal.
For busy studios, sweeping compound can be ordered in large bags or drums from most hardware stores or warehouse supply stores. Sweeping compound will dry out over time, so it’s best to order what you can use in 6 to 12 months. For smaller studios or if you are trying sweeping compound for the first time, the smallish jar of SpillFix linked below is a great way to test it out. Once you start using sweeping compound, you’ll wonder how you ever swept a studio floor without it.
Mop and Bucket
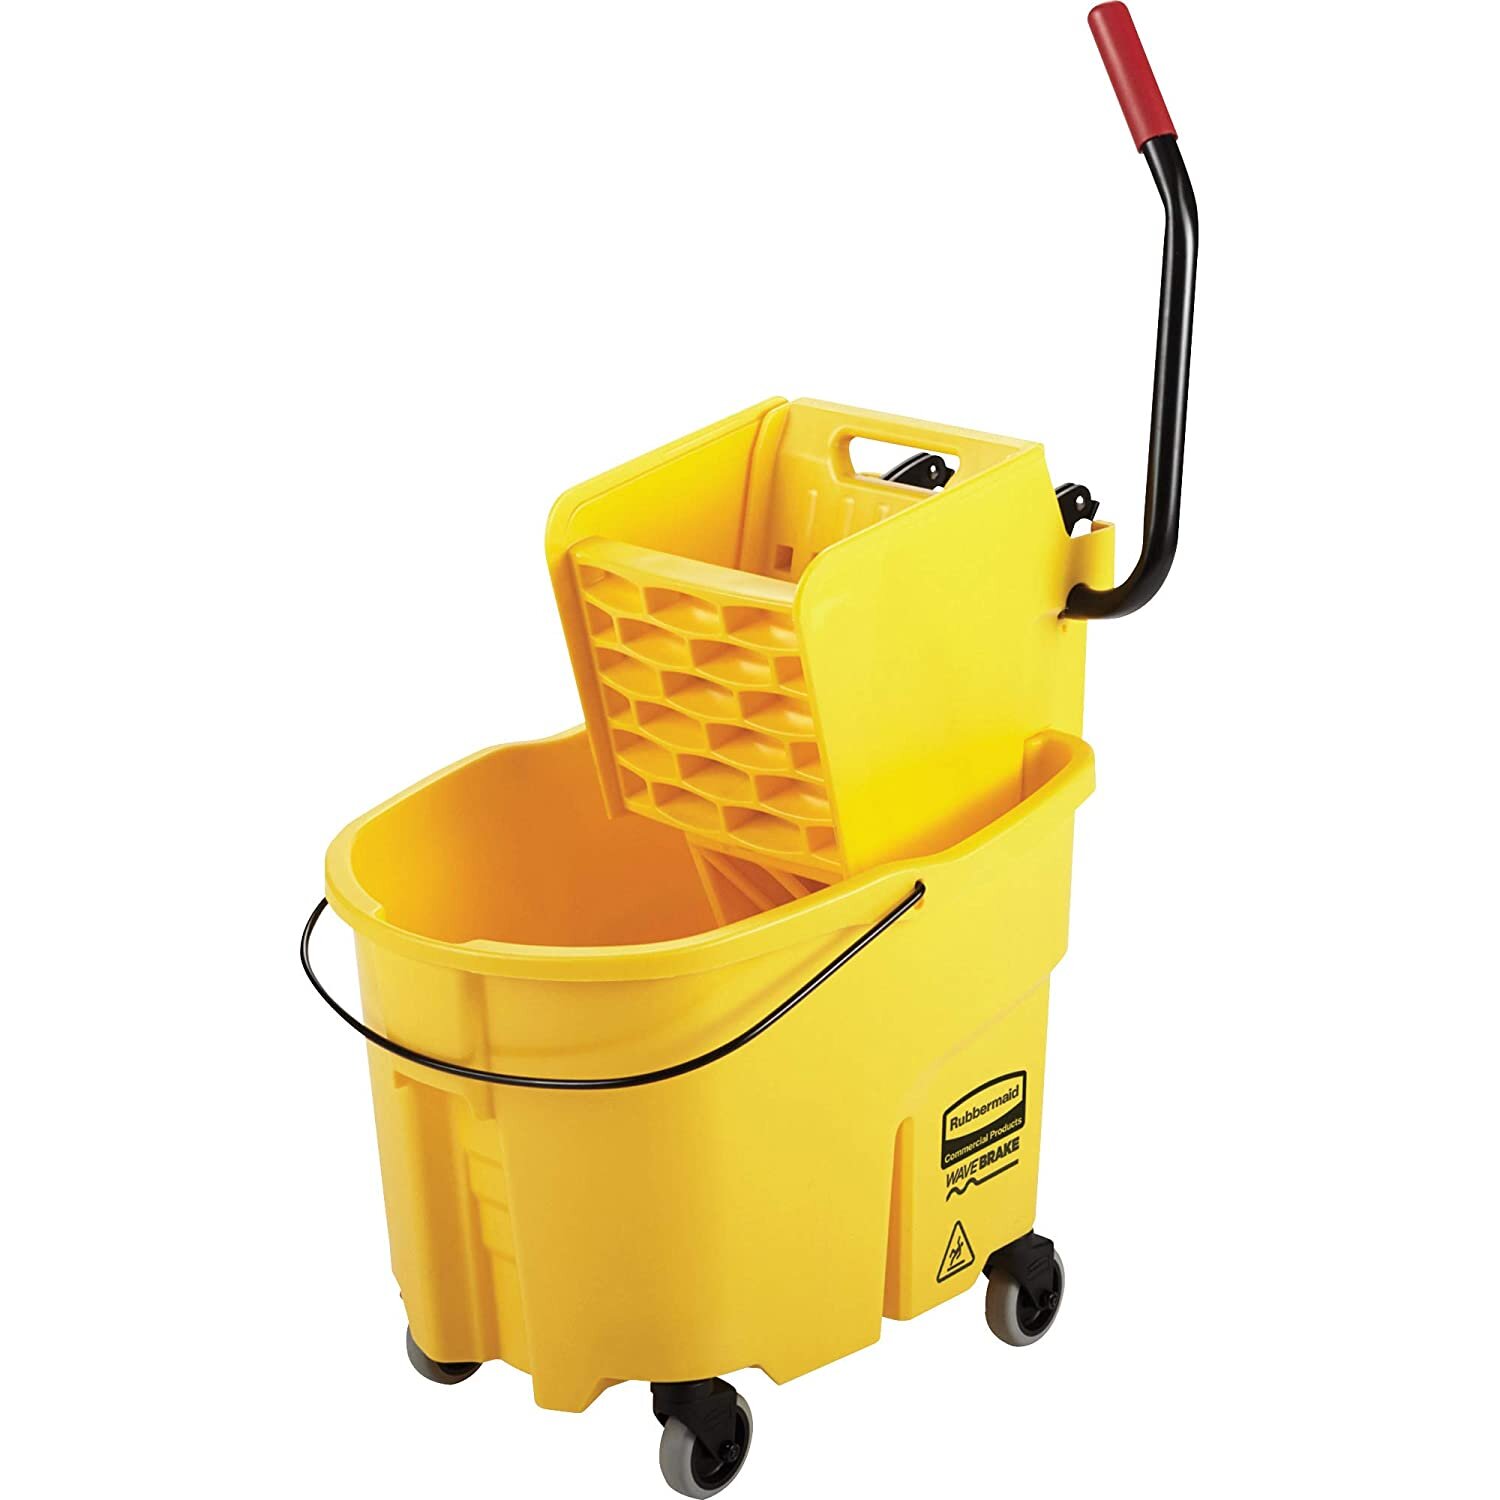
A mop and wringer bucket is an important part of any studio clean-up operation, especially if you are working with clay and want to avoid dust. The best wringer bucket is the Rubbermaid Commercial Wavebreak Bucket Wringer Set and for the mop, my preference is the Rubbermaid Side Gate Mop Handle with a blue mop head.
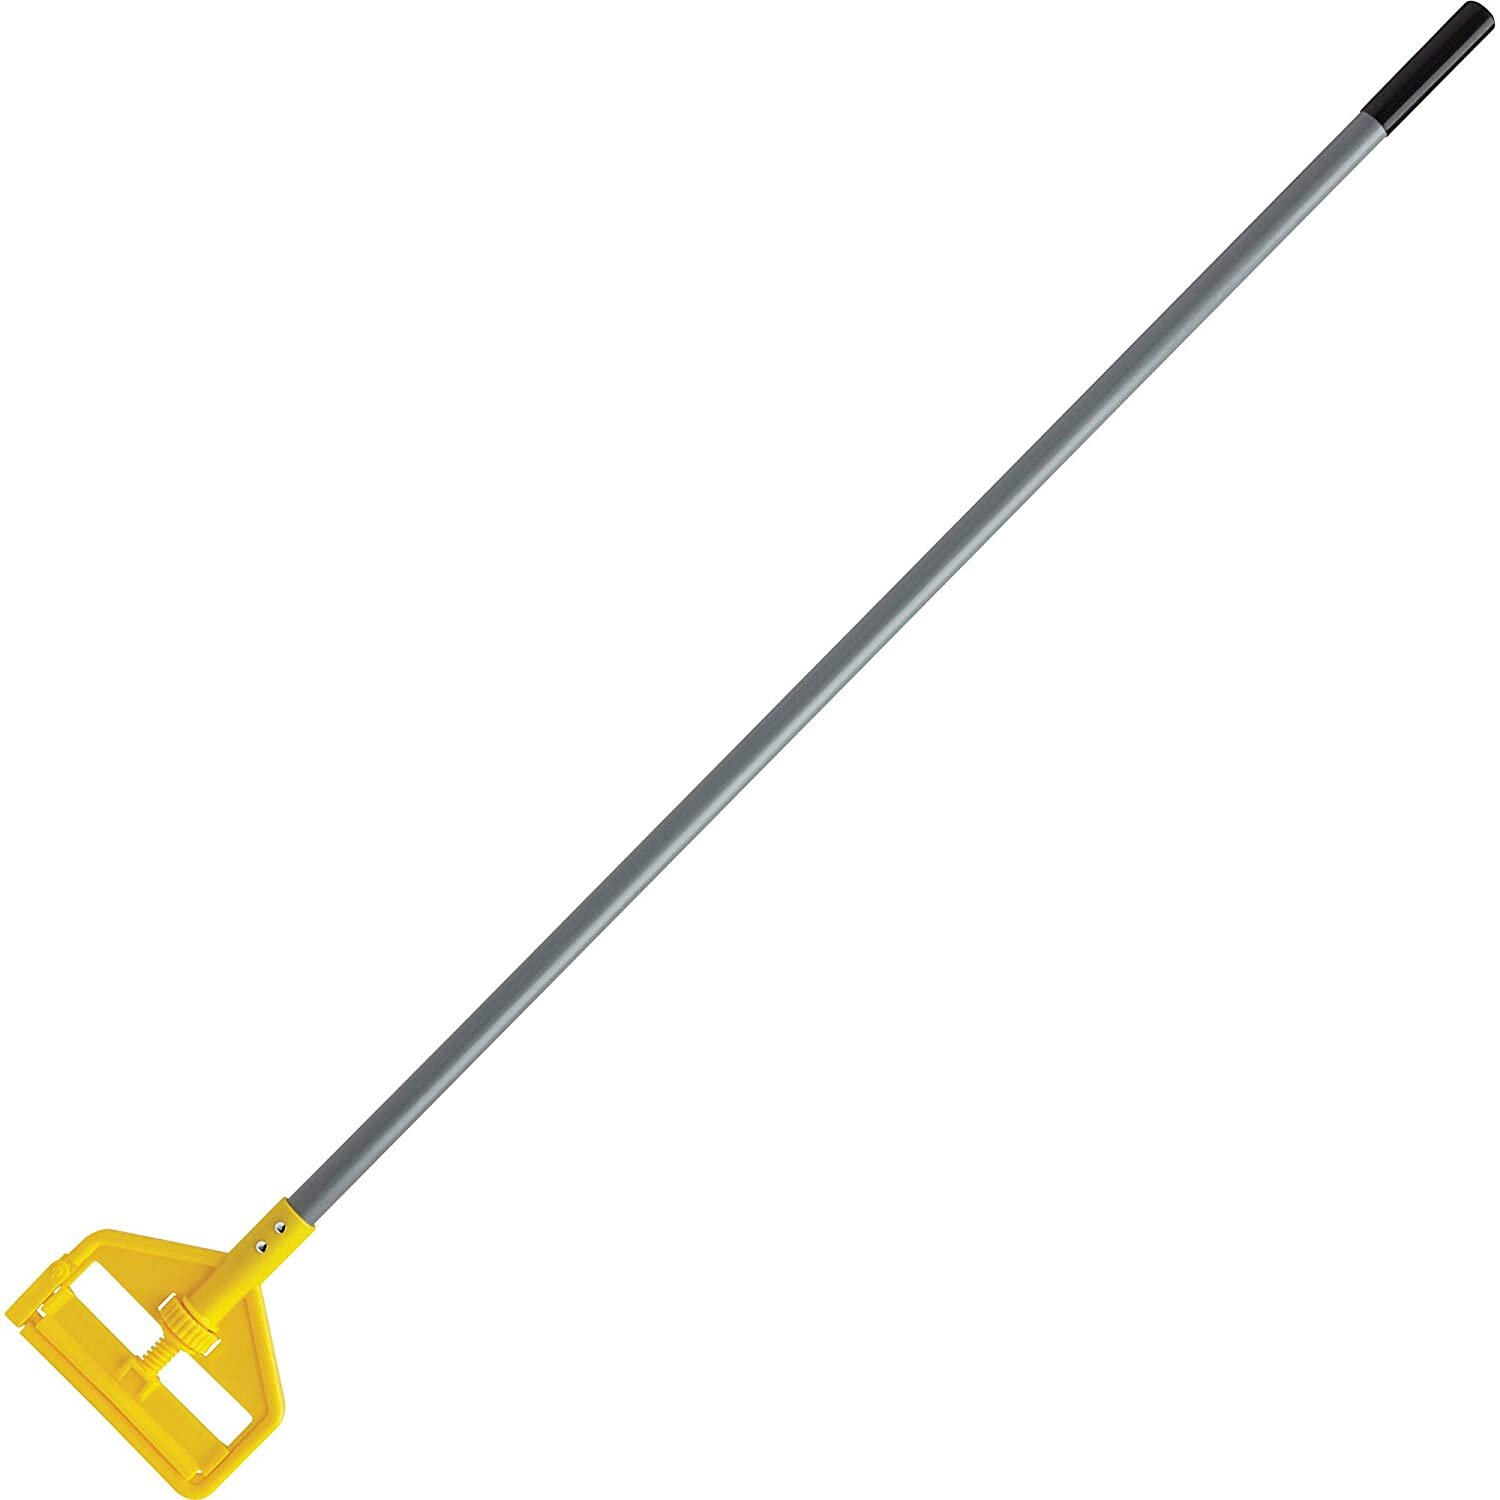
Rubbermaid Side Gate Mop Handle
I know this post is starting to seem like it’s all Rubbermaid Commercial products, but I have used and can vouch for the quality, durability, and design of these products. (For a review of a Rubbermaid product I don’t endorse, read about 10 gallon buckets here) The good news on wringer buckets is there are a variety of side-press wringer buckets that are all about the same price and are highly reviewed, including Carslisle and Amazon Basics.
The main additional feature of the Rubbermaid is the “WaveBreak” system, essentially two flanges inside the bucket to help control the water when you are rolling the bucket. For me, the WaveBreak doesn’t add much, but I do appreciate the quality of the caster wheels and the wringer system on the Rubbermaid.
For a mop head, I find that the blue headband-style mop heads hold the longest. I prefer the standard 20” length, but there are options out there.
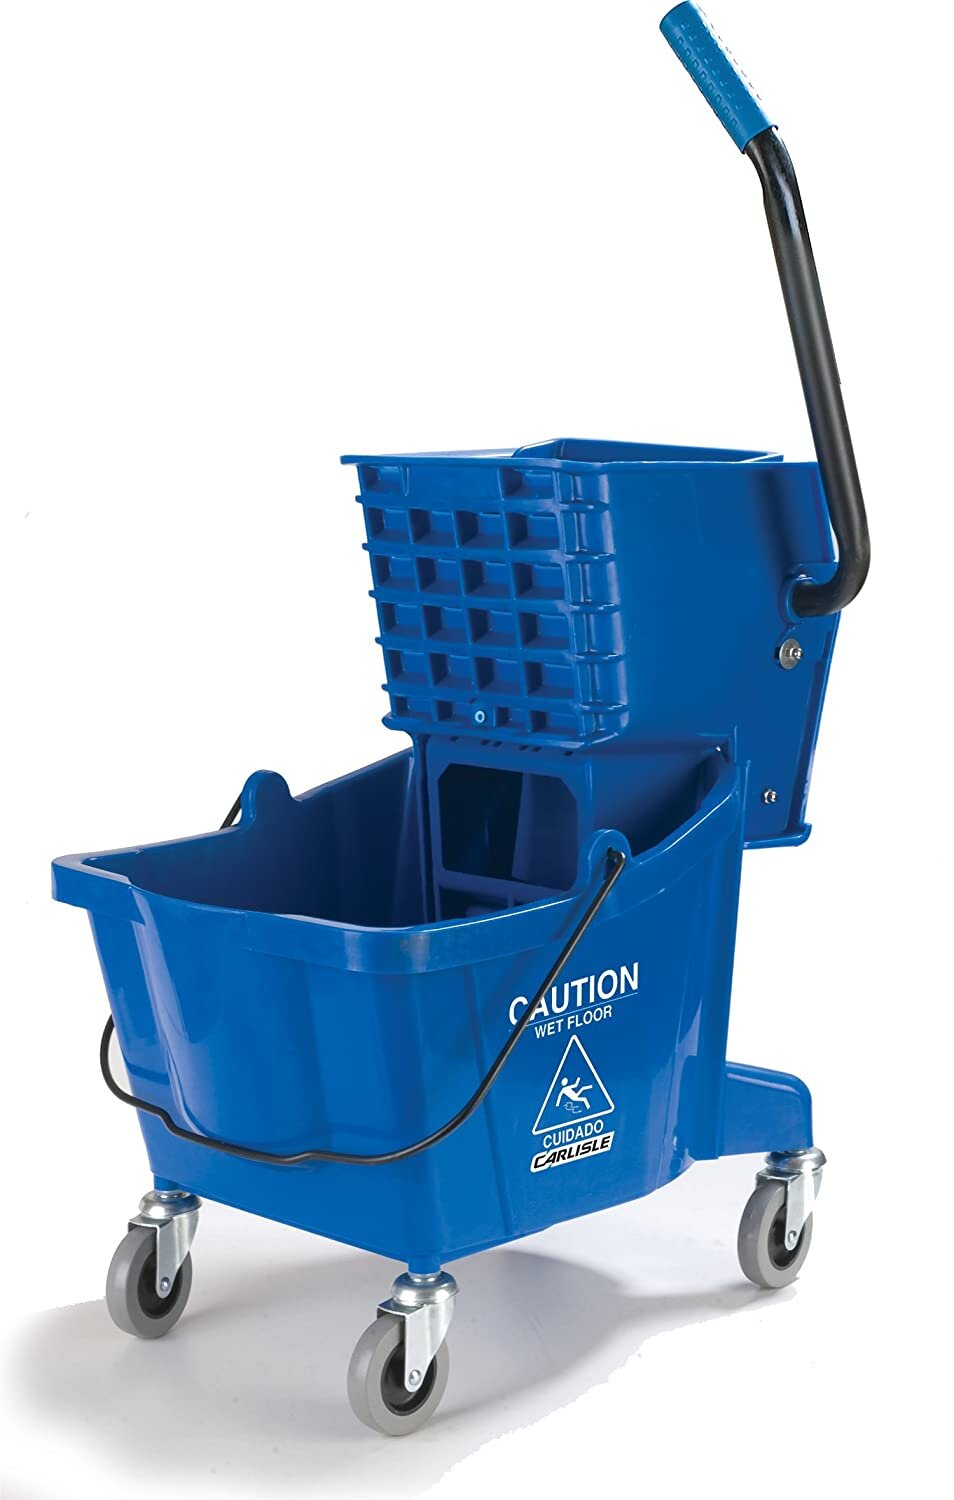
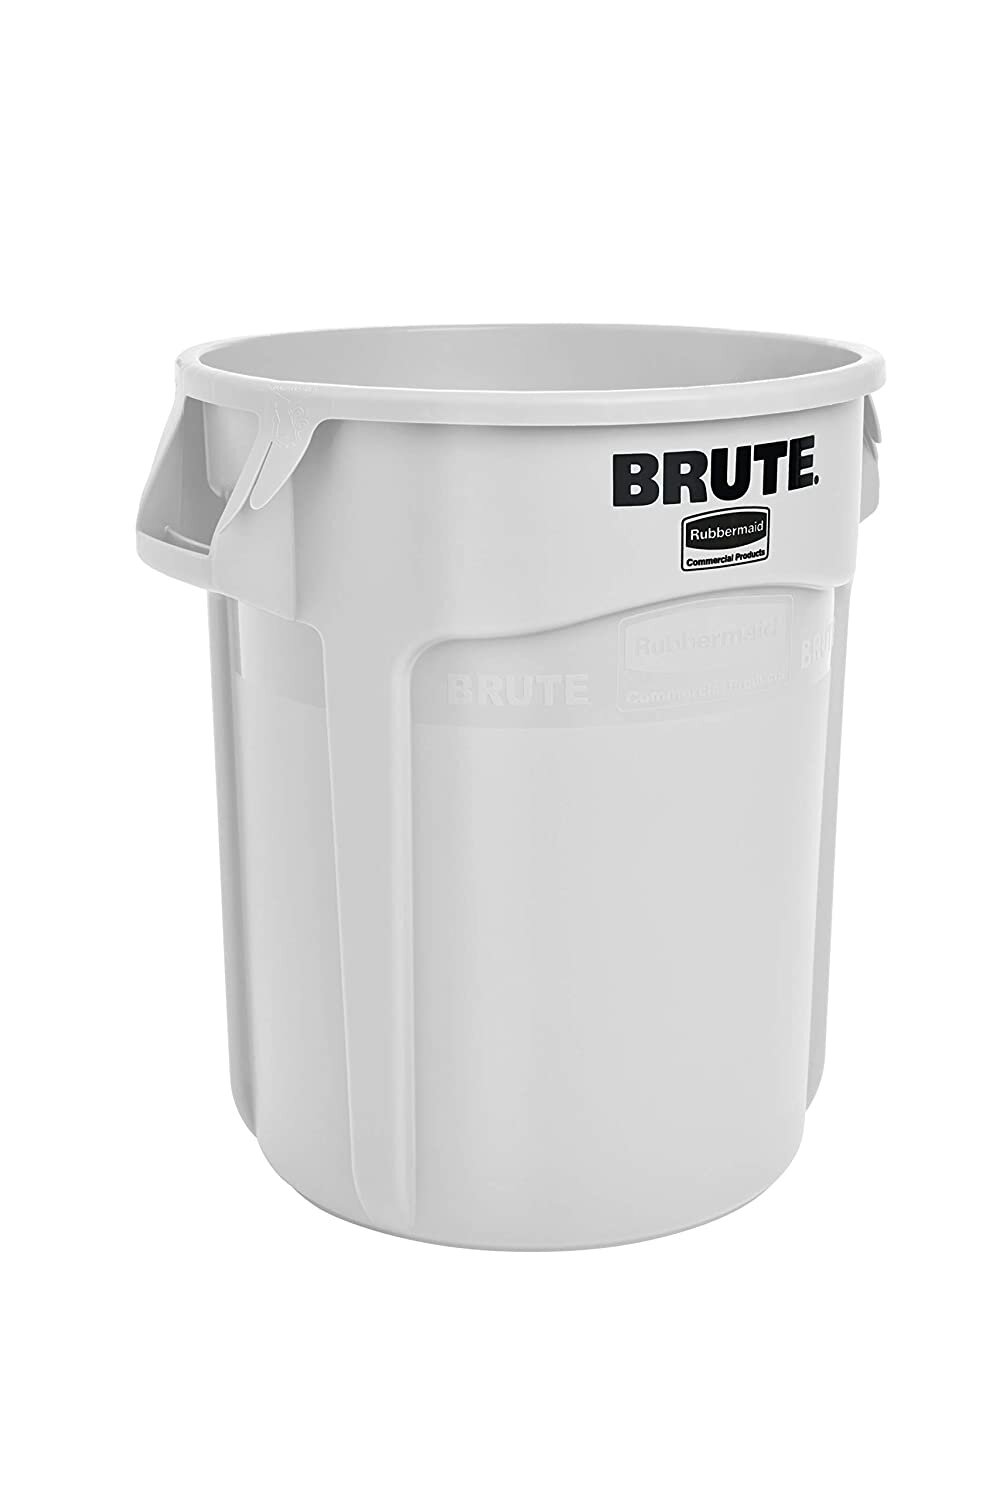
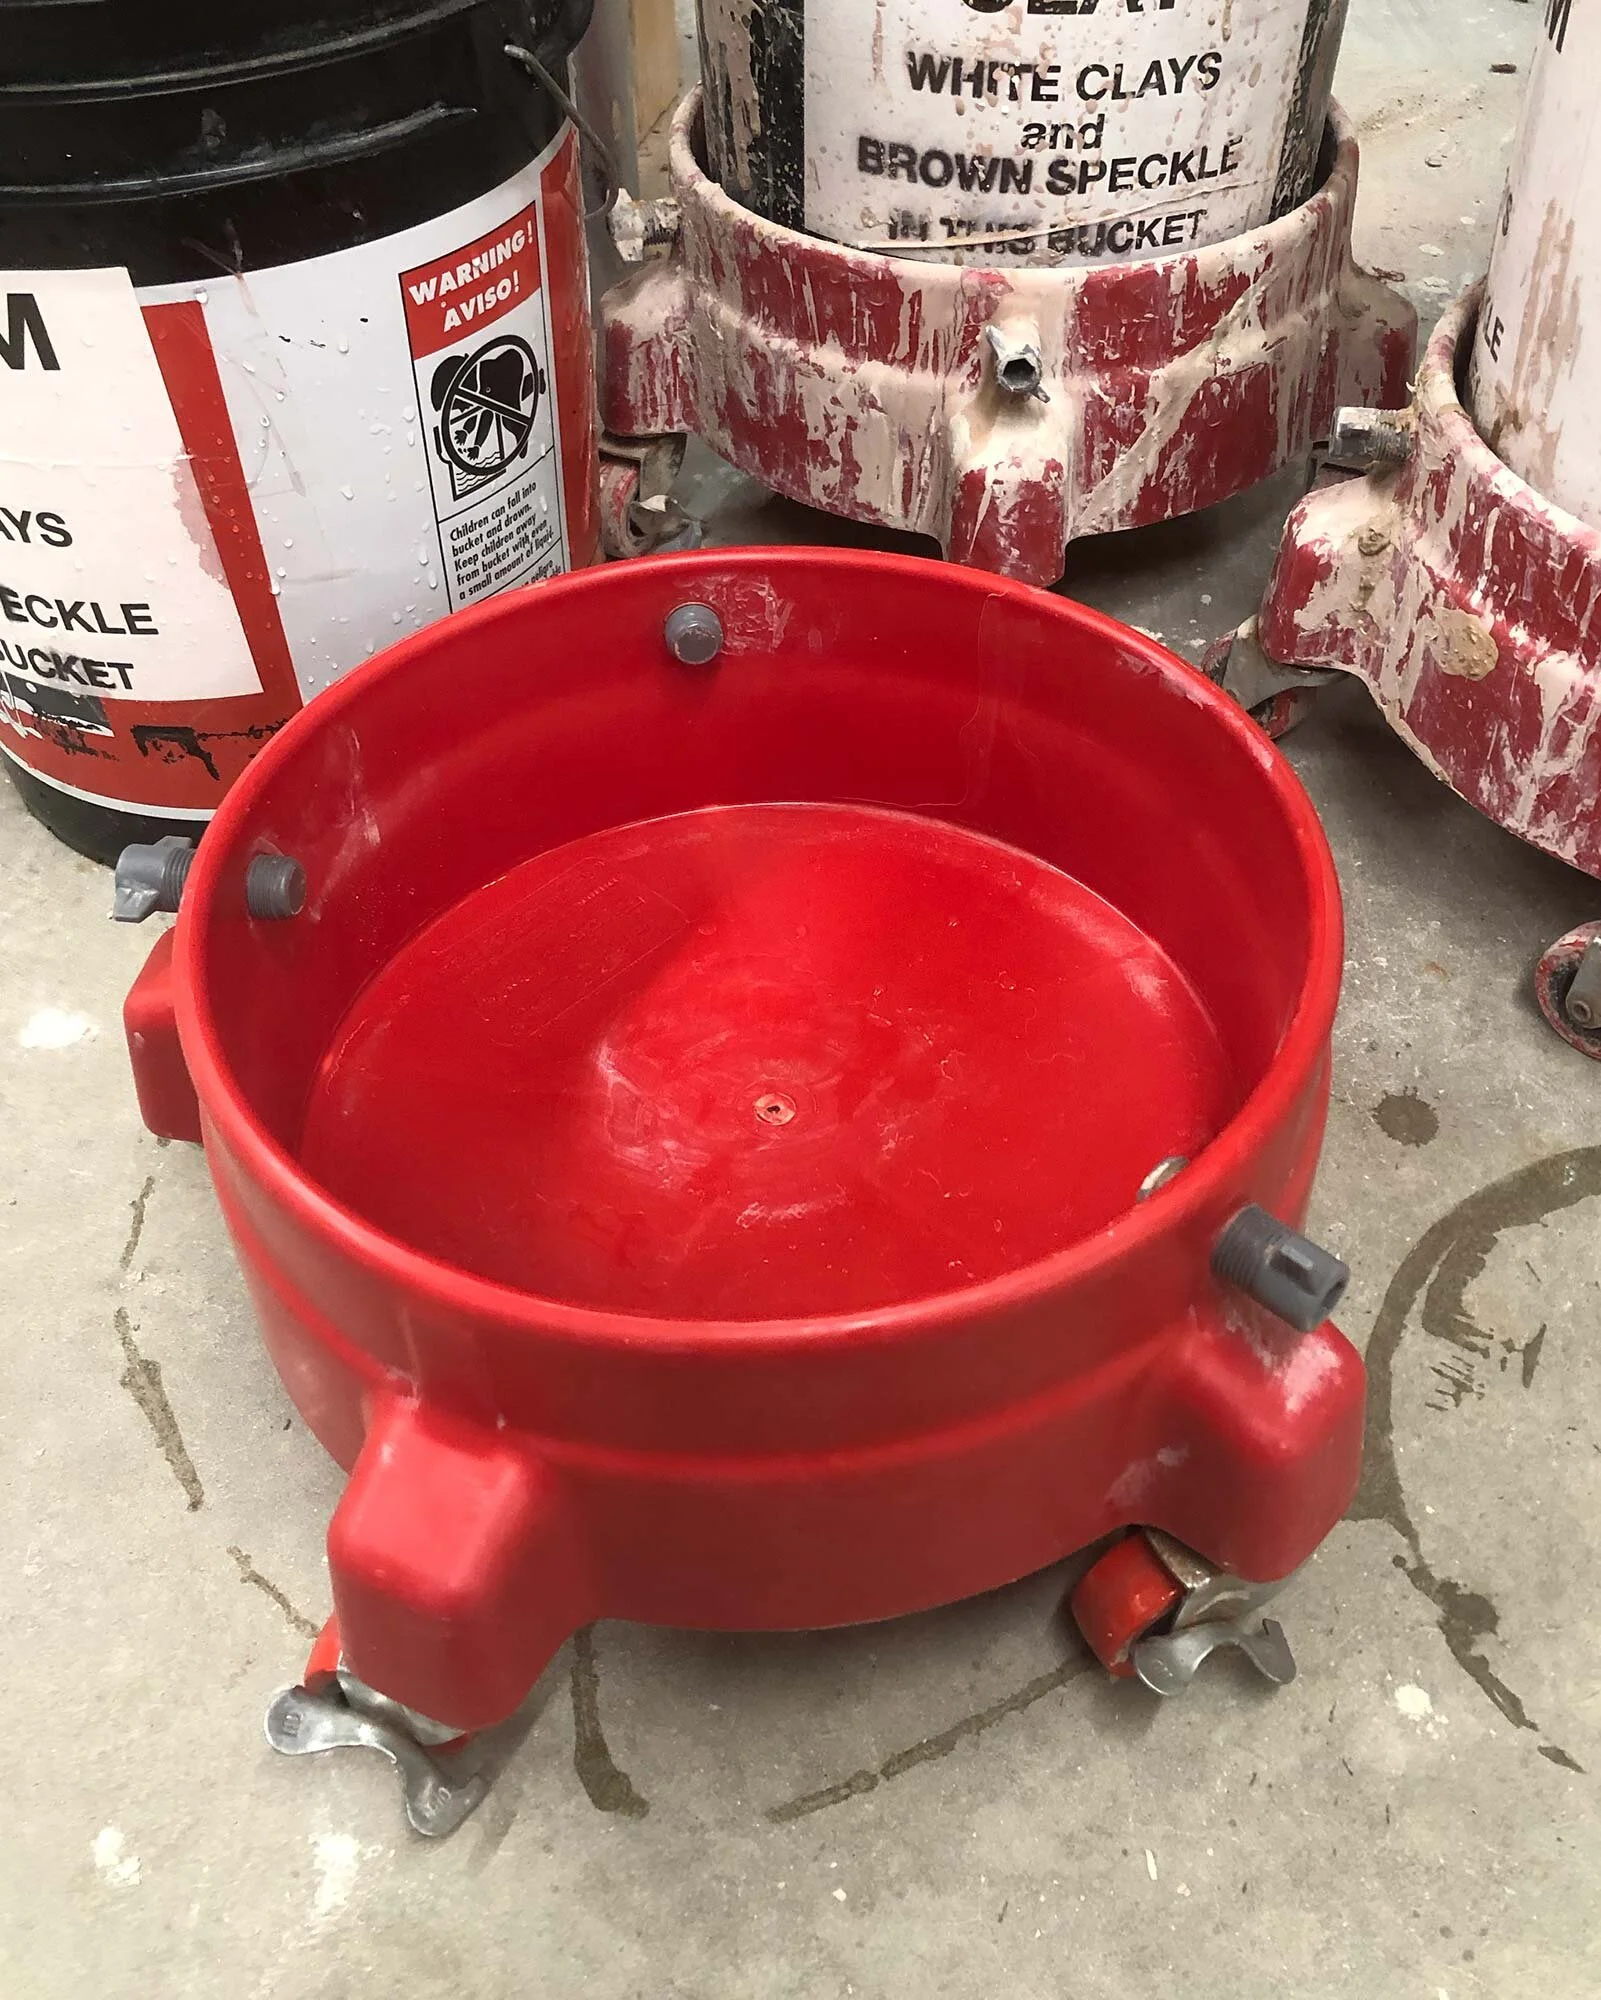
The Carlisle Mop Bucket is available in a 35 and 26 quart size.
Carlisle Mop Buckets
For an alternative to the Rubbermaid Mop Bucket, check out the Carlisle Mop Buckets. They are available in two sizes: 26 quart and 35 quart, and a variety of colors. Options are good! And the smaller size is appropriate for smaller studios. They do not feature the “Wavebreak” middle bumper found on the Rubbermaid bucket, but this actually makes it easier to clean out the grime that settles to the bottom of the bucket.
I use and stock the 35 quart Rubbermaid bucket in larger studios, but in my own personal studio, I have the 26 quart Carlisle bucket. The mop wringer top part is the same size as the larger model, but the 4.5 gallon bucket takes up less room while providing enough water for cleanup. The casters don’t seem as robust as the Rubbermaid buckets, but overall, it’s basically the same, well-built mop bucket.
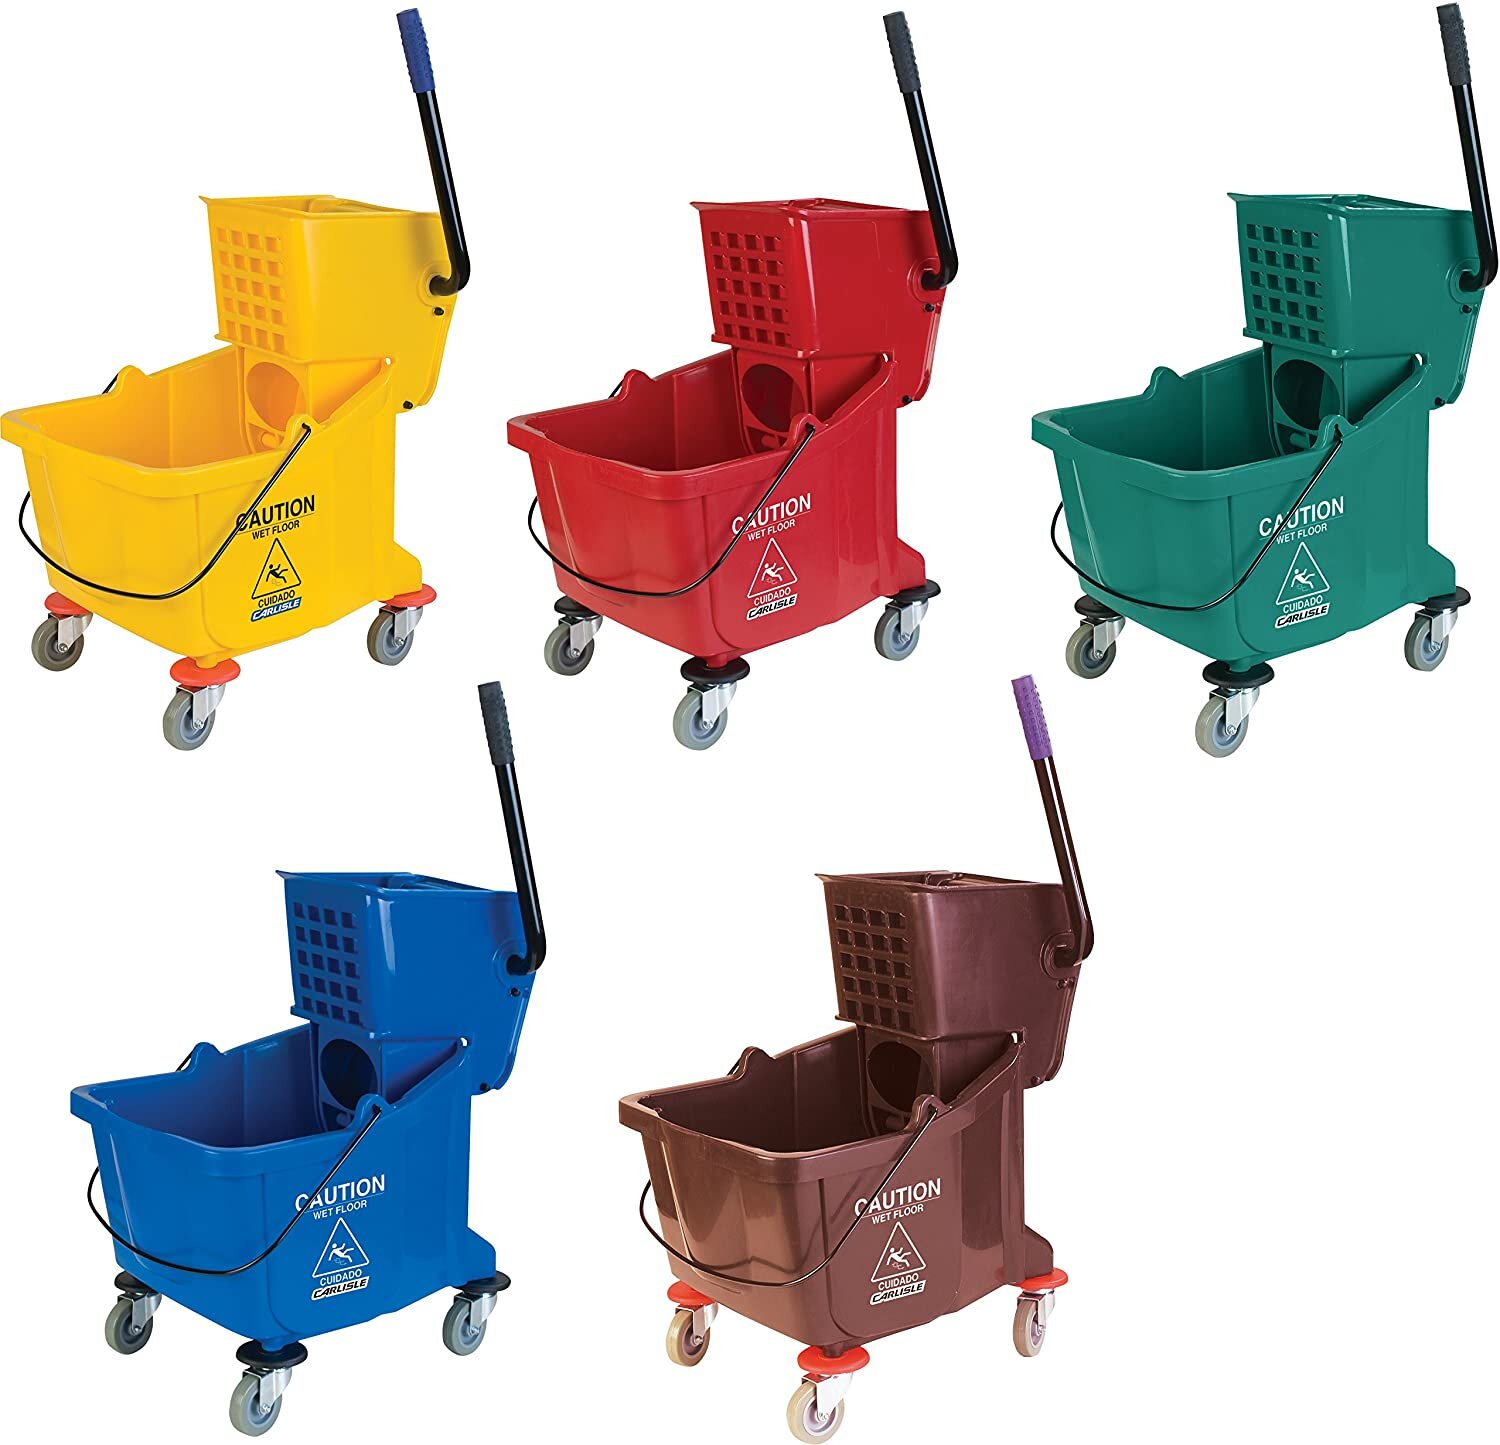
The Carlisle Mop Buckets are also available in a five colors.
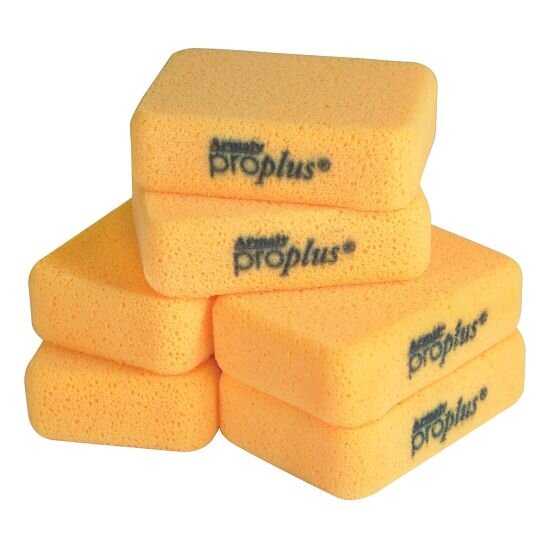
Large Yellow Sponges
Large yellow sponges are one of the best cleanup tools for the size, versatility, and ability to pick up large volumes of liquid. I use them every day in the studio and have tried just about every brand name and generic out there.
My advice is to go for quality on yellow sponges, and my favorite is the Armaly ProPlus Grouting and Cleanup Sponge. It does cost more, but it lasts so much longer. The generic packs you’ll find online contain sponges that usually fall apart in weeks. The Armaly Pro sponges last 6 months or longer under heavy use in the community studio I manage, and should last even longer in a personal studio.
Another decent option is the QEP yellow sponge, which will also last longer than generics. For a full rundown of heavy-duty cleanup sponges, click here. If the prices online seem too high, you may be able to find these sponges for less at big box hardware stores.
HEPA Vacuum

A quality HEPA vacuum is a must-have in any studio, especially if you are working with clay, plaster, or wood and generating dust. It’s always best to wet mop (or use sweeping compound) to avoid putting dust in the air, but if you do use a vacuum, you want to know that you have good filters and are not putting the fine dust back in the air. And for situations like cleaning the inside of a kiln, you definitely need a good vacuum.
The Nilfisk Alto Aero HEPA vacuum is a good balance of quality, and design. It is certified for drywall dust abatement. It’s on the more expensive side for a wet/dry vac, but it’s on the cheaper side for high quality HEPA dust vacuums. (I personally use a 20-year-old Nilfisk GM80. Those are great vacuums if you have $1400…)
I have used other Nilfisk vacuums at various shops and have always been impressed with their quality. Expect this to be an investment that lasts for years or decades.
For a complete review of HEPA vacuums that work for silica dust abatement, click here.
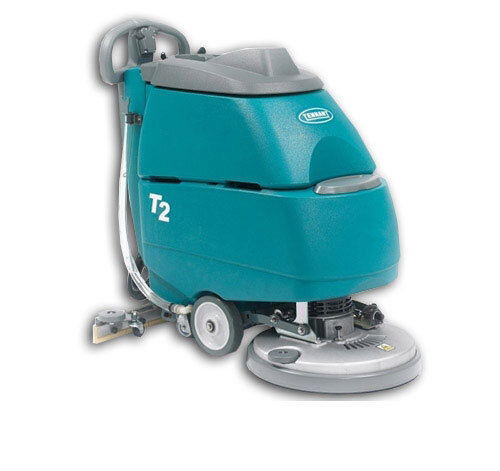
Walk Behind Floor Scrubbers

The Clark Vantage 14, a walk behind floor scrubber made by Nilfisk-Advance.
For larger studios, a battery-operated floor scrubber can be a quick and effective way to clean up. These machines put water down, scrub and clean with a rotating head, and then a rear squeegee helps collect water that is sucked back into the machine.
Available in a variety of sizes, these machines will make short work of even thousands of square feet of studio space. They do costs thousands of dollars, making them more appropriate for larger studios. But in the end, a unit like this will save time and result in cleaner floors. One piece of advice is to definitely get a cordless model.
A smaller option for this type of machine is the Clarke Vantage 14, which is made by Nilfisk-Advance. It has a 14 inch scrubber head, 3 gallon capacity, 100 minutes of battery life, and produces a relatively quiet 64 dB of noise when in operation.
Tennant T2 Walk Behind Floor Scrubber
The Tennant T2 floor scrubber.
A larger, battery-powered floor scrubber is the Tennant T2. It has a 17 inch wide scrubbing disc, a 7 gallon capacity for water or cleaning solution, and a 9.5 gallon reservoir for soiled water. It has a quiet, 68 dB operating noise and is somewhat compact at 44 inches long, 27 inches wide, and 36 inches tall.
Clean Up Recommendations
Here is how I clean up:
Tables and countertops
Use bench brush and dust pan to clean large chunks. Then wipe clean with water and large yellow sponges.
Floors
Spot-sweep as needed with broom and long-handled dust pan.
Use sweeping compound and sweep. Vigorous sweeping can produce airborne dust, so work slowly and carefully.
After sweeping, then mop floors. If needed, a second mopping should get things spotless.
Kiln room
Kilns are vacuumed as needed with a HEPA vacuum.
Floors are cleaned as described above.
As kiln rooms are sources of a lot of dust from ware storage, kiln wash, kiln shelf maintenance, etc, I am extra vigilant about cleaning frequently in kiln rooms.
Summary
This post has covered all the clean up tools I use in my own studio and studios that I manage. These recommendations are made based on years of personal experience and what has worked for me and other studio members. Cleaning up is an incredibly important part of the art making process, and you want to have the right tools to make the job efficient and effective.
What clean up tools do you use in your studio? Let us know in the comments.