The Best Black Acrylic Gesso for Preparing Canvas

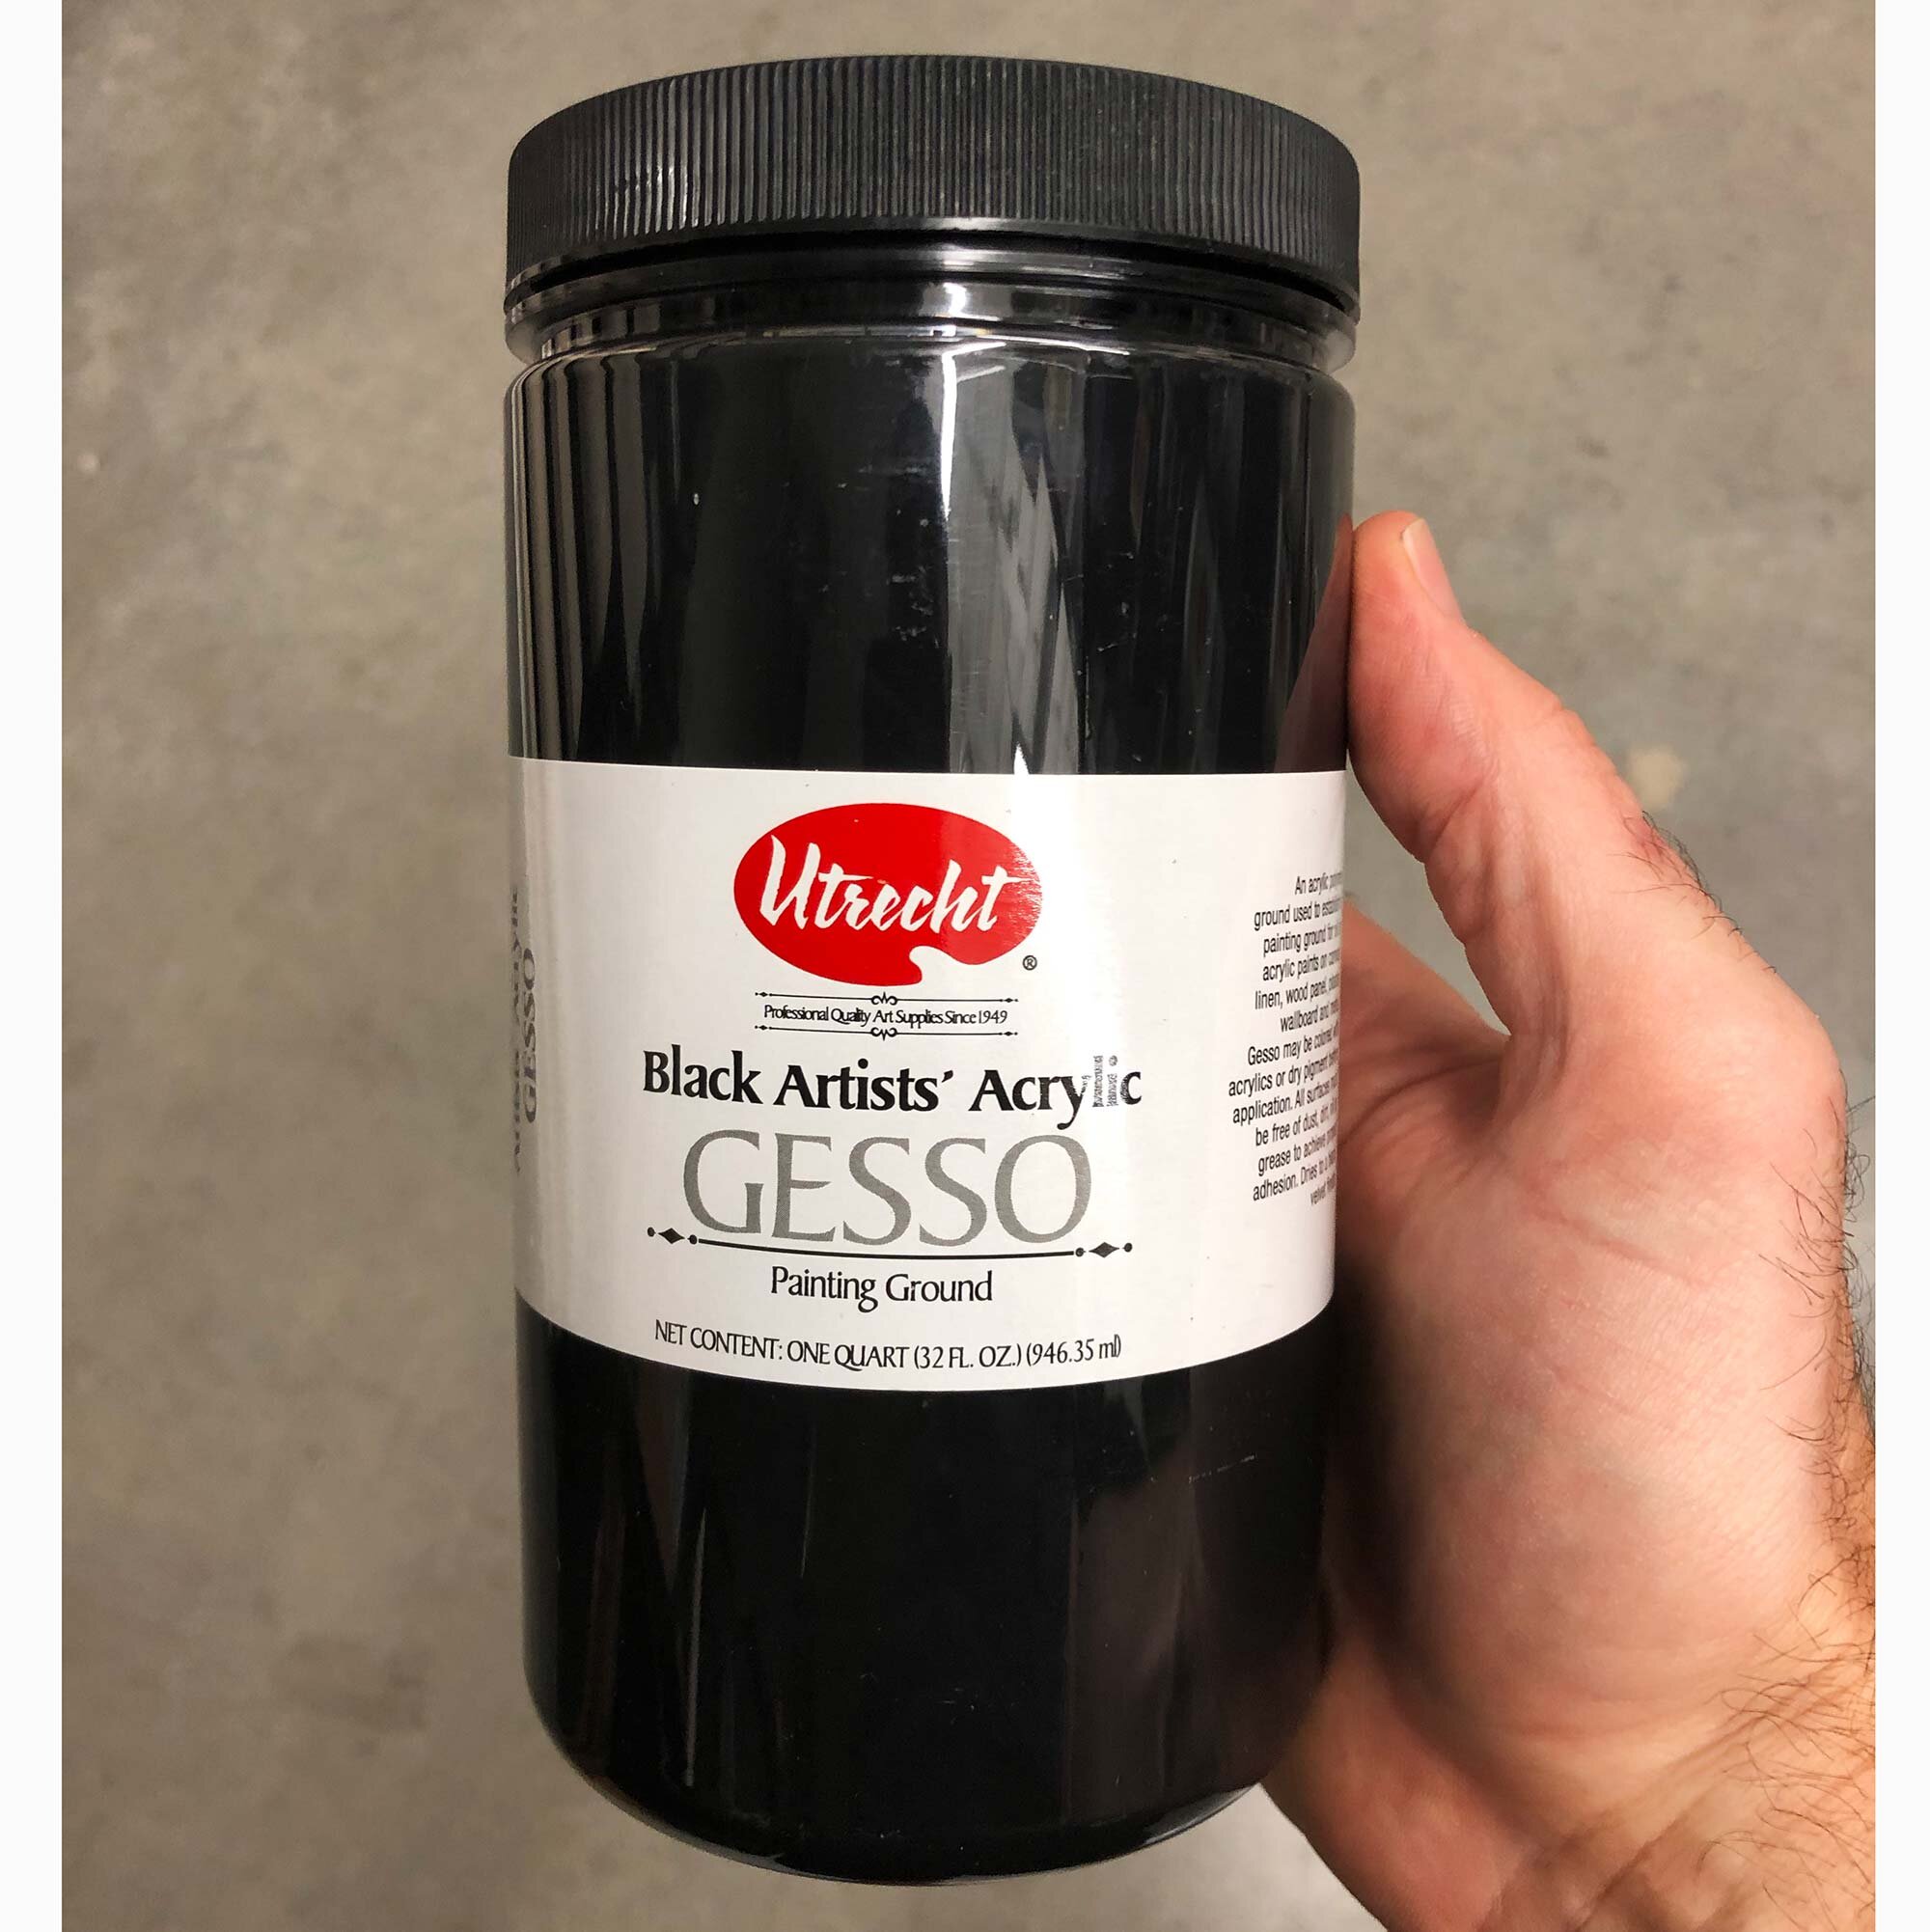
Utrecht Black Artists’ Acrylic Gesso is our top pick for its ultra-matte quality and affordable price.
Utrecht Black Artists’ Acrylic Gesso is our top pick for its ultra-matte quality and affordable price.

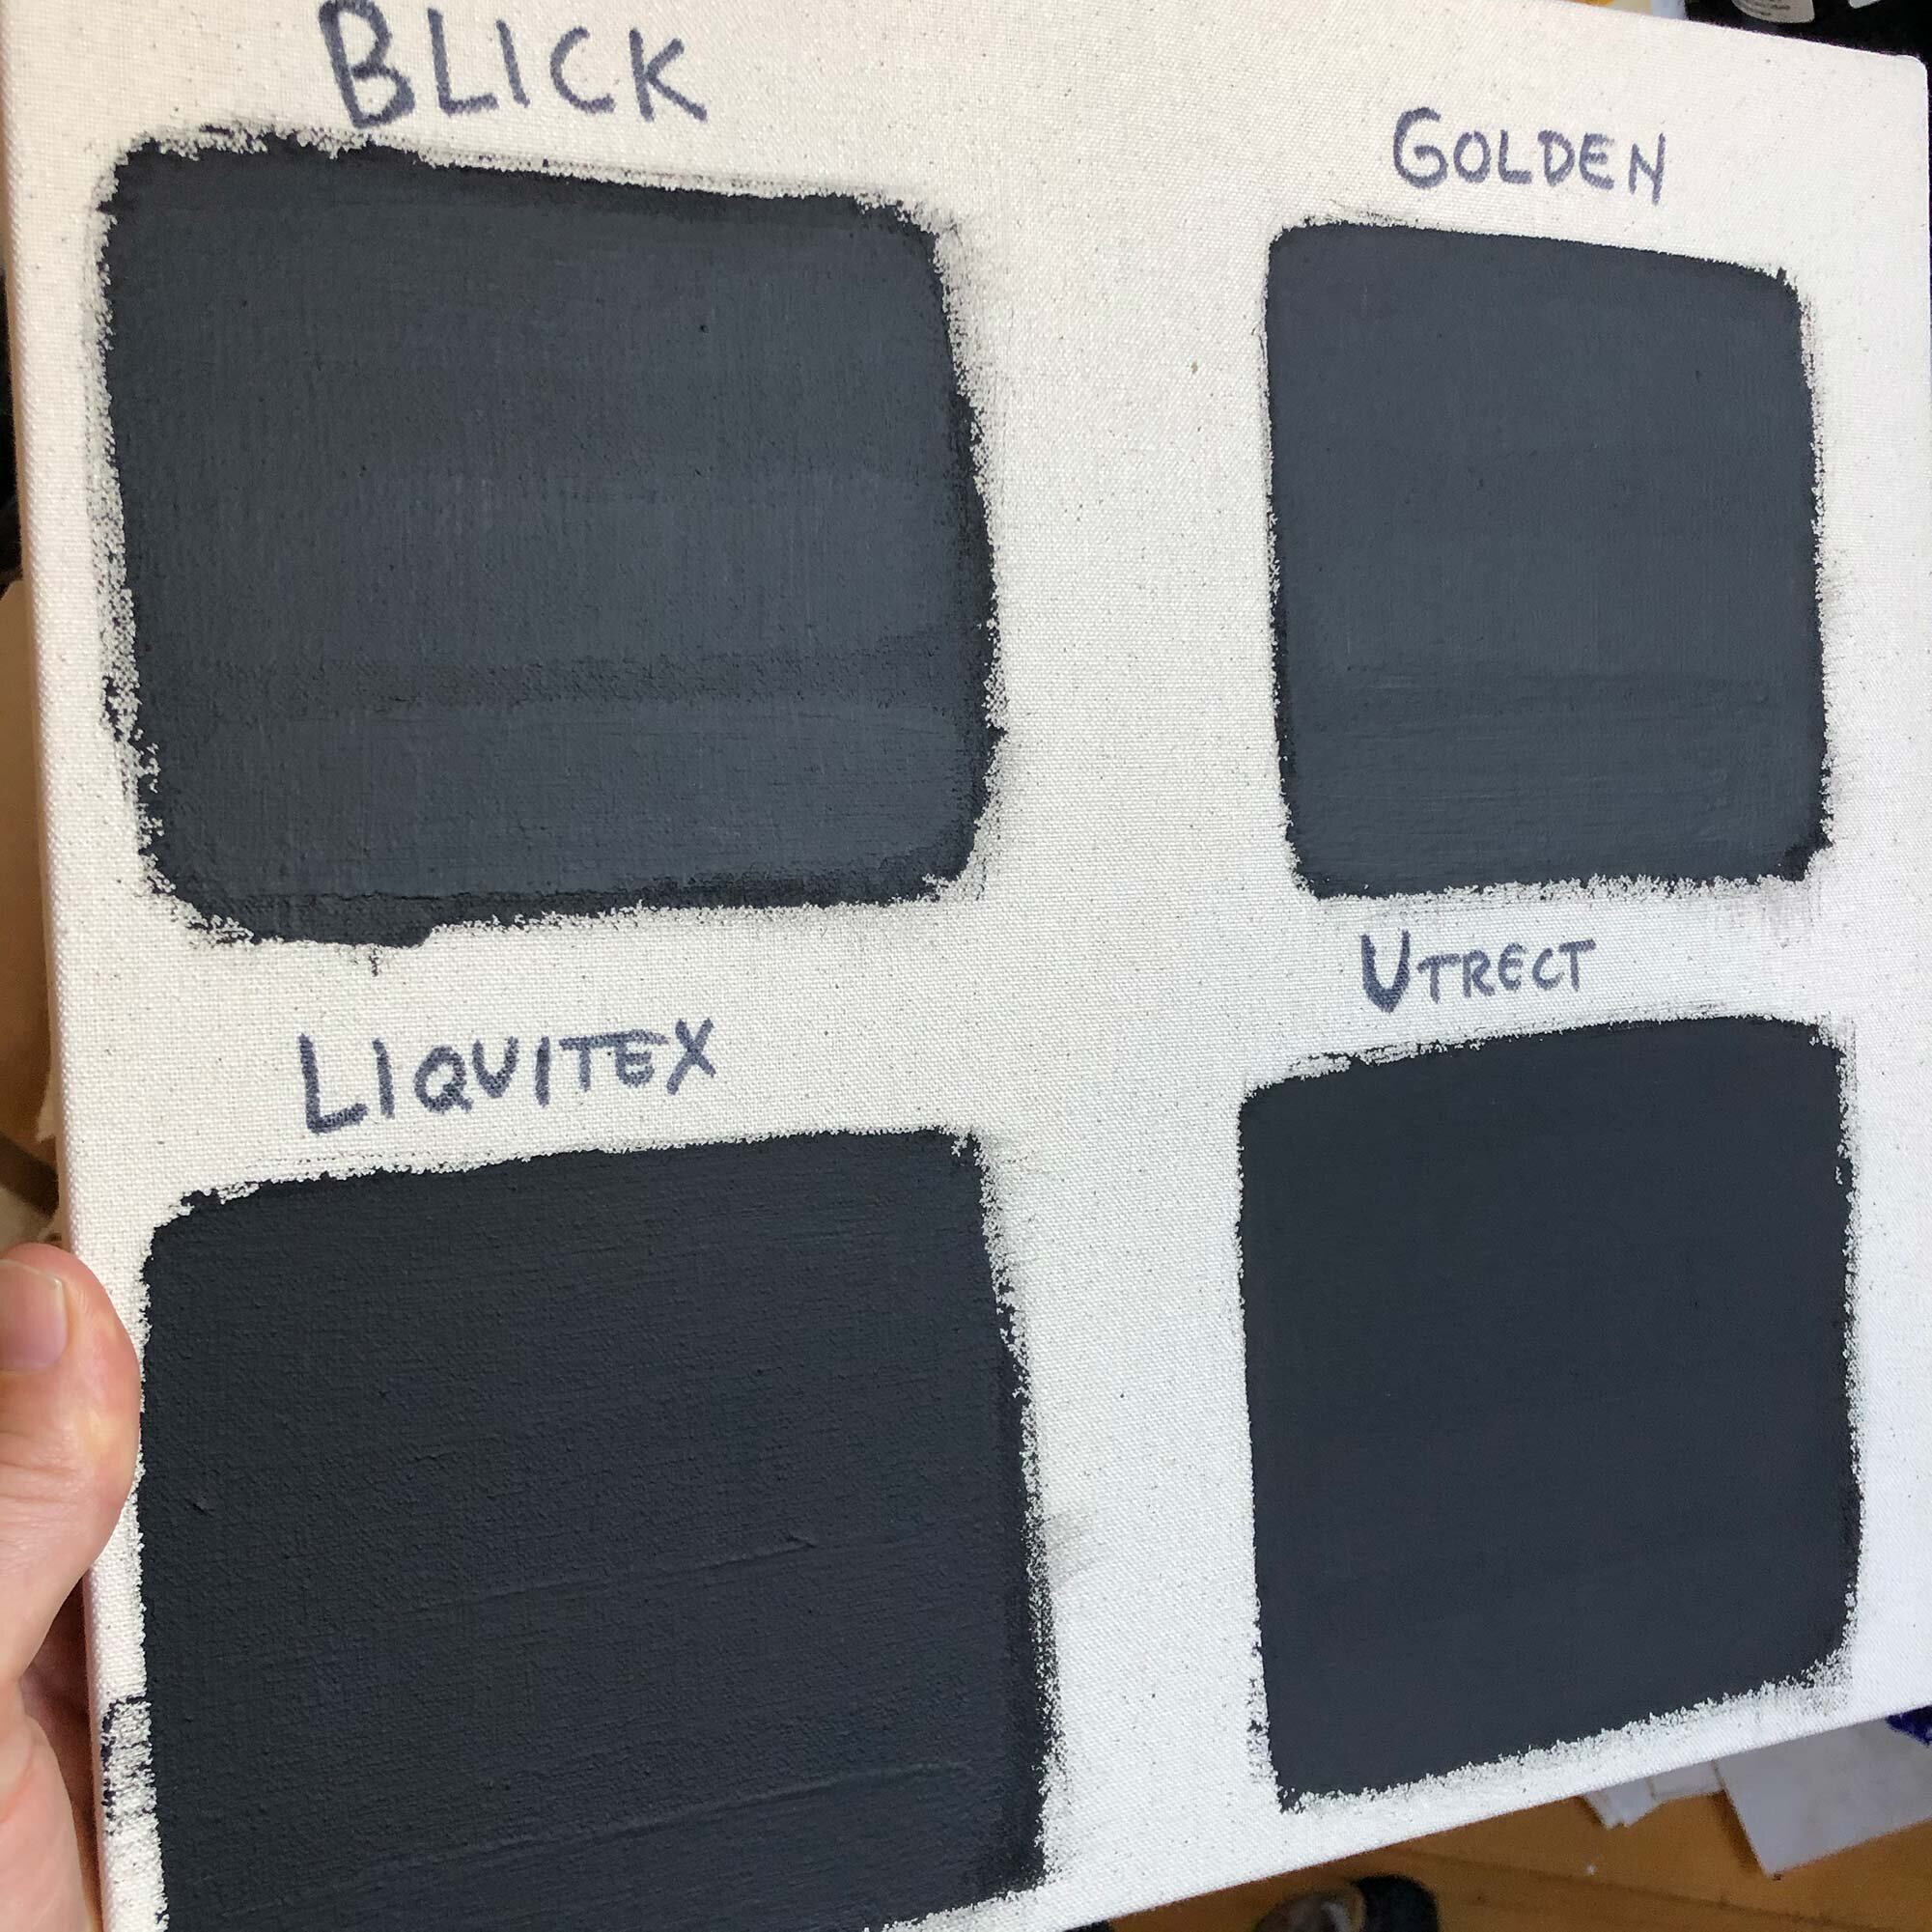
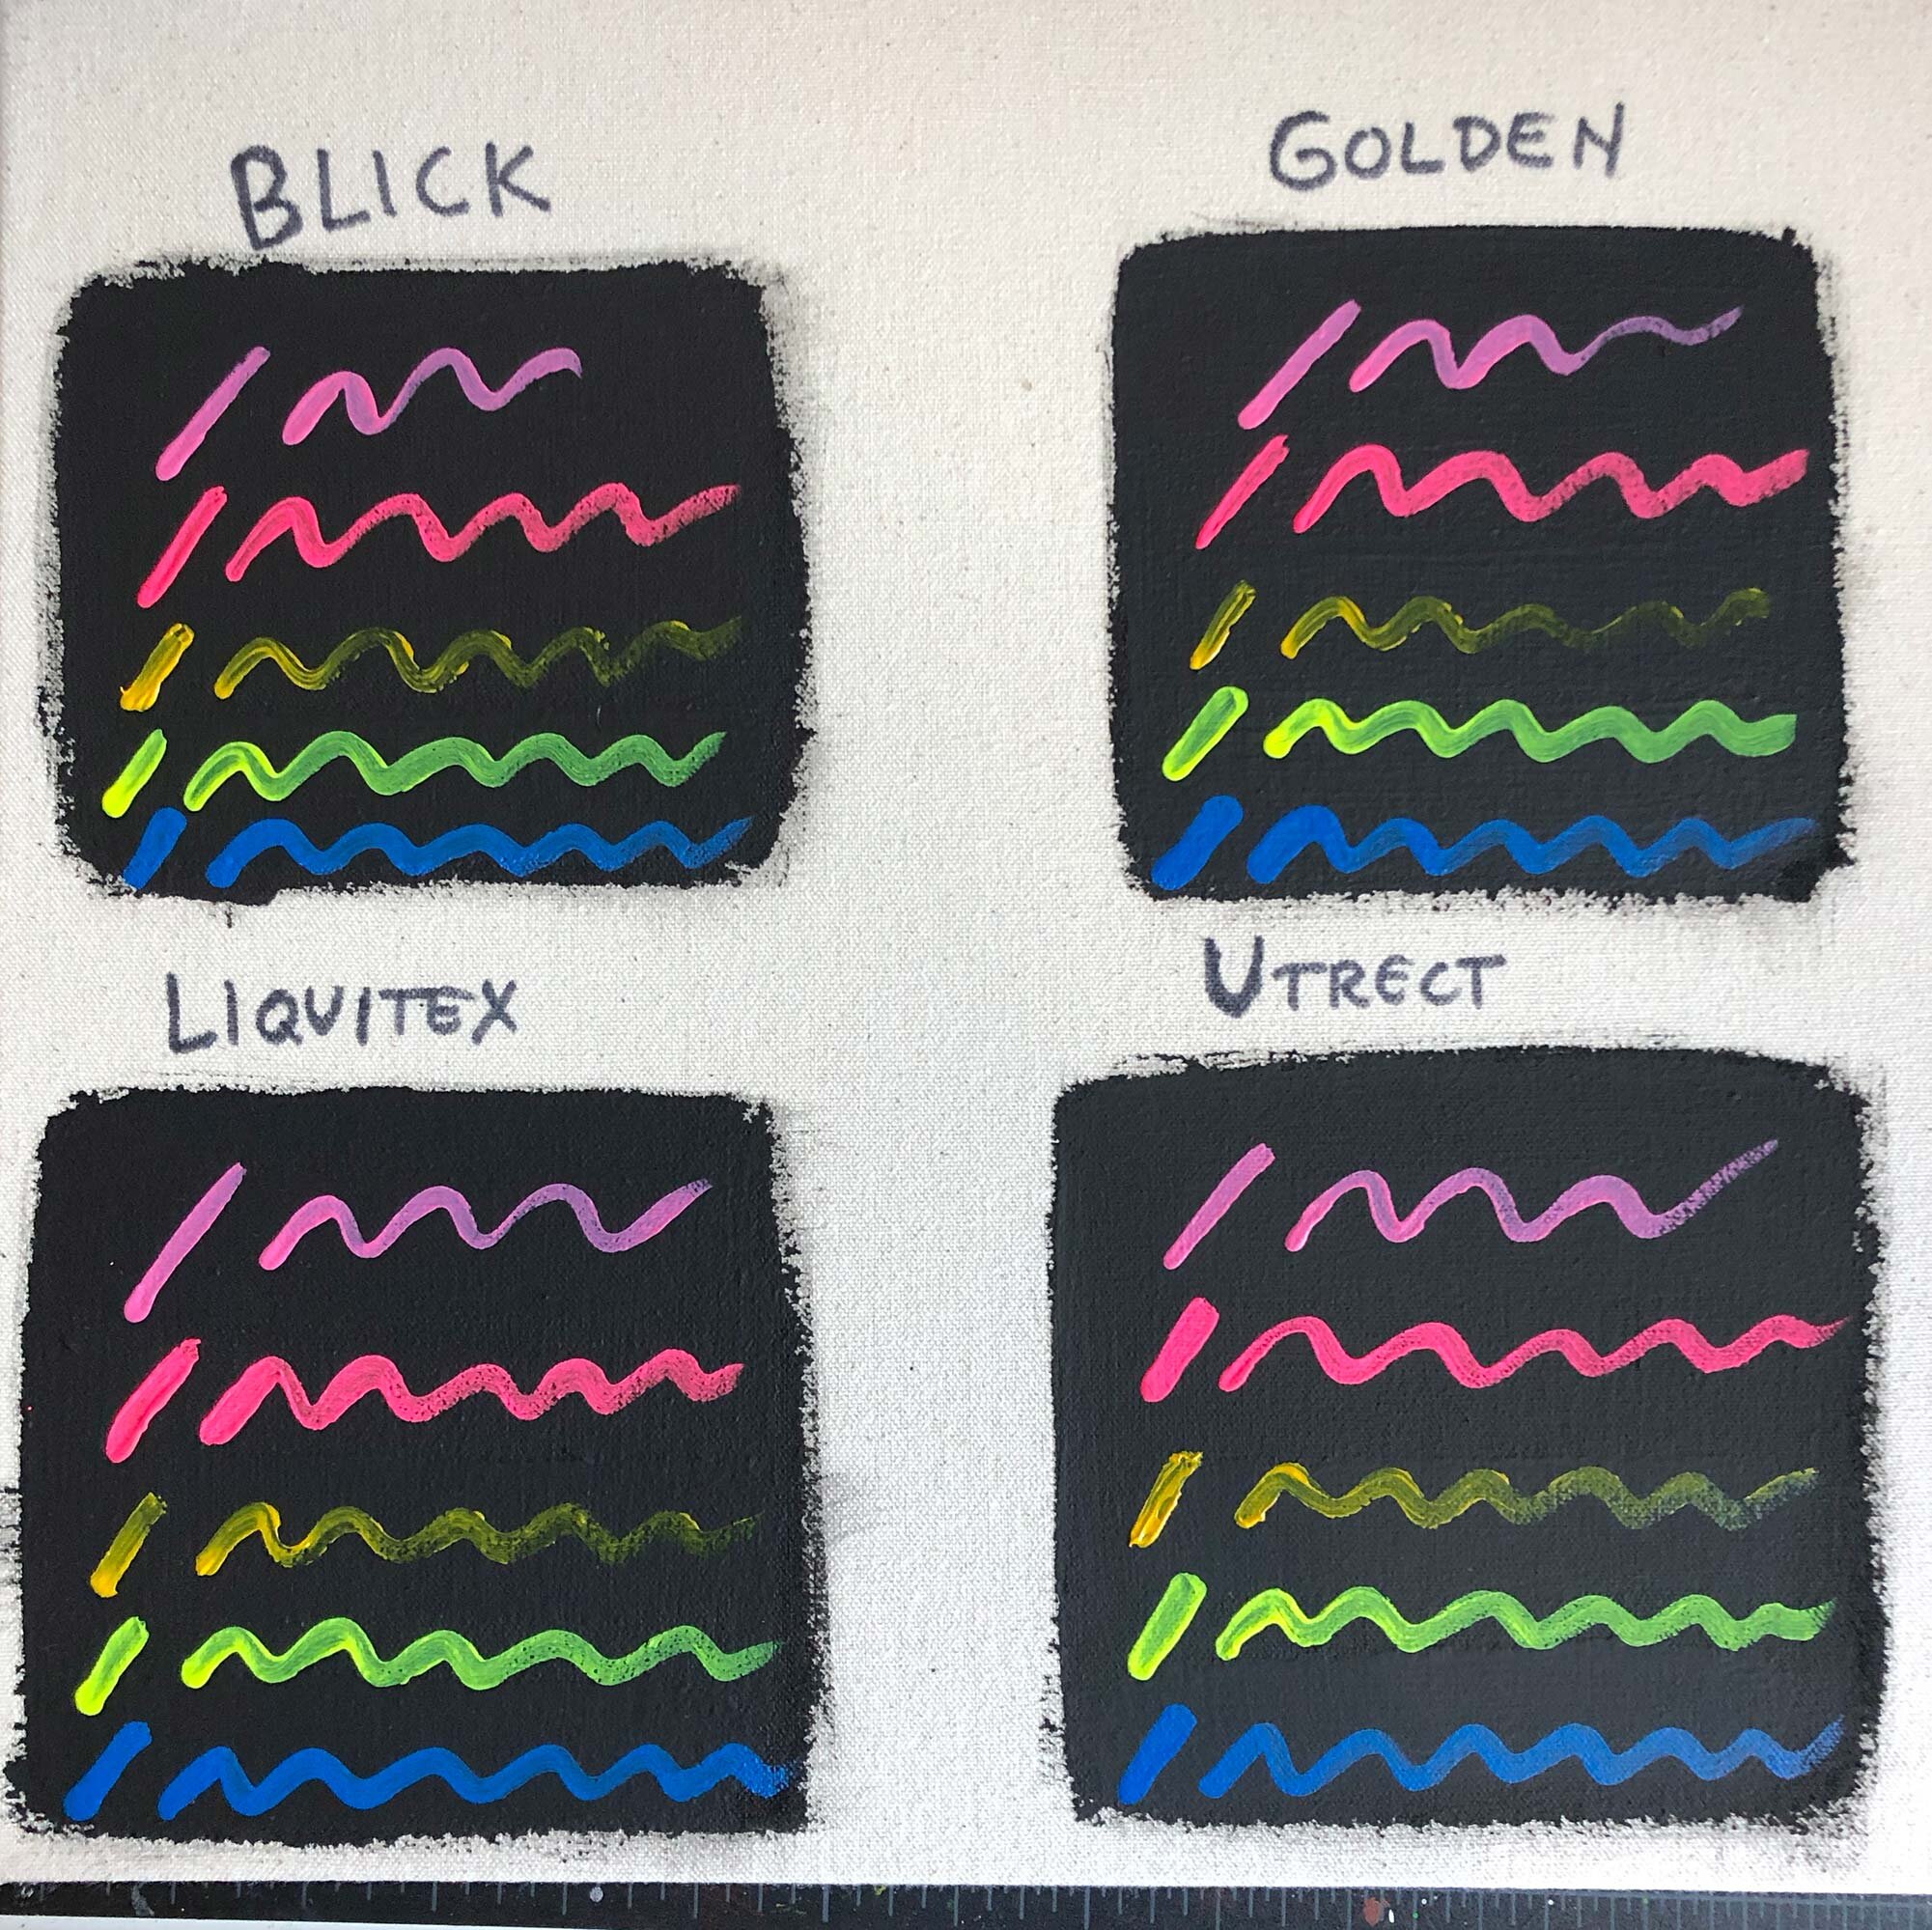
The four black gessos tested: Blick, Golden, Liquitex, and Utrecht.

The four black gessos tested: Blick, Golden, Liquitex, and Utrecht.

Black acrylic gesso provides a stable, flexible painting surface that is a complete contrast to a white gesso ground. Black gesso is also very opaque, allowing you to use it as a primer to cover up just about anything, and it will stick to a variety of surfaces including canvas, paper, wood, and more. Certain colors will change when painted on top of black gesso, especially transparent colors, but it also makes other colors really pop.

For this post, four black gessoes were tested and analyzed for ease of application, the matte or satin quality, and cost. All the gessoes were quite black, no questions there, but based on its ultra-matte quality and affordable price point, Utrecht Black Artists’ Acrylic Gesso was the top pick. This gesso was the most matte of the gessoes tested, which is a real plus.

The only drawback for the Utrecht Gesso was its gel-like nature (which can be fixed with a bit of water) but other gessoes each had their own features and attributes. A complete analysis and sample pictures follows, to help you choose the right black gesso for your studio.


Table of Contents

  • Top Pick: Utrecht Black Artists’ Acrylic Gesso

  • Golden Black Gesso

  • Liquitex Black Acylic Gesso

  • Blick Artists’ Acrylic Gesso

  • Testing Methodology and Images

  • Tips for Applying and Working With Black Gesso

  • Summary


Utrecht Black Artists’ Acrylic Gesso

Utrecht Black Gesso is available in 16 and 32 oz sizes.

Utrecht Black Gesso is available in 16 and 32 oz sizes.

Utrecht Black Gesso is our top pick for a black acrylic gesso because of its ultra-matte quality and affordable price point. Of the gessoes tested, it was the most matte with a deep, flat-black surface that stayed completely matte even with 5 or 6 coats of gesso. And though this test did not include sanding in between coats, the gesso developed a relatively flat surface as layers built up.

Available in 16 or 32 oz jars, the gesso usually costs between $0.70 to $0.85 per ounce, making this the second cheapest black gesso tested. It’s a great deal for a top quality product.

There are two tradeoffs with this gesso: it’s gel-like quality and the limited availability of jar sizes. In multiple jars of this, I’ve always found it to have a gel-like quality right out of the jar that is a bit harder to use. Simply mix in a bit of water and you should be fine though. Regarding the jar size, the tall 32 oz jar is easy to store but it can be hard to get all the gesso out of the bottom. It would also be nice if it came in gallon buckets. But in reality, these are minor complaints because the ultra-matte results are what I’m looking for in a black gesso, and this is my go-to favorite.

About Utrecht: Founded in 1949 in Brooklyn, New York, Utrecht was one of the first manufacturers to develop acrylic gesso. Acquired by Blick in 2013, the products are still made in Brooklyn and are available online and at Blick stores in the U.S. They are not marketed this way, but I think of Utrecht as the premium “house brand” at Blick stores.

Utrecht Black Artists’ Acrylic Gesso sizes, typical price, and price per ounce:

  • 16 oz, $13.34, $0.83 per ounce

  • 32 oz, $22.06, $0.69 per ounce

Test images for Utrecht Black Acrylic Gesso:
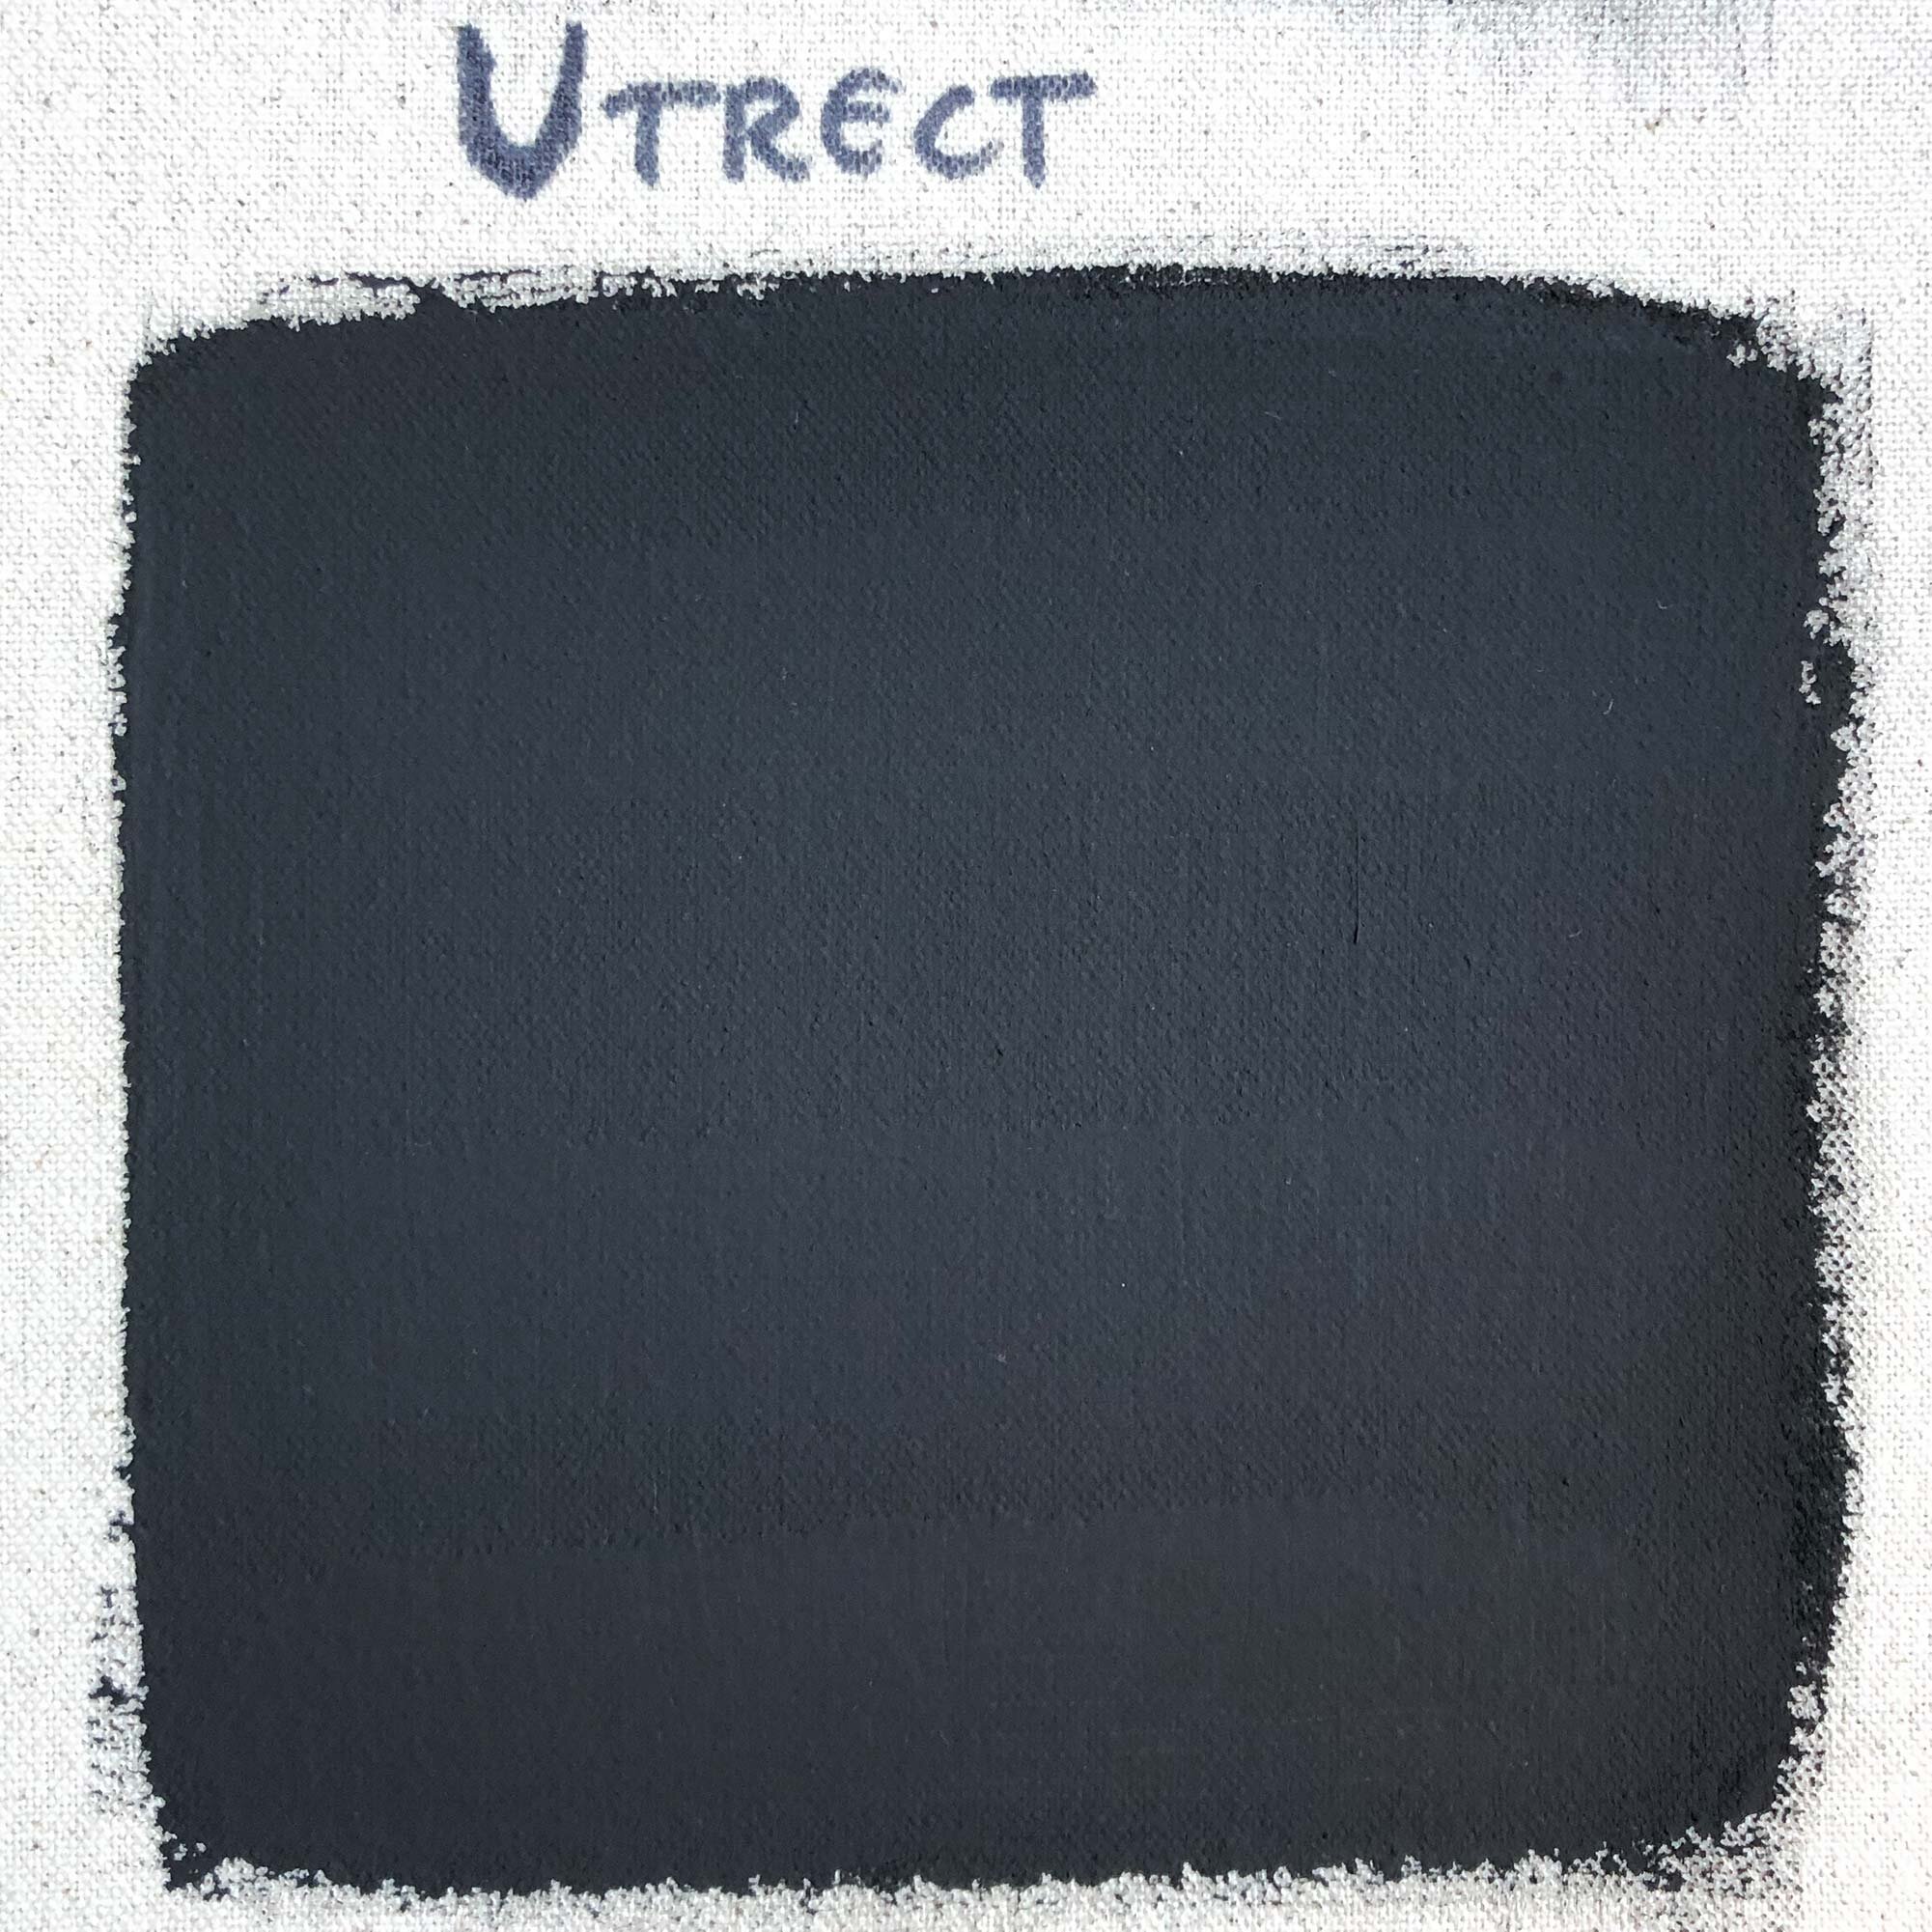
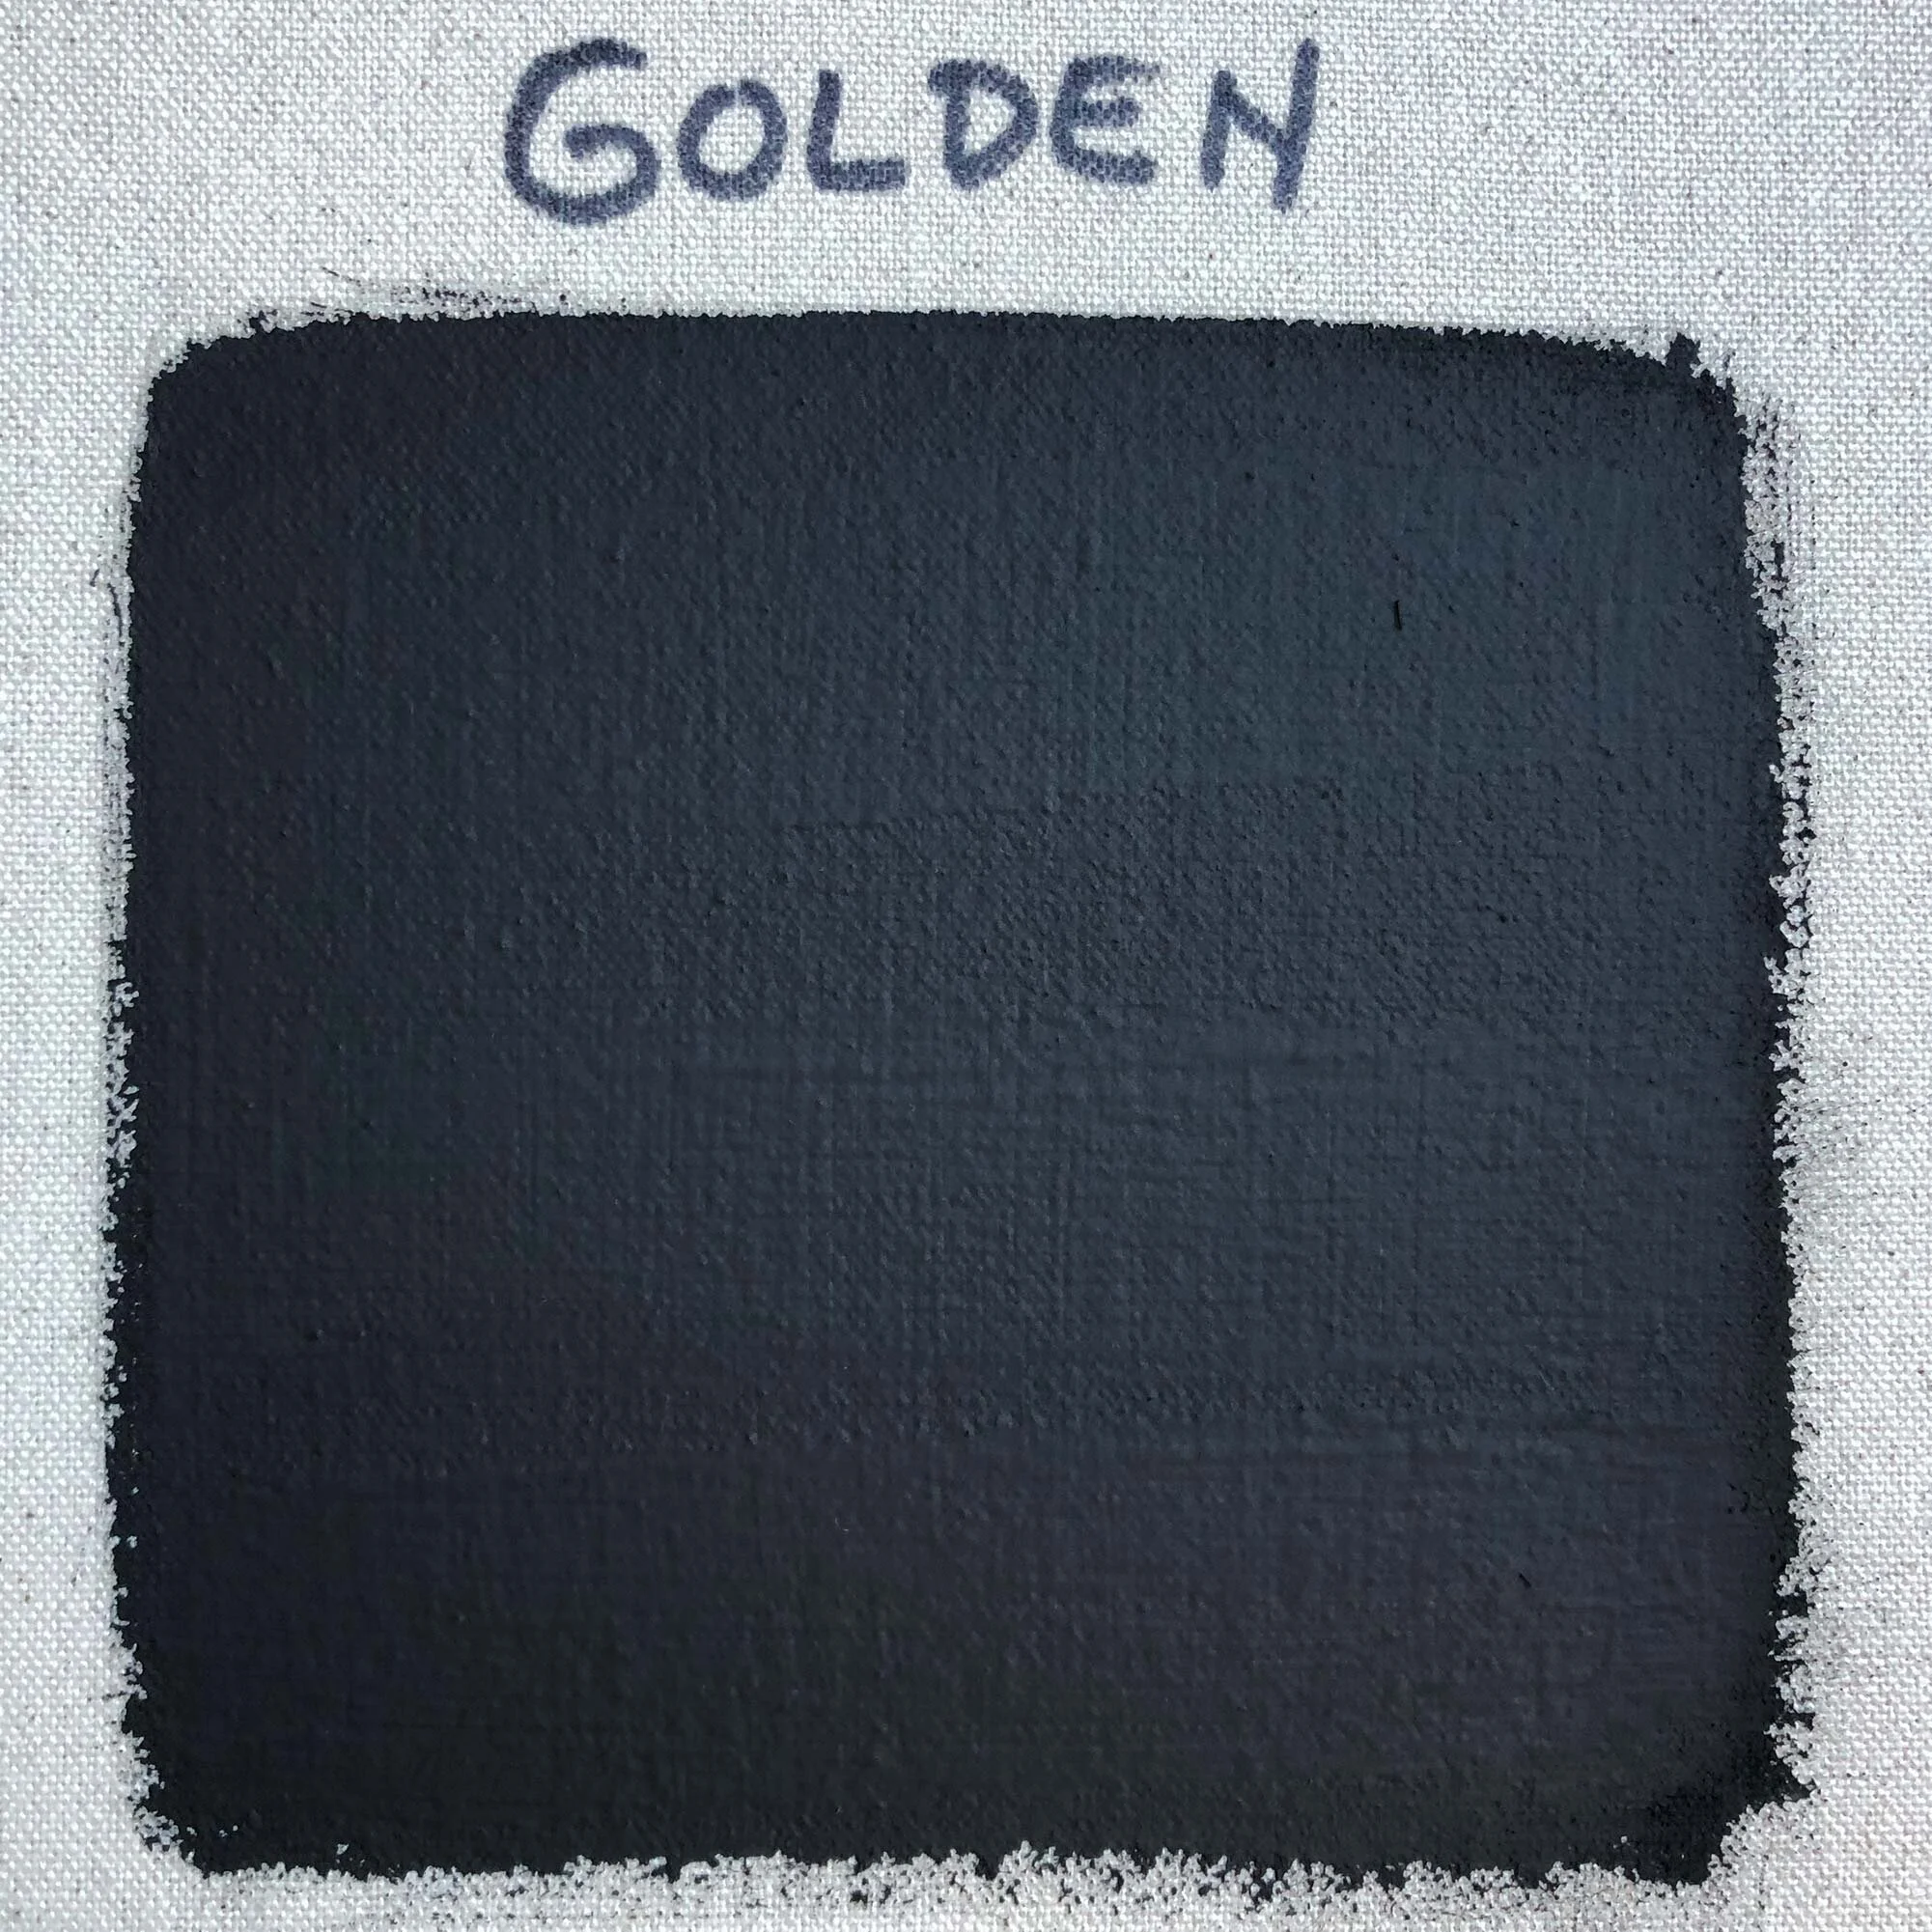
In a simple test, Utrecht Black Gesso gave a ultra-matte, flat surface.
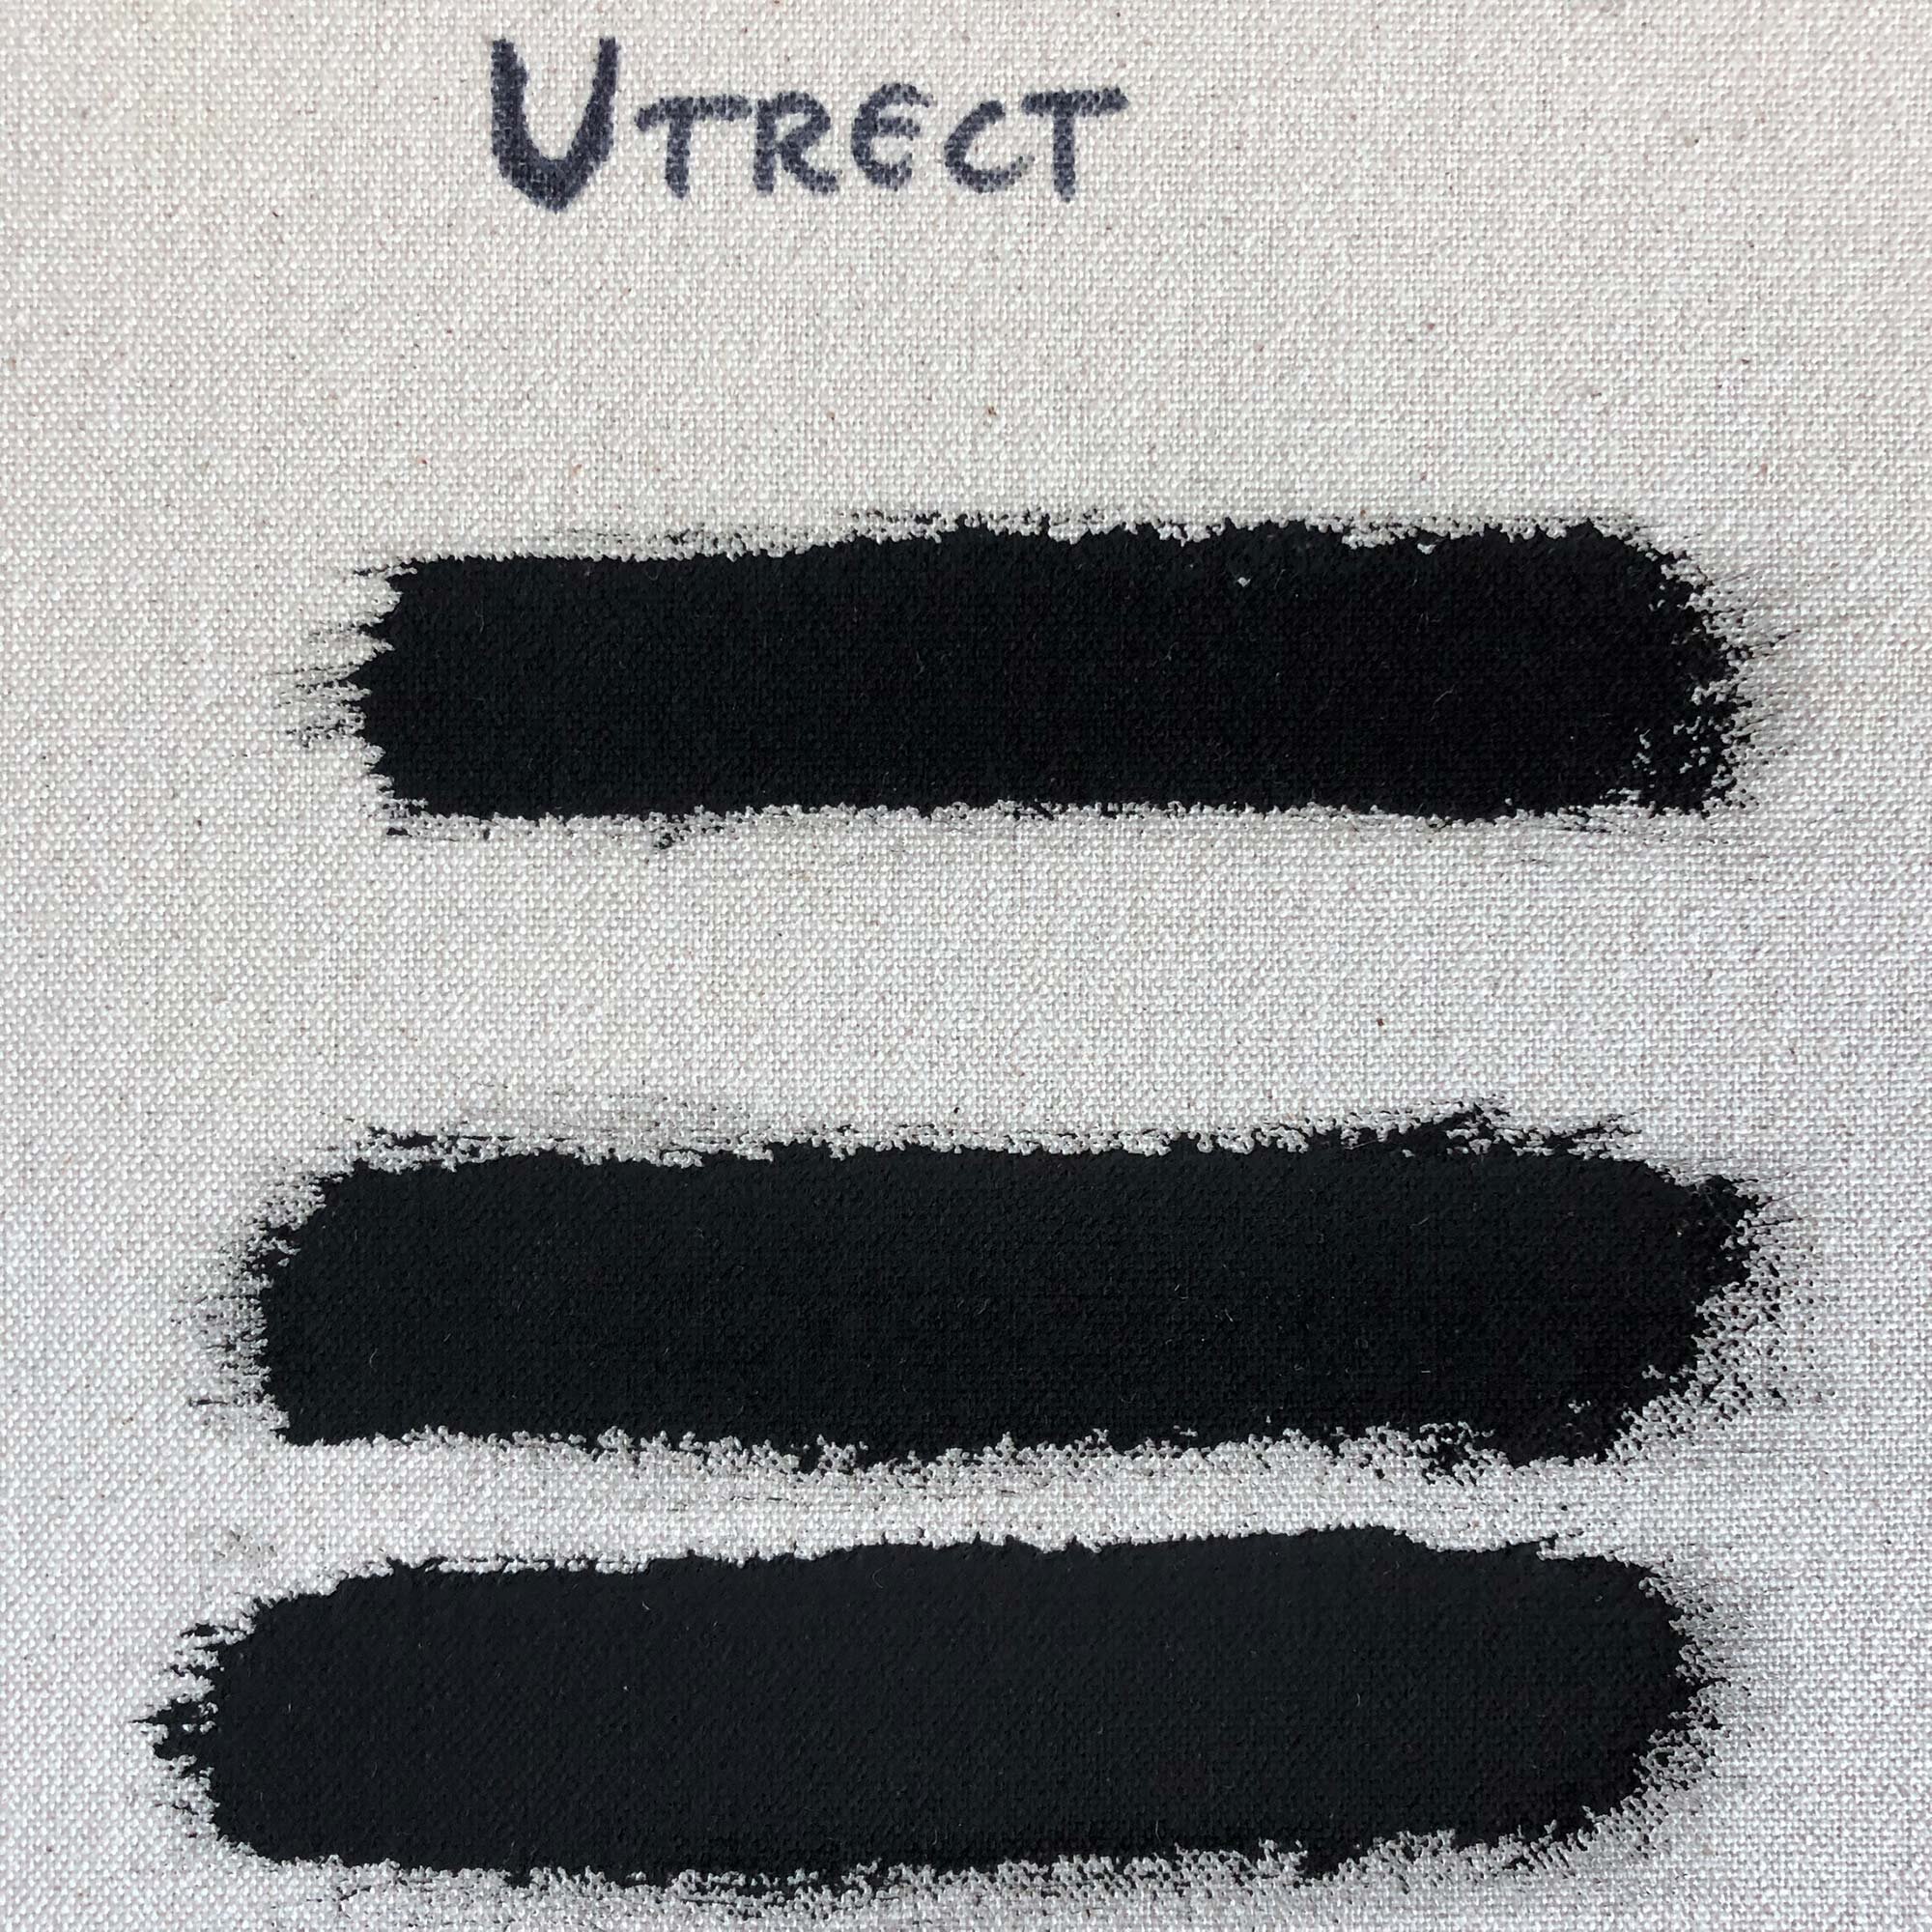
In a simple test, Utrecht Black Gesso gave a ultra-matte, flat surface.

Stripe test from top: 1 coat, 2 coats, 3 coats. Utrecht Black Gesso stayed matte.

Stripe test from top: 1 coat, 2 coats, 3 coats. Utrecht Black Gesso stayed matte.

Angle view of the flat test.

Angle view of the flat test.

Various acrylic paints on top of Utrecht Black Gesso.

Various acrylic paints on top of Utrecht Black Gesso.


Golden Black Gesso
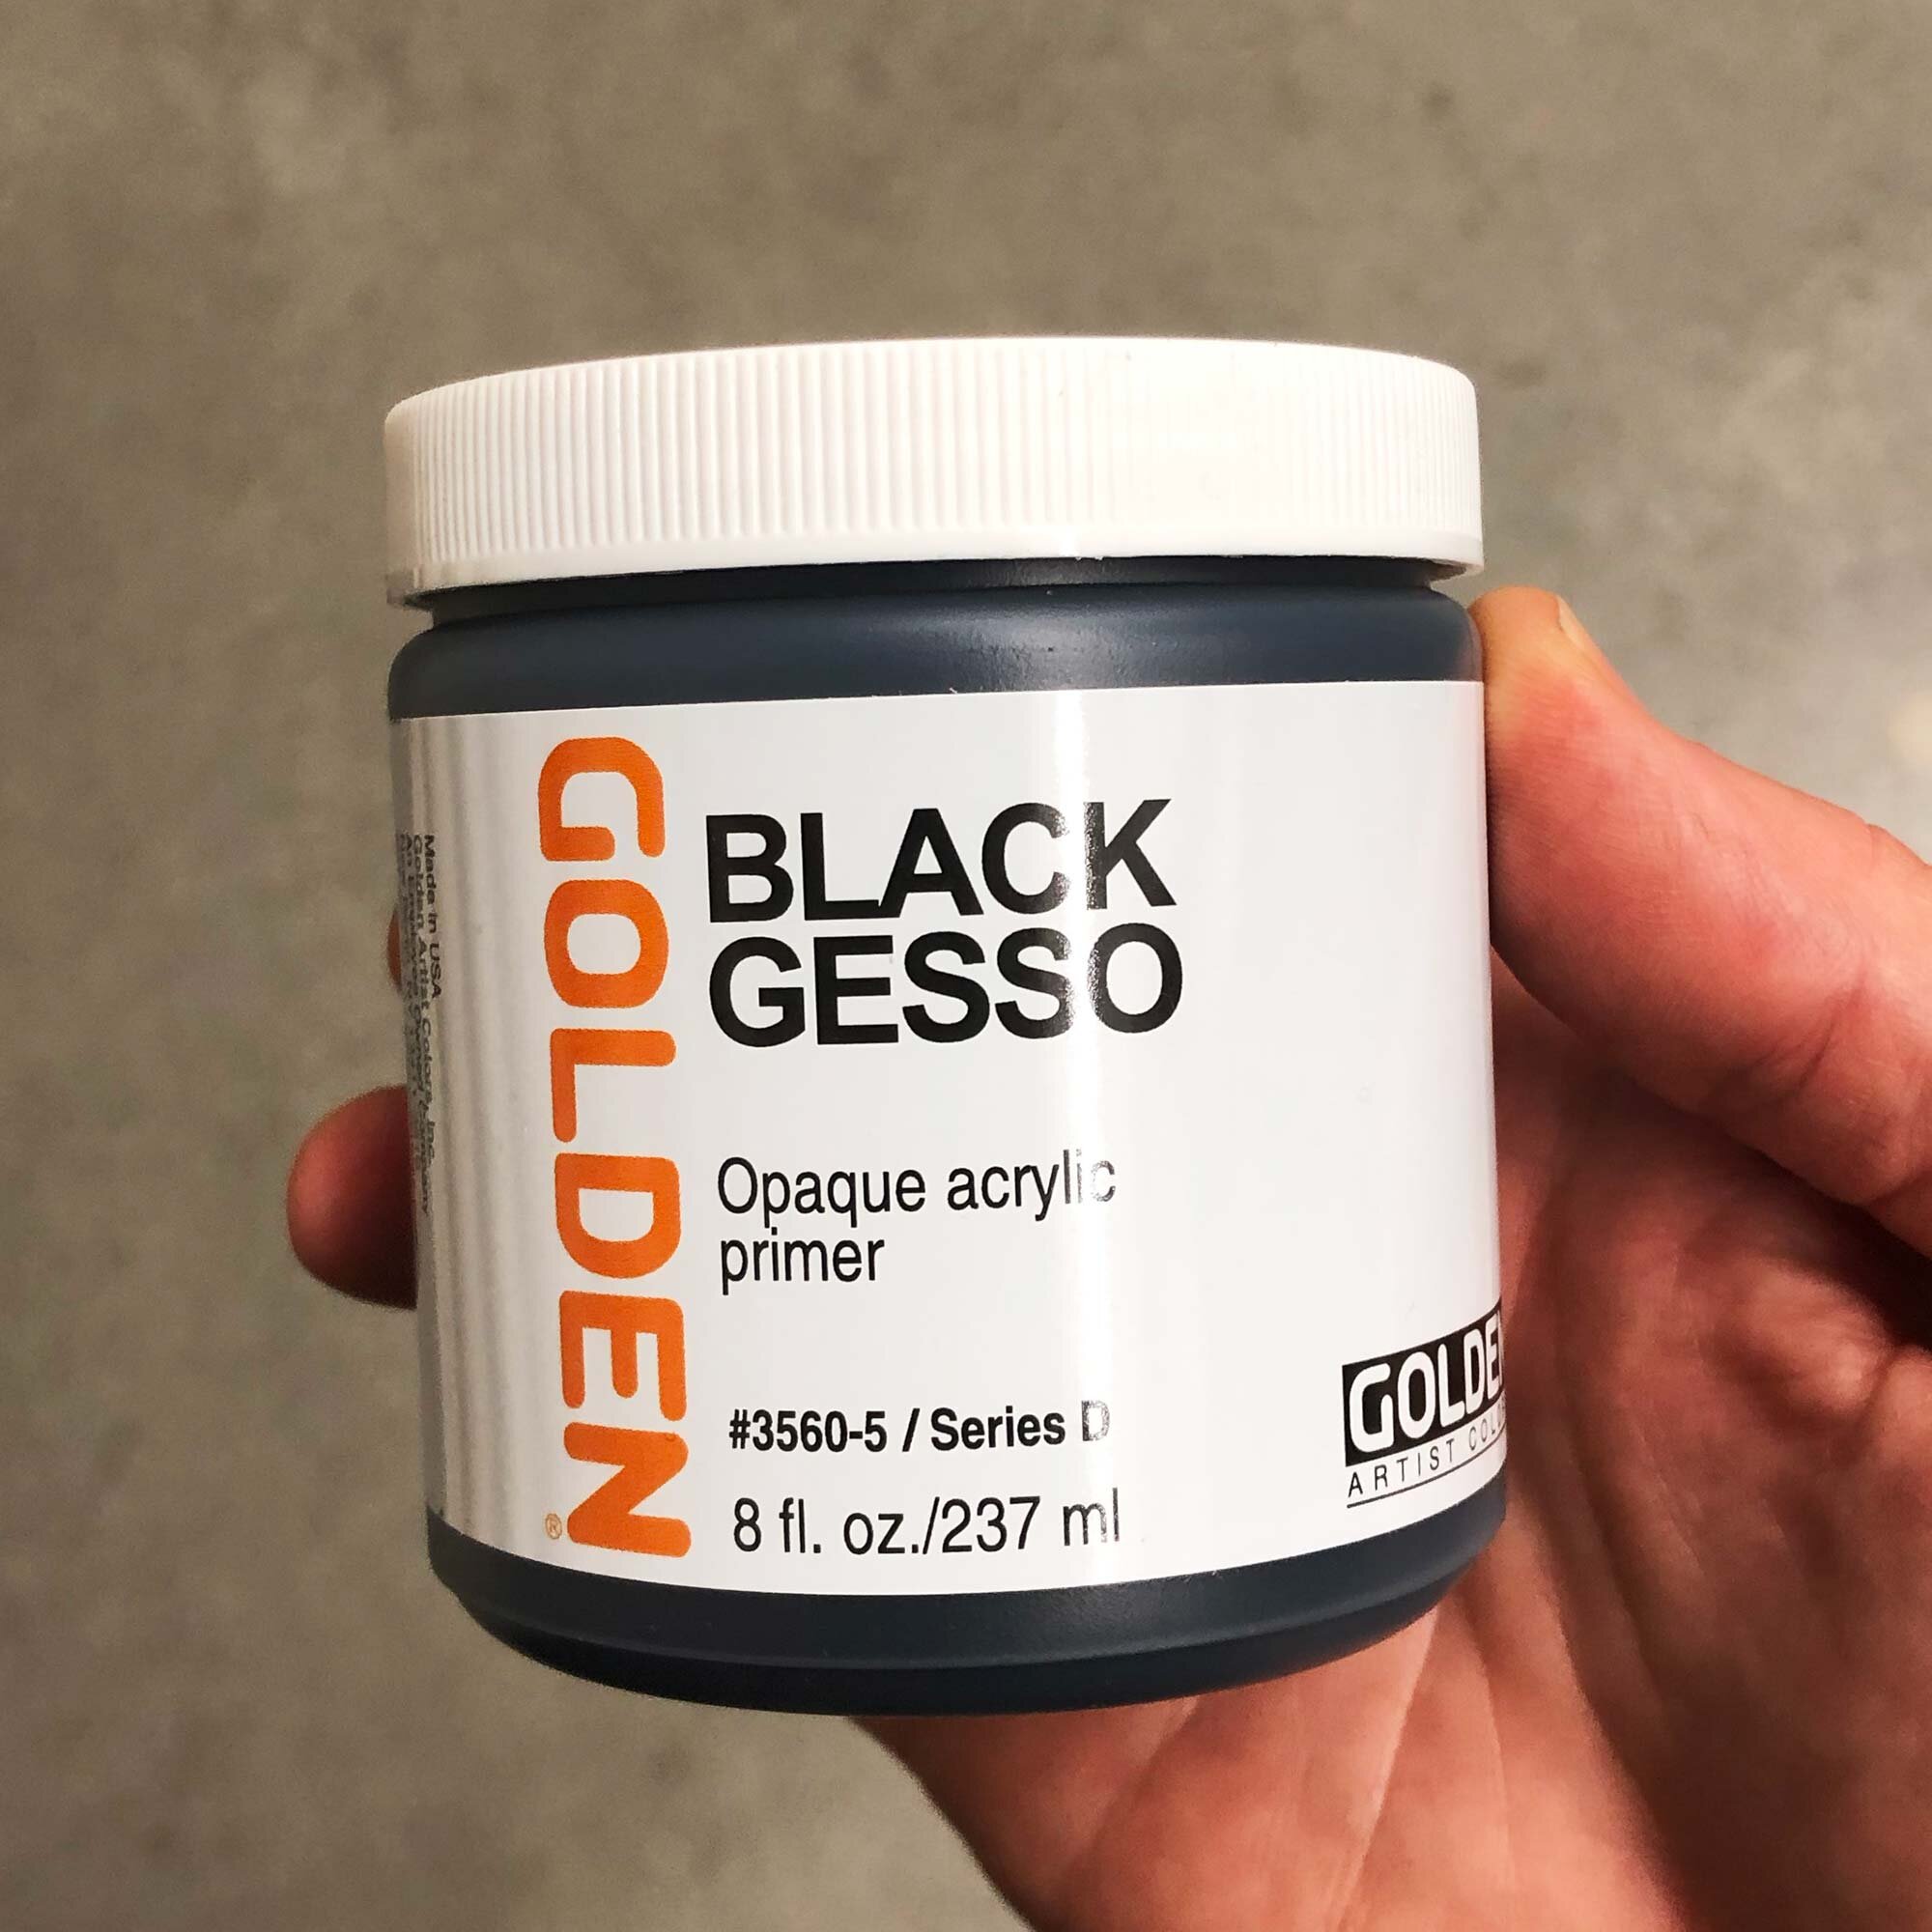
Golden Black Gesso is available in jars ranging from 8 to 128 ounces.

Golden Black Gesso is available in jars ranging from 8 to 128 ounces.

Golden Black Gesso was the second favorite gesso in the test. Available in jars ranging from 8 oz to 1 gallon, it’s a premium gesso that is easy to apply directly out of the jar and creates a slightly satin, deep-black surface. Although it is the most expensive option tested, Golden Black Gesso can be ordered in 1 gallon (128 oz) buckets that make it essentially the same price per ounce as the top pick.

The tradeoff with this gesso is that it is slightly satin. In testing, I found that both the Liquitex and Utrecht gessos were more matte than this gesso, especially the Utrecht. Some may find the slightly satin quality to be a drawback, but if you are planning to cover most or all of the gesso with paint, it won’t really matter much.

Available in 8 oz, 16 oz, 32 oz, and 128 oz (1 gallon), Golden Black Gesso ranges from $0.70 to $1.55 per ounce. The wide mouth jars are easy to use directly from the jar, or it can be poured out.

About Golden: Founded in 1980 but with a paint-making history that stretches back many more decades, Golden is known as one of the premier manufacturers of acrylic paint in the United States. Manufactured in upstate New York, the paints are widely available but for larger sizes you may need to order online.

Golden Black Gesso sizes, typical price, and price per ounce:

  • 8 oz, $12.38, $1.55 per ounce

  • 16 oz, $20.85, $1.30 per ounce

  • 32 oz, $31.98, $1.00 per ounce

  • 128 oz (1 Gallon), $90.01, $0.70 per ounce

Shop Golden Black Gesso at Amazon

Test images for Golden Black Gesso

In a simple test, Golden Black Gesso resulted in a slightly satin surface.

In a simple test, Golden Black Gesso resulted in a slightly satin surface.

Stripe test from top: 1 coat, 2 coats, 3 coats of gesso.

Stripe test from top: 1 coat, 2 coats, 3 coats of gesso.

Angle view of stripe test

Angle view of stripe test

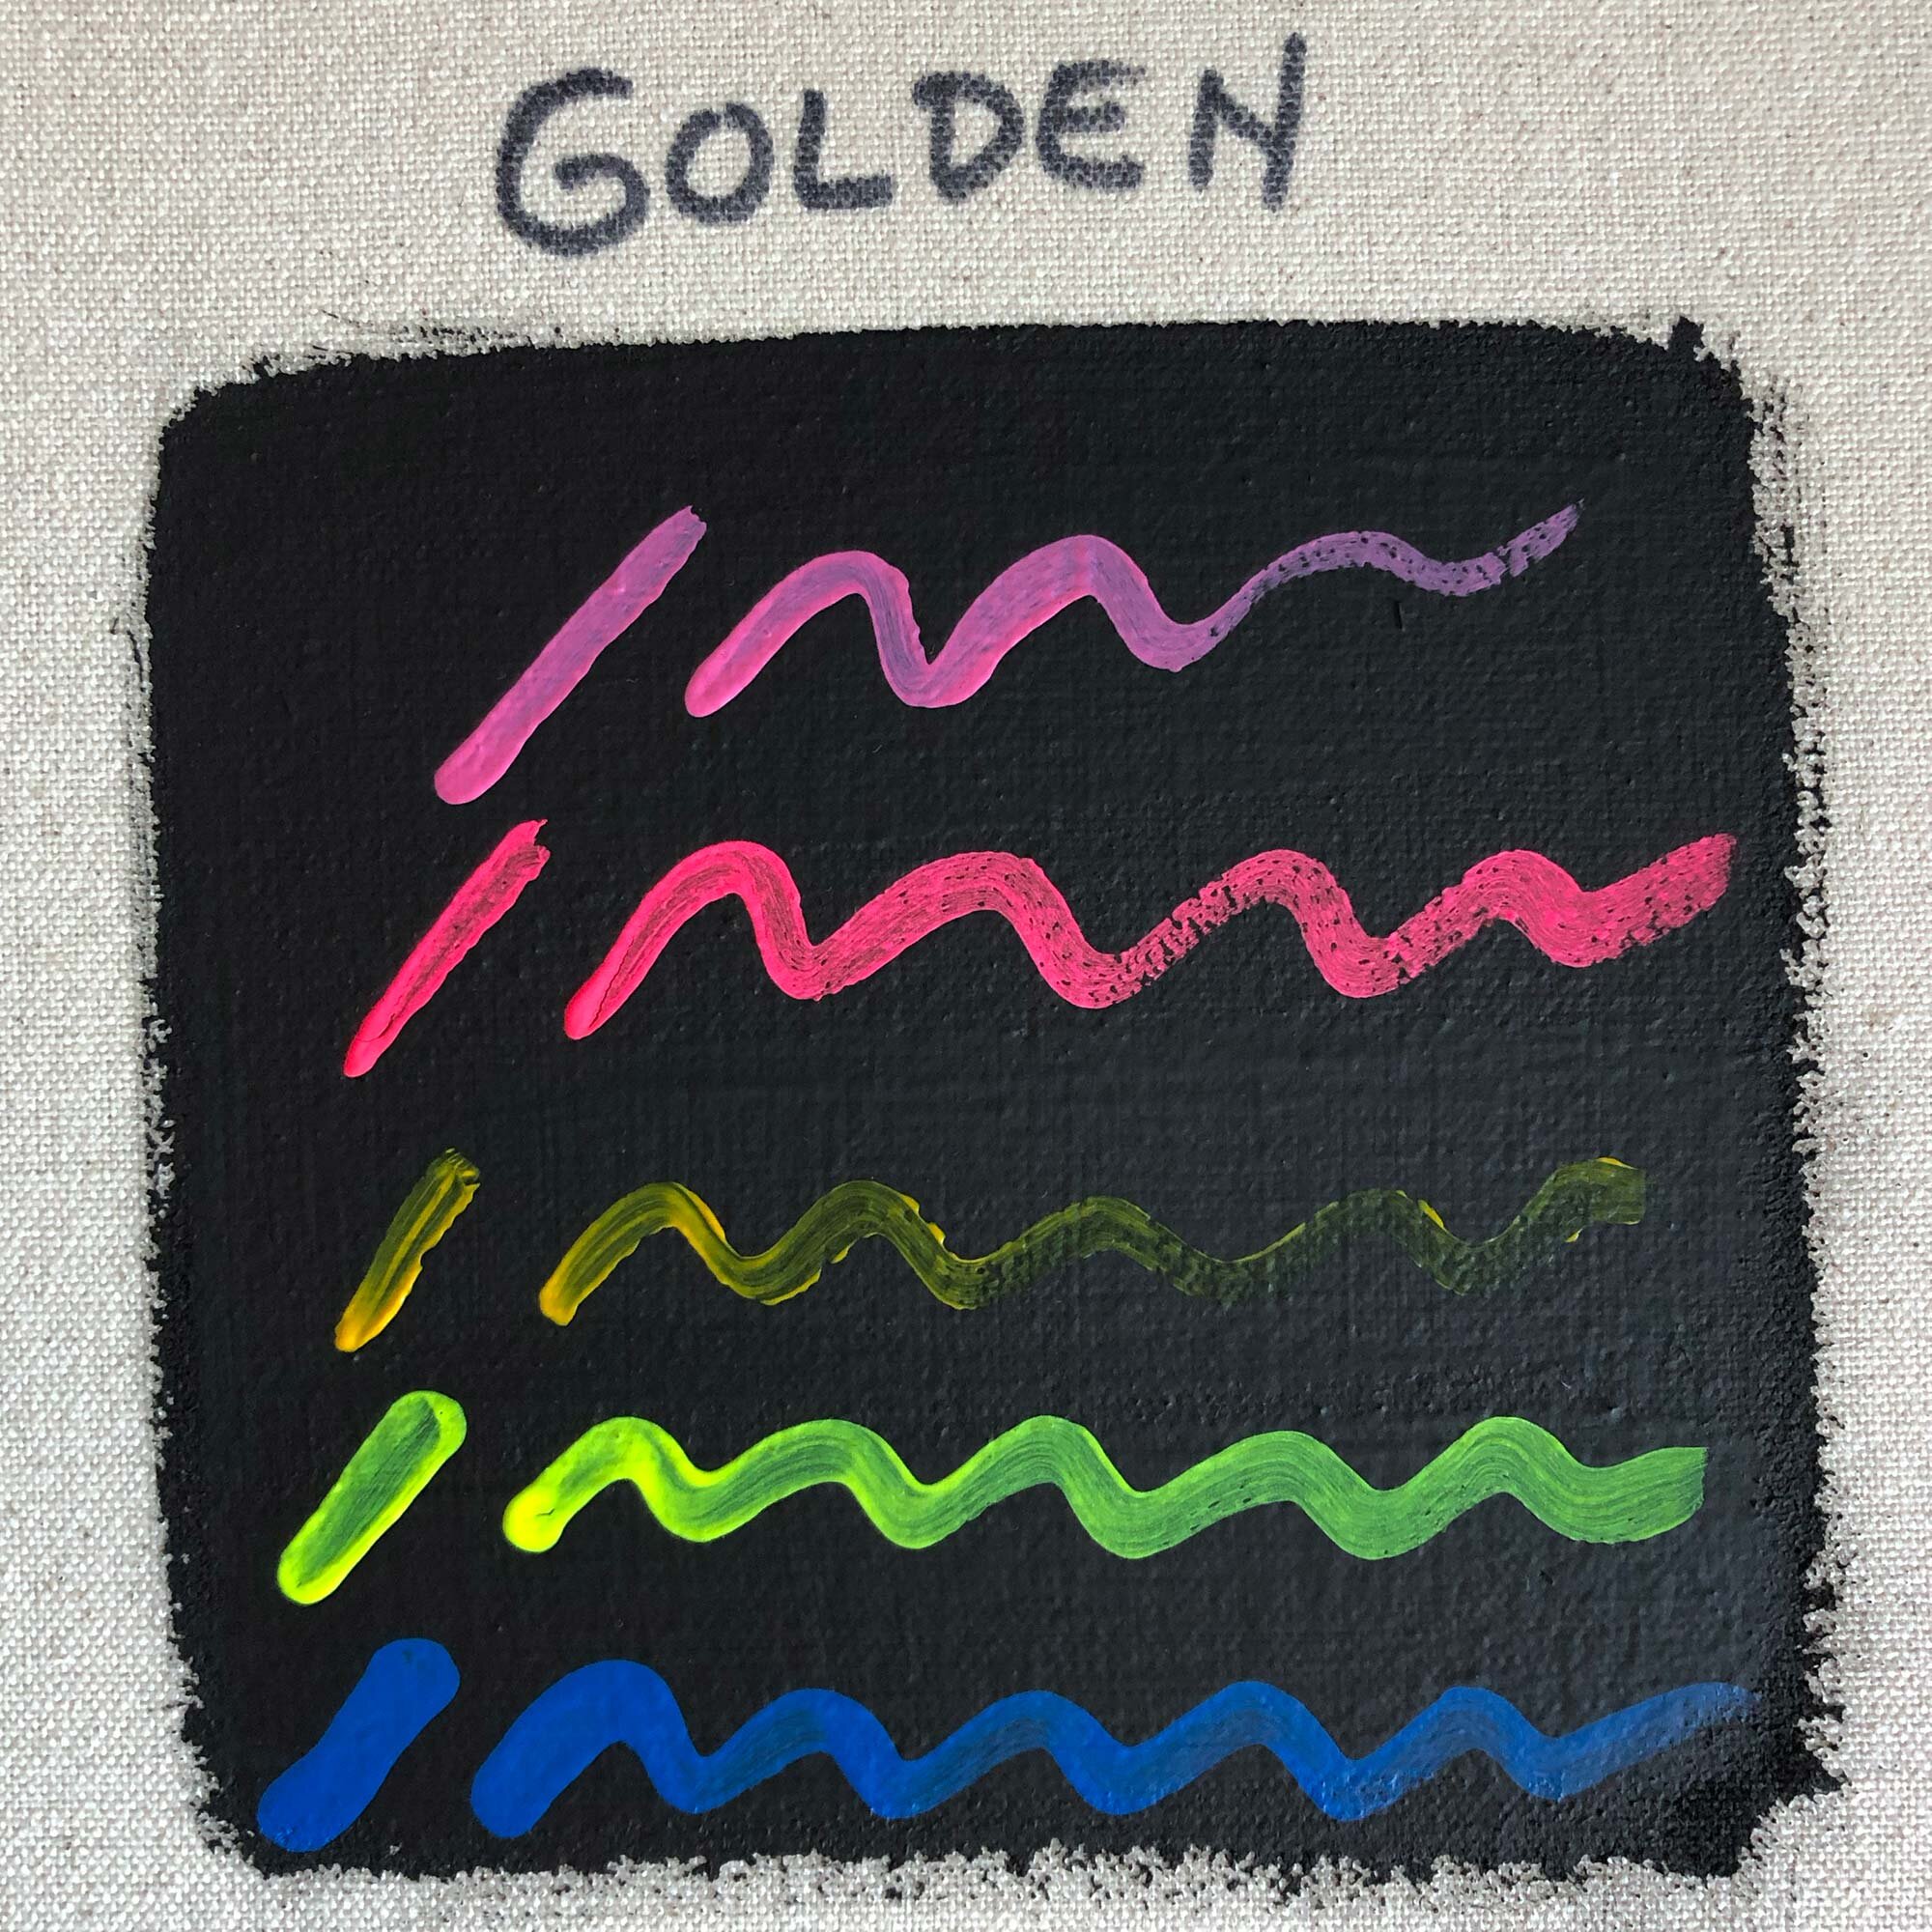
Various acrylic paints over Golden Black Gesso.

Various acrylic paints over Golden Black Gesso.


Liquitex Black Gesso
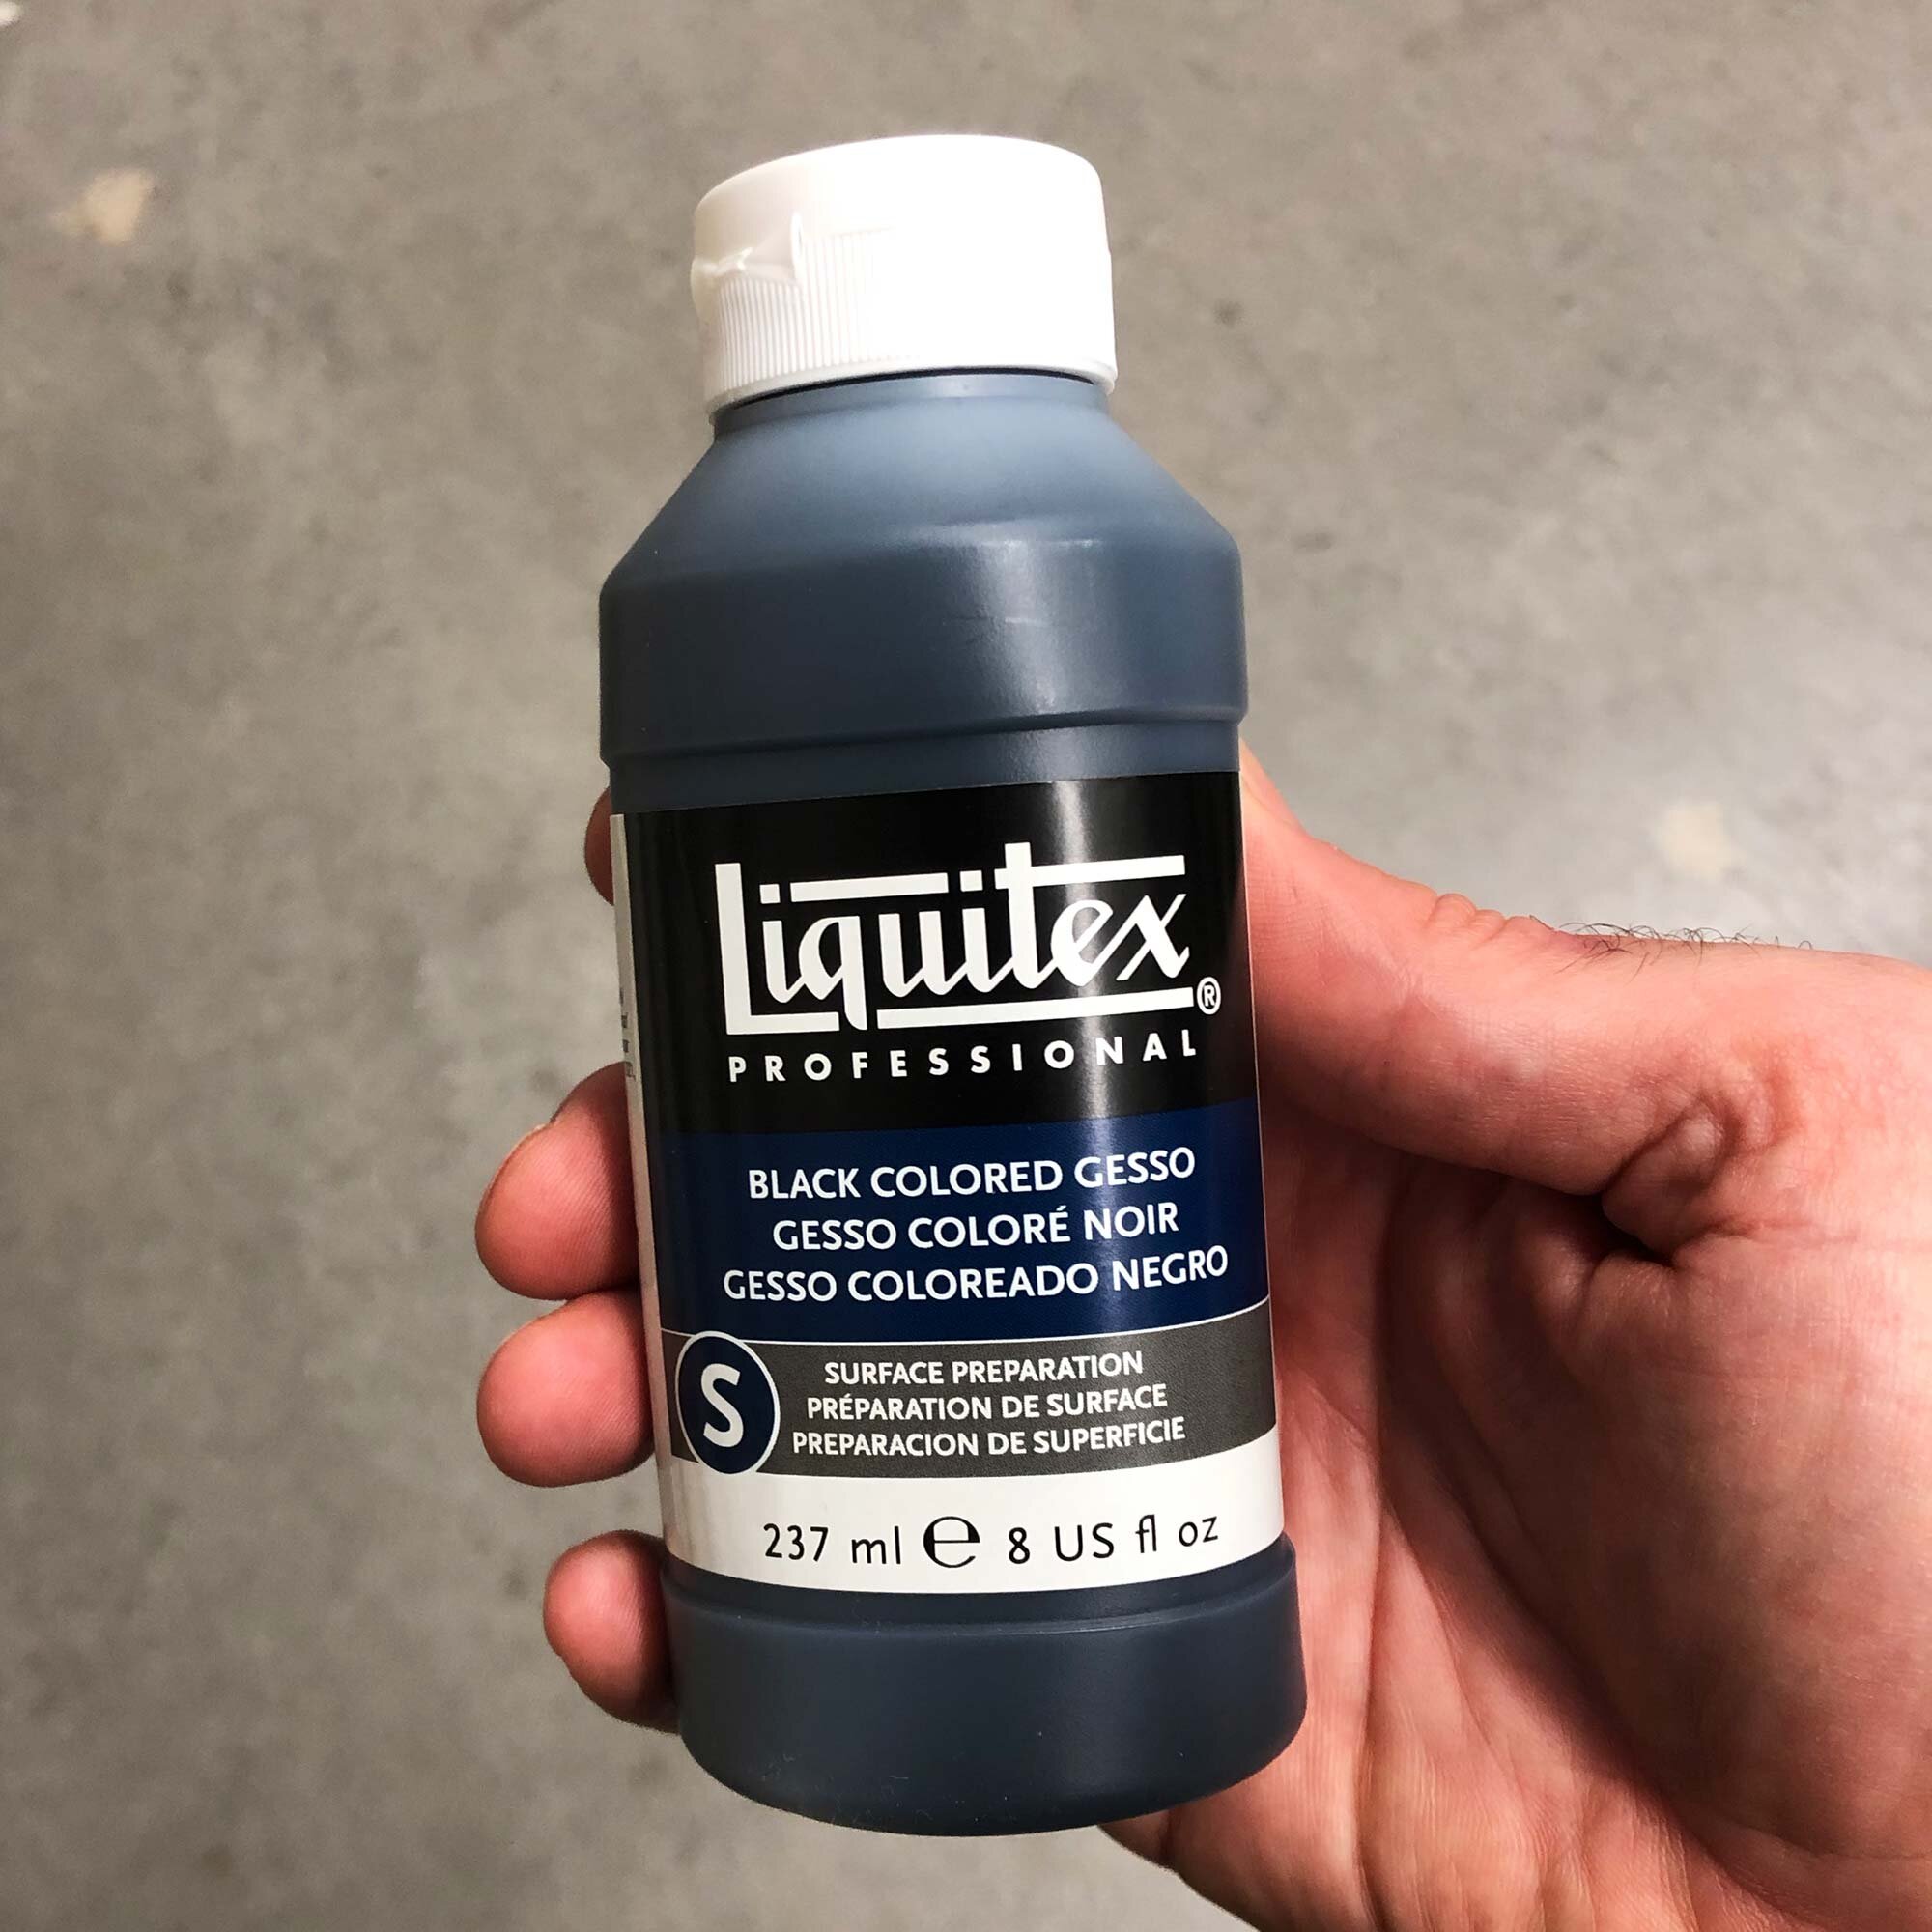
Liquitex Black Gesso in an 8 oz bottle.

Liquitex Black Gesso in an 8 oz bottle.

Liquitex Black Gesso is a smooth flowing, easy-to-apply gesso that in testing came out the second most matte. Of the gessoes tested, it was also the most likely to build up some texture. Be sure to apply it evenly or sand between coats. For a black gesso, I’m looking for a matte surface so this was almost the second pick after the Utrecht, but the lack of sizes available and relatively high price are drawbacks for using this product.

This gesso is only available in 8 oz bottles with a squeeze dispenser. It’s not designed for using straight out of the jar but the squeeze function makes it easy to dispense, which may be helpful if you apply gesso with a foam roller. If you squeeze out too much, unscrew the top and use a palette knife to add it back to the jar.

About Liquitex: Founded in the U.S. in 1955, Liquitex was one of the earliest manufacturers of acrylic paints and continues to be an industry leader. Now owned by London, UK-based art supplier conglomerate Colart, Liquitex is manufactured in the UK, France and China. The bottle of black gesso I used indicated it was made in France. Liquitex also makes clear and neutral gray gesso.

Liquitex Black Gesso sizes, typical price, and price per ounce:

  • 8 oz, $11.57, $1.45 per ounce

Shop Liquitex Black Gesso at Amazon

Test images for Liquitex Black Gesso

In a simple test, Liquitex Black Gesso resulted in a matte black surface.
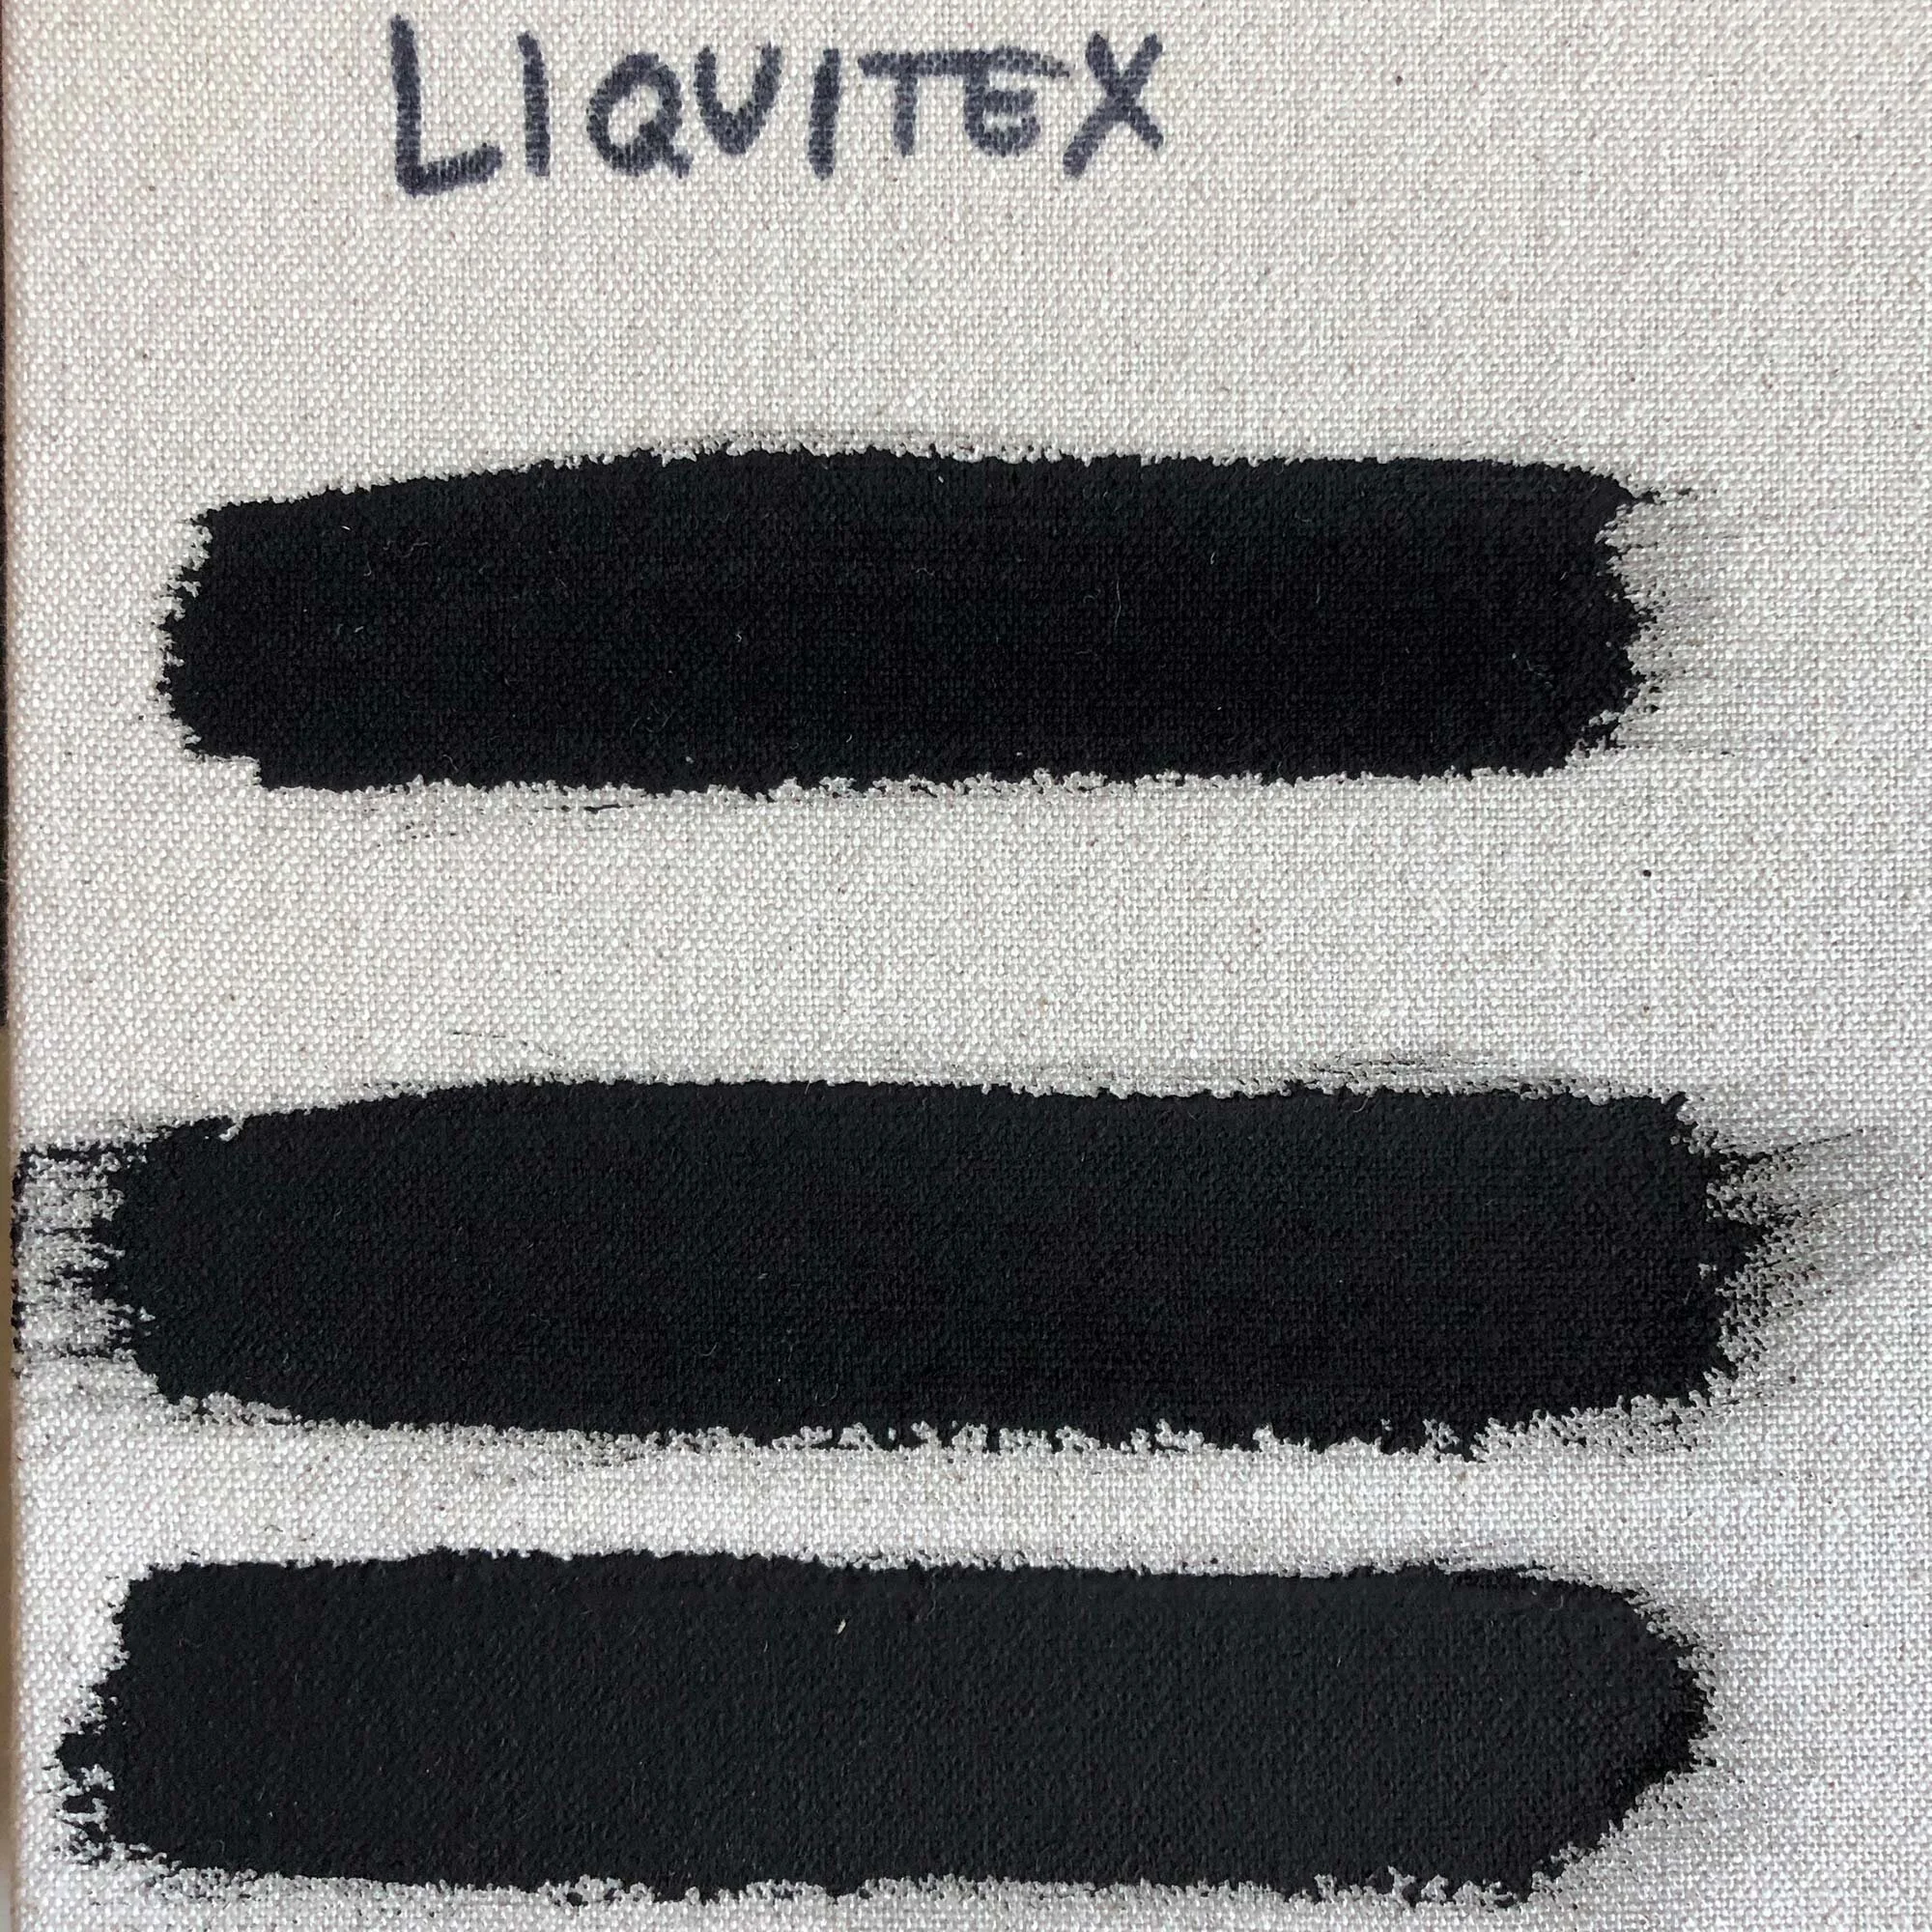
In a simple test, Liquitex Black Gesso resulted in a matte black surface.

Stripe test from top: 1 coat, 2 coats, 3 coats
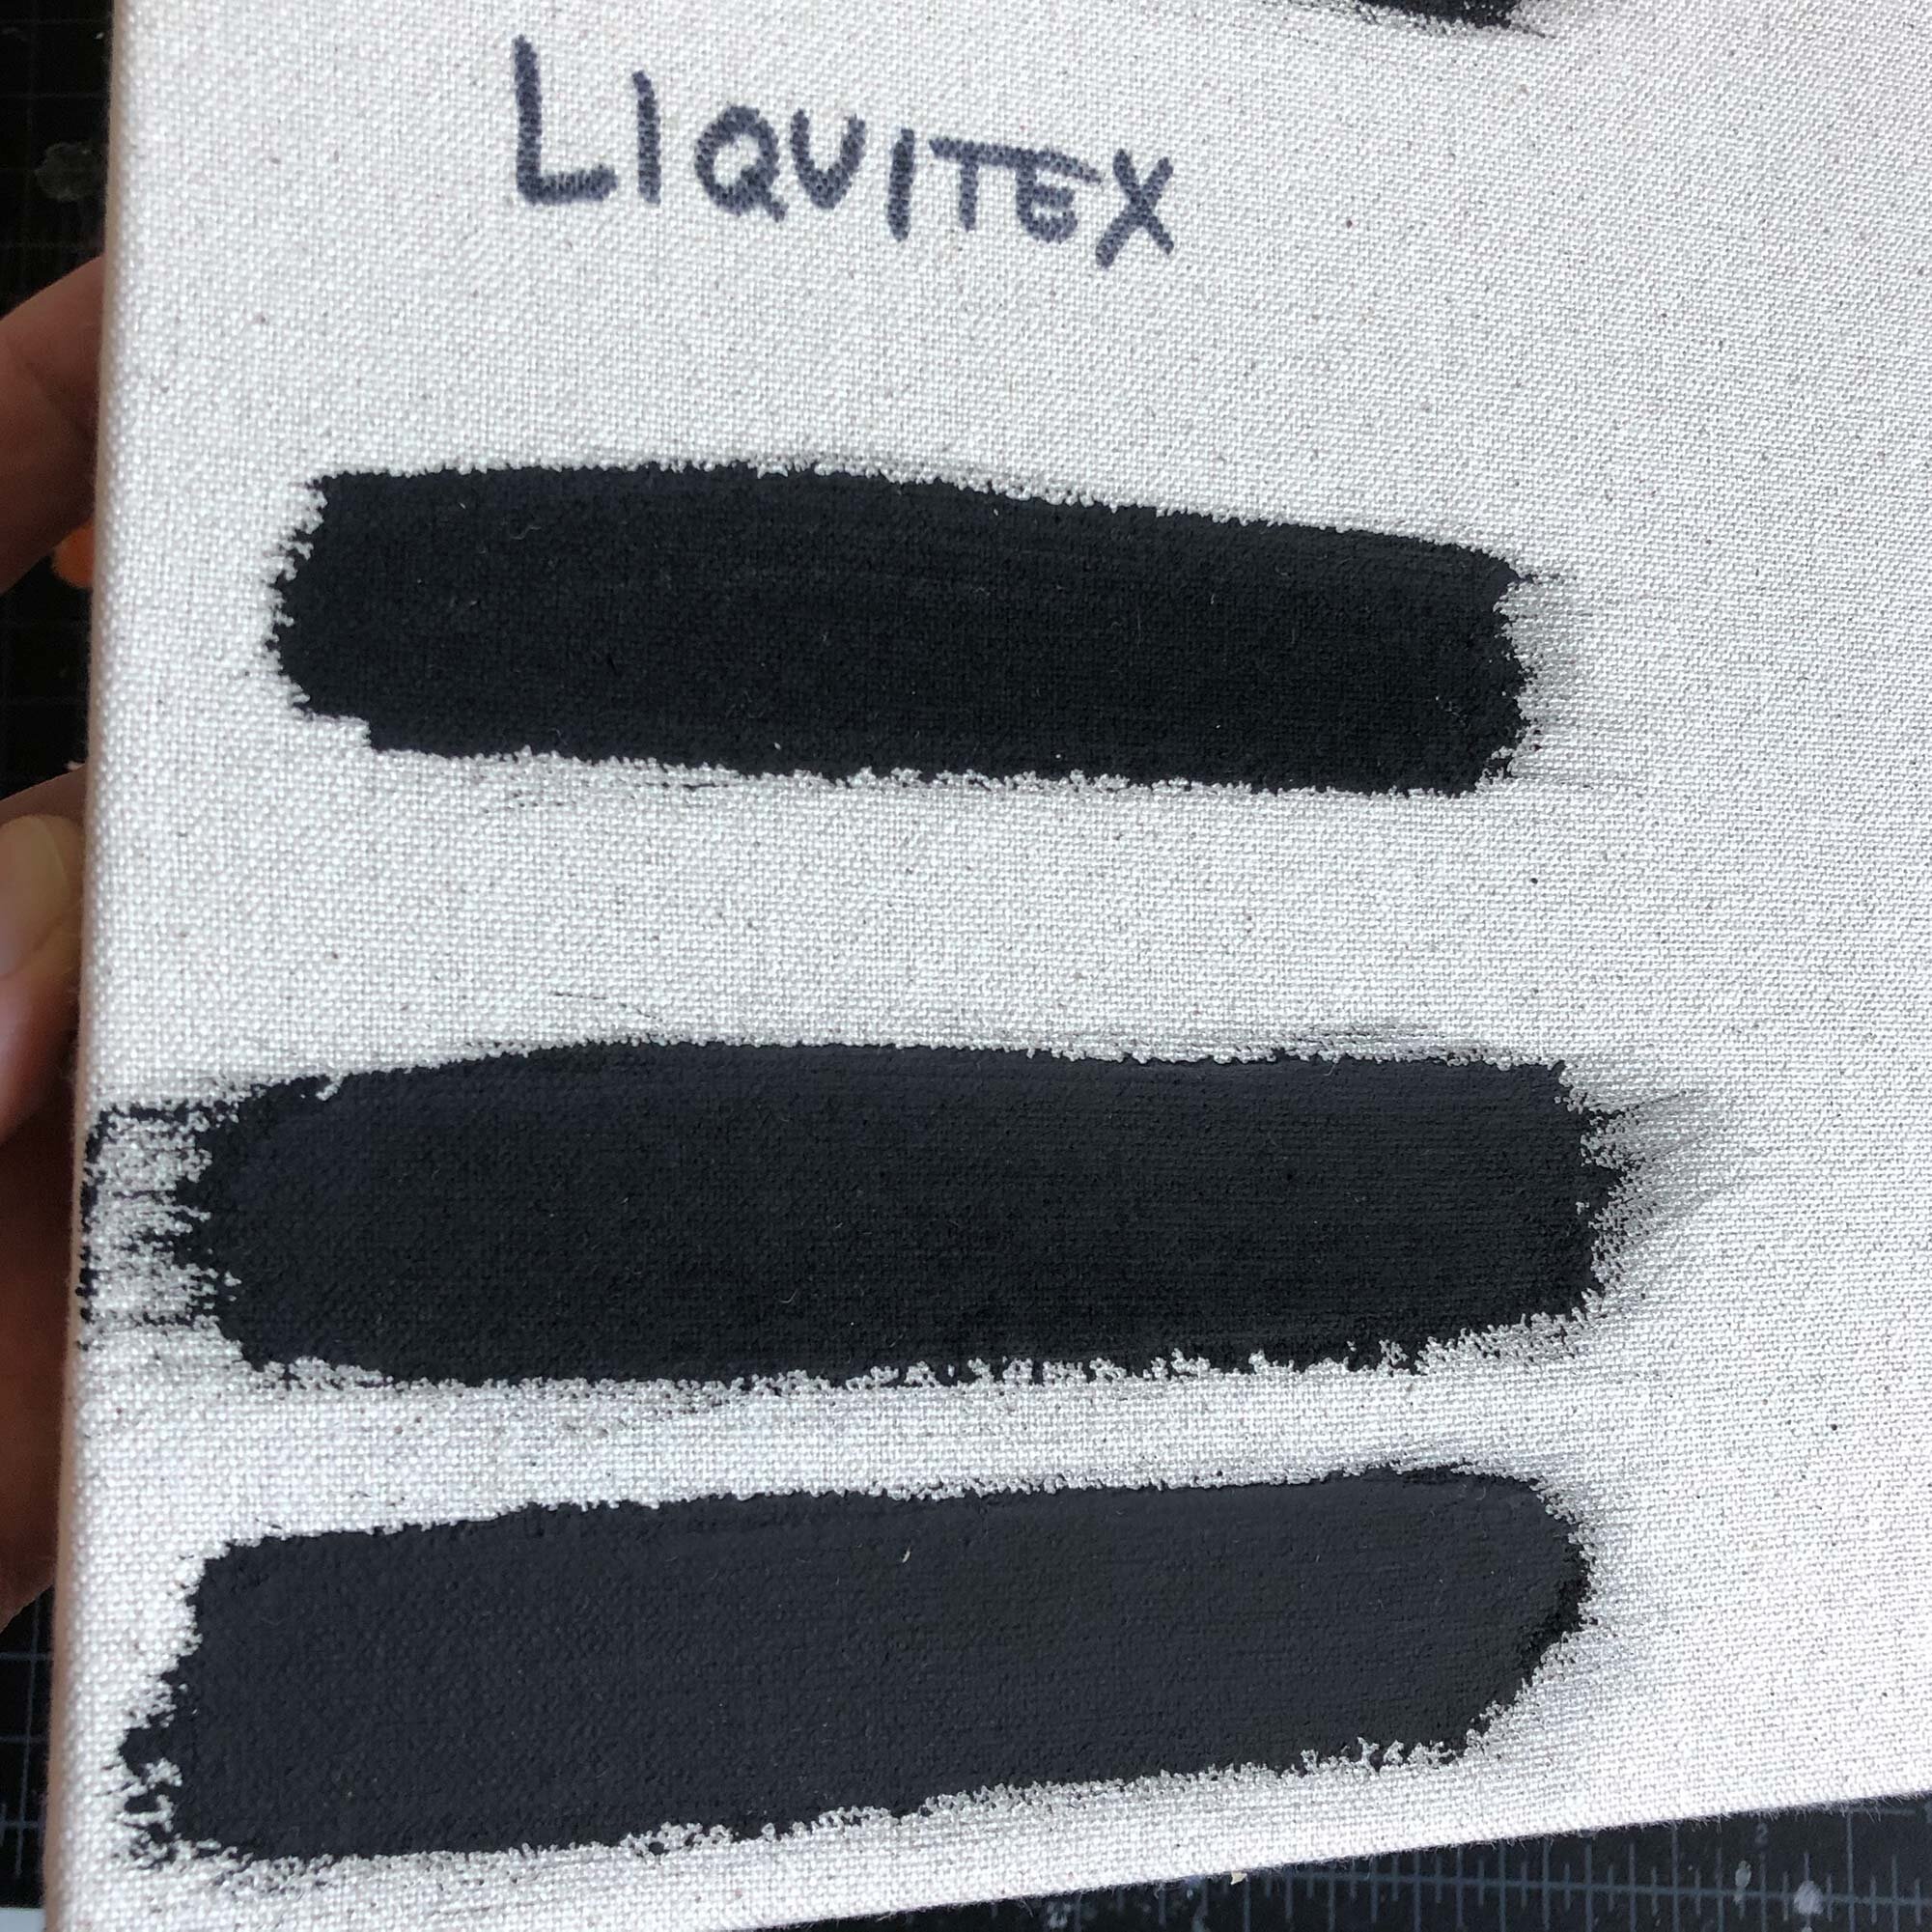
Stripe test from top: 1 coat, 2 coats, 3 coats

Stripe test angle view
Stripe test angle view

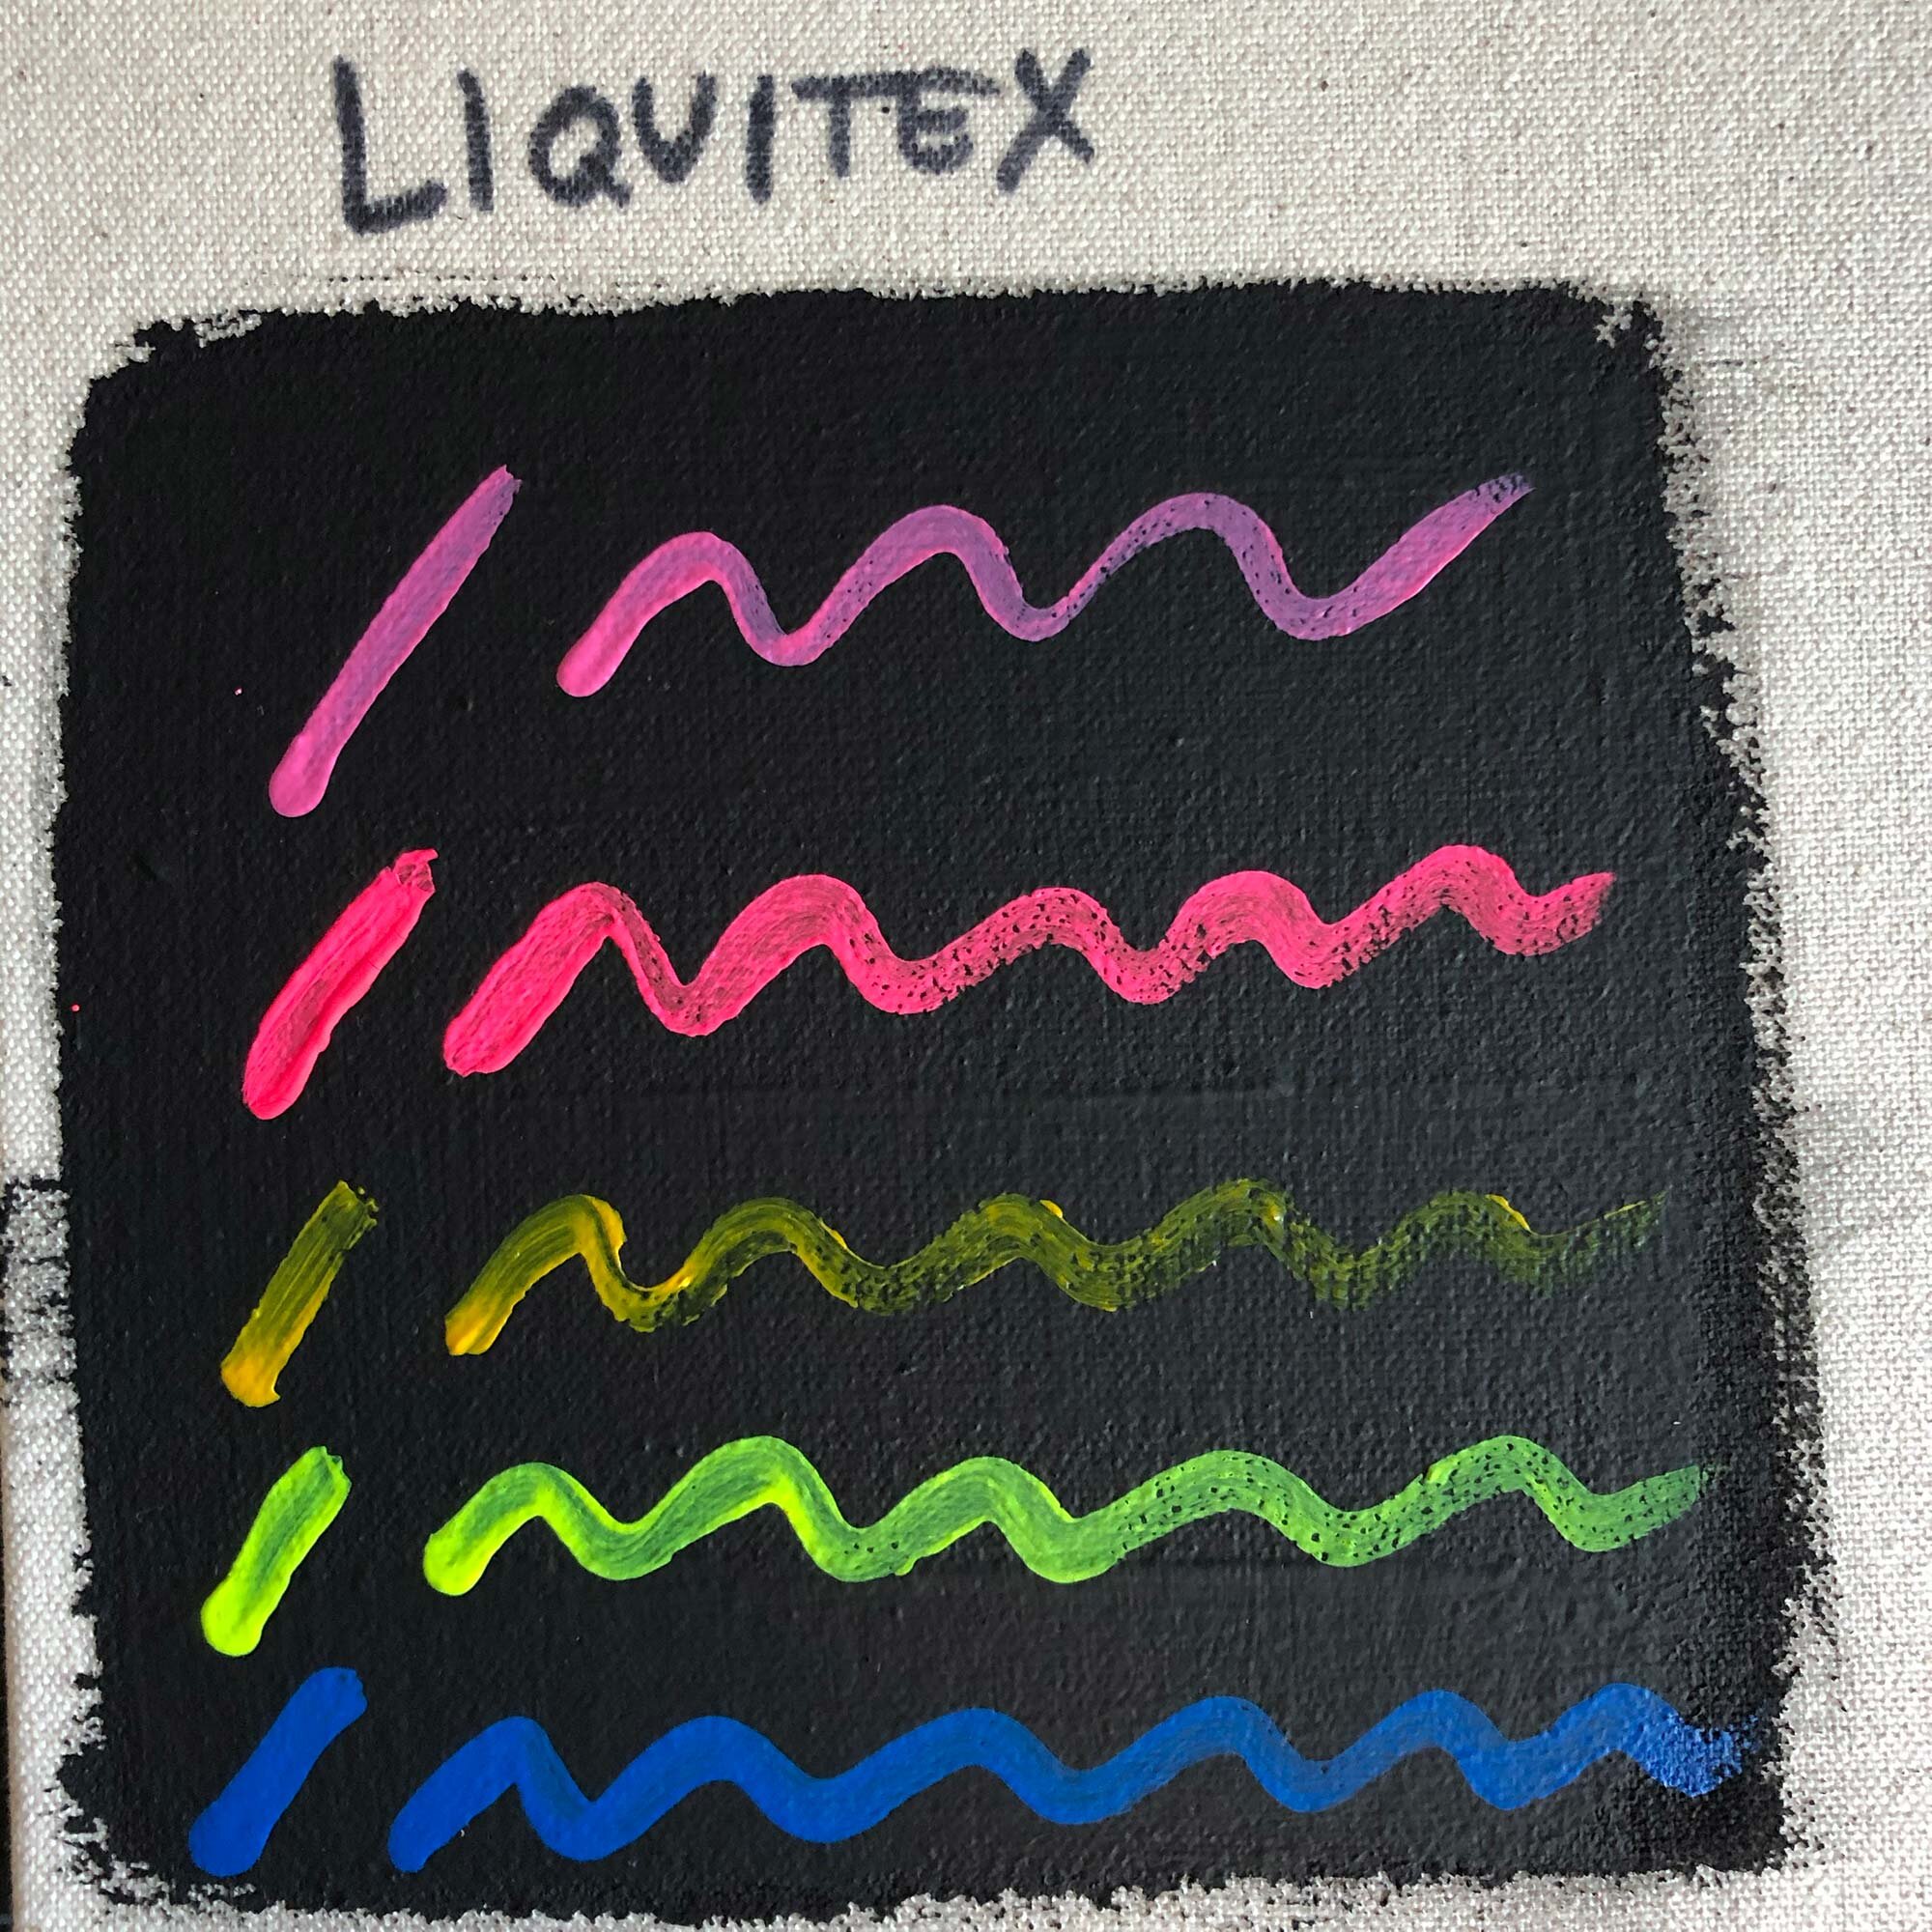
Various acrylic paints over Liquitex black gesso.

Various acrylic paints over Liquitex black gesso.


Blick Artists’ Black Gesso
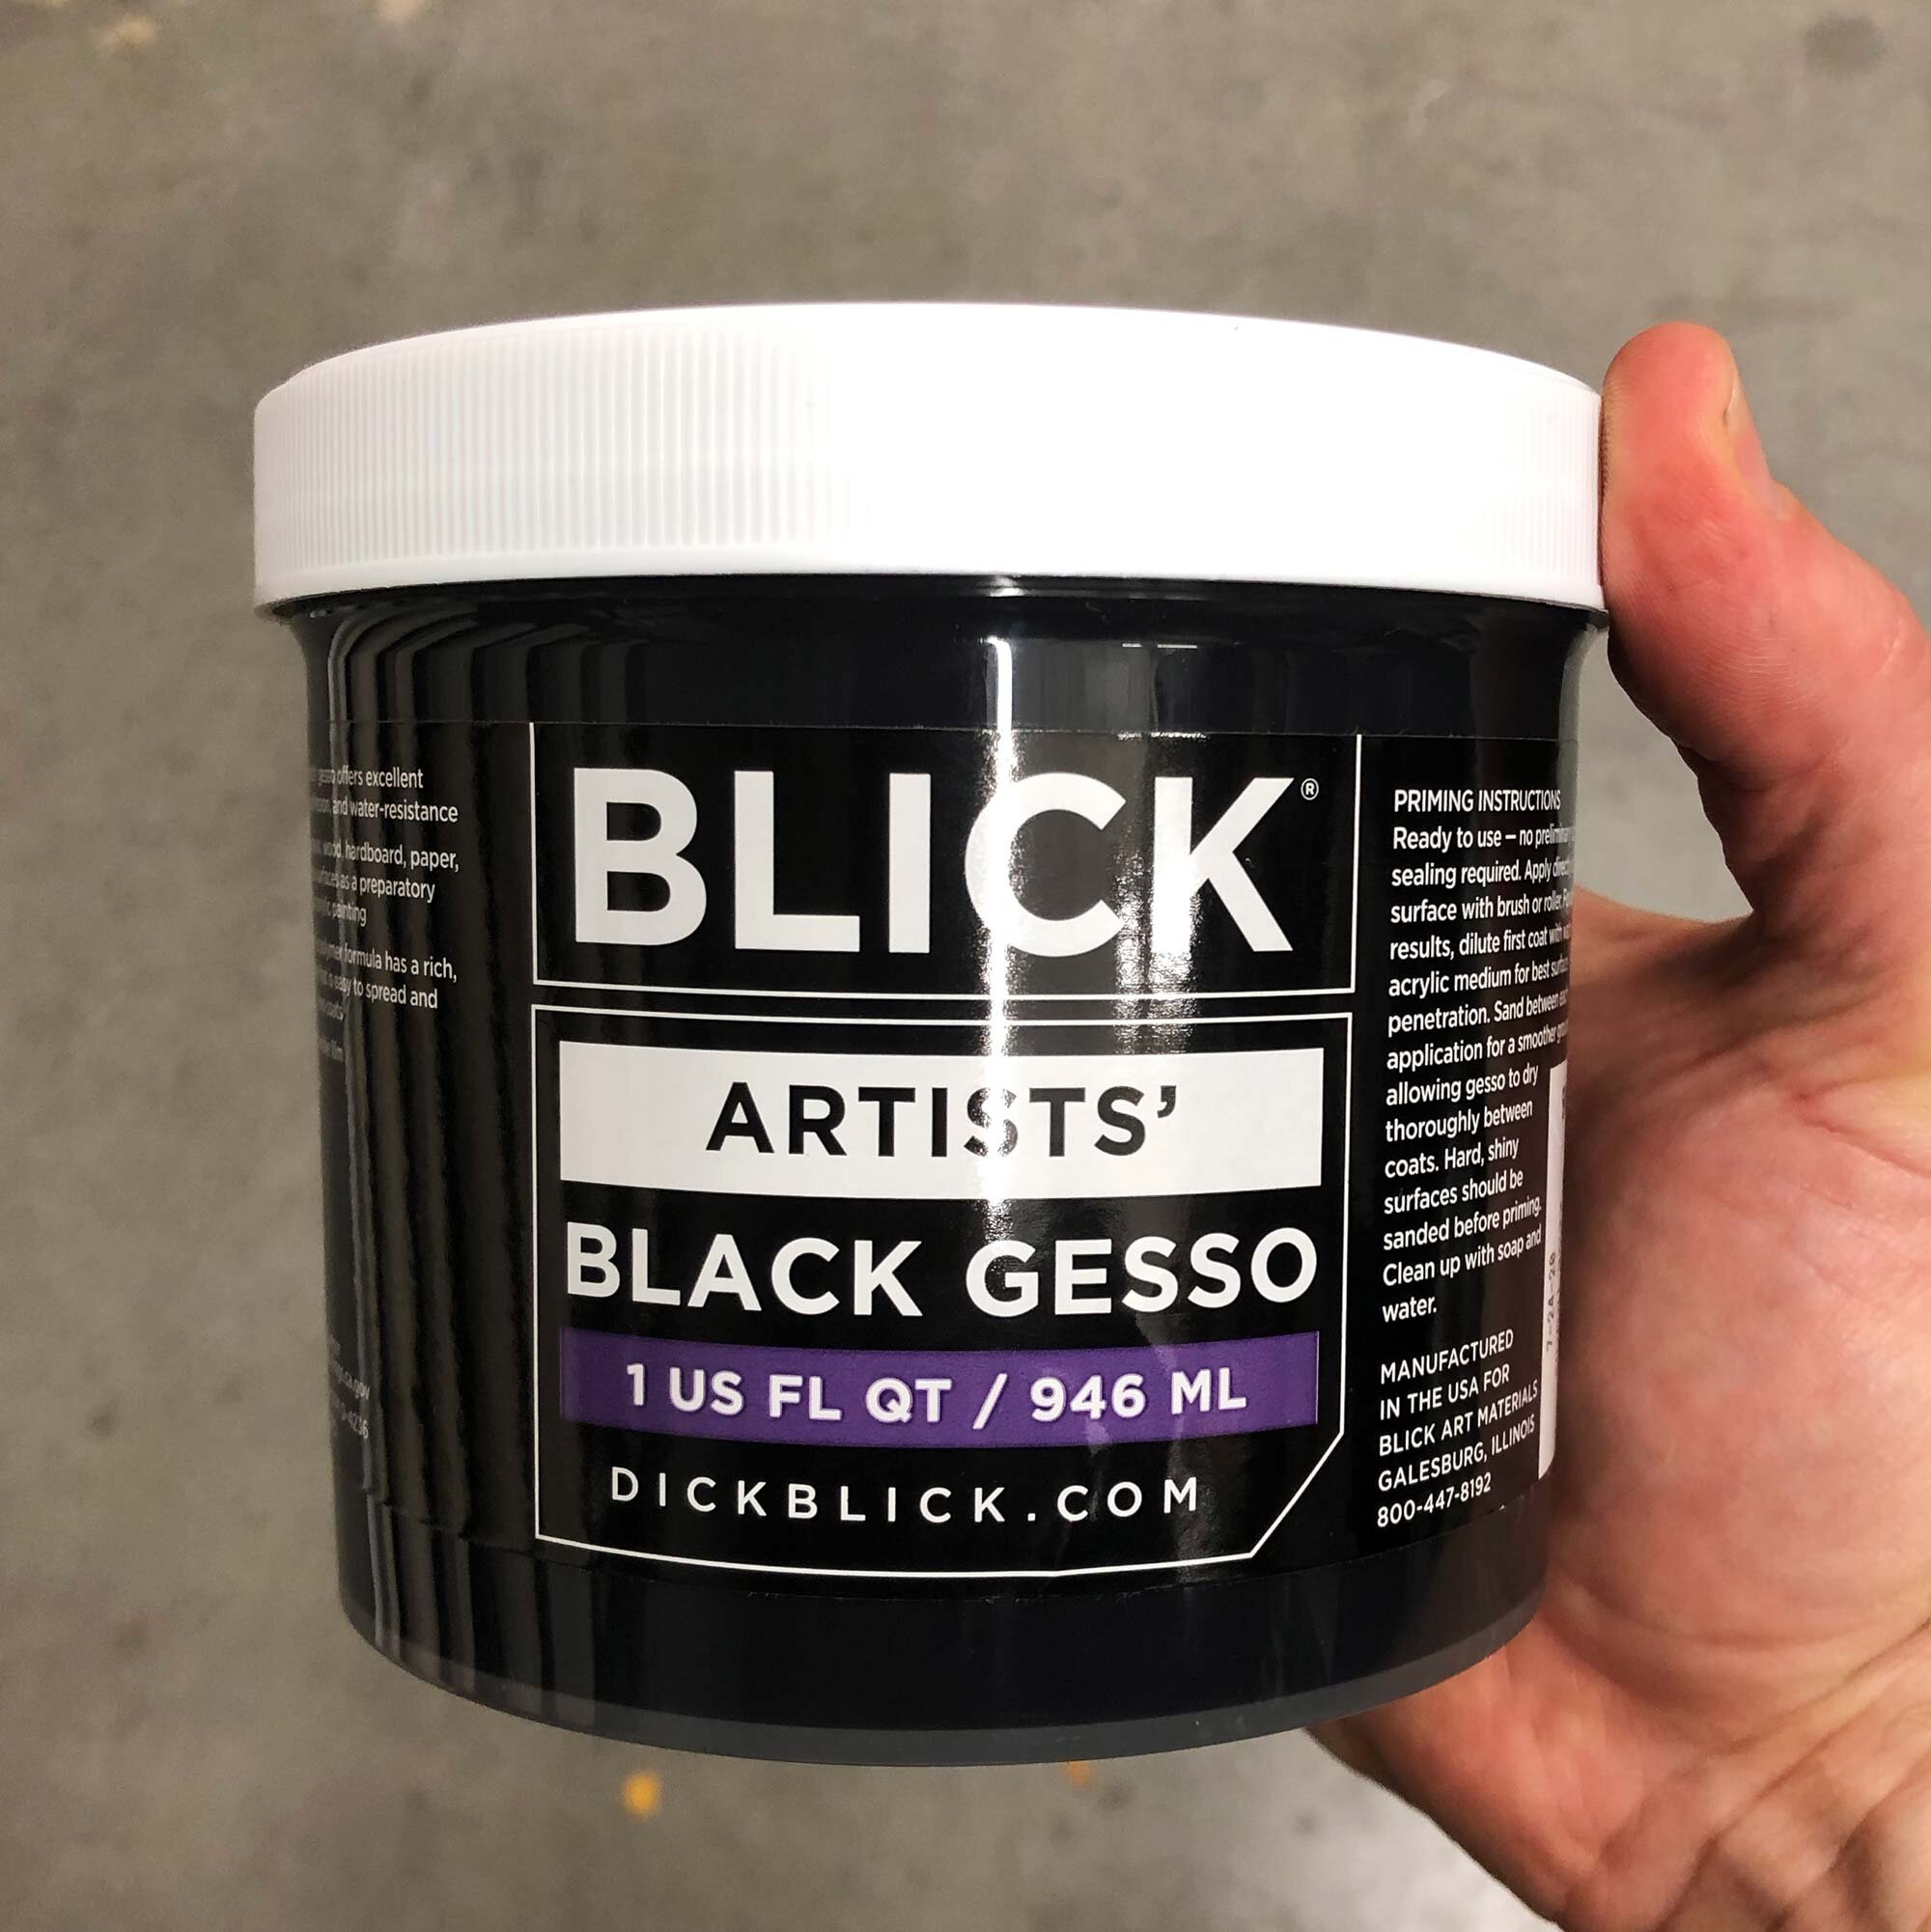
Blick Artists’ Black Gesso is available in 32oz widemouth jars.

Blick Artists’ Black Gesso is available in 32oz widemouth jars.

Blick Artists’ Black Gesso is a solid, dependable black gesso that is very economical and resulted in a satin surface. Although I prefer the ultra-matte surface of the Utrecht Black Gesso, especially where the gesso will be exposed, the Blick gesso is a good option too.

As can be expected from a house brand, it has a few tradeoffs: It is not as smooth and flowing as the Golden or Liquitex Gessos. You may find that you’ll need to add water to get this to brush or roll on. And as mentioned, it is more satin than the matte Utrecht gesso. This gesso is also available in just one size, an economical 32 oz wide-mouth jar that typically costs about $0.60 per ounce, making this the most affordable gesso tested.

I’ve used this gesso and to be honest, I don’t mind the satin quality for certain paintings but my taste is usually to go with the most matte gesso I can find. It’s hard to see in the pictures below and I hope this makes sense: but it’s on the less satin side of things. It’s still completely opaque and one coat will usually cover up anything below it.

About Blick: Founded in 1911, Blick is one of the largest art suppliers in the country. The house brand paints and materials are often of a high quality, although they have a bit of a confusing array of different levels of house brands. This is the only black gesso they make, however, and it is manufactured in the U.S.

Blick Artists’ Acrylic Black Gesso sizes, typical price, and price per ounce:

  • 32 oz, $19.14, $0.60 per ounce

Test Images for Blick Artists’ Black Gesso
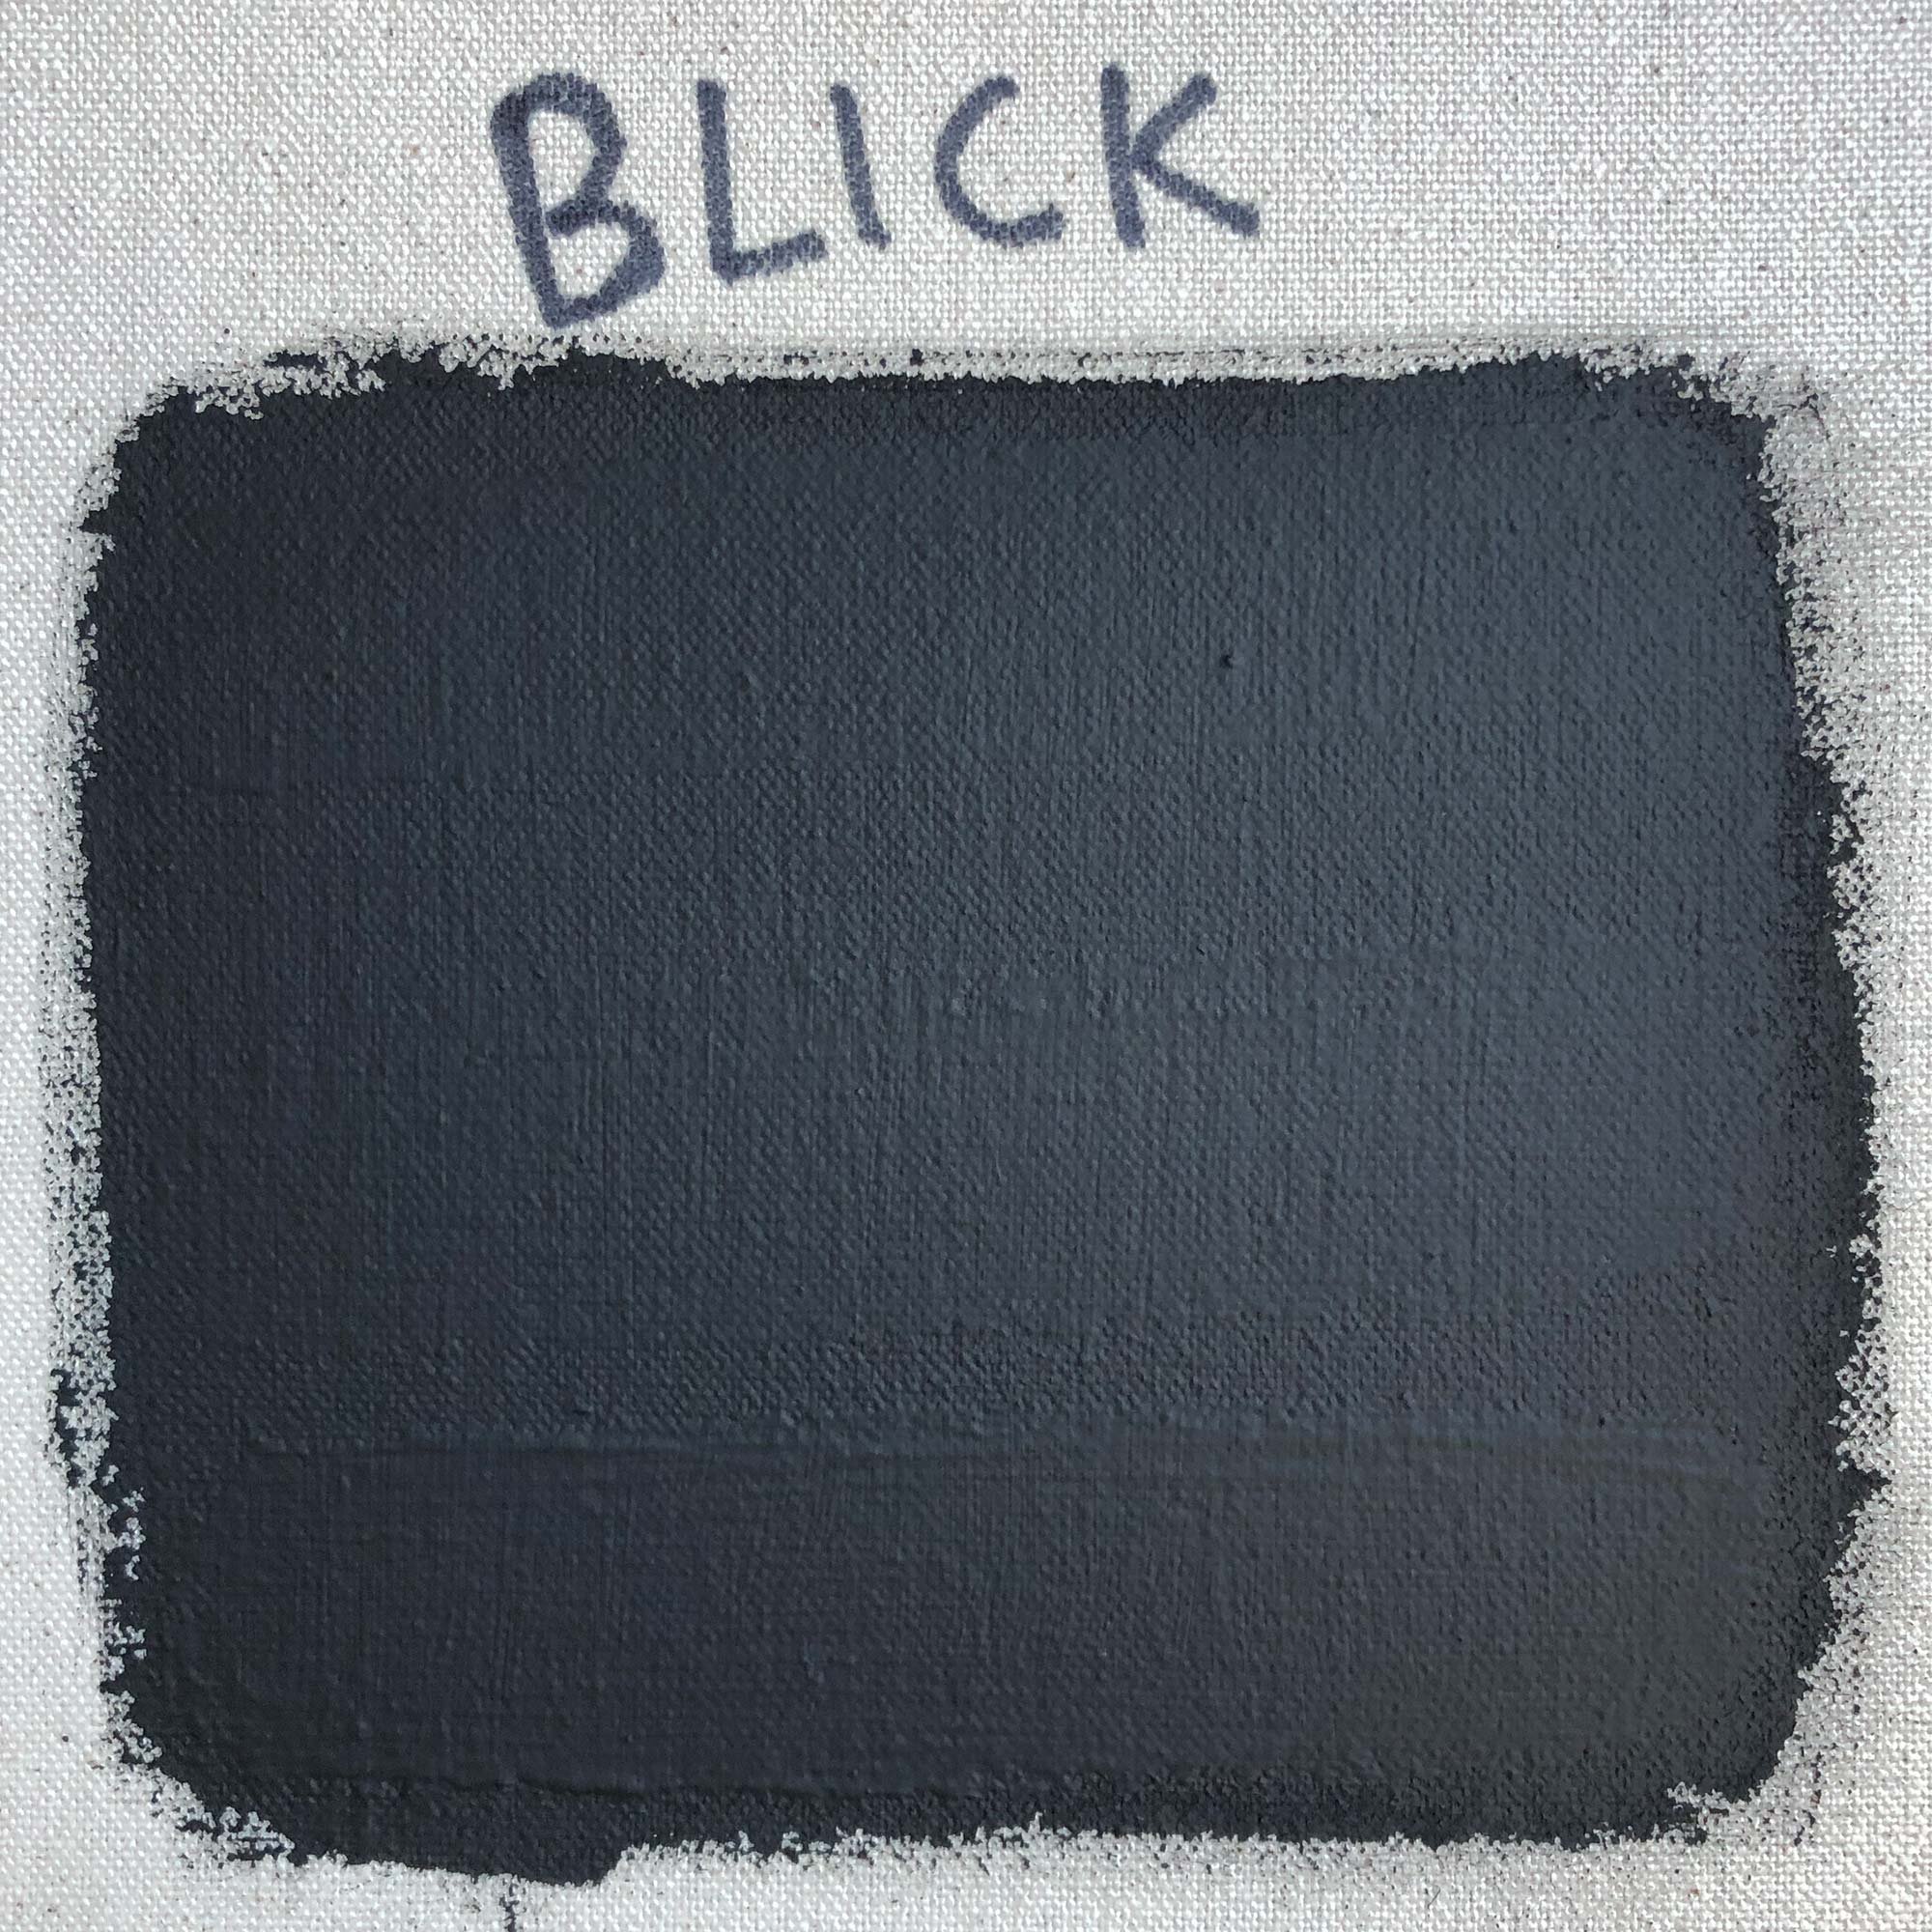
In a simple test, the Blick Artists’ Black Gesso resulted in the most satin surface of gesso tested.

In a simple test, the Blick Artists’ Black Gesso resulted in the most satin surface of gesso tested.

Stripe test from top: 1 coat, 2 coats, 3 coats

Stripe test from top: 1 coat, 2 coats, 3 coats

Angle view of stripe test
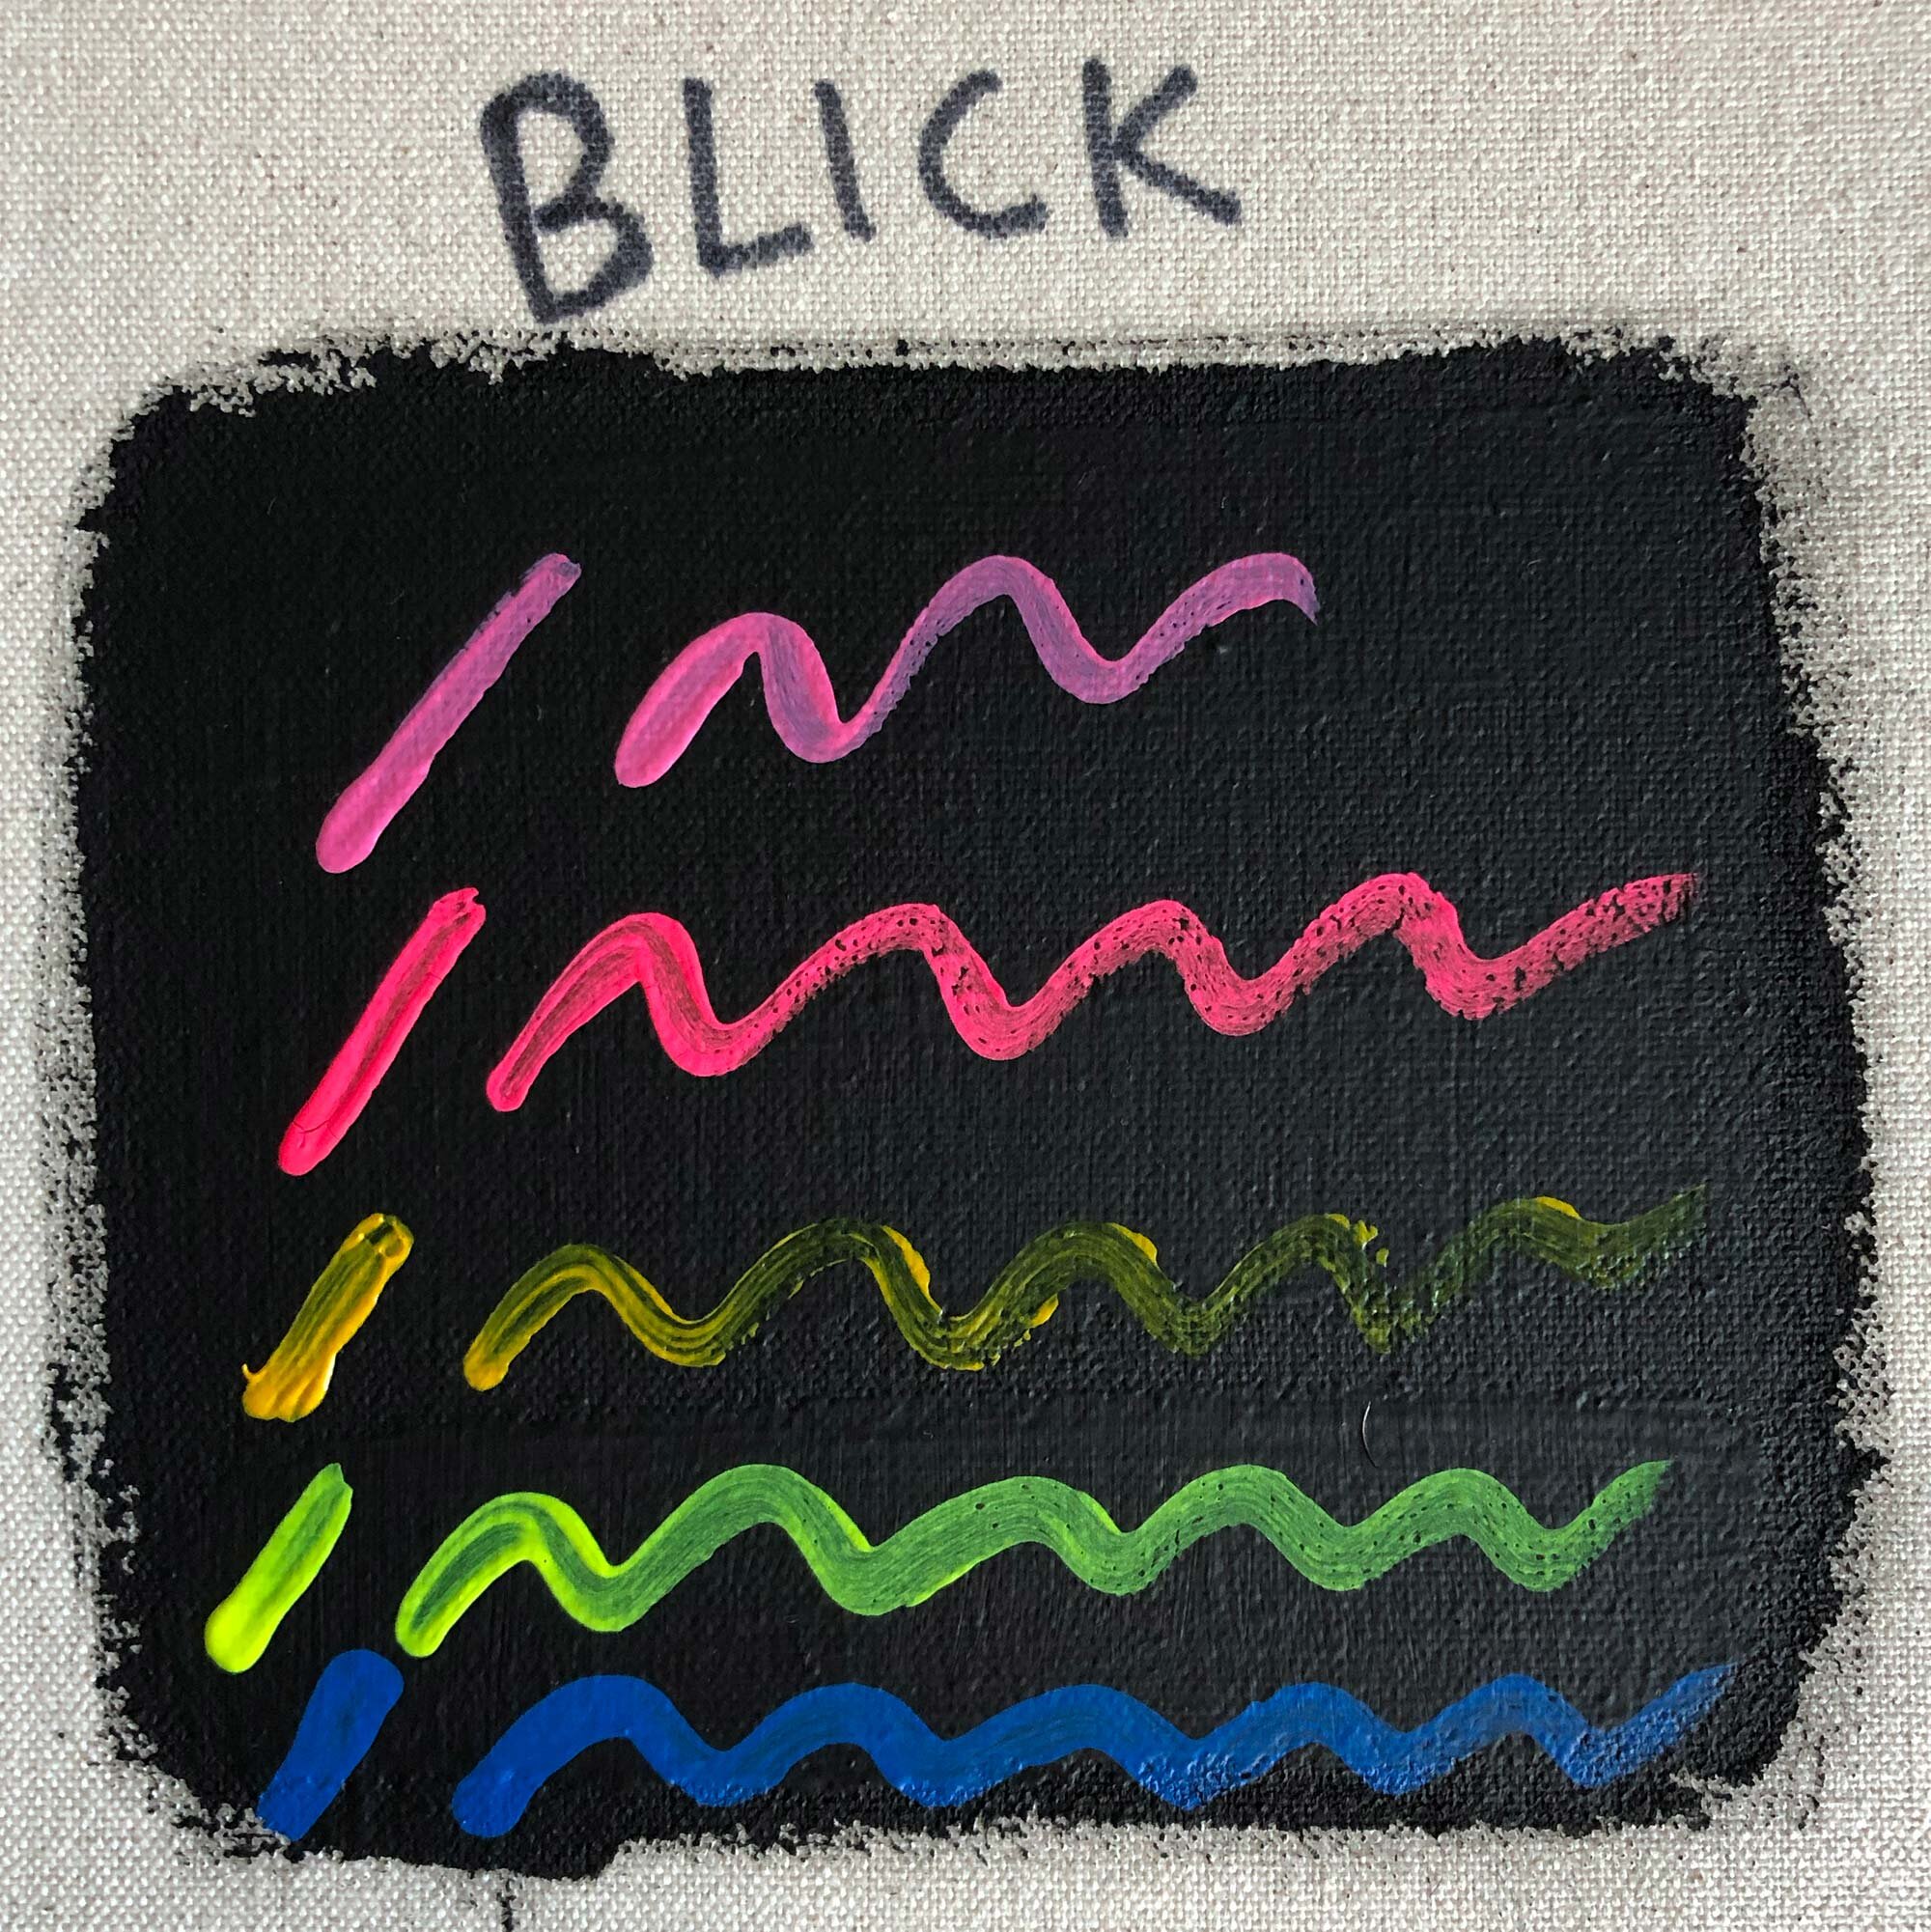
Angle view of stripe test

Various acrylic colors painted over the Blick Artists’ Black Gesso

Various acrylic colors painted over the Blick Artists’ Black Gesso


Testing Methodology and Images

1. Stripe / Coat Test

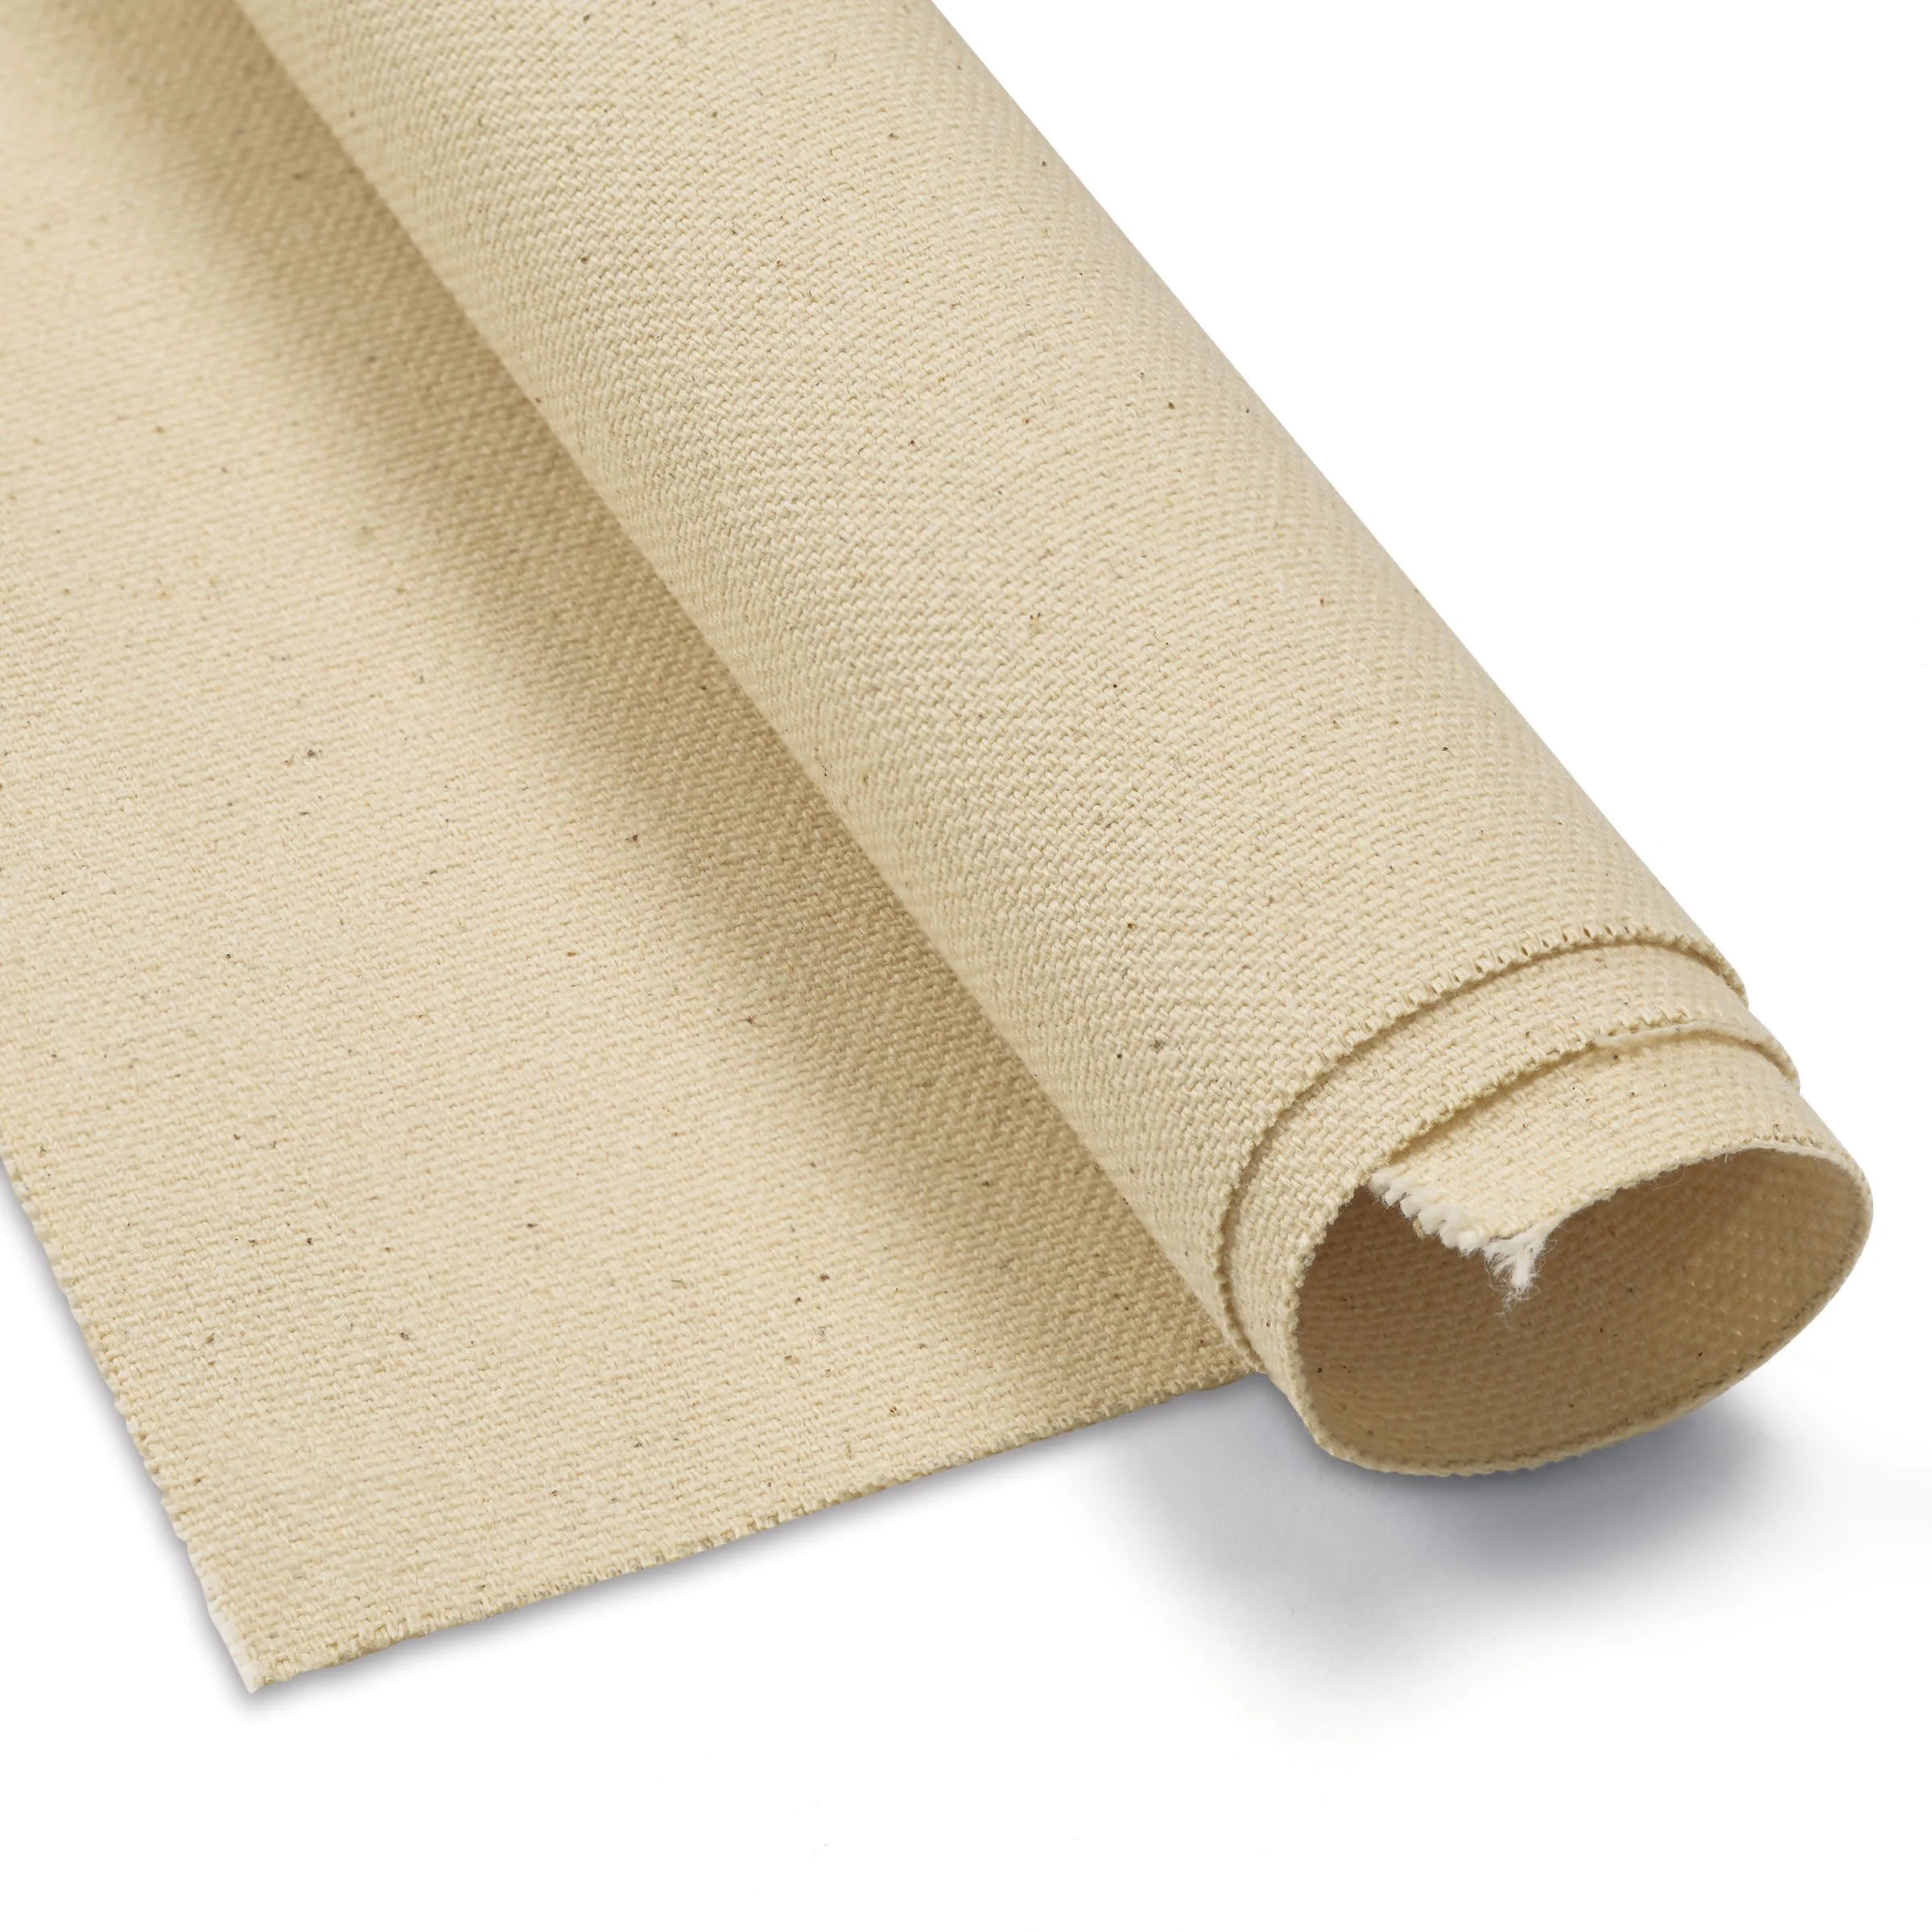
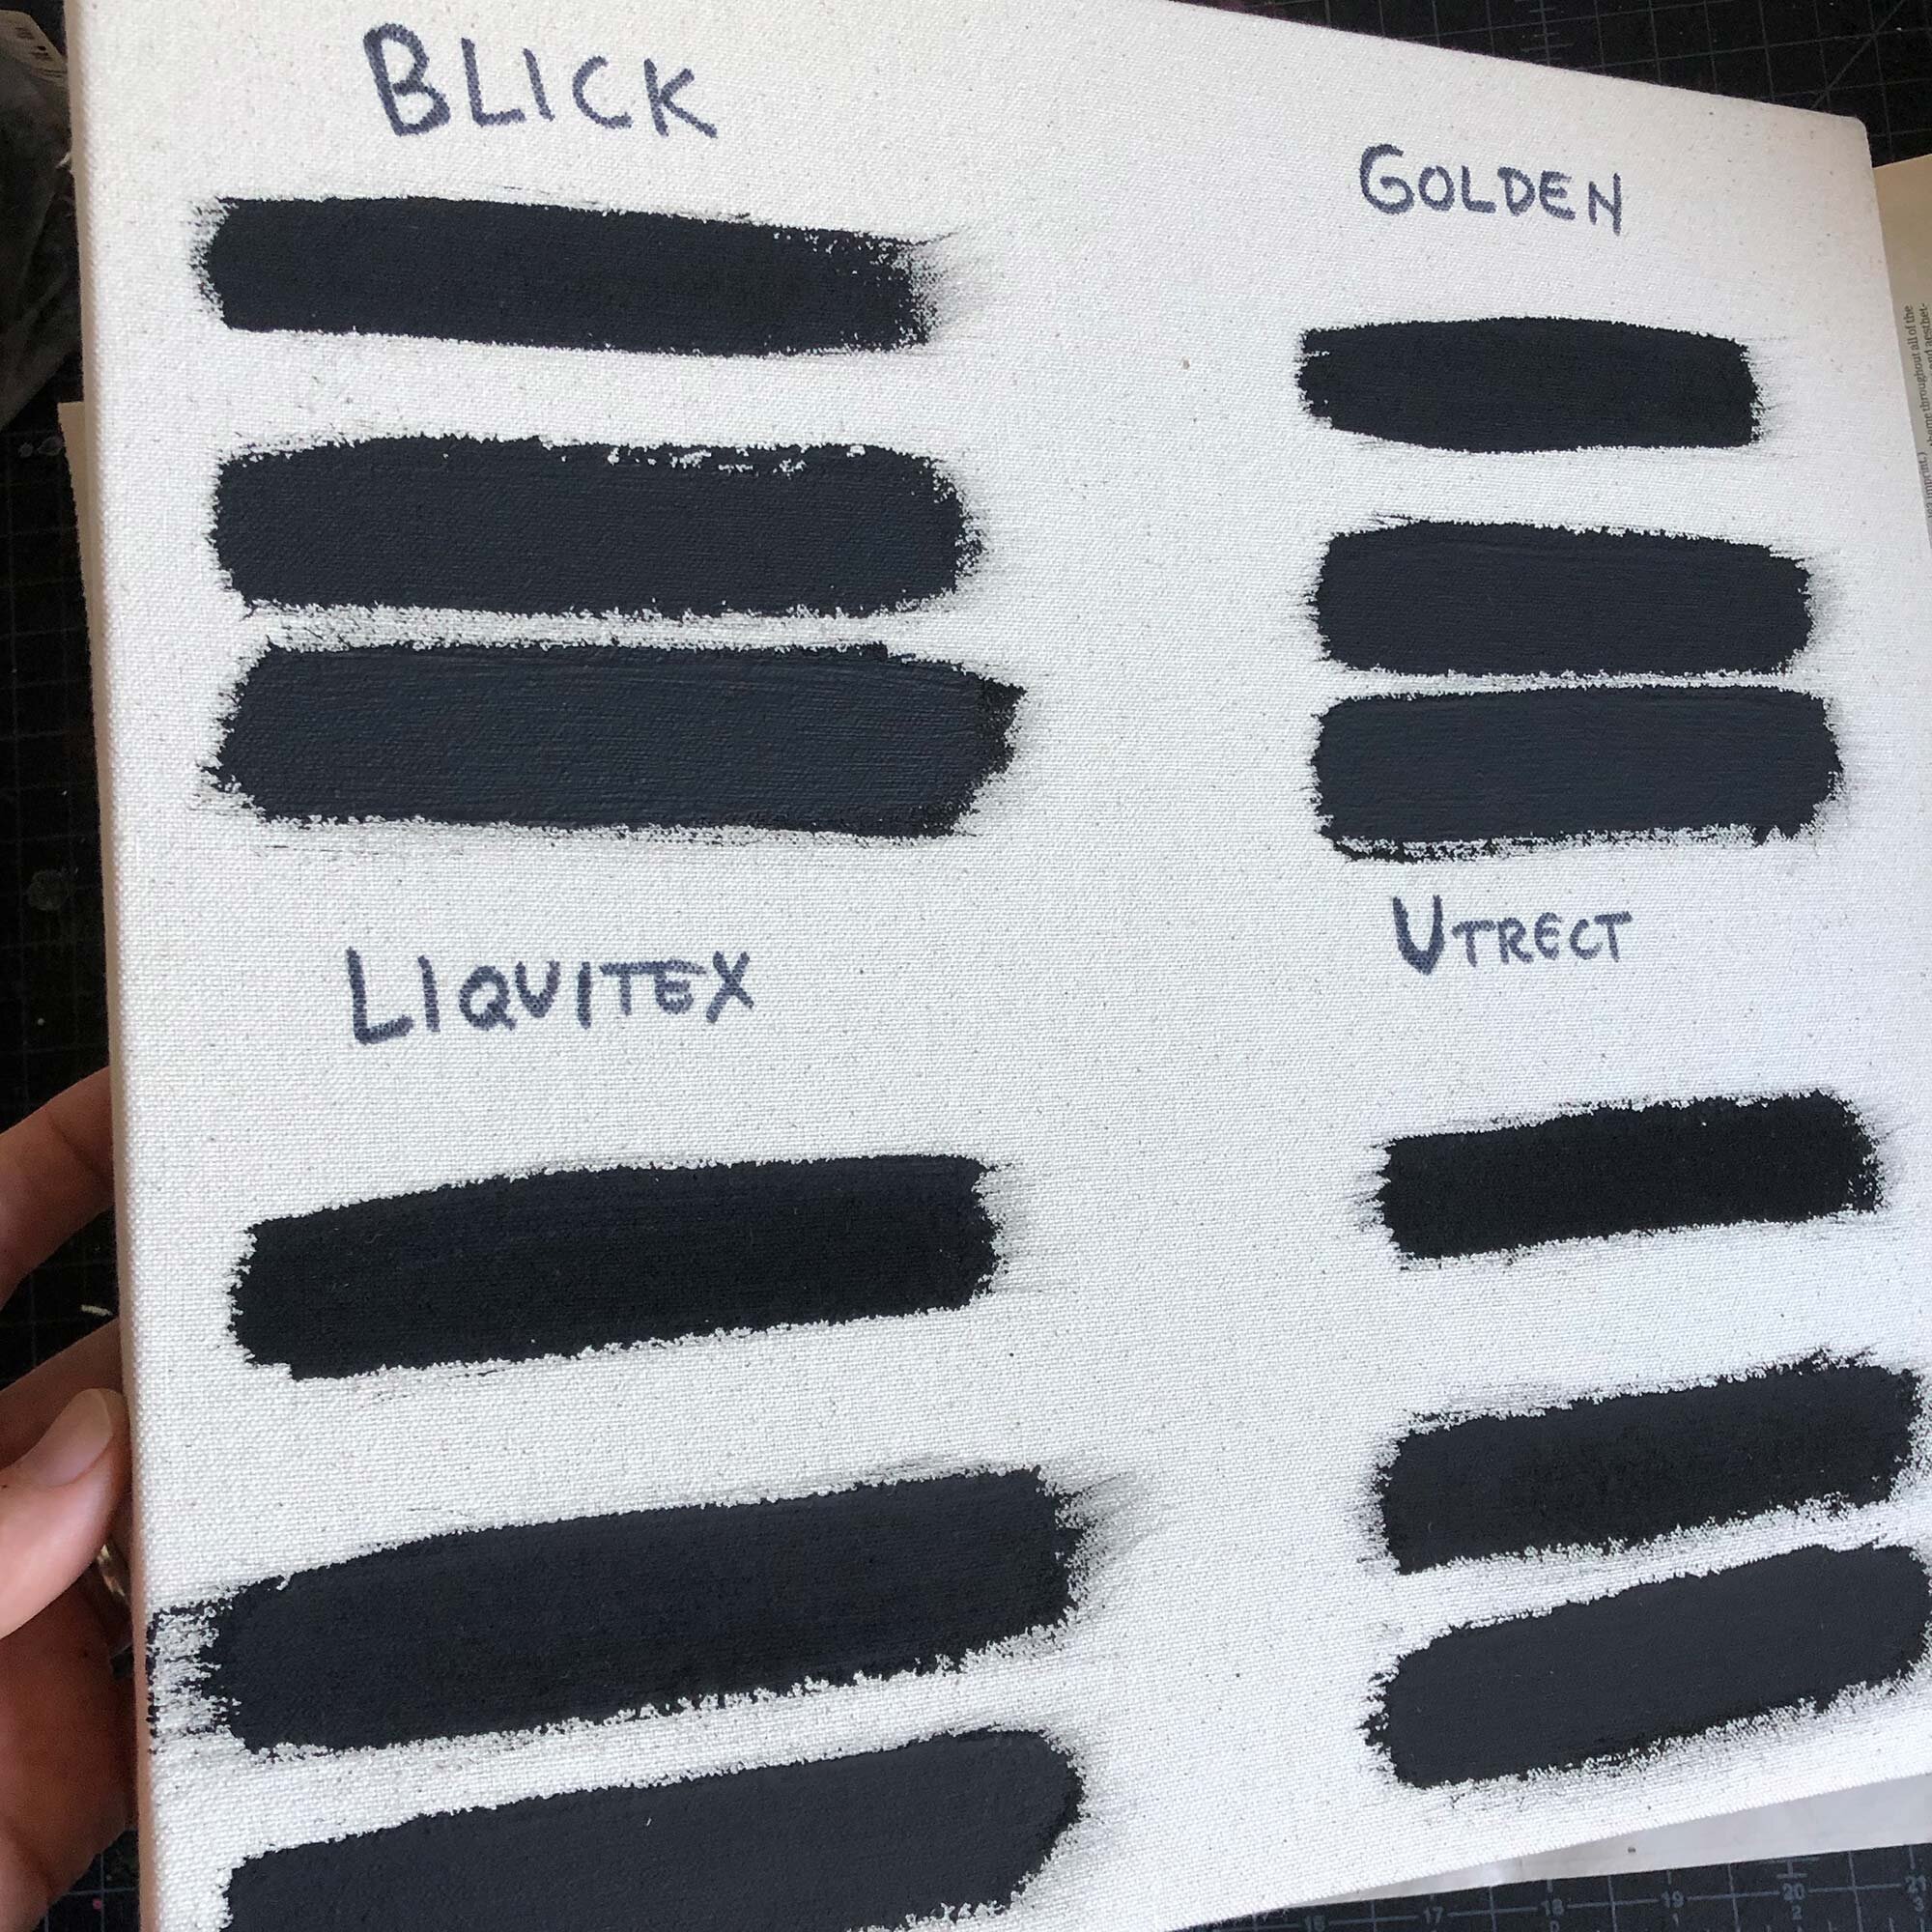
The first test involved painting one, two, and three coats of gesso on to stretched, unprimed, 12 oz cotton duck canvas. The gesso was used directly from the jar without mixing with water, and the coats were allowed to dry completely before another coat was applied. It may be more easy to see in the angled images, but Utrecht was the most matte, the Blick was the most satin, and Golden and Liquitex were in the middle of that range.

Click any image below to see larger images. The top line is a single coat of gesso, middle is two coats, and the bottom has three coats. Images are in alphabetical order by manufacturer

Stripe / coat test angle view. This may better show the differences in satin or matte qualities of the various gessos. Click to enlarge.
2. Flat Square Test

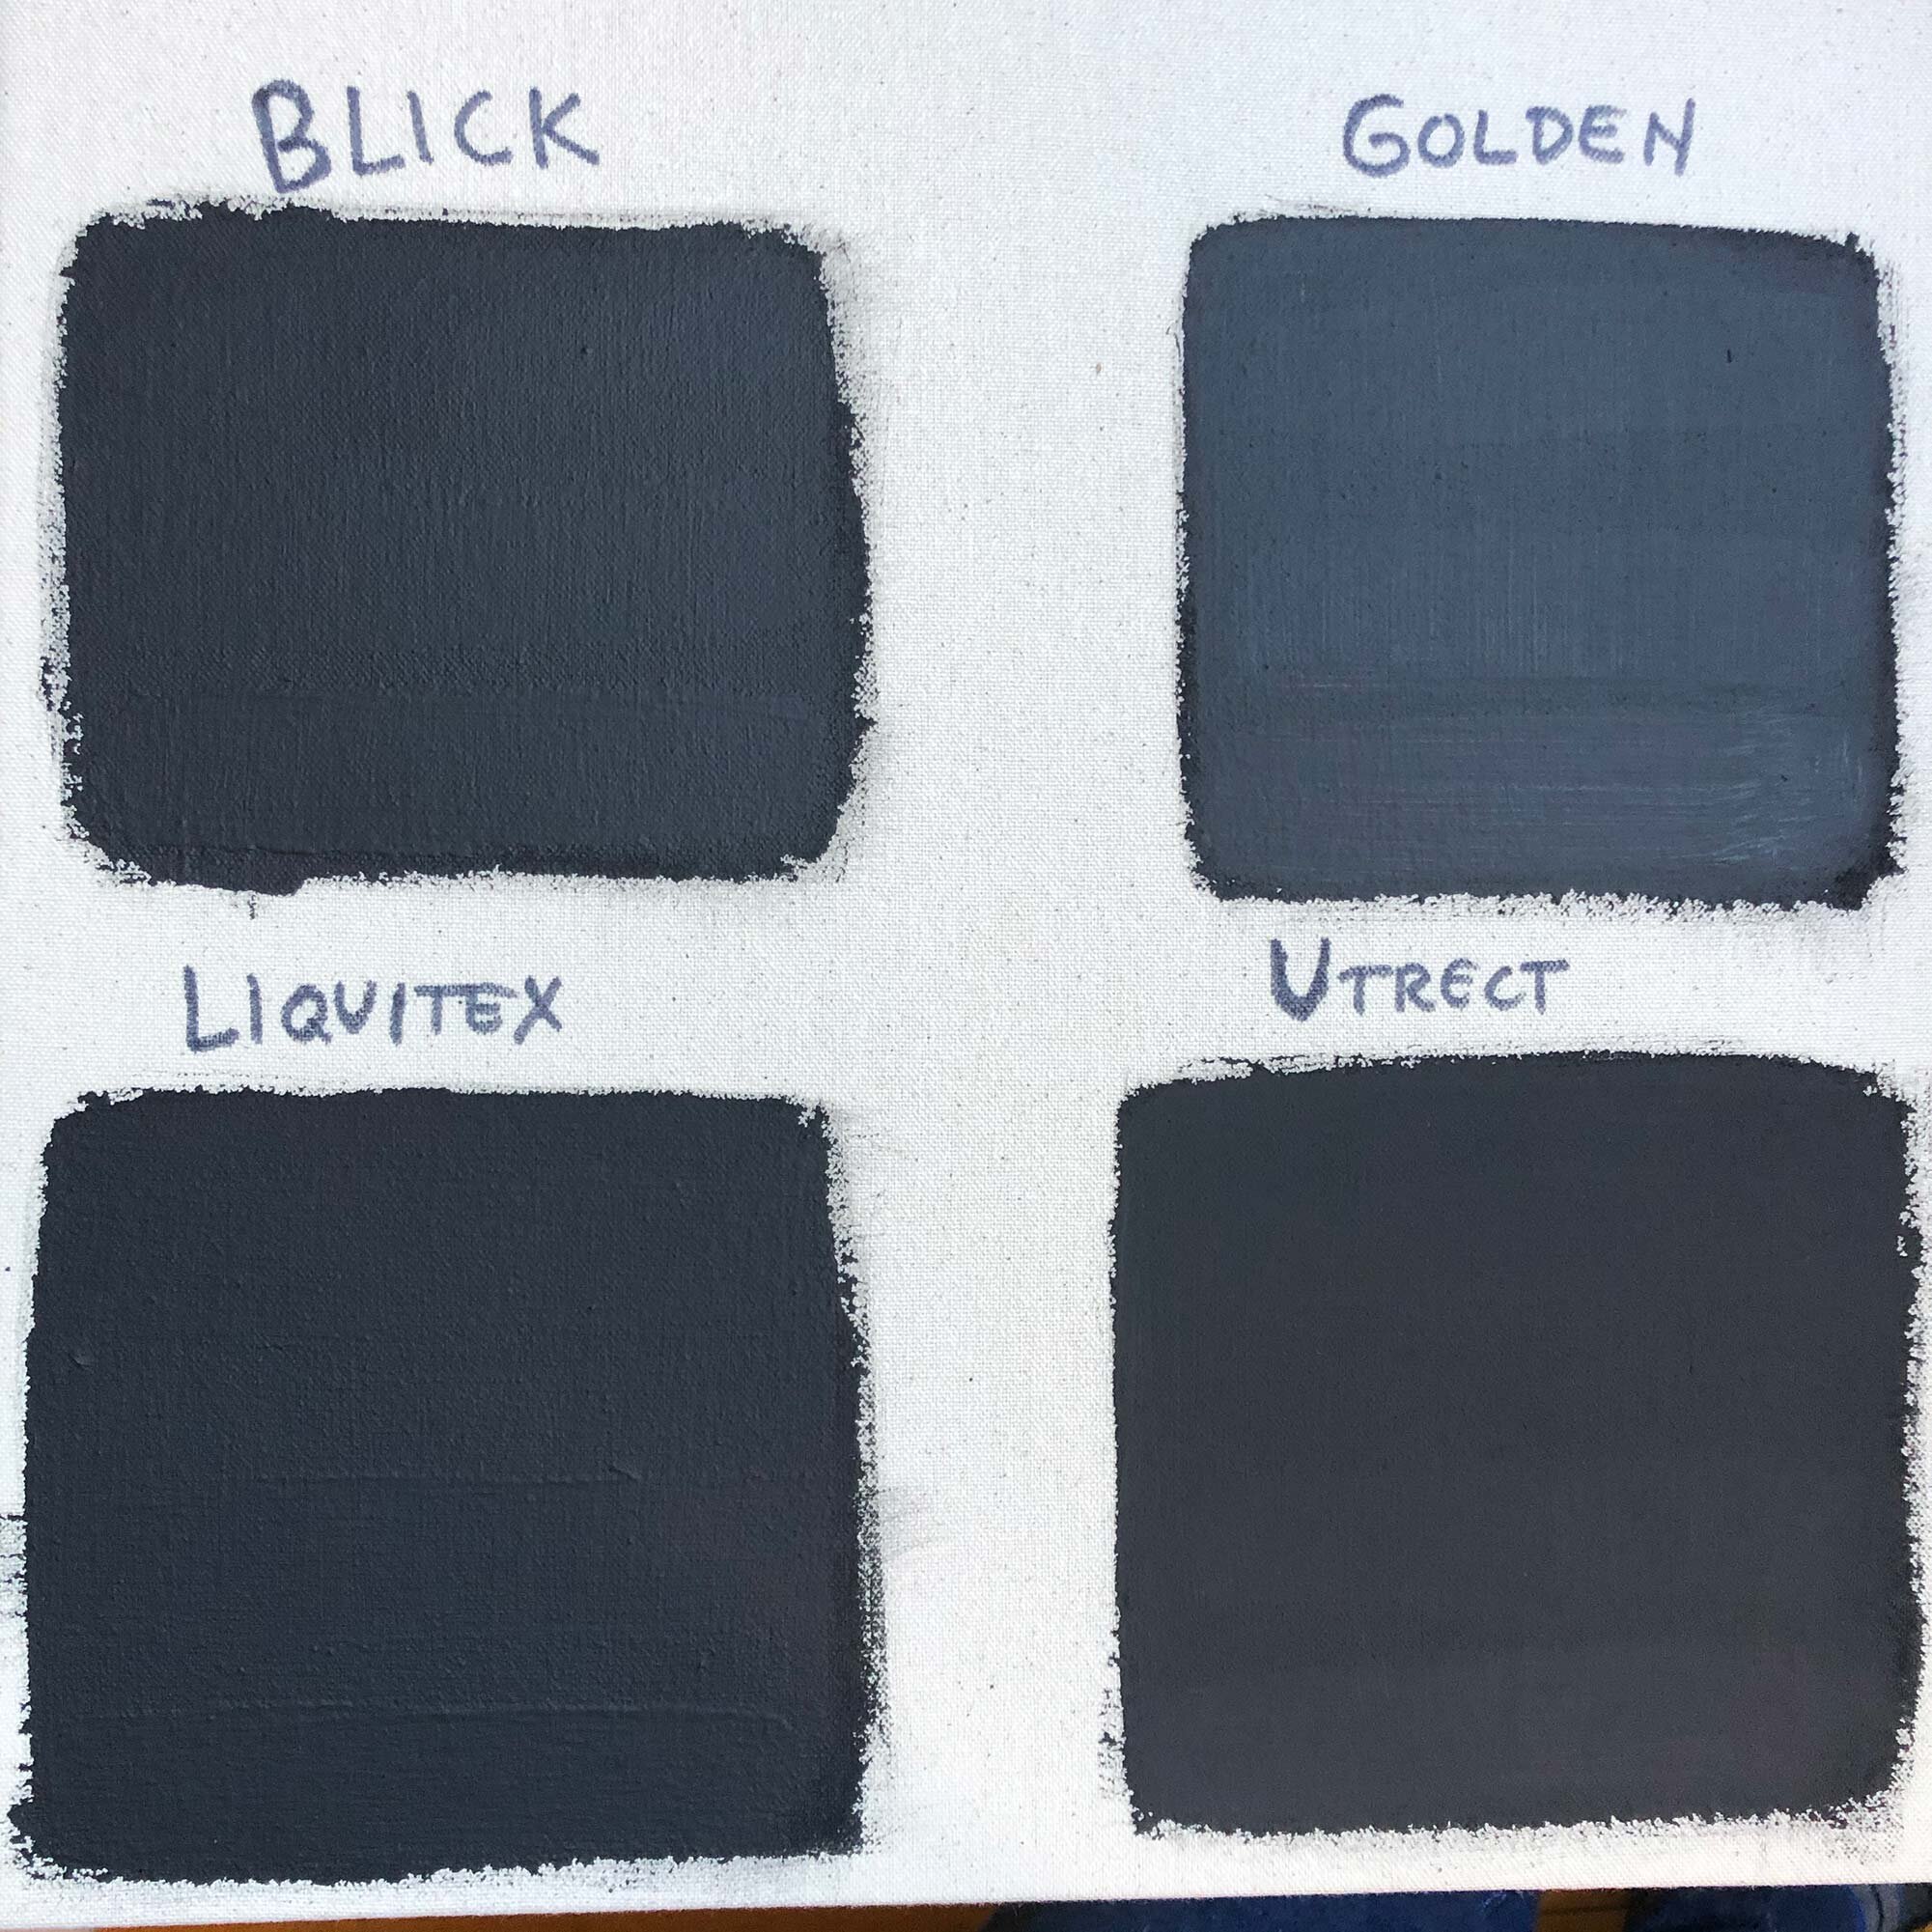
After the coat test, an additional three coats of gesso were applied to the same area of canvas. In between the previous stripes you will see areas of 3 coats, while the other areas now had 4, 5 or 6 coats of gesso. This is probably an extreme amount of gesso, but it was a further indicator of how the satin or matte qualities of the gesso would develop with more coats.

The most notable thing in this test was that the Liquitex stripes had built up a bit of texture where a bead built up from painting and it dried upraised, which was only exacerbated by more coats. While no sanding was used in this testing, a simple light sanding can fix any problems with texture, especially if you want an ultra-smooth surface. (My preference is for a flat surface with a bit of tooth, so I usually try to avoid having to sand.)

Click to enlarge:
3. Color Test

Finally, various acrylic paints were tested on top of each black gesso. There was not a big variation in the results here, although the Golden and Utrecht gessoes seemed to provide a more smooth surface for painting. But it was just a very slight difference.

From top to bottom, the tested paints included: NovaColor Hot Pink; Liquitex Neon Pink Acrylic Gouache, Utrecht Studio Series Medium Yellow, Blickrylic Neon Yellow, and Blick Matte Acrylic Dark Blue Light.

Click to enlarge.


Tips for Applying and Working with Black Gesso

Gesso is a primer or ground that both protects your painting substrate and creates a suitable painting surface. It must be used if you are working with oil paints, as those will eventually eat through and destroy unprimed canvas. If you are working with acrylics, you can paint directly on to canvas or other surfaces, but you may find that a gesso provides a matte, even surface that makes it easier to apply other layers. Here’s a few tips:

Water down your gesso

Although the test above did not employ this, it’s often a good idea to thin your first layer of gesso with water. This helps the gesso get into every nook and cranny of canvas and really begin to get a good seal. The second and third layers of gesso (and fourth if desired) will result in an even surface.

Brush or Roll — your choice

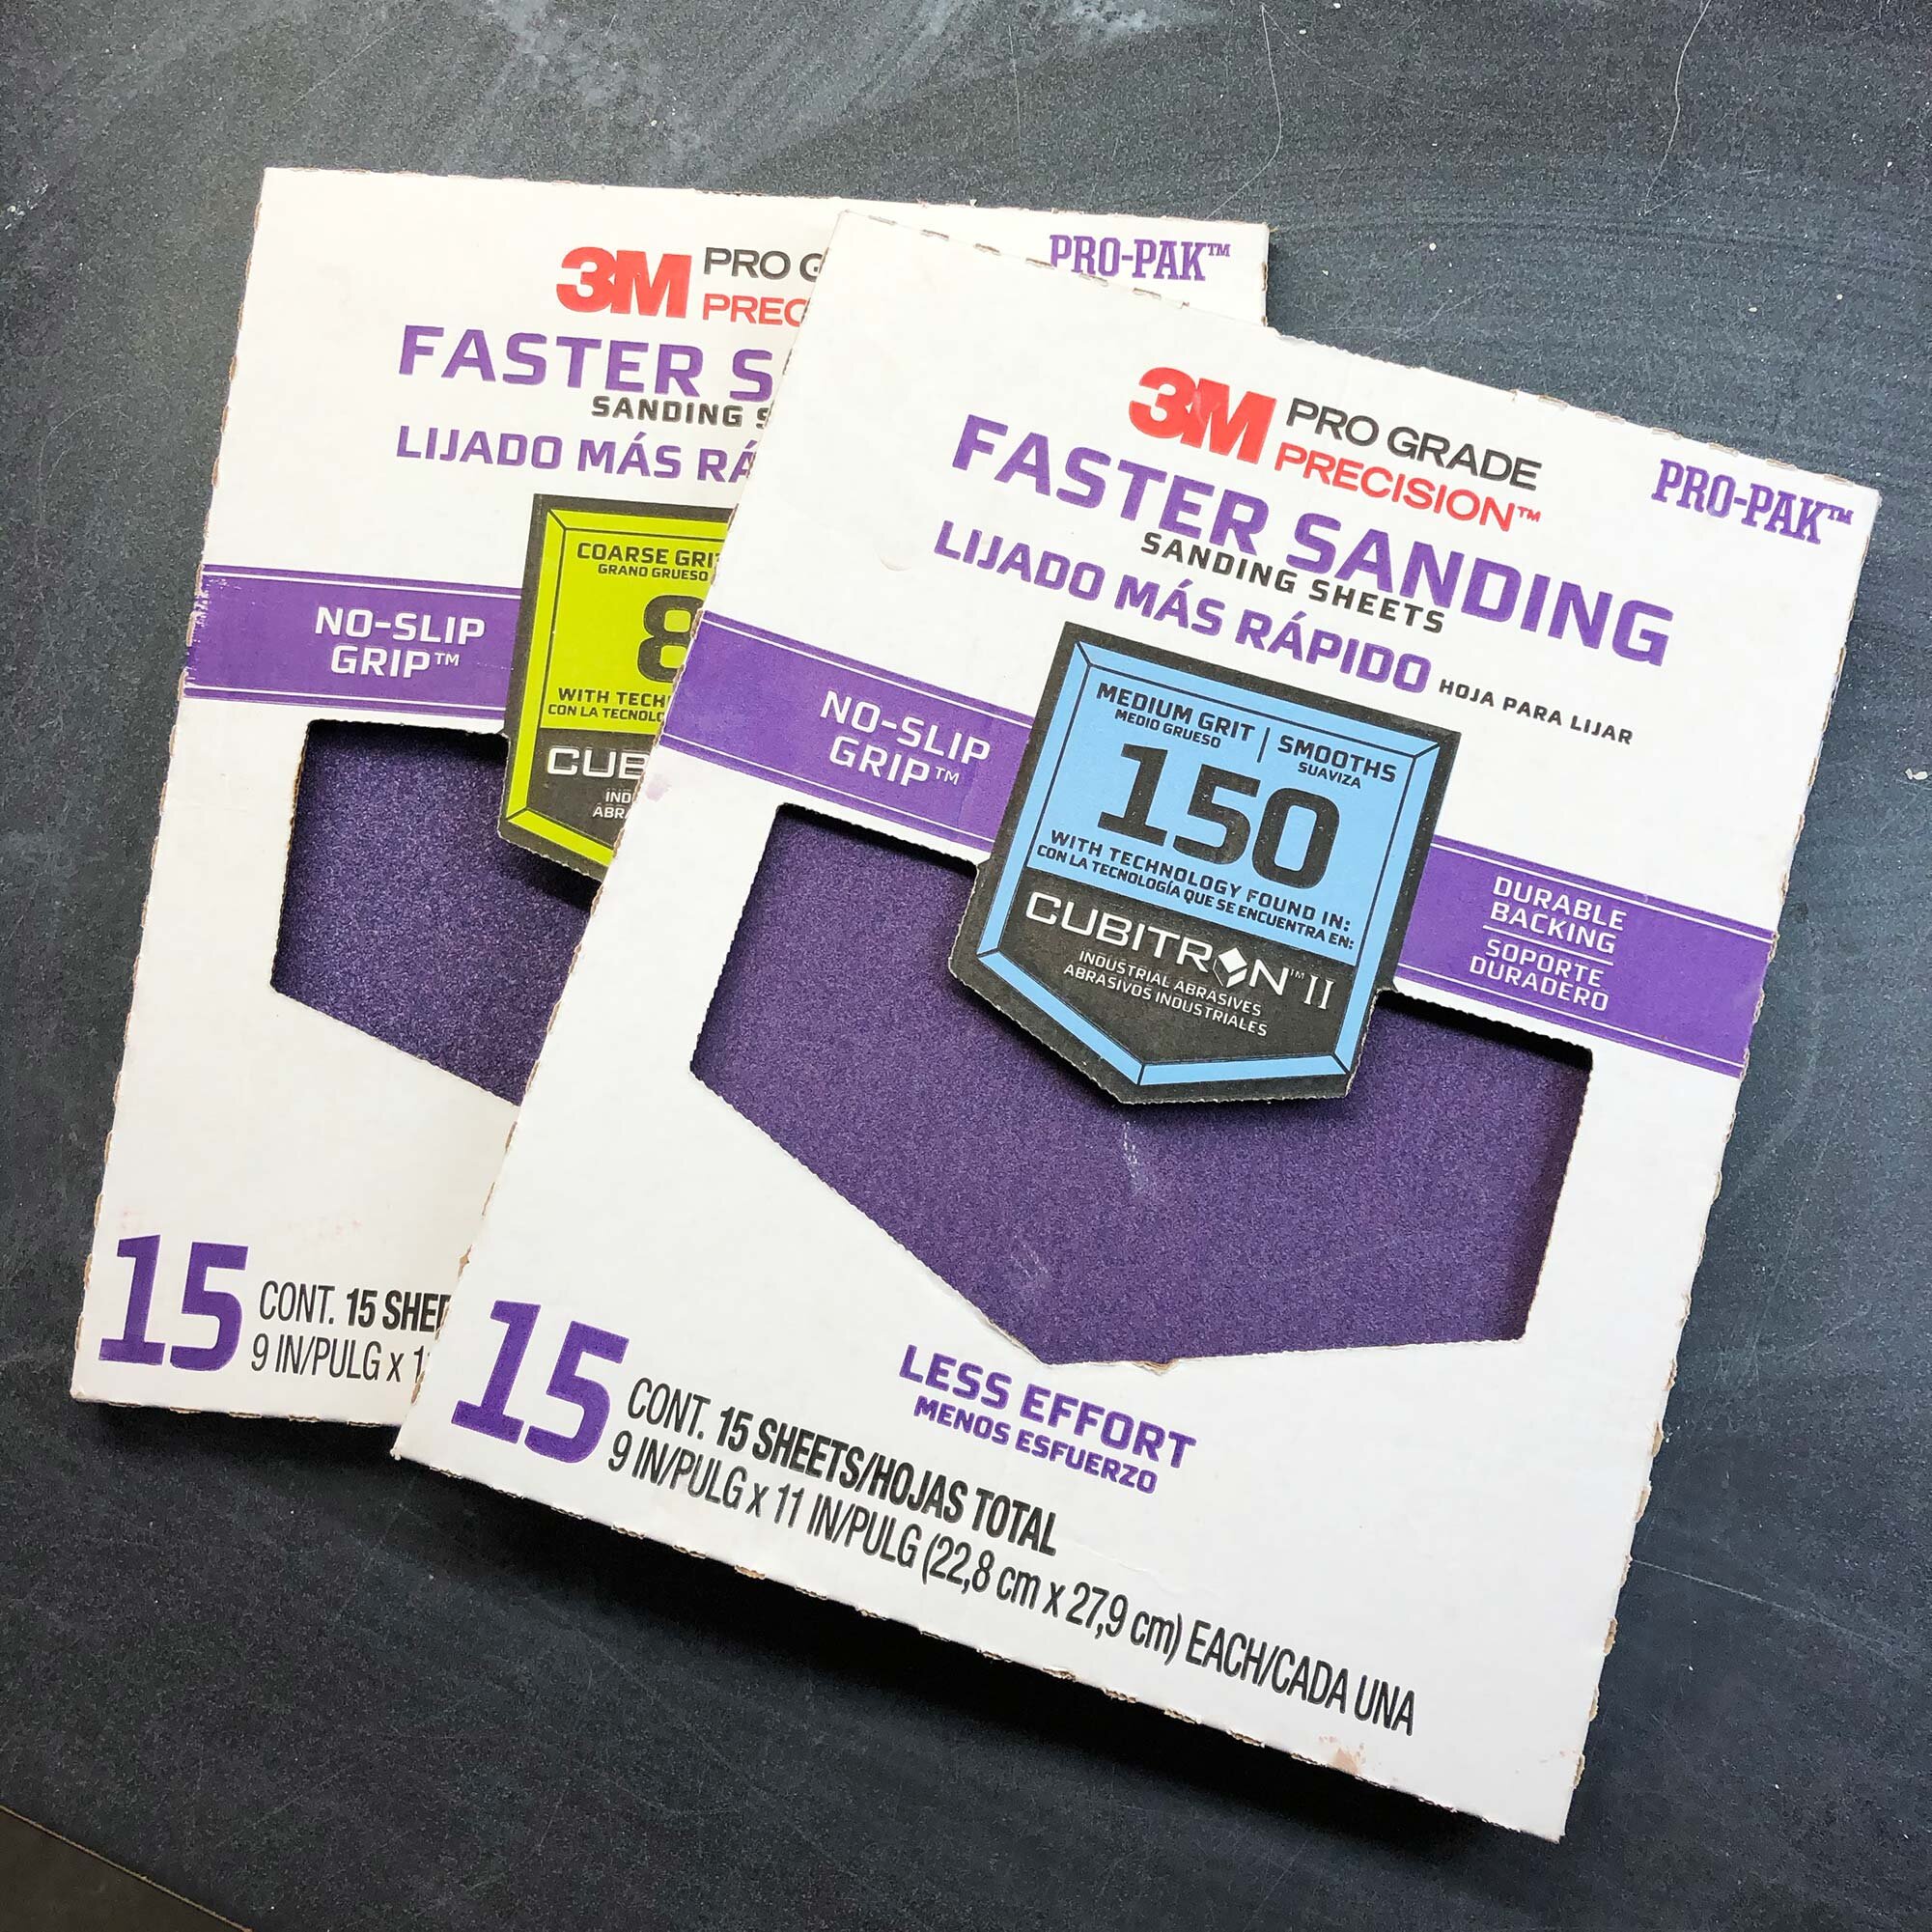
Some apply gesso with a foam roller, while other brush. It’s really up to you. Either way has its advantages and disadvantages. If you are worried about any texture building up, use a sanding block and medium grit sandpaper (around 150 or so) to sand each layer after it dries. If you want a really smooth surface, you can keep sanding and applying layers, and move towards using finer and finer sandpapers.

Cover up other paintings

Black gesso is especially effective at covering up anything below it, often with just one coat. Use it to cover other acrylic paintings so you can start fresh. But keep in mind, acrylic should not be used on top of oil paint as that will cause problems and degradation down the road.

Make colors pop

Certain paints, such as neons, yellows, and bright blues, can really pop when you put them on a black ground. Other colors, such as transparent colors, can really sink in and be hard to see. It’s best to test things out and see how your favorite colors change or not.


Summary

This post included a test of four different black gessoes, including Blick, Golden, Liquitex, and Utrecht. All the gessoes resulted in a deep black ground, and they are very opaque. The Golden and Liquitex gessoes were the most fluid and easy to apply; the Blick was the most economical and also the most satin; and the Utrecht was the top pick because of its ultra-matte, even surface and relatively affordable price.

Black gesso is an interesting option that can really mix things up in your studio. Do you have a favorite black gesso? Let us know in the comments.


Plato on the Role of Potters

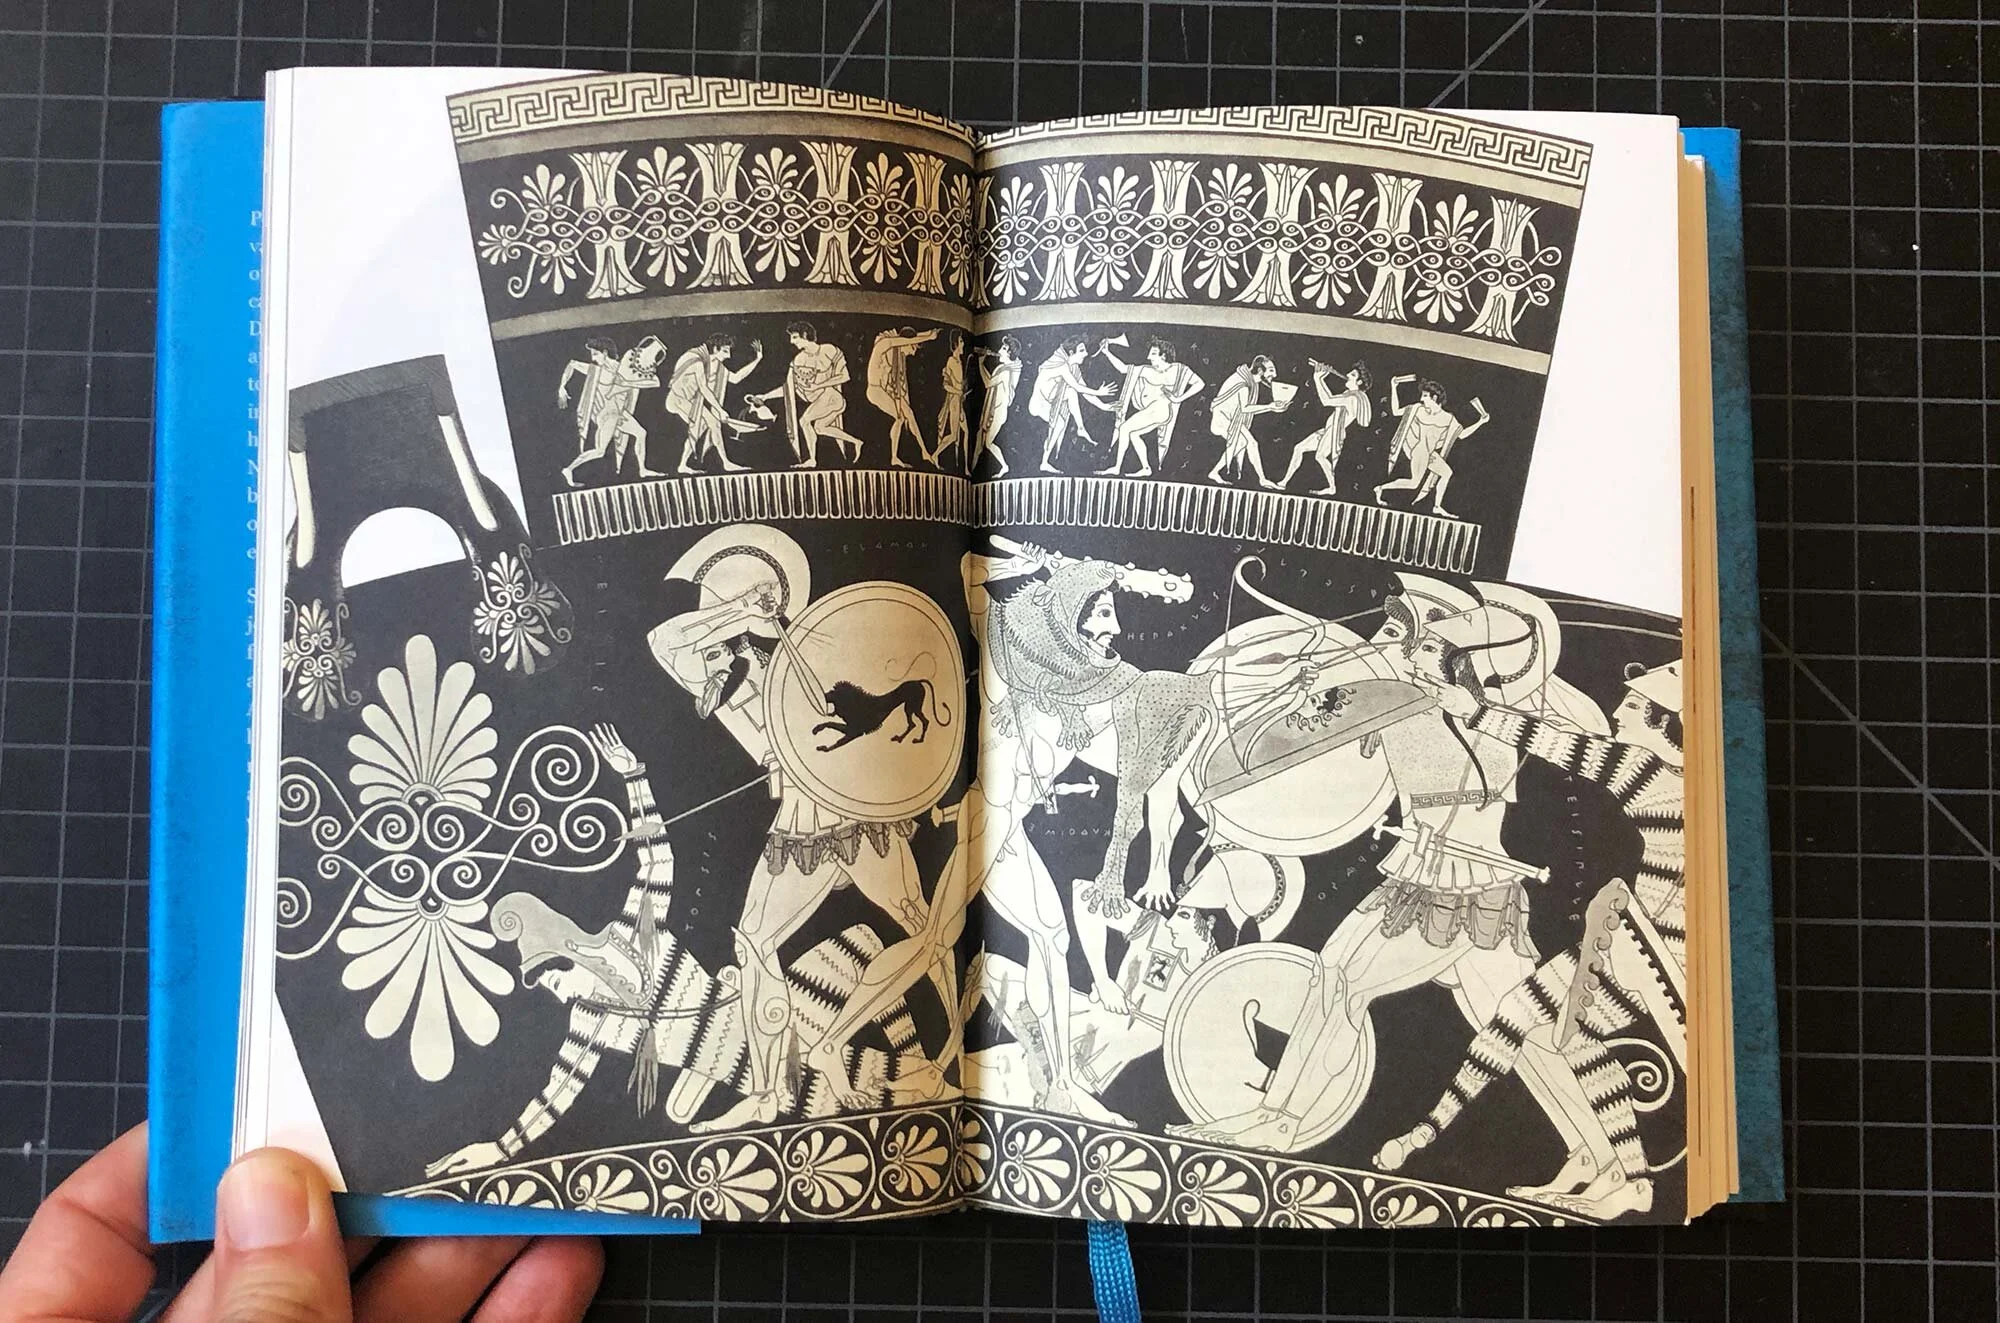
Plato%27s+Republic.jpg

In Chapter 5 of Plato’s Republic, ‘The Guardians’ Life and Duties,’ the philosopher outlines the roles of three classes in society: guardians, auxiliaries, and workers. The workers are divided into castes and Plato believes there is little room for change in the castes. The goal, as Plato puts it, was to form “a community which is happy as a whole” without making just a few members of the community happy. Thus, everyone had a role to play but they had to stay in their role and place in society.

Here’s what he had to say about potters, from Robin Waterfield’s 1993 translation (419d-e, 421a). Bold text my own:


‘Suppose we were painting a statue and someone came up and criticized us for not using the most beautiful paint for the creature’s most beautiful features, because the eyes are the most beautiful part and they hadn’t been painted purple but black. It would be perfectly reasonable, in our opinion, for us to reply to this critic by saying, “My dear chap, you can’t expect us to paint beautiful eyes in a way which stops them looking like eyes, or to do that to the other parts of the body either. Don’t you think that if we treat every single part in an appropriate fashion we’re making the creature as a whole beautiful?

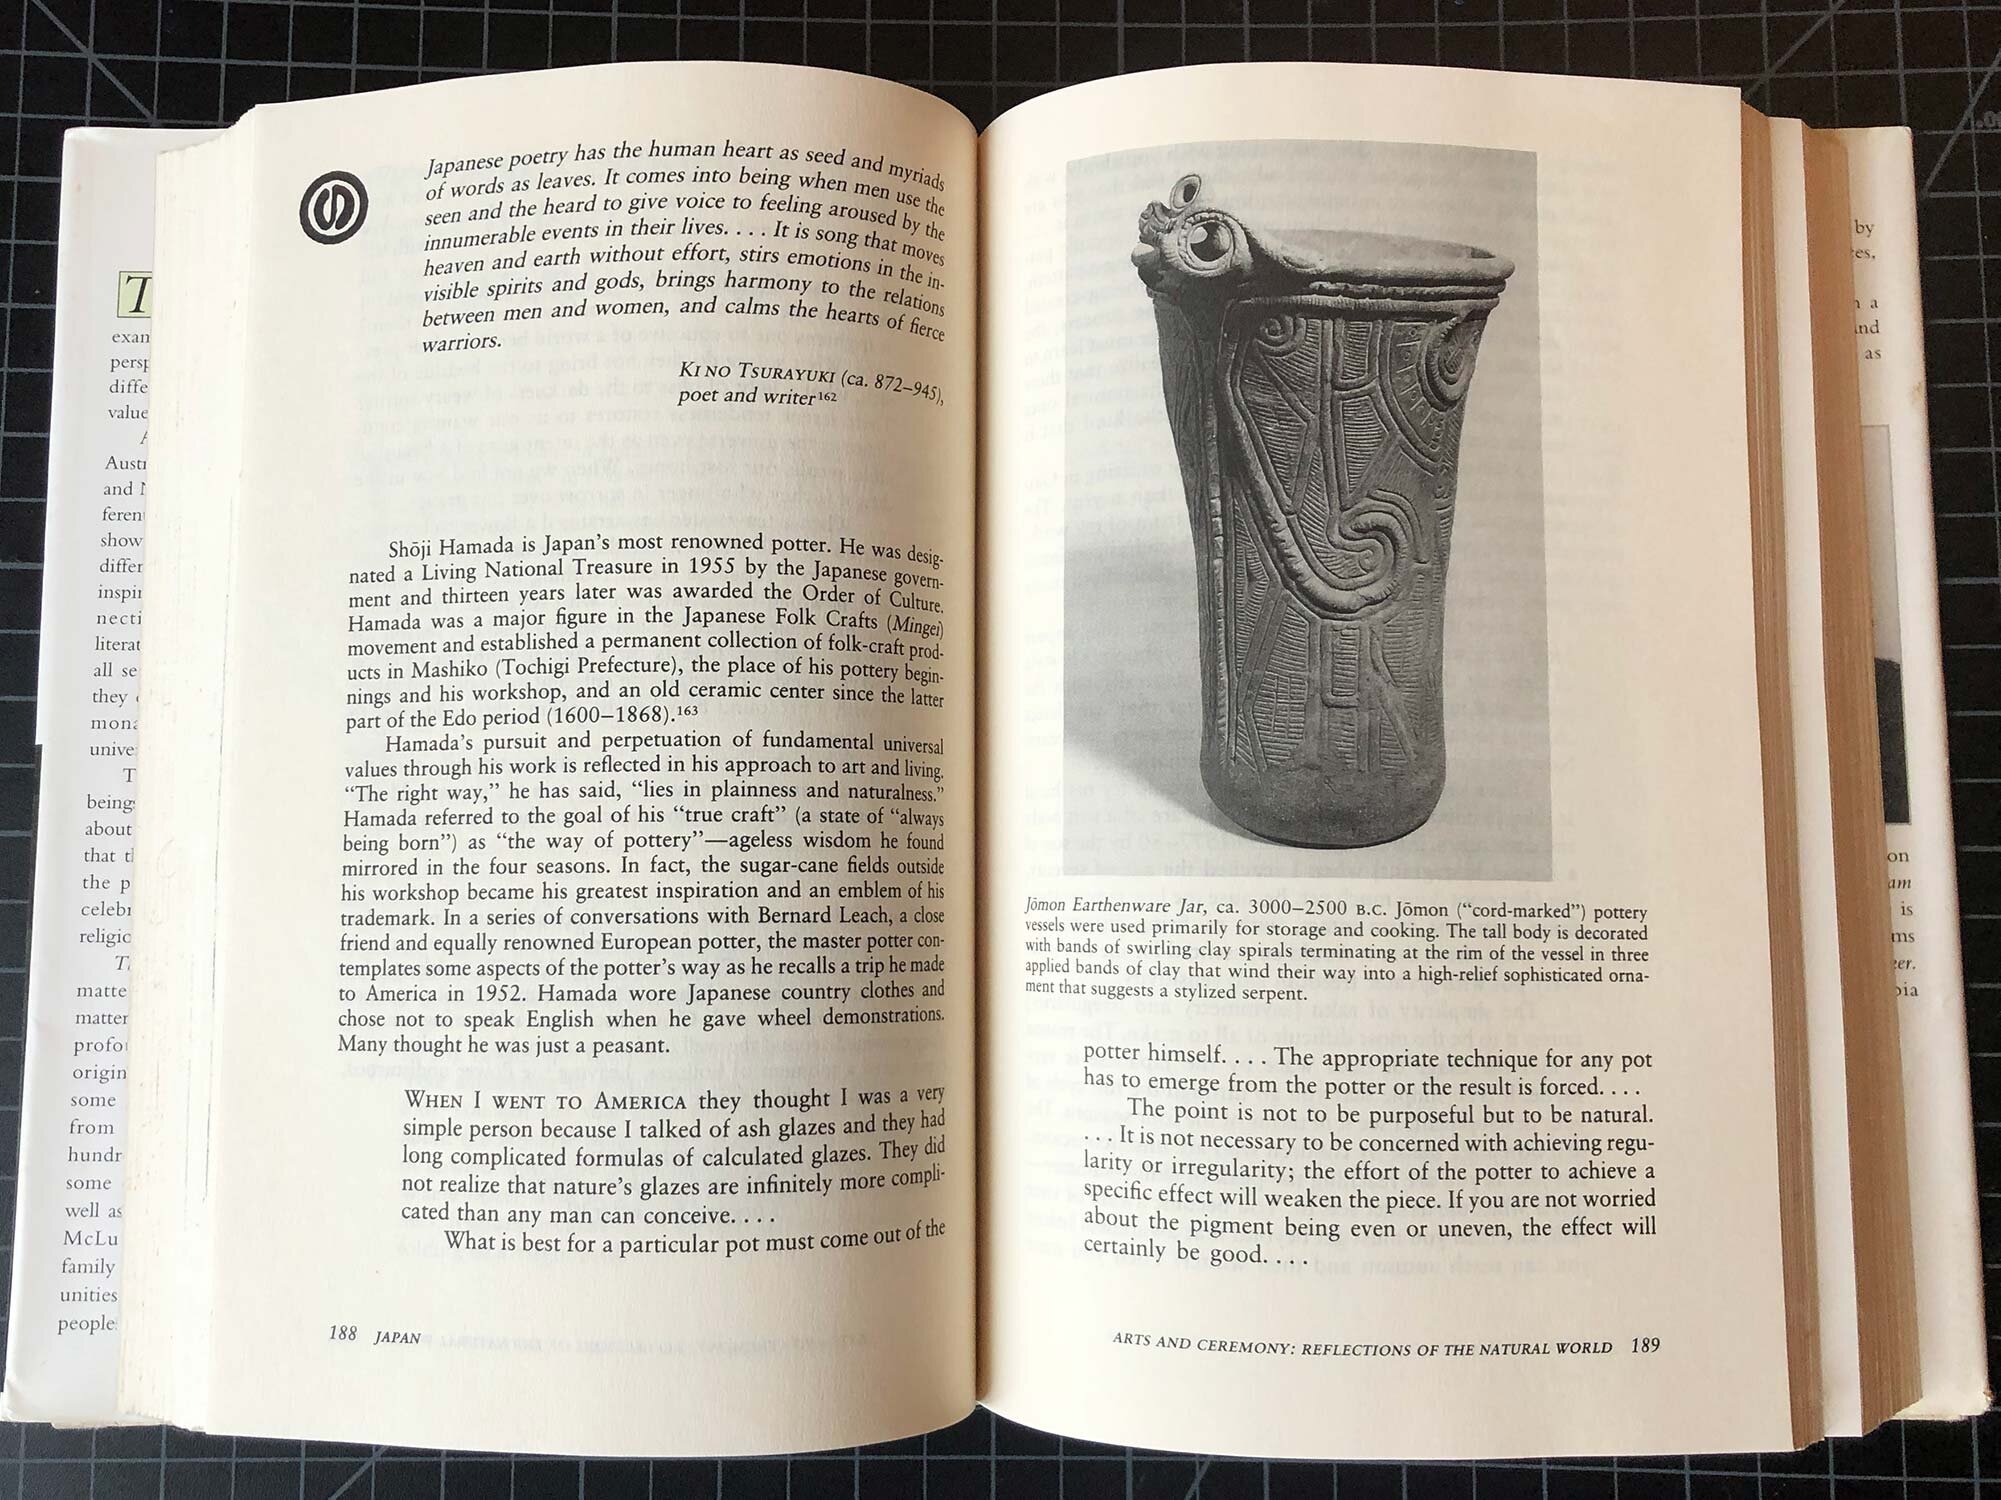
Likewise, in the present case, please don’t force us to graft the sort of happiness on to the guardians which will make them anything but guardians. You see, we know we could dress our farmers in soft clothes and golden jewelry and tell them to work the land only when they have a mind to, and we know we could have our potters lie basking in their kiln-fire’s warmth on a formal arrangement of couches, drinking and feasting with their wheel beside them as a table, and doing pottery only as much as they feel like, and we know we could make everyone else happy in this sort of way, and so have a community which was happy overall; but please don’t advise us to do so, because if we follow your recommendation, then our farmers won’t be farmers and our potters won’t be potters and no one else will retain that aspect of himself which is a constituent of a community.

Now, this isn’t so important where the rest of the community is concerned. I mean, if cobblers go to the bad and degenerate and pretend to be other than what they are, it’s not catastrophic for a community; but if the people who guard a community and its laws ignore their essence and start to pose, then obviously they’re utterly destroying the community, despite the fact that its good management and happiness are crucially in their hands and their hands alone.”

‘Now, if we’re creating genuine guardians, who can hardly harm their community, and the originator of that other idea is talking about a certain kind of farmer and people who are, as it were, happy to fill their stomachs on holiday, but aren’t members of a community, then he’s not talking about a community, but something else. What we have to consider is whether our intention in putting the guardians in place is to maximize their happiness, or whether we ought to make the happiness of the community as a whole our goal and should, by fair means and foul, convince these auxiliaries and guardians that their task is to ensure that they, and everyone else as well, are the best at their own jobs. Then, when the community as a whole is flourishing and rests on a fine foundation, we can take it for granted that every group within it will find happiness according to its nature.”

Hmmm, I would have to say that lounging on couches by the warmth of the kiln sounds pretty nice! But it doesn’t exactly match up with the role that Plato envisions for potters and other workers.

What do you think?

Republic by Plato, translation by Robin Waterfield, 1993

Click here to read more about books, podcasts, videos and other sources of inspiration in the studio.


Vintage films from the Mingei Film Archive

I love vintage pottery films so it was a pleasure to discover some newly digitized films that have been put online recently. These show famous Mingei potters Shoji Hamada and Bernard Leach at work.

The Art of the Potter is a 51 minute film from 1970. It was filmed by Sydney Reichman, produced by David Outerbridge, and was posted by Marty Gross on Vimeo.

A Visit to the Leach Pottery, 1973 is a recently digitized film that was shot by Kim Schuefftan and Toshio Sekiji, and includes John Bedding in Conversation with Marty Gross. It was posted by Marty Gross on Vimeo.

View more videos like this by clicking on Marty Gross’s Vimeo page here. Learn more about the Mingei Film Archive Project by clicking here.

If you’d like to learn more about the Japanese folk art movement known as Mingei , there are quite a few museum and exhibition catalogs, but a great place to start is with The Unknown Craftsman by Soetsu Yanagi with a forward by Bernard Leach. First translated into English in 1972, it is an enduring text on the handmade, the meaning of craft arts, and the power of beauty.

Shop The Unknown Craftsman at Amazon

Click here to see more posts in the Inspiration category.

Best Ceramic Textbooks and Guidebooks

Updated June 10, 2021

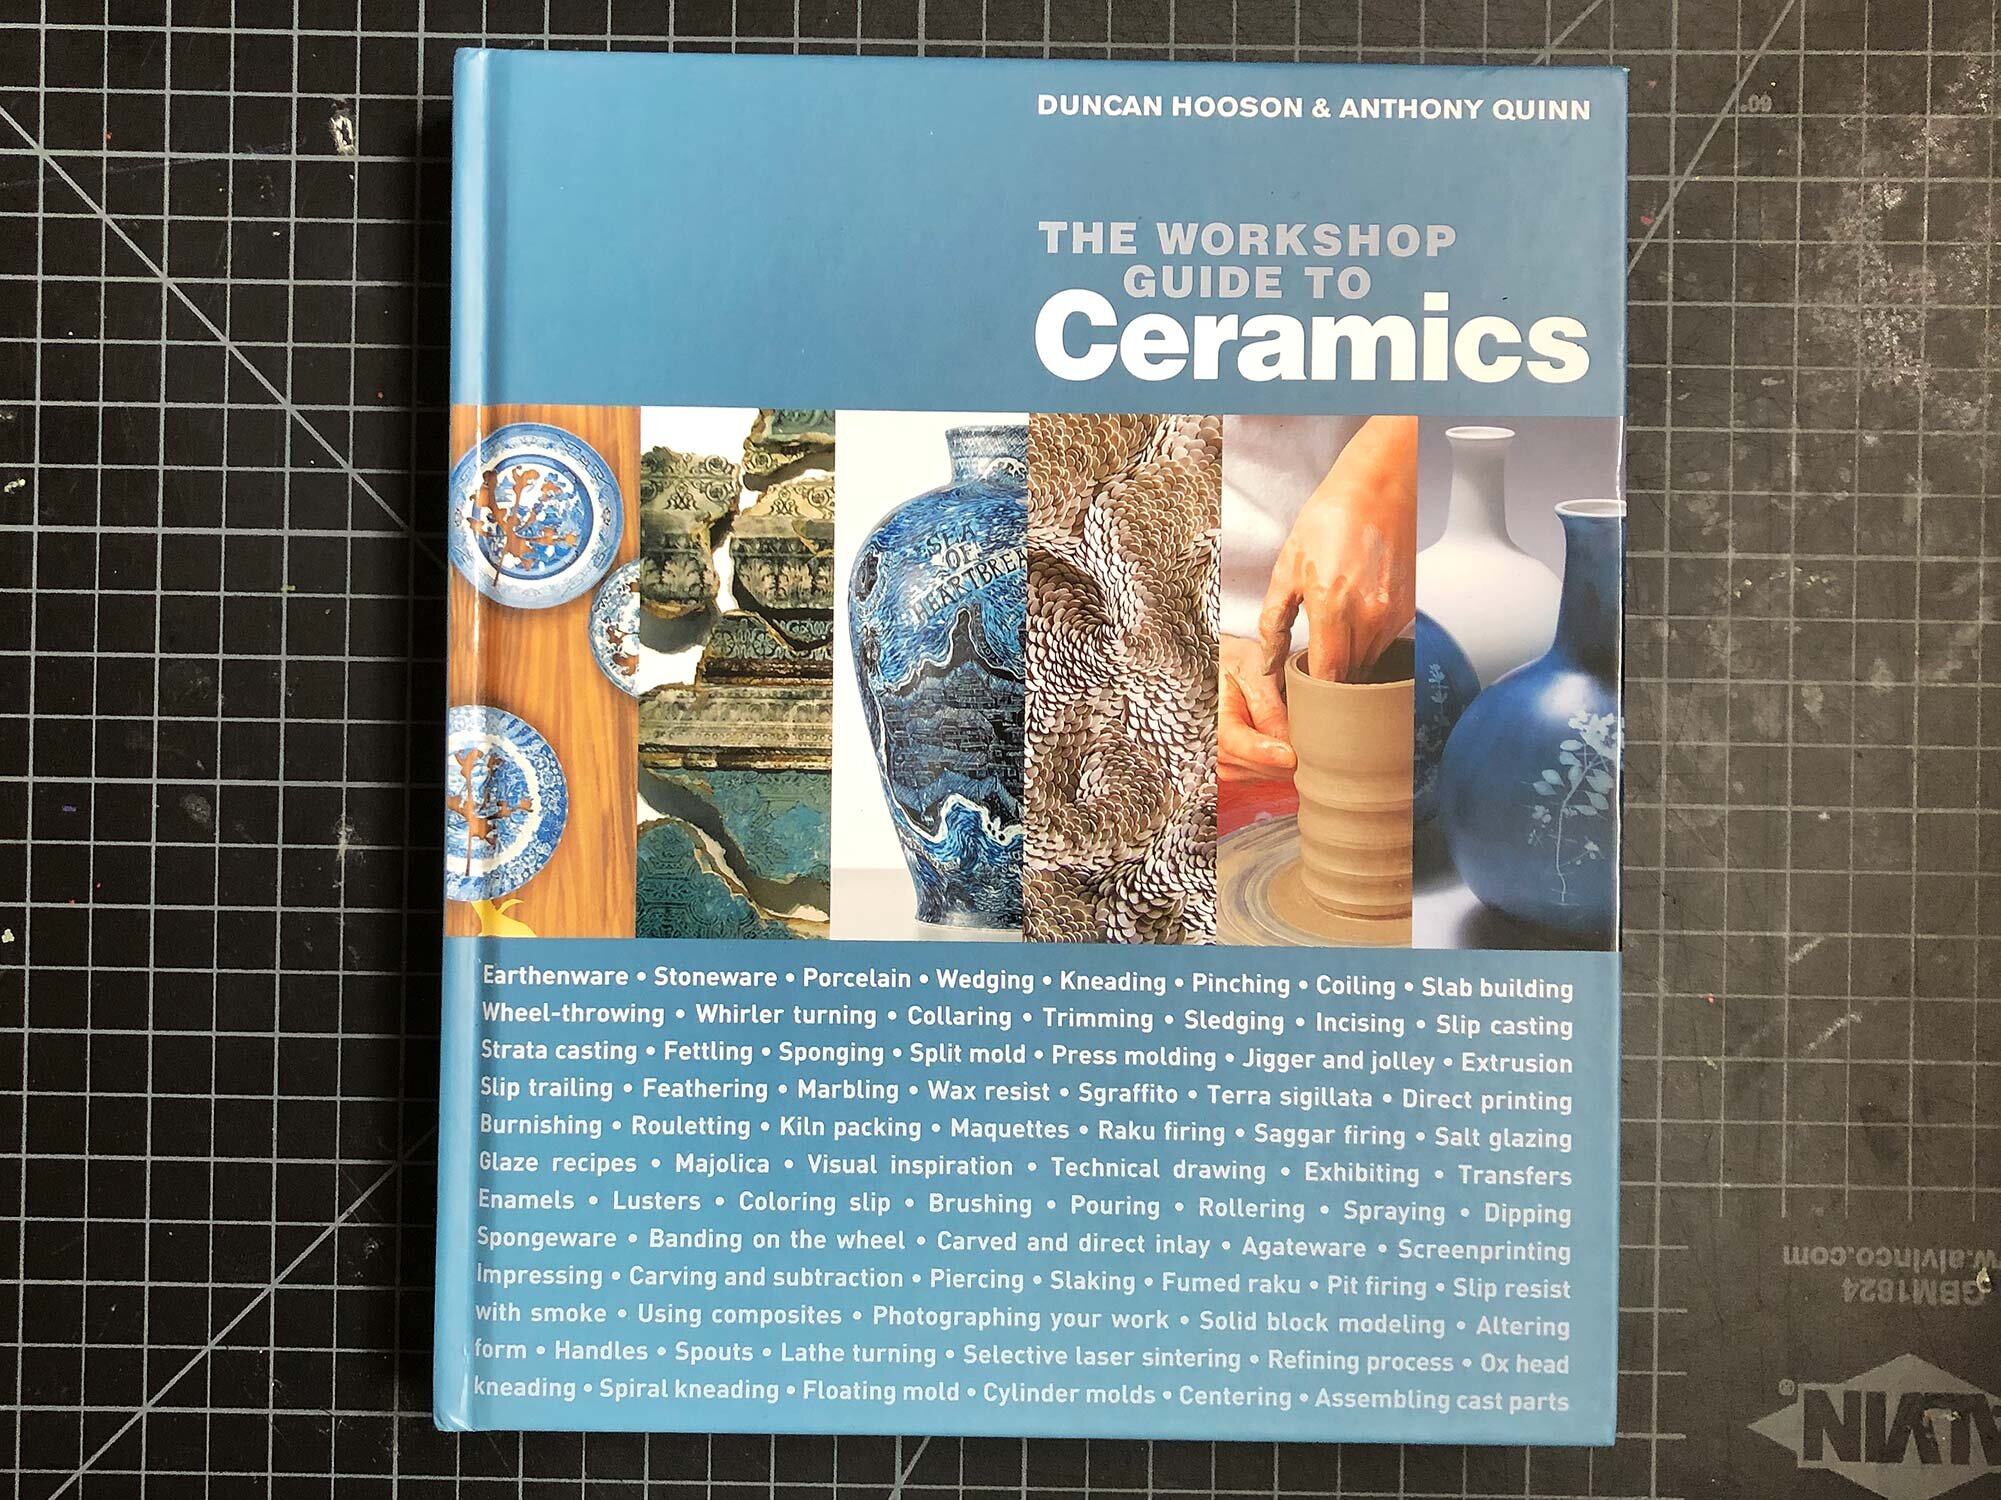
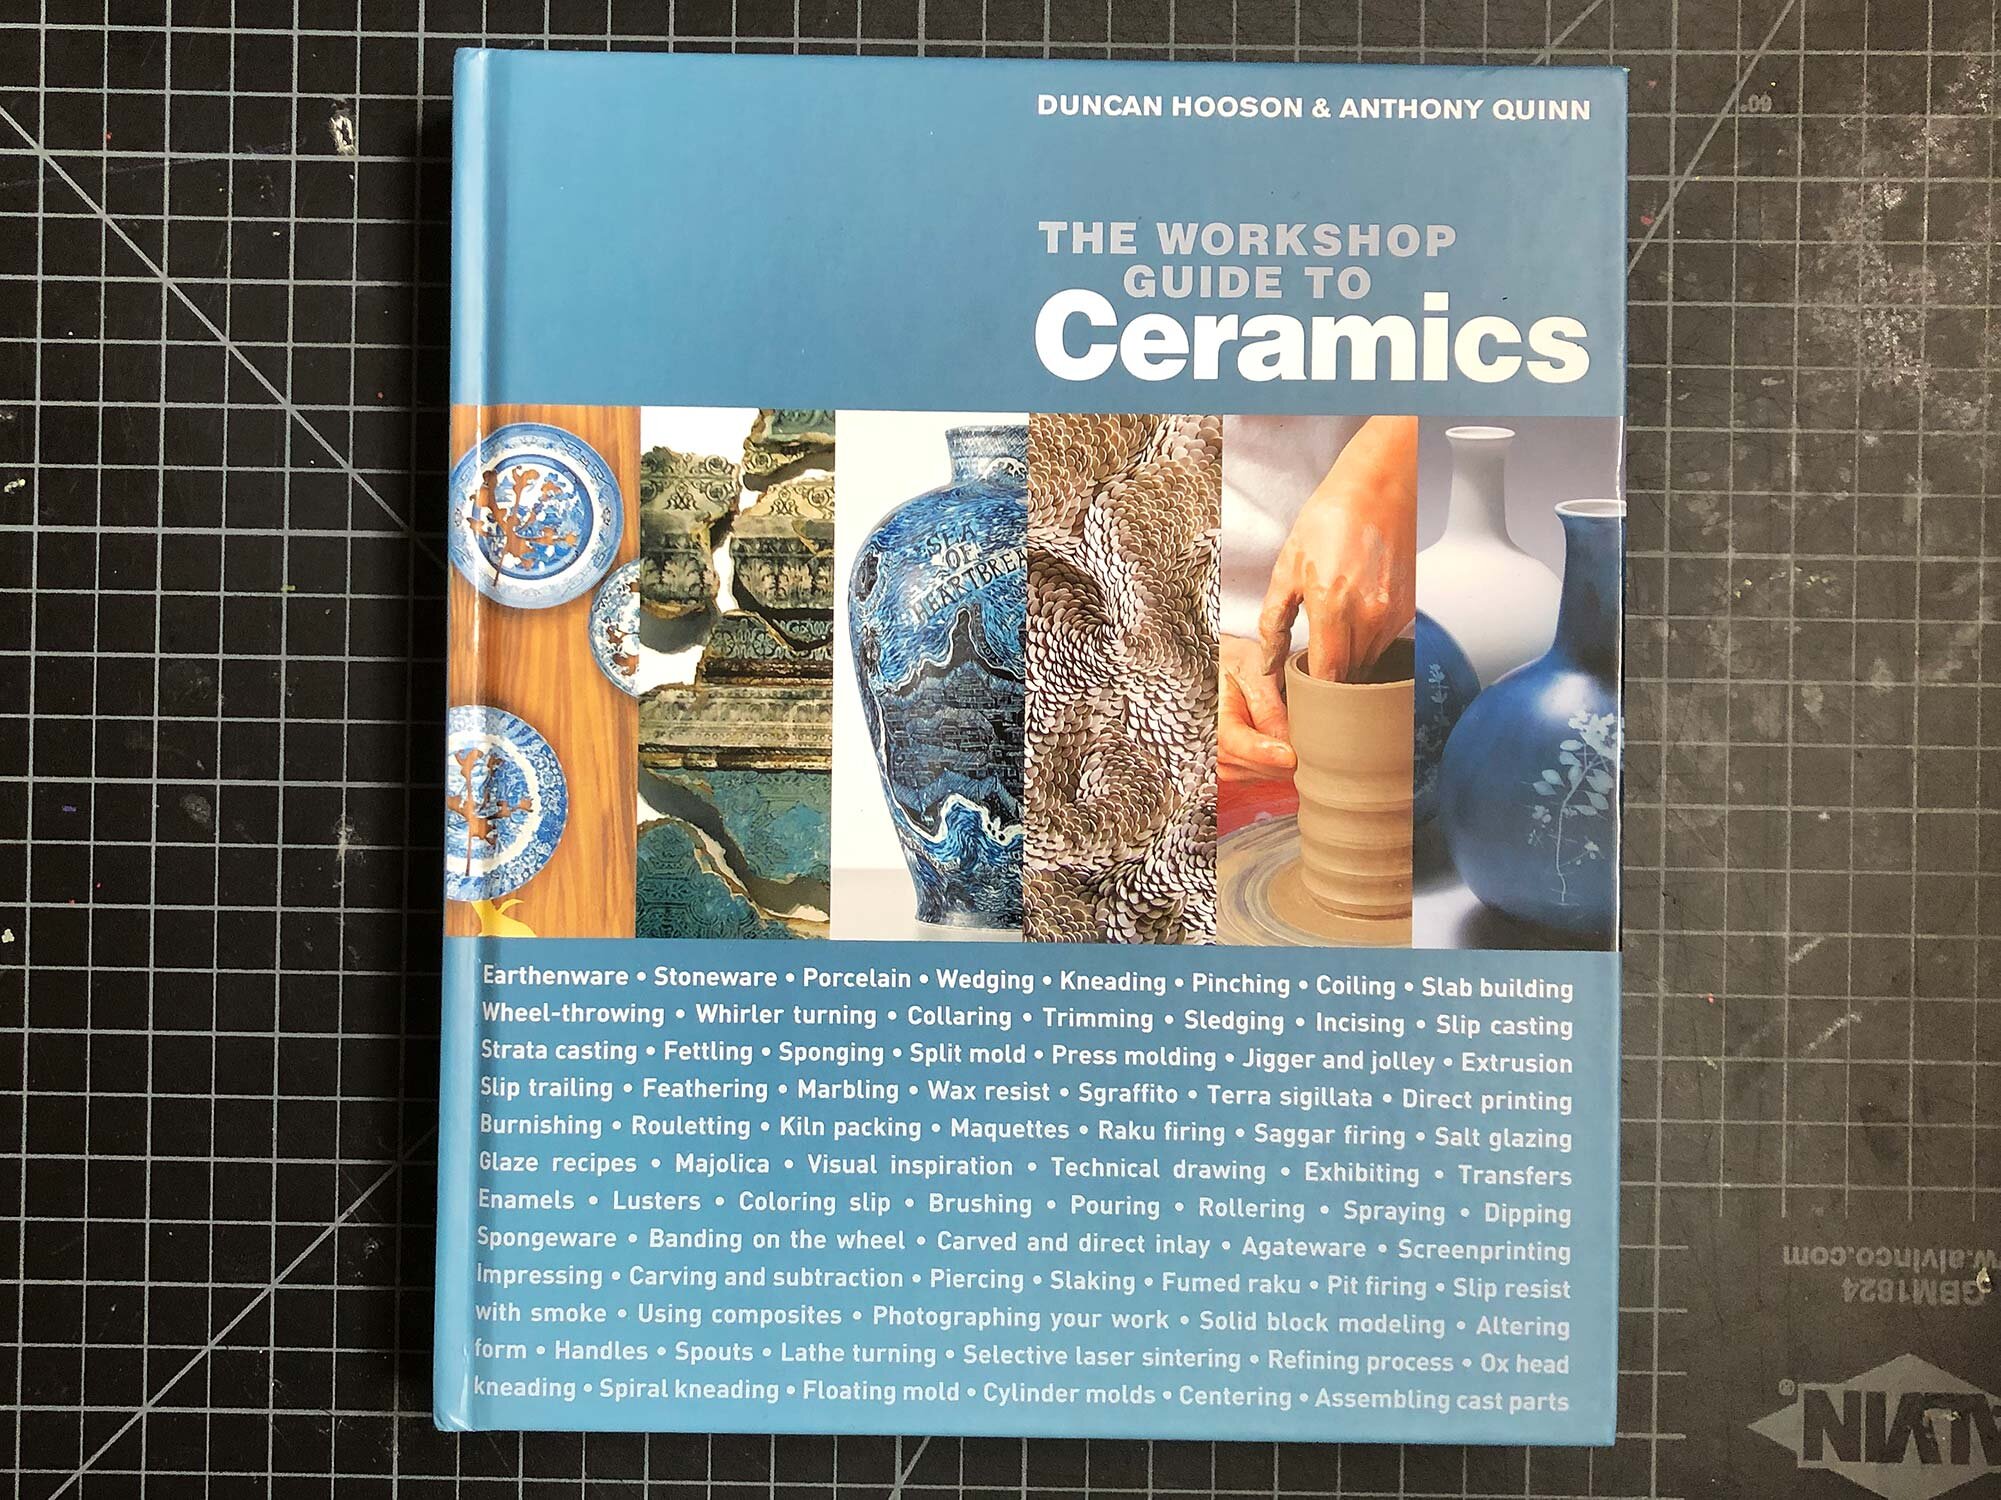
The Workshop Guide to Ceramics by Duncan Hooson and Anthony Quinn, our top pick for a ceramics textbook.

The Workshop Guide to Ceramics by Duncan Hooson and Anthony Quinn, our top pick for a ceramics textbook.

These days, there’s a ton of information, guides, and videos online that will help you learn about ceramics. But it can also be nice to have everything in well thought out and comprehensive book. This is especially the case when you are in the studio with dirty hands and it’s hard to use a device.

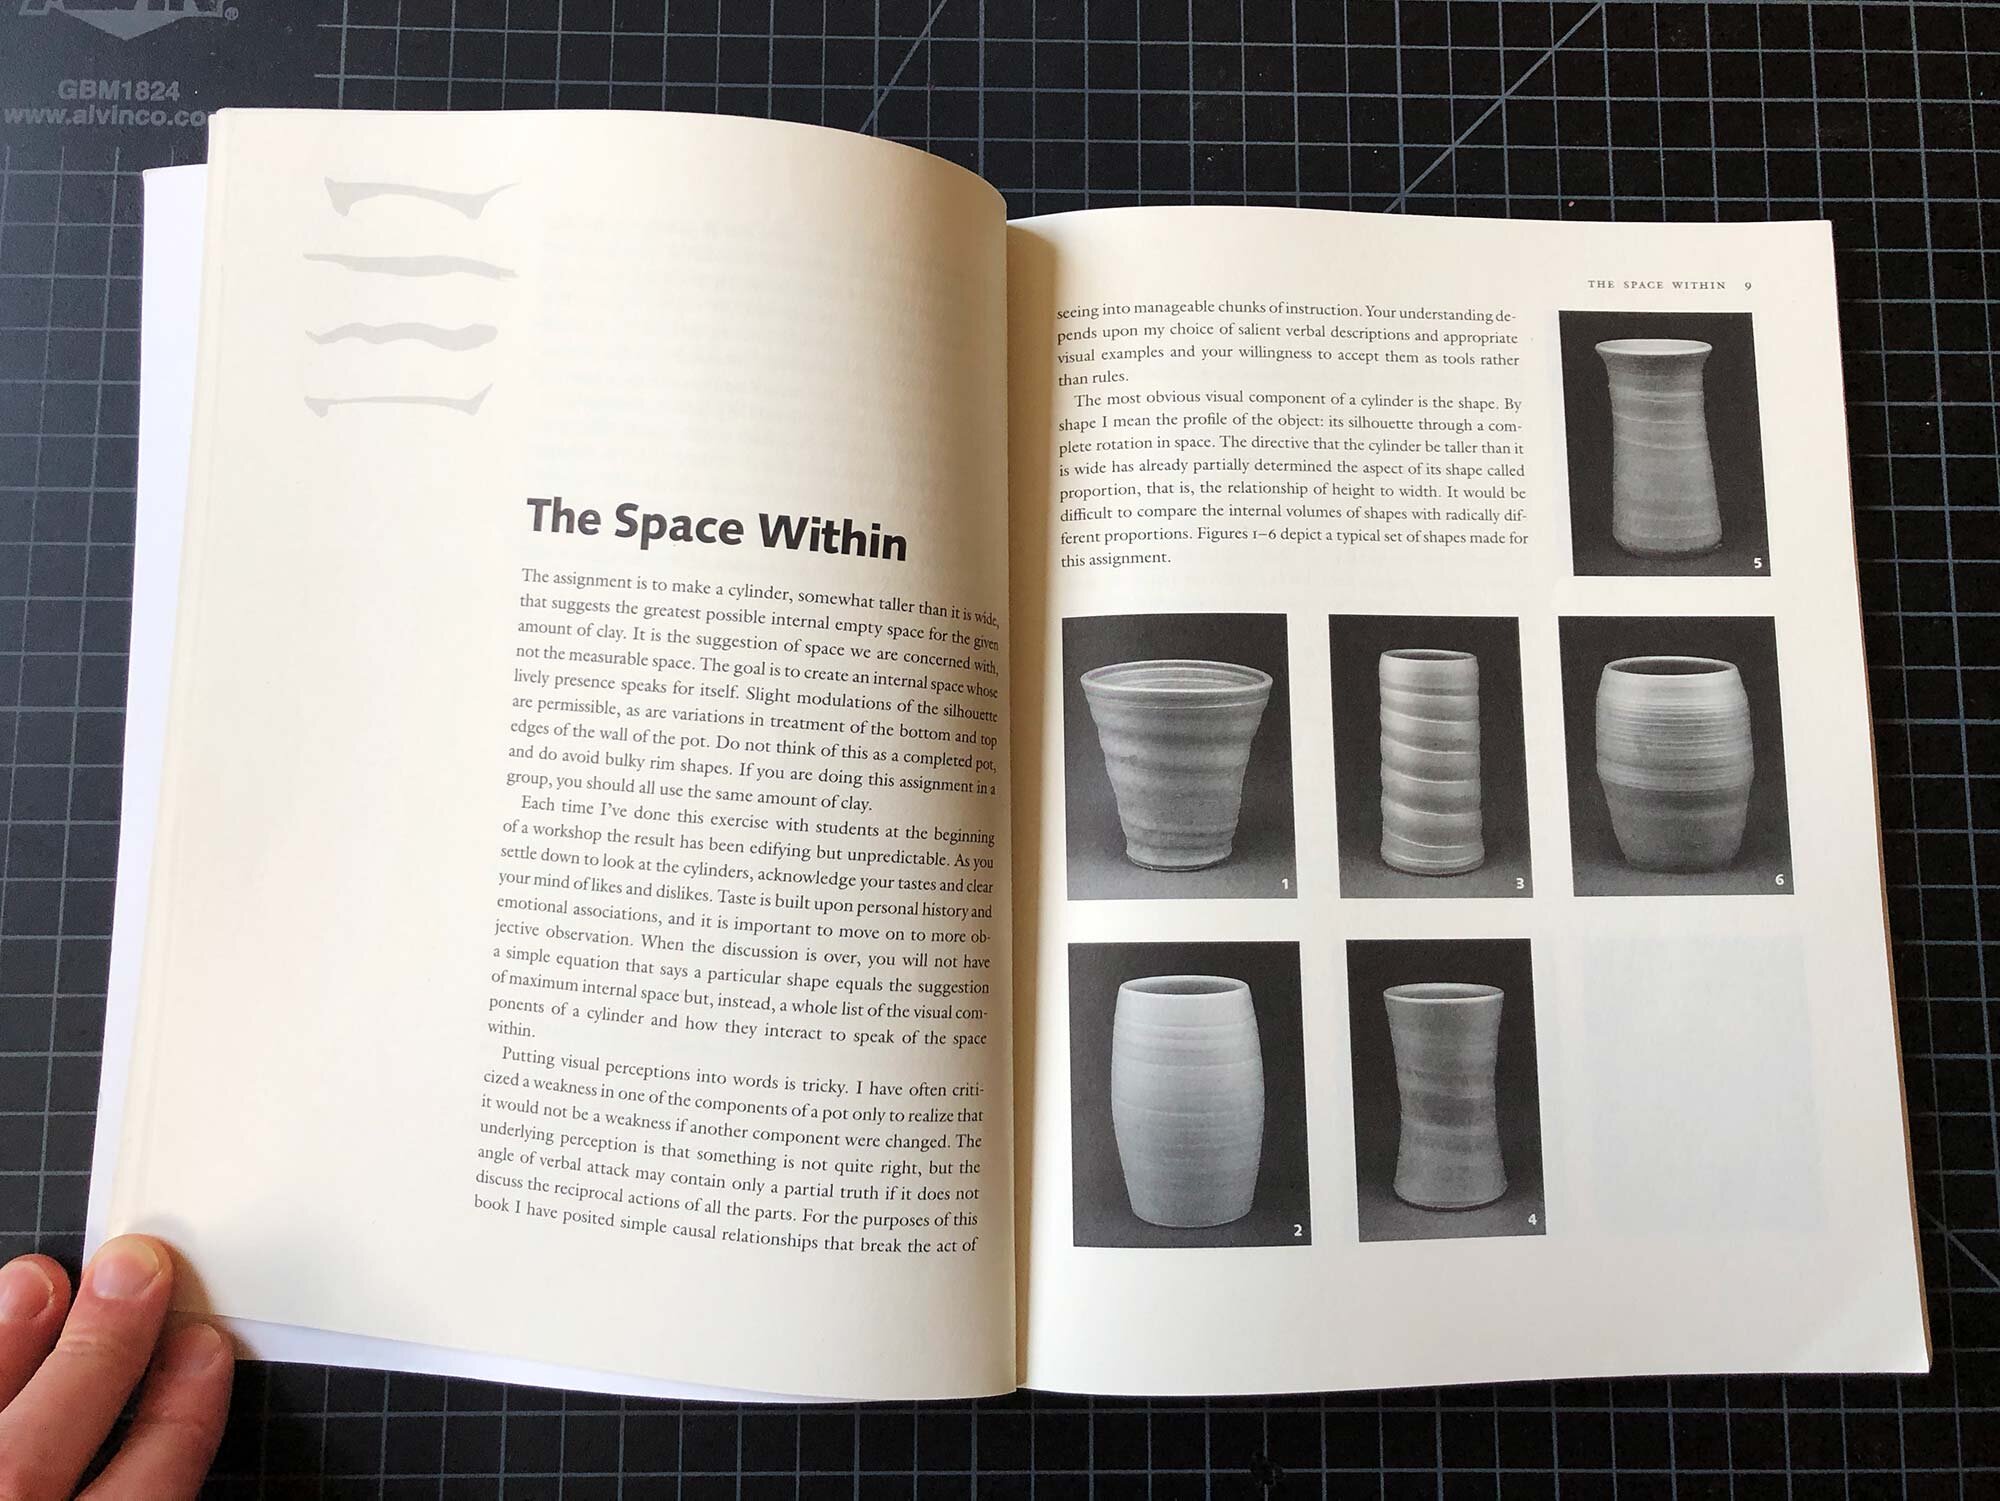
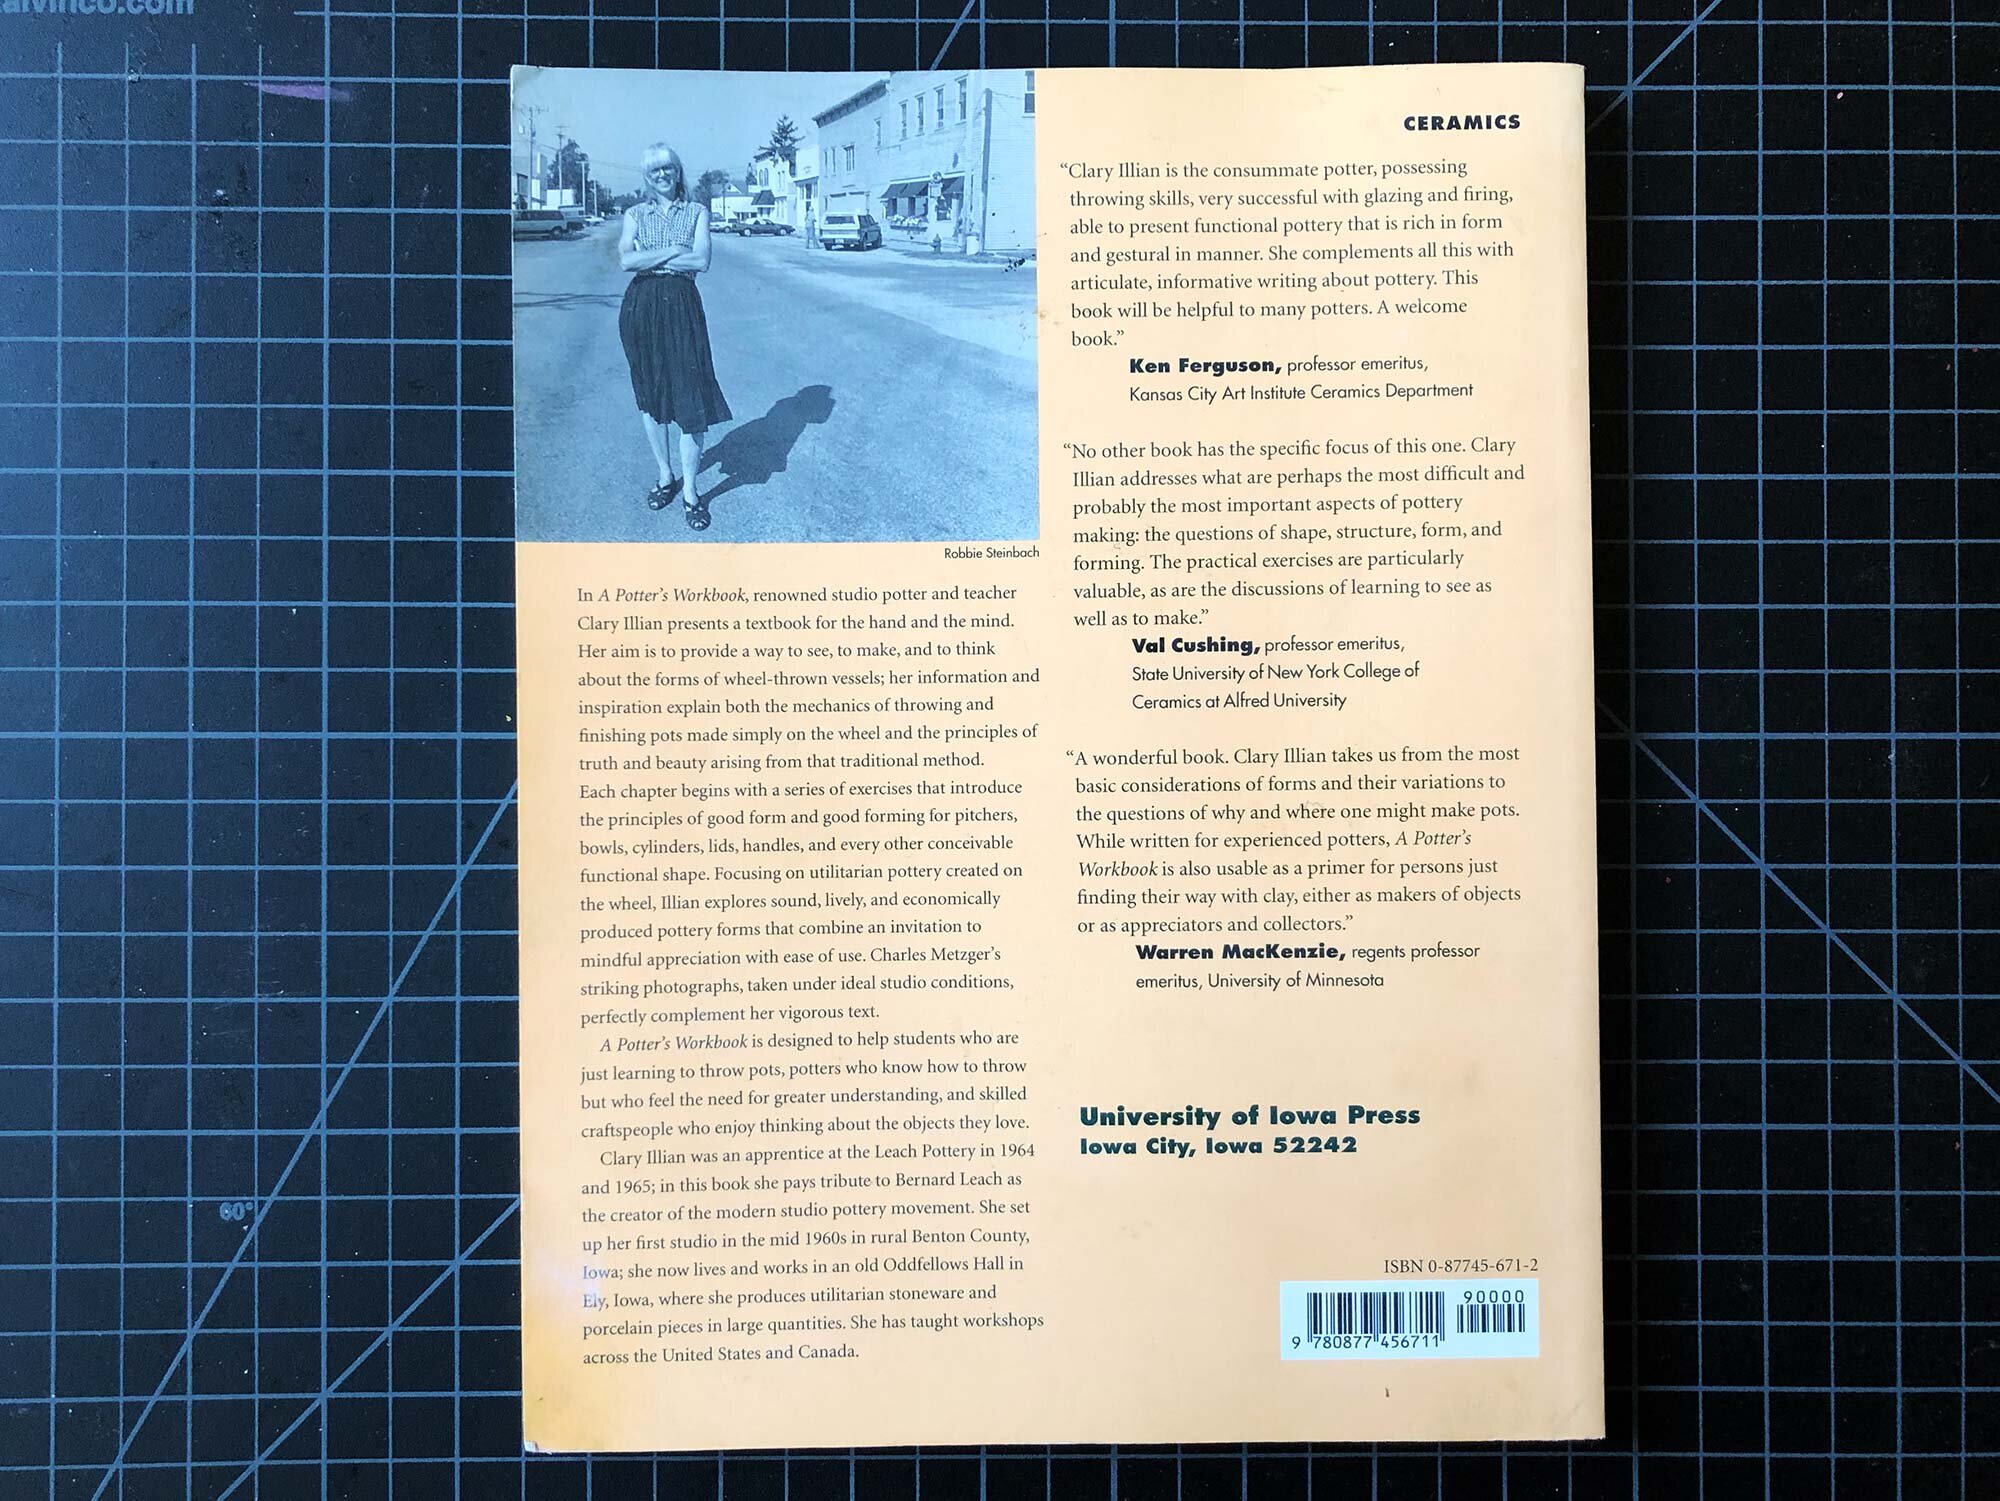
There are a lot of speciality books for ceramics, focusing on aspects such as wheel throwing or glazing, with more coming out every year. But the goal of this post is to review a few books that cover the whole spectrum of the ceramic process, not just one specialized area such as wheel throwing or hand building.

Many of these books are more than a decade old and out of print, but they still are good resources for a comprehensive overview of clay, pottery, and ceramics.

TOP PICK:

The Workshop Guide to Ceramics

By Duncan Hooson and Anthony Quinn, published 2012

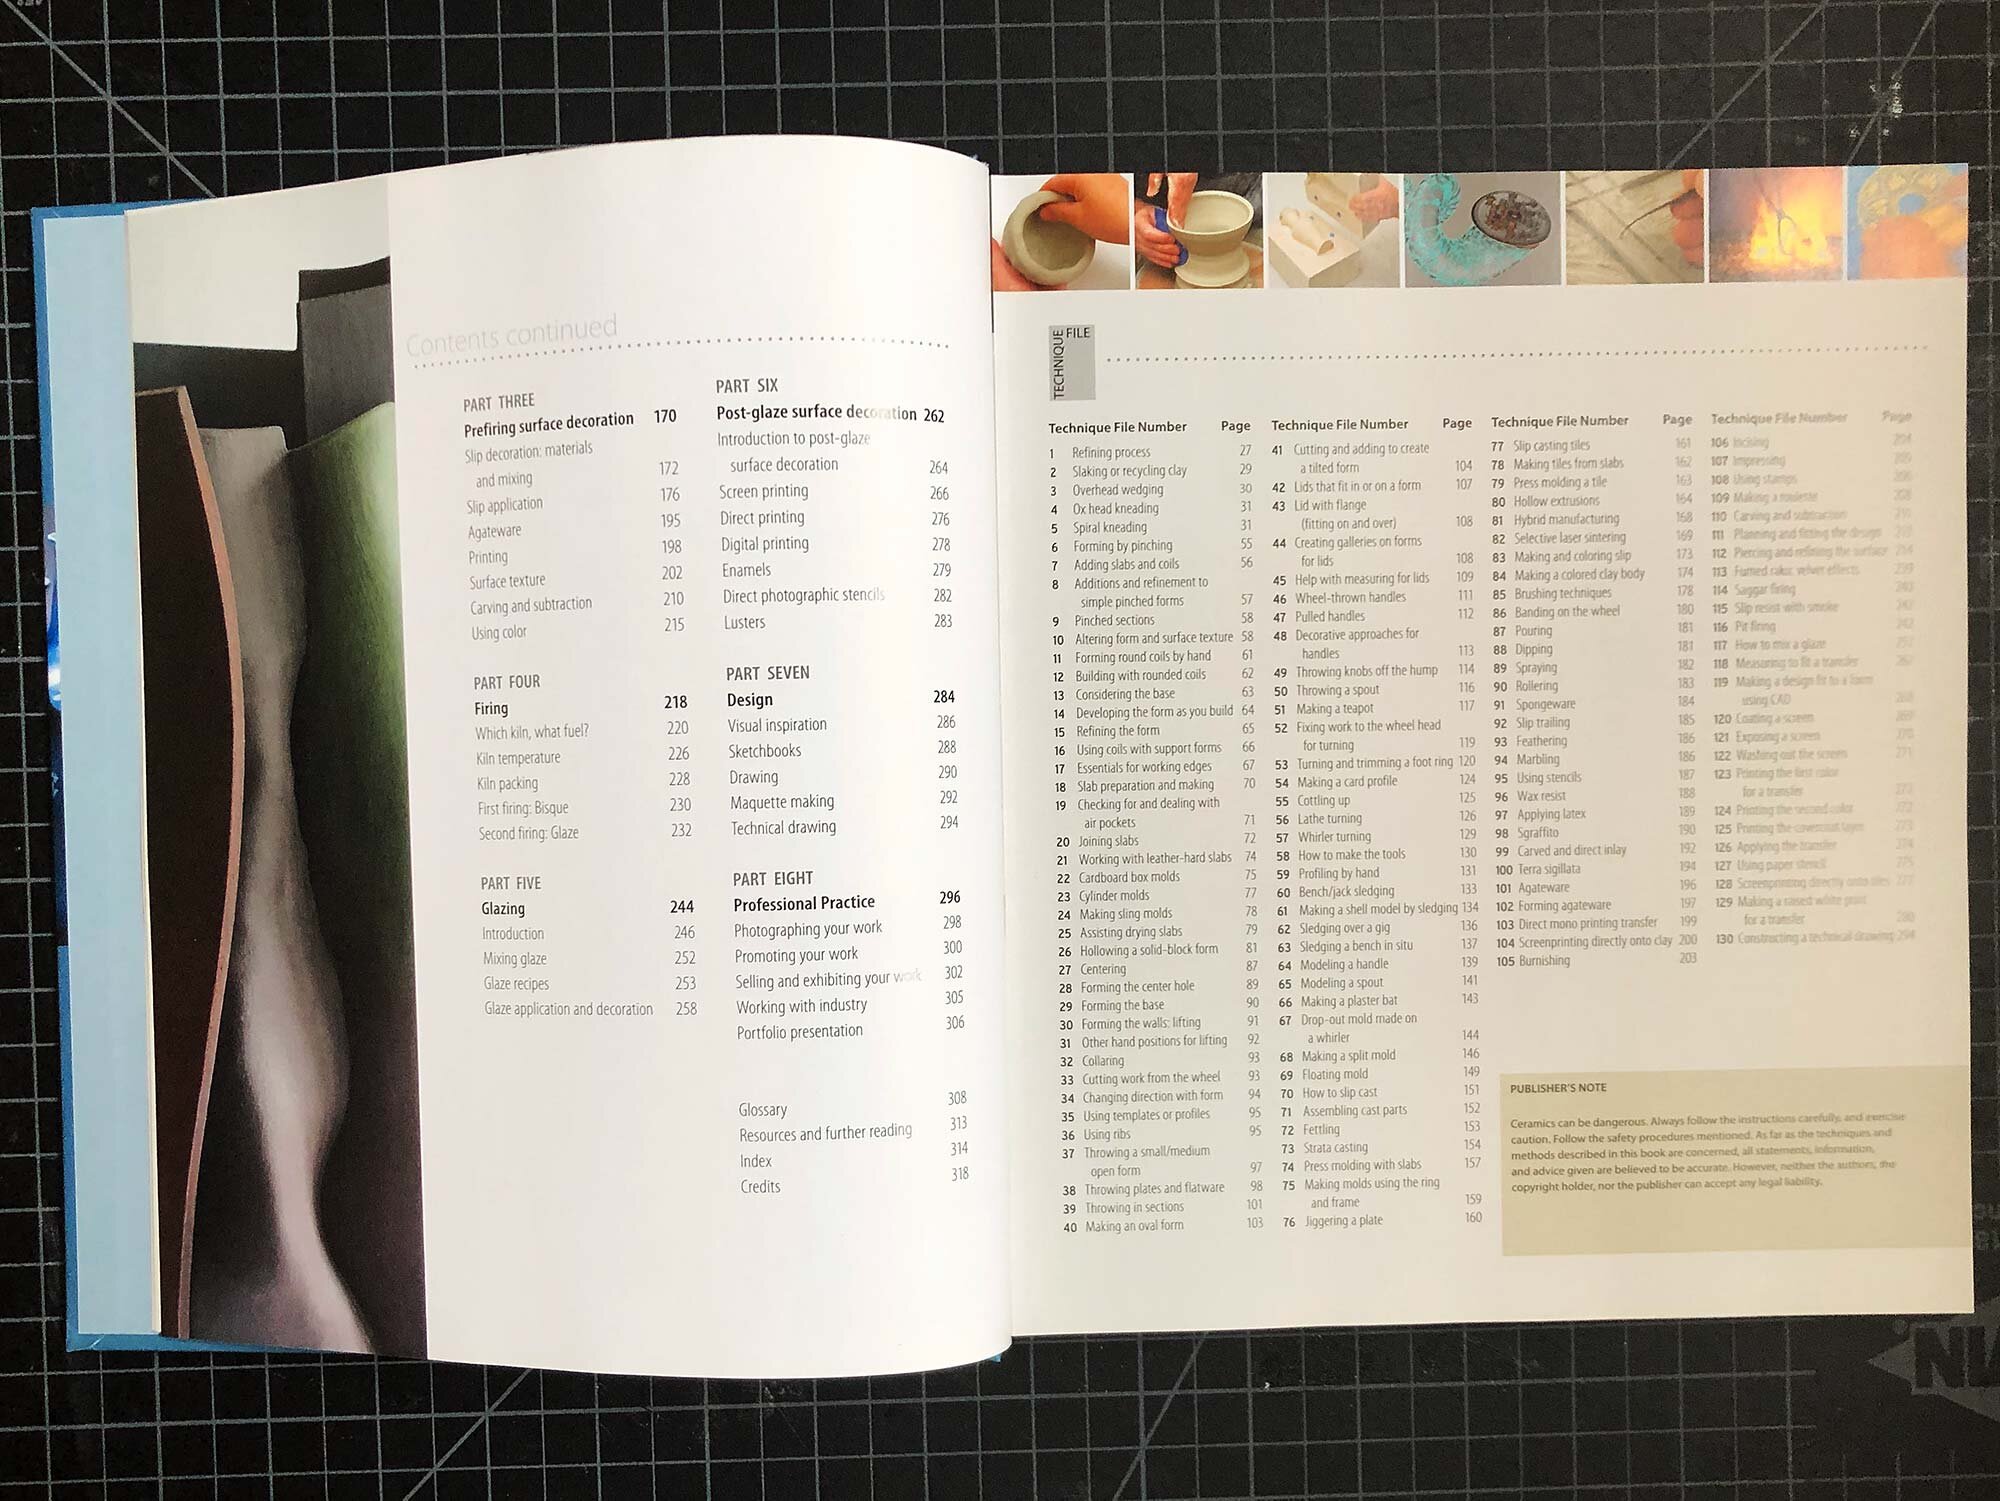
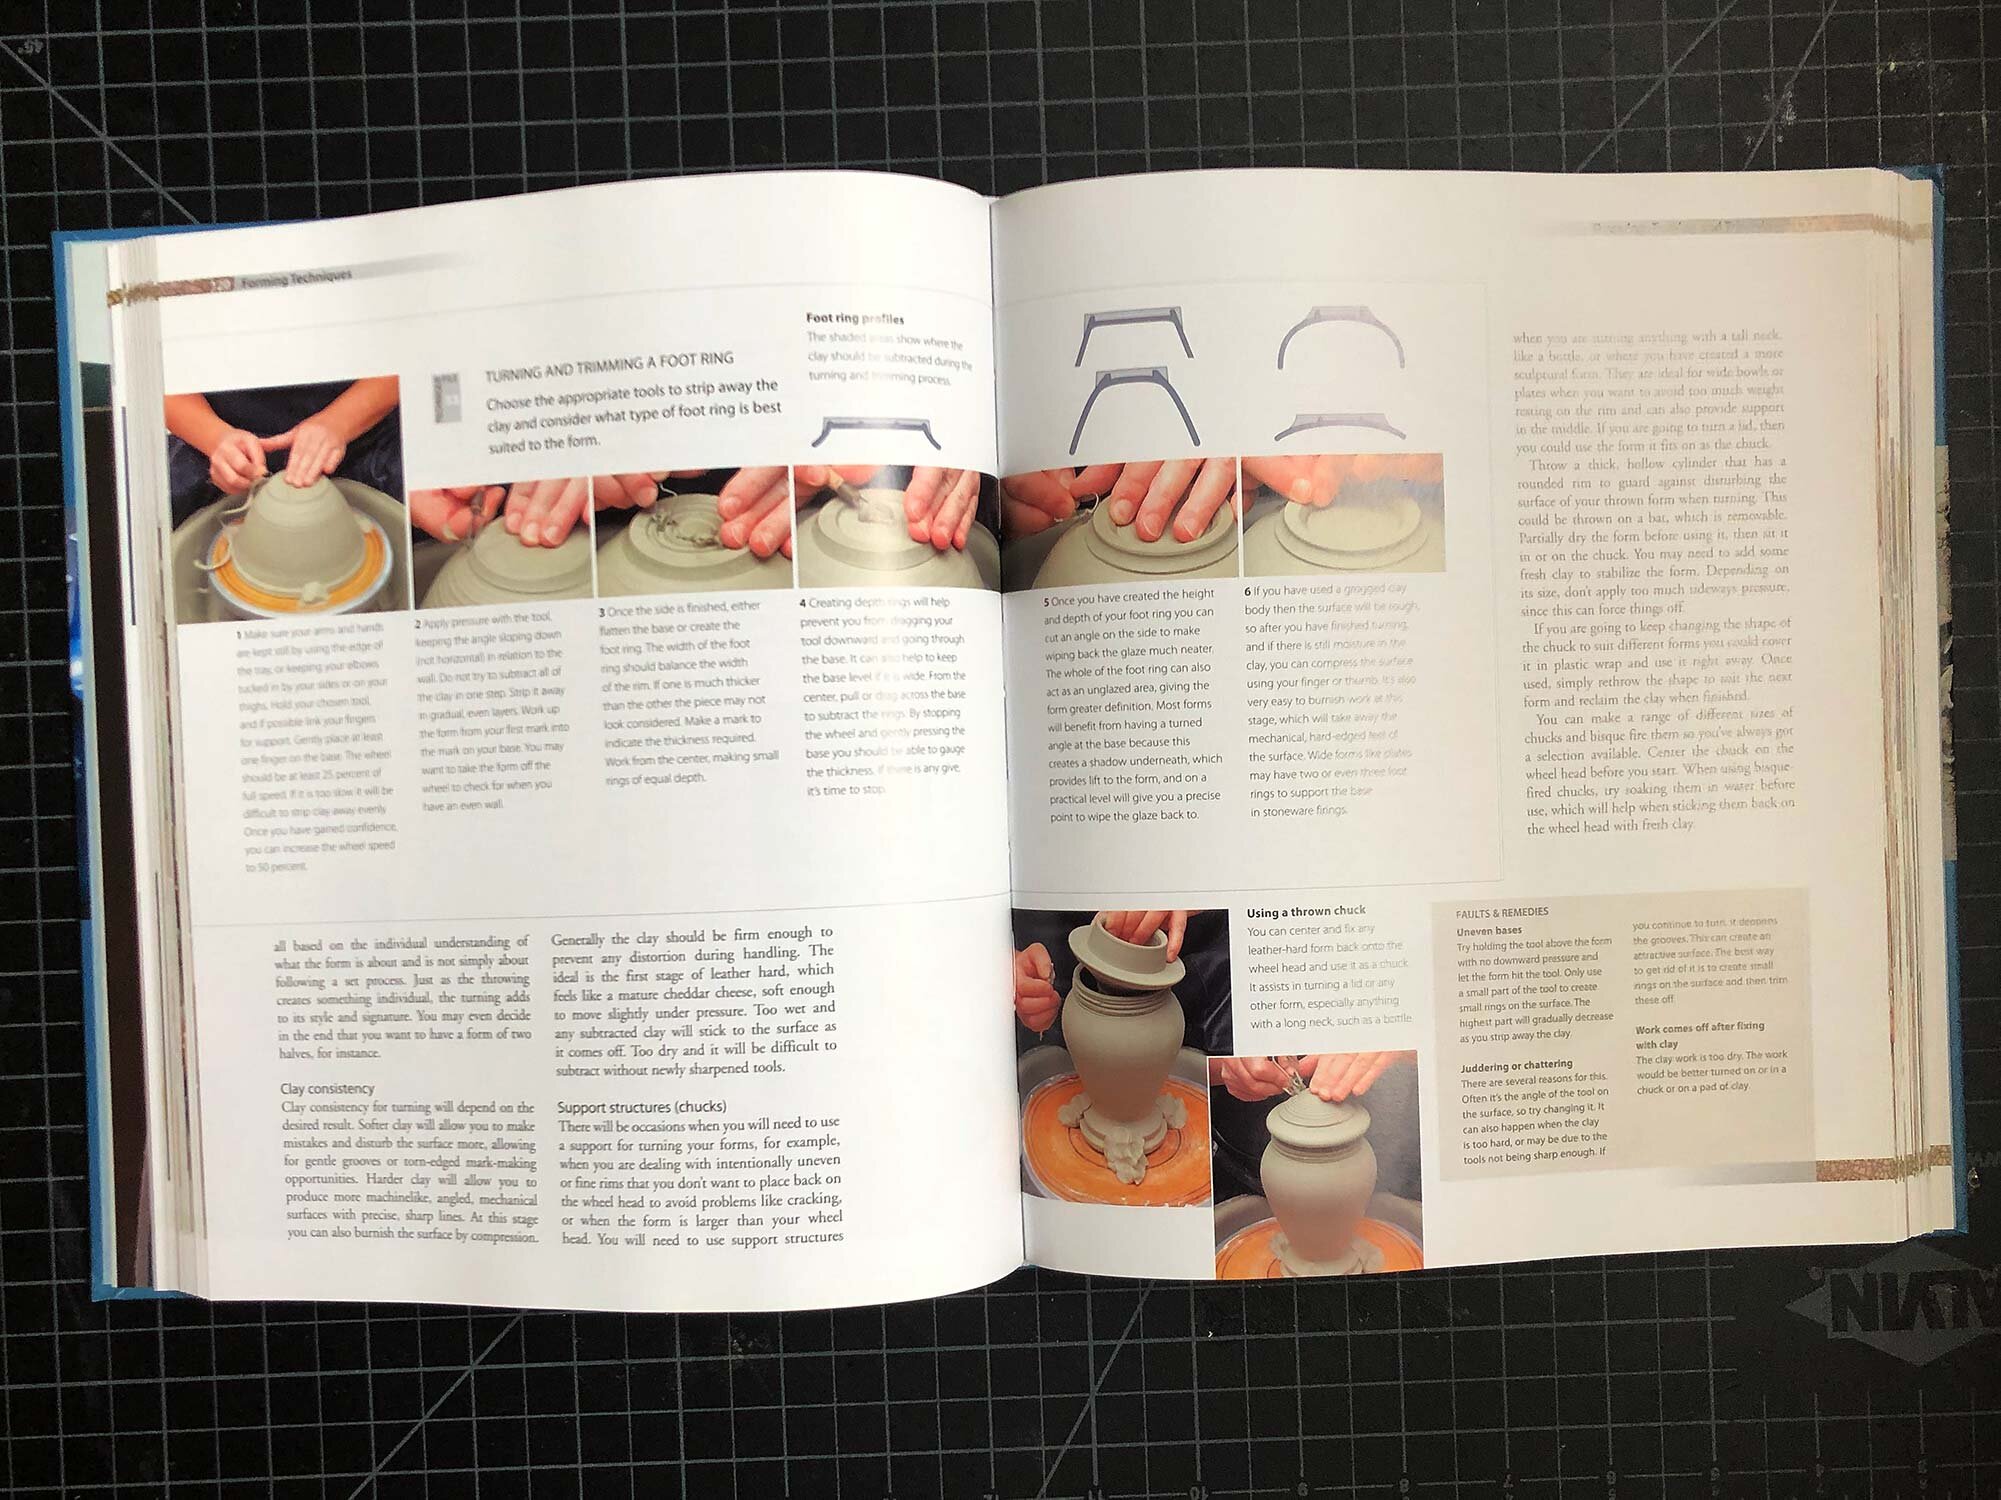
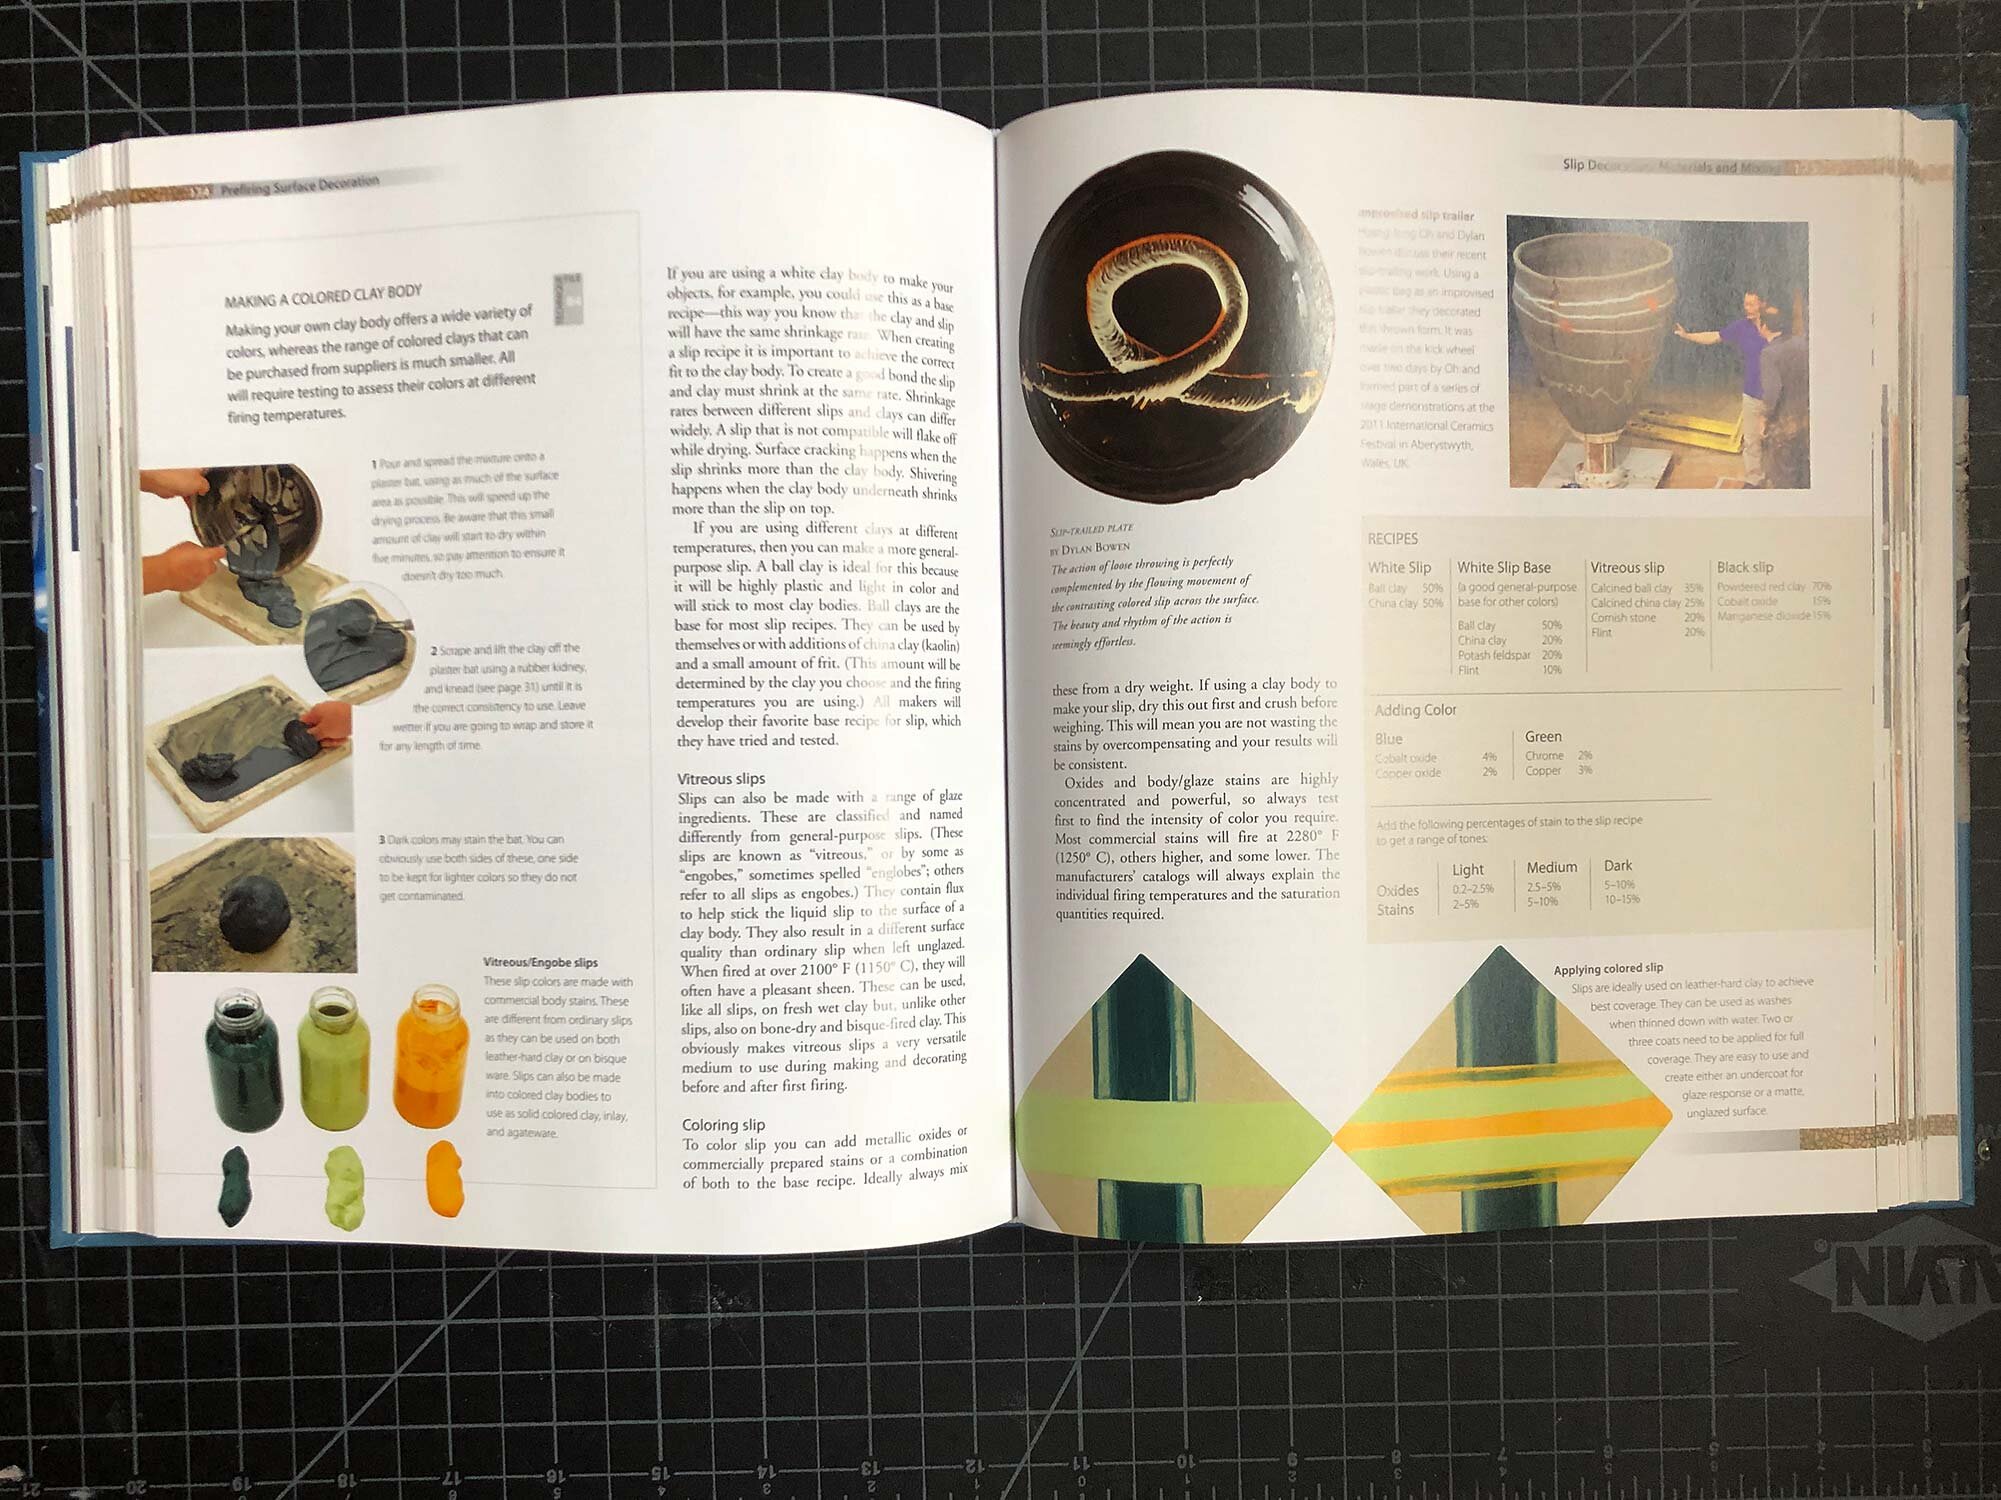
The top pick for a complete guide to clay is The Workshop Guide to Ceramics by Duncan Hooson and Anthony Quinn. Published by Barrons in 2012, the hardcover book has 320 pages full of information, technique, and full-color images. Divided into eight parts, the text covers everything from a beginner’s guide, forming techniques, glazing and firing, to thoughts on how to have a professional practice. It’s a remarkable book, both for the breadth of information covered and how it is accessible and useful for beginners and professionals alike. It’s also full of images that illustrate technique and lots of finished work by accomplished artists.

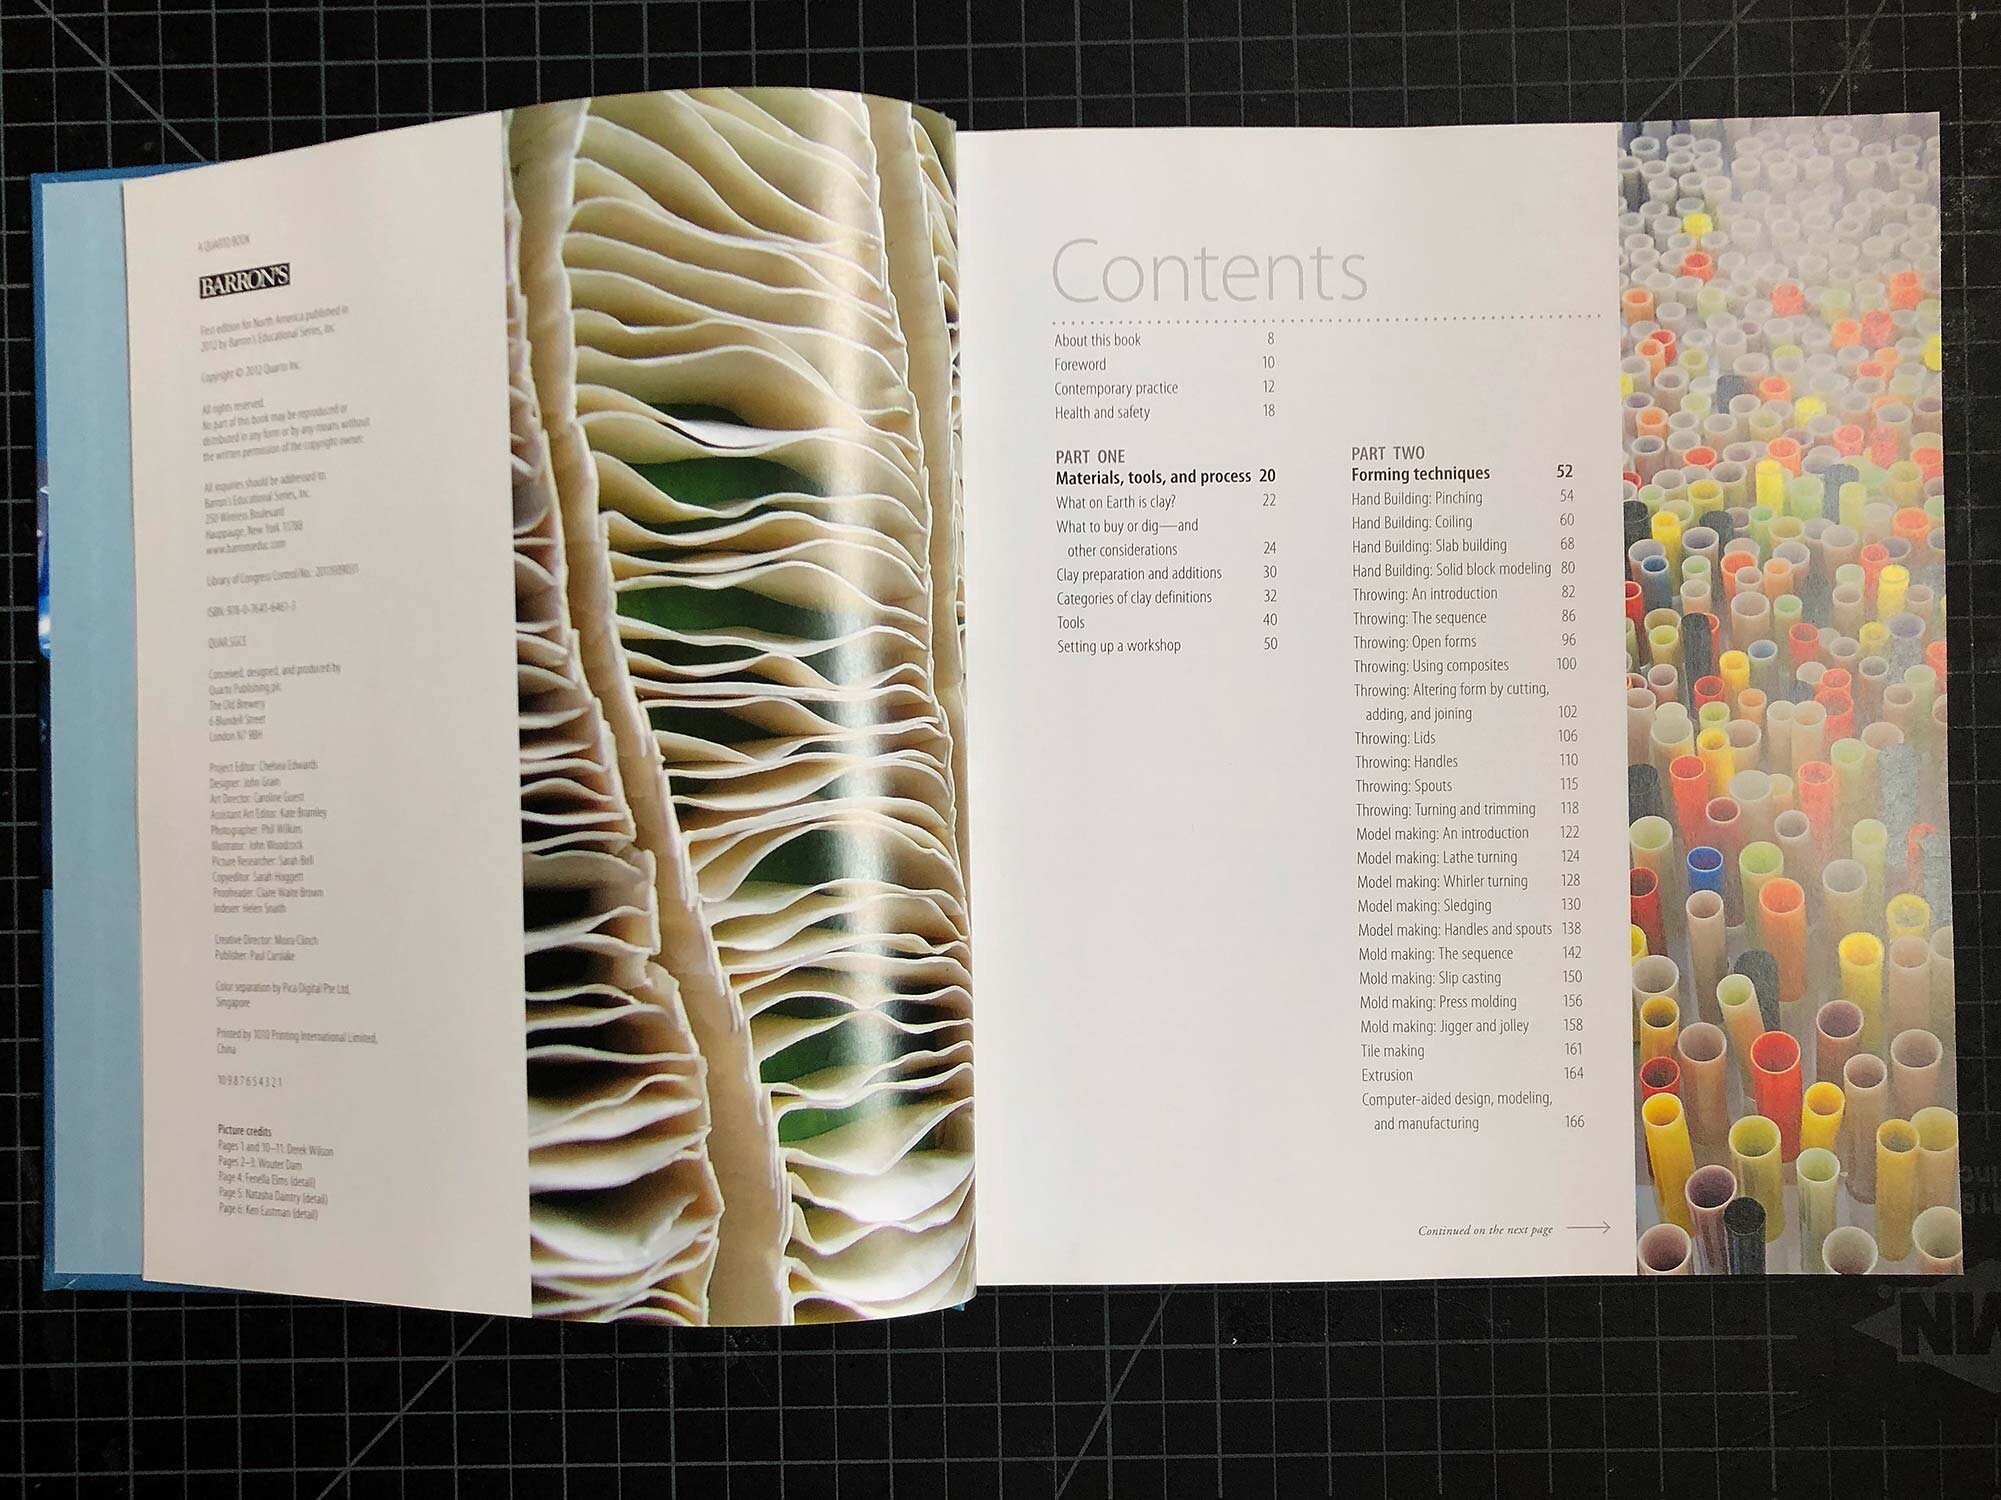
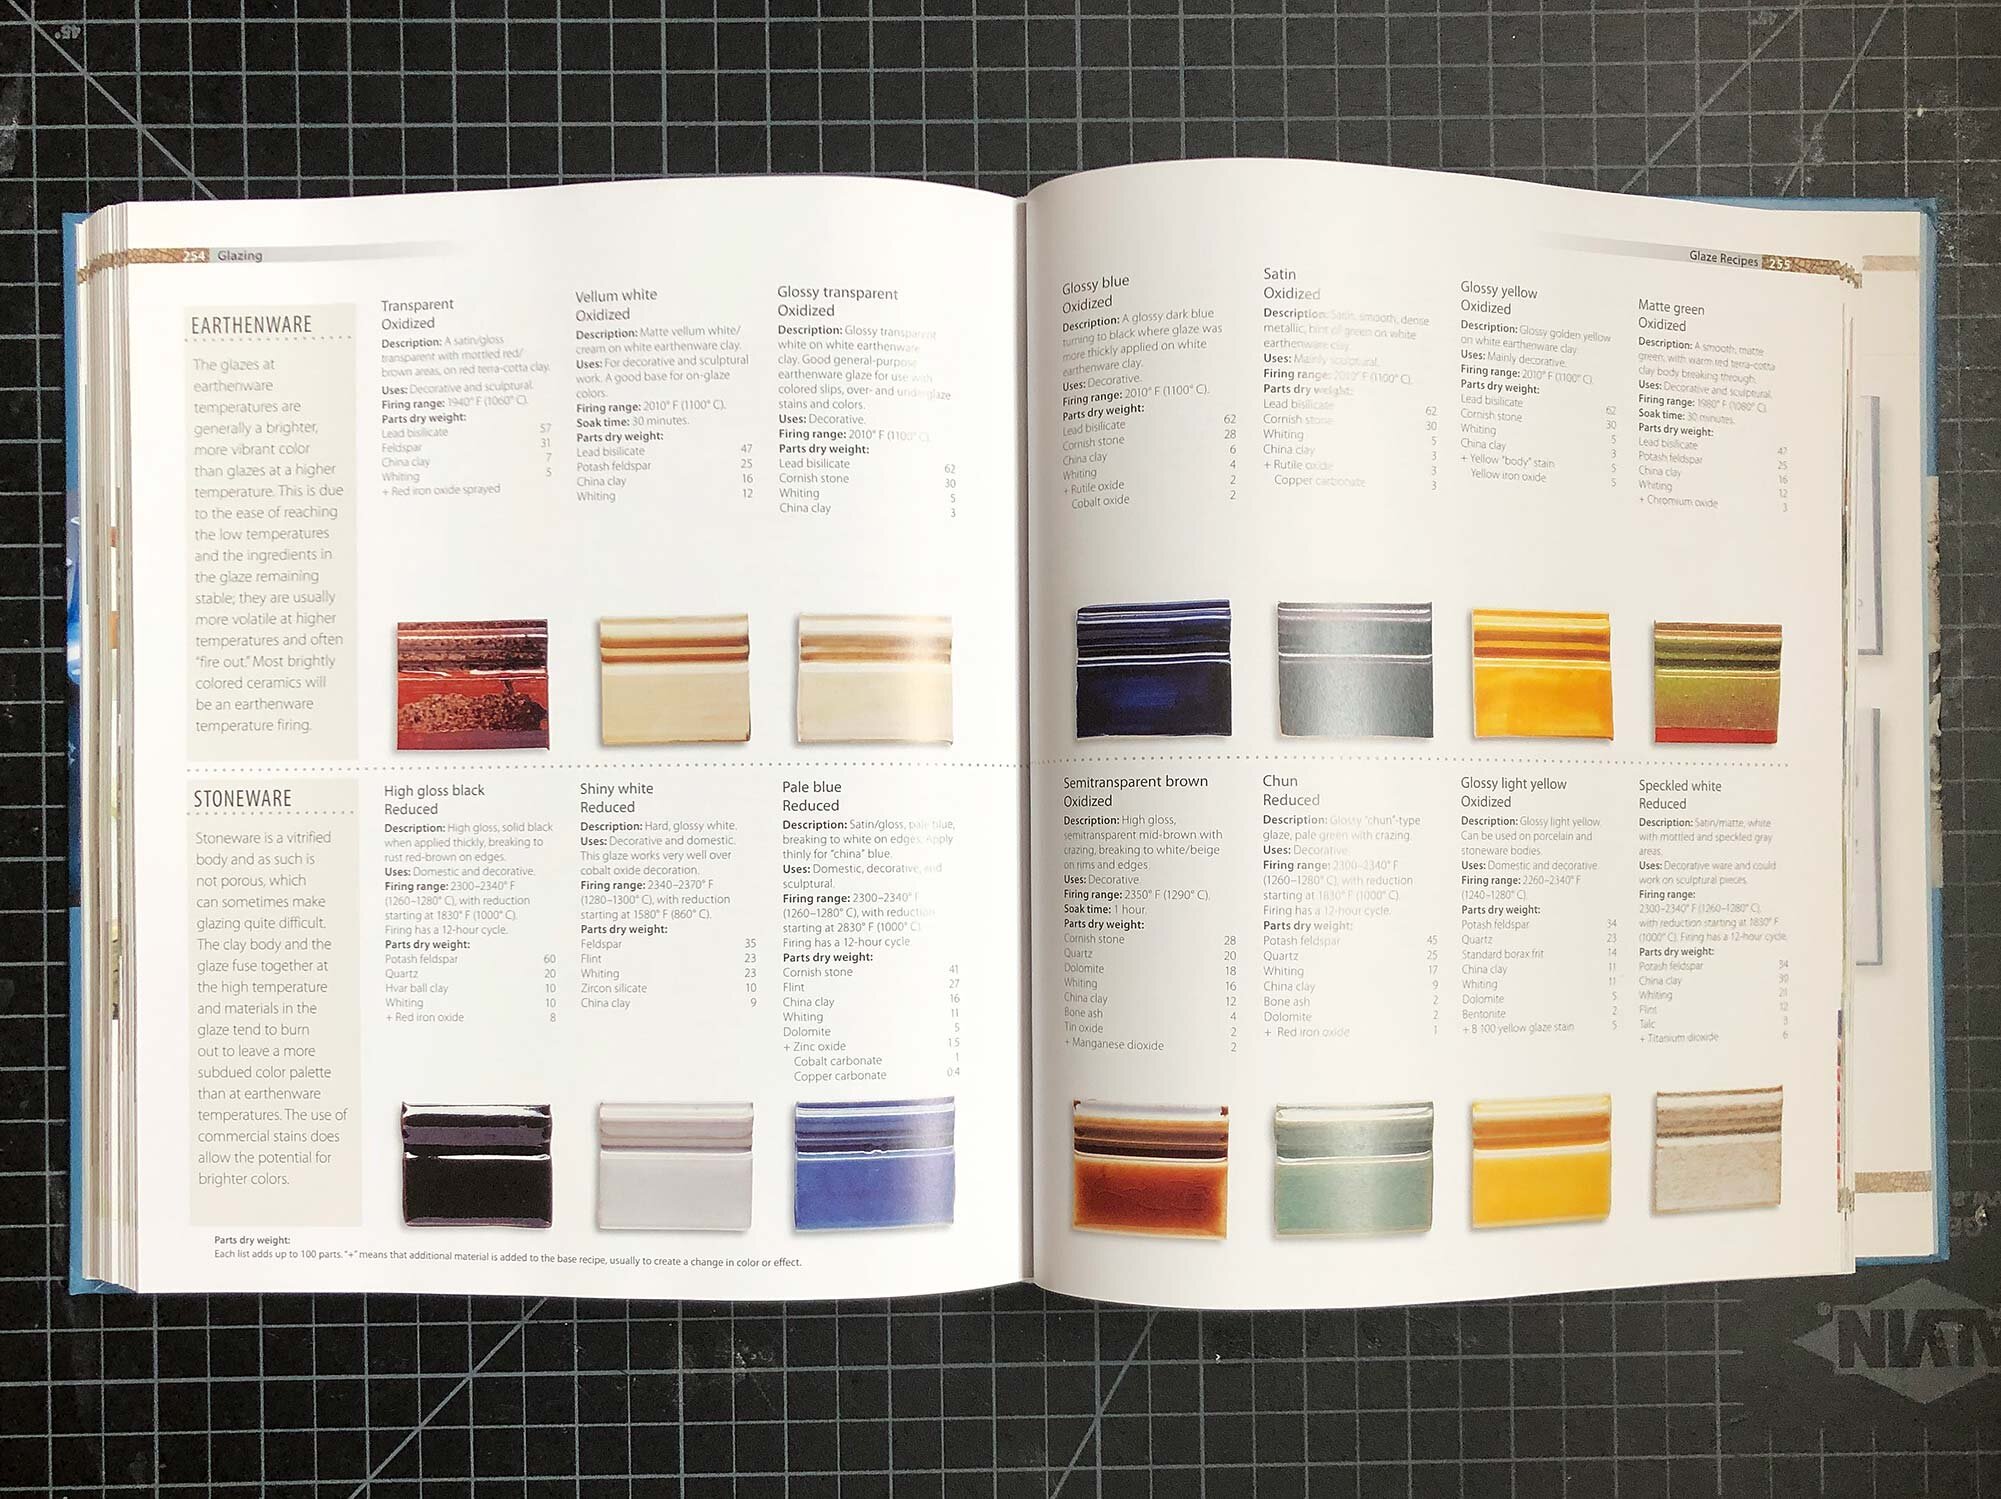
Written by artists and educators (Quinn is a professor at Central Saint Martins College of Art and Design in London and Hooson is a teacher in London) the book is the best laid out and comprehensive textbook on ceramics that I have seen. Handbuilding, mold making, wheel throwing, glazing, surface decoration, lathe turning, you name it—this book has info on it. Flip through the images above to see some inside shots of the book, including the table of contents.

As of this writing, the book appears to be out of print (like almost every book covered in this post) but it’s available used. This book is worth it.

Shop Hardcover version:

Note: There is also a newer, paperback option by the same authors from 2017 that appears to be the same book but with a different title called Ceramics: The Indispensable Guide.


Other options:

The following guides and textbooks are all great options for your studio too. Most of these books are out of print, but that means you can often find a great deal used. And the books are often full of great examples of artwork by a wide variety of potters, artists, and ceramic specialists.

The cover of the third edition of Working With Clay by Susan and Jan Peterson.

The cover of the third edition of Working With Clay by Susan and Jan Peterson.

Working With Clay

By Susan and Jan Peterson, most recently published in 2009.

Working With Clay is full of color images throughout the book.

Working With Clay is full of color images throughout the book.

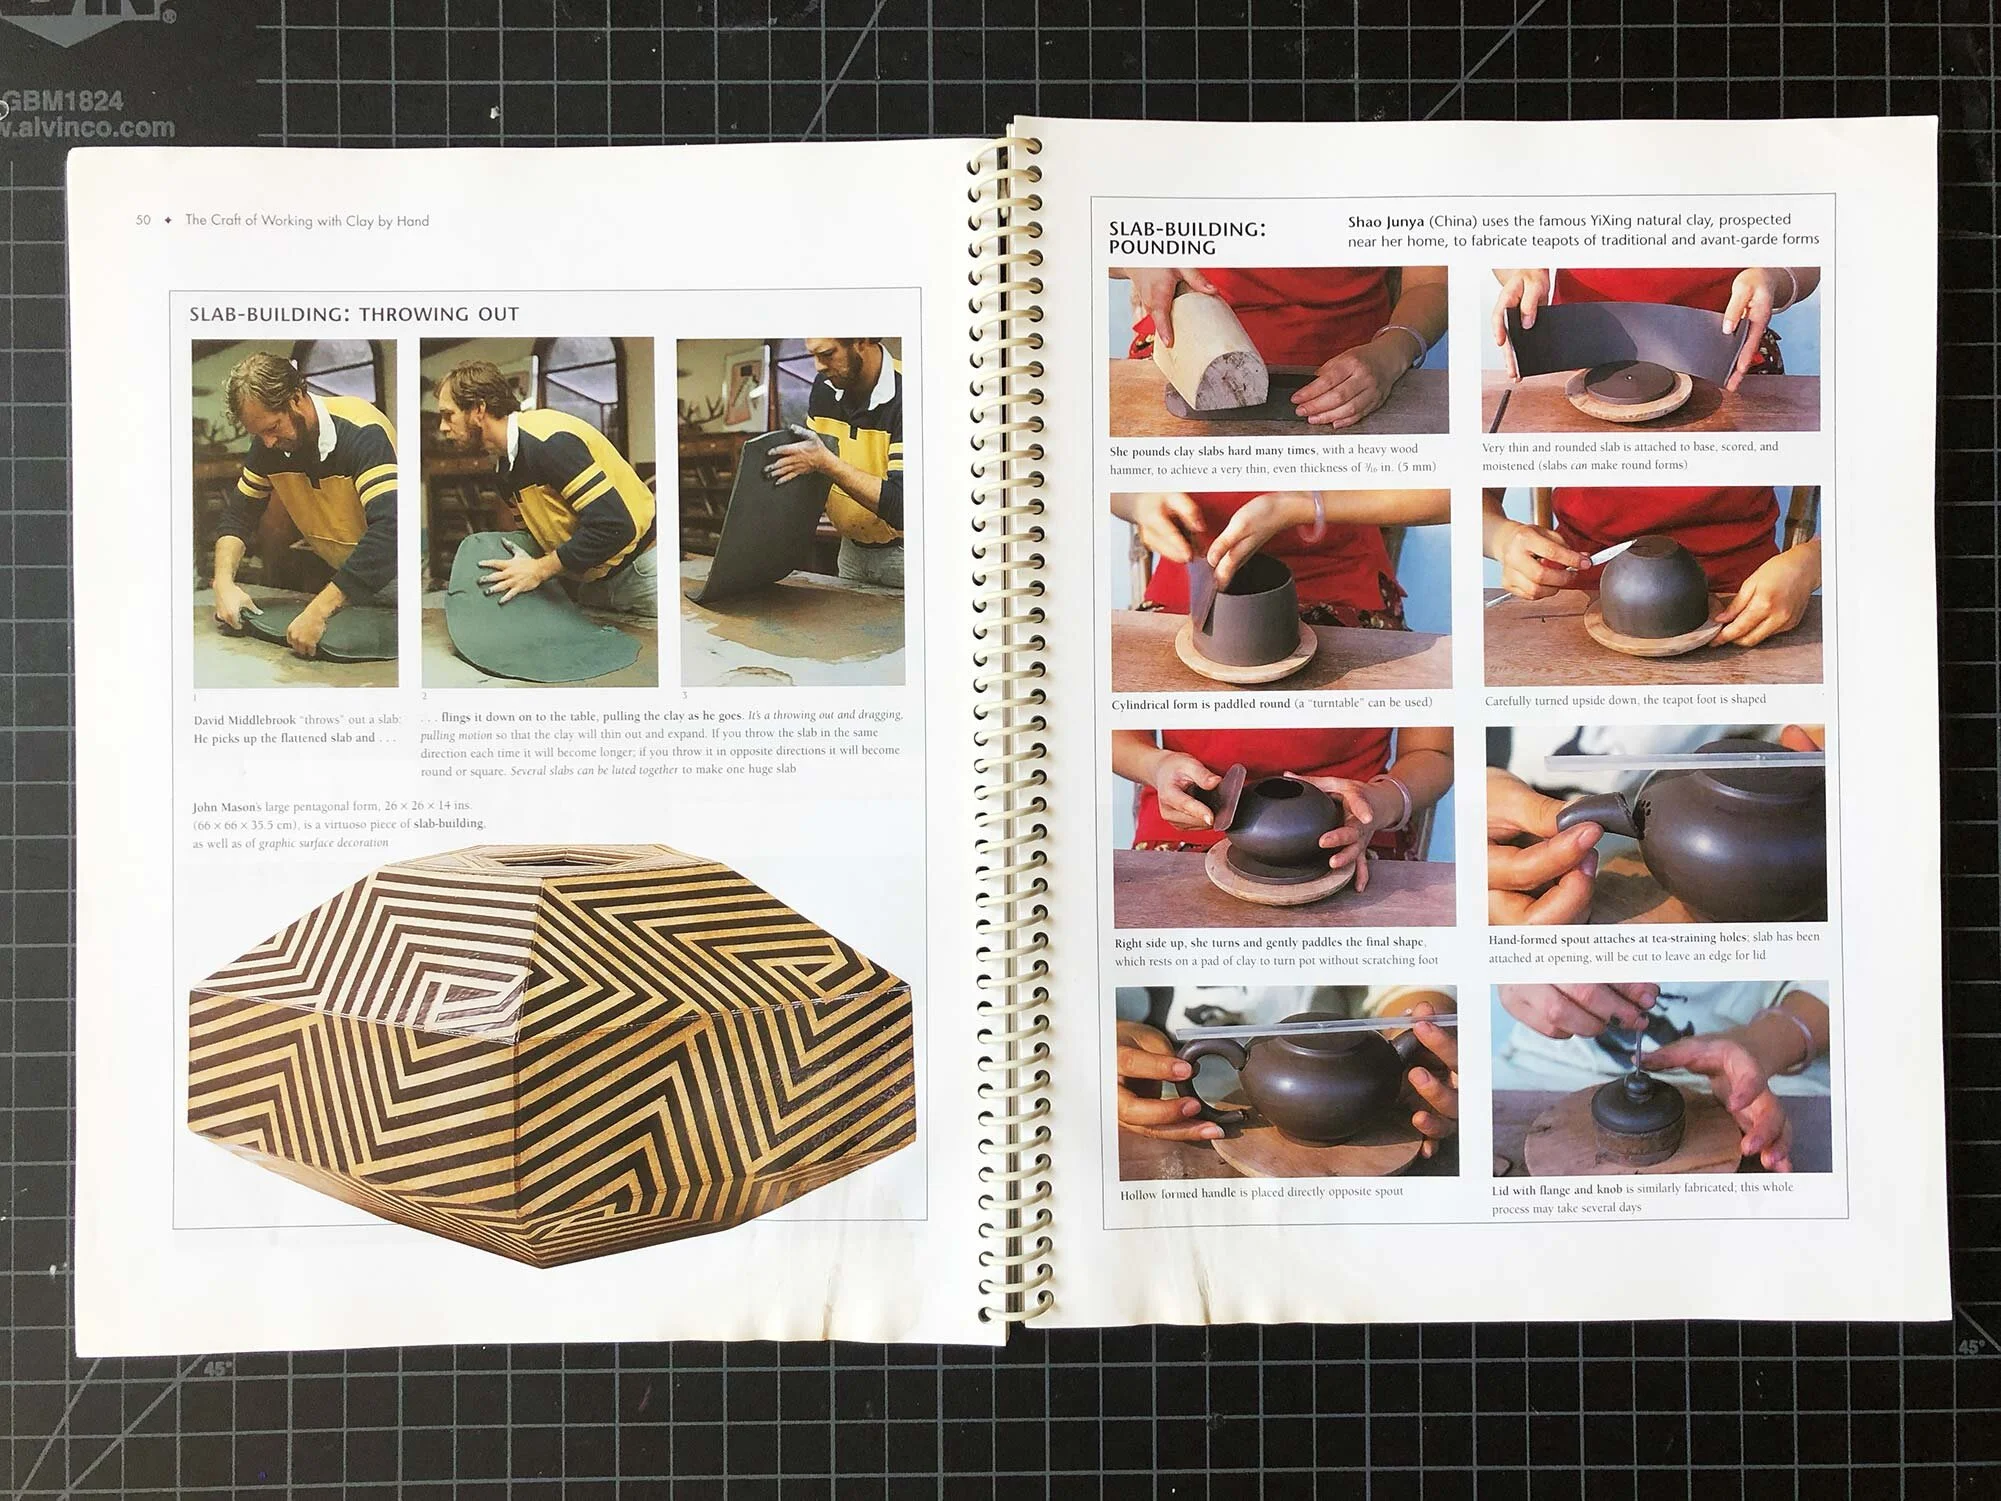
Working With Clay is a concise, illustrated guidebook of everything you need to know to work with clay and ceramic. It includes chapters on hand building, wheel throwing, glazing, firing, ceramic history, and a lot more. Written by ceramics legend Susan Peterson and her daughter Jan, it is illustrated throughout with many color photos. Although it is more than 10 years old, it contains all the main information you will need to get started with clay, and it has a lot more that makes it useful for advanced students and educators. Designed as a textbook, it’s still available used for around $30 at the time of this post. The color pictures in this text are great and the spiral binding makes it easy to leave open to the page you may need for reference.

Working With Clay by Susan and Jan Peterson, most recent edition is 2009 but any editions will be helpful reference books.


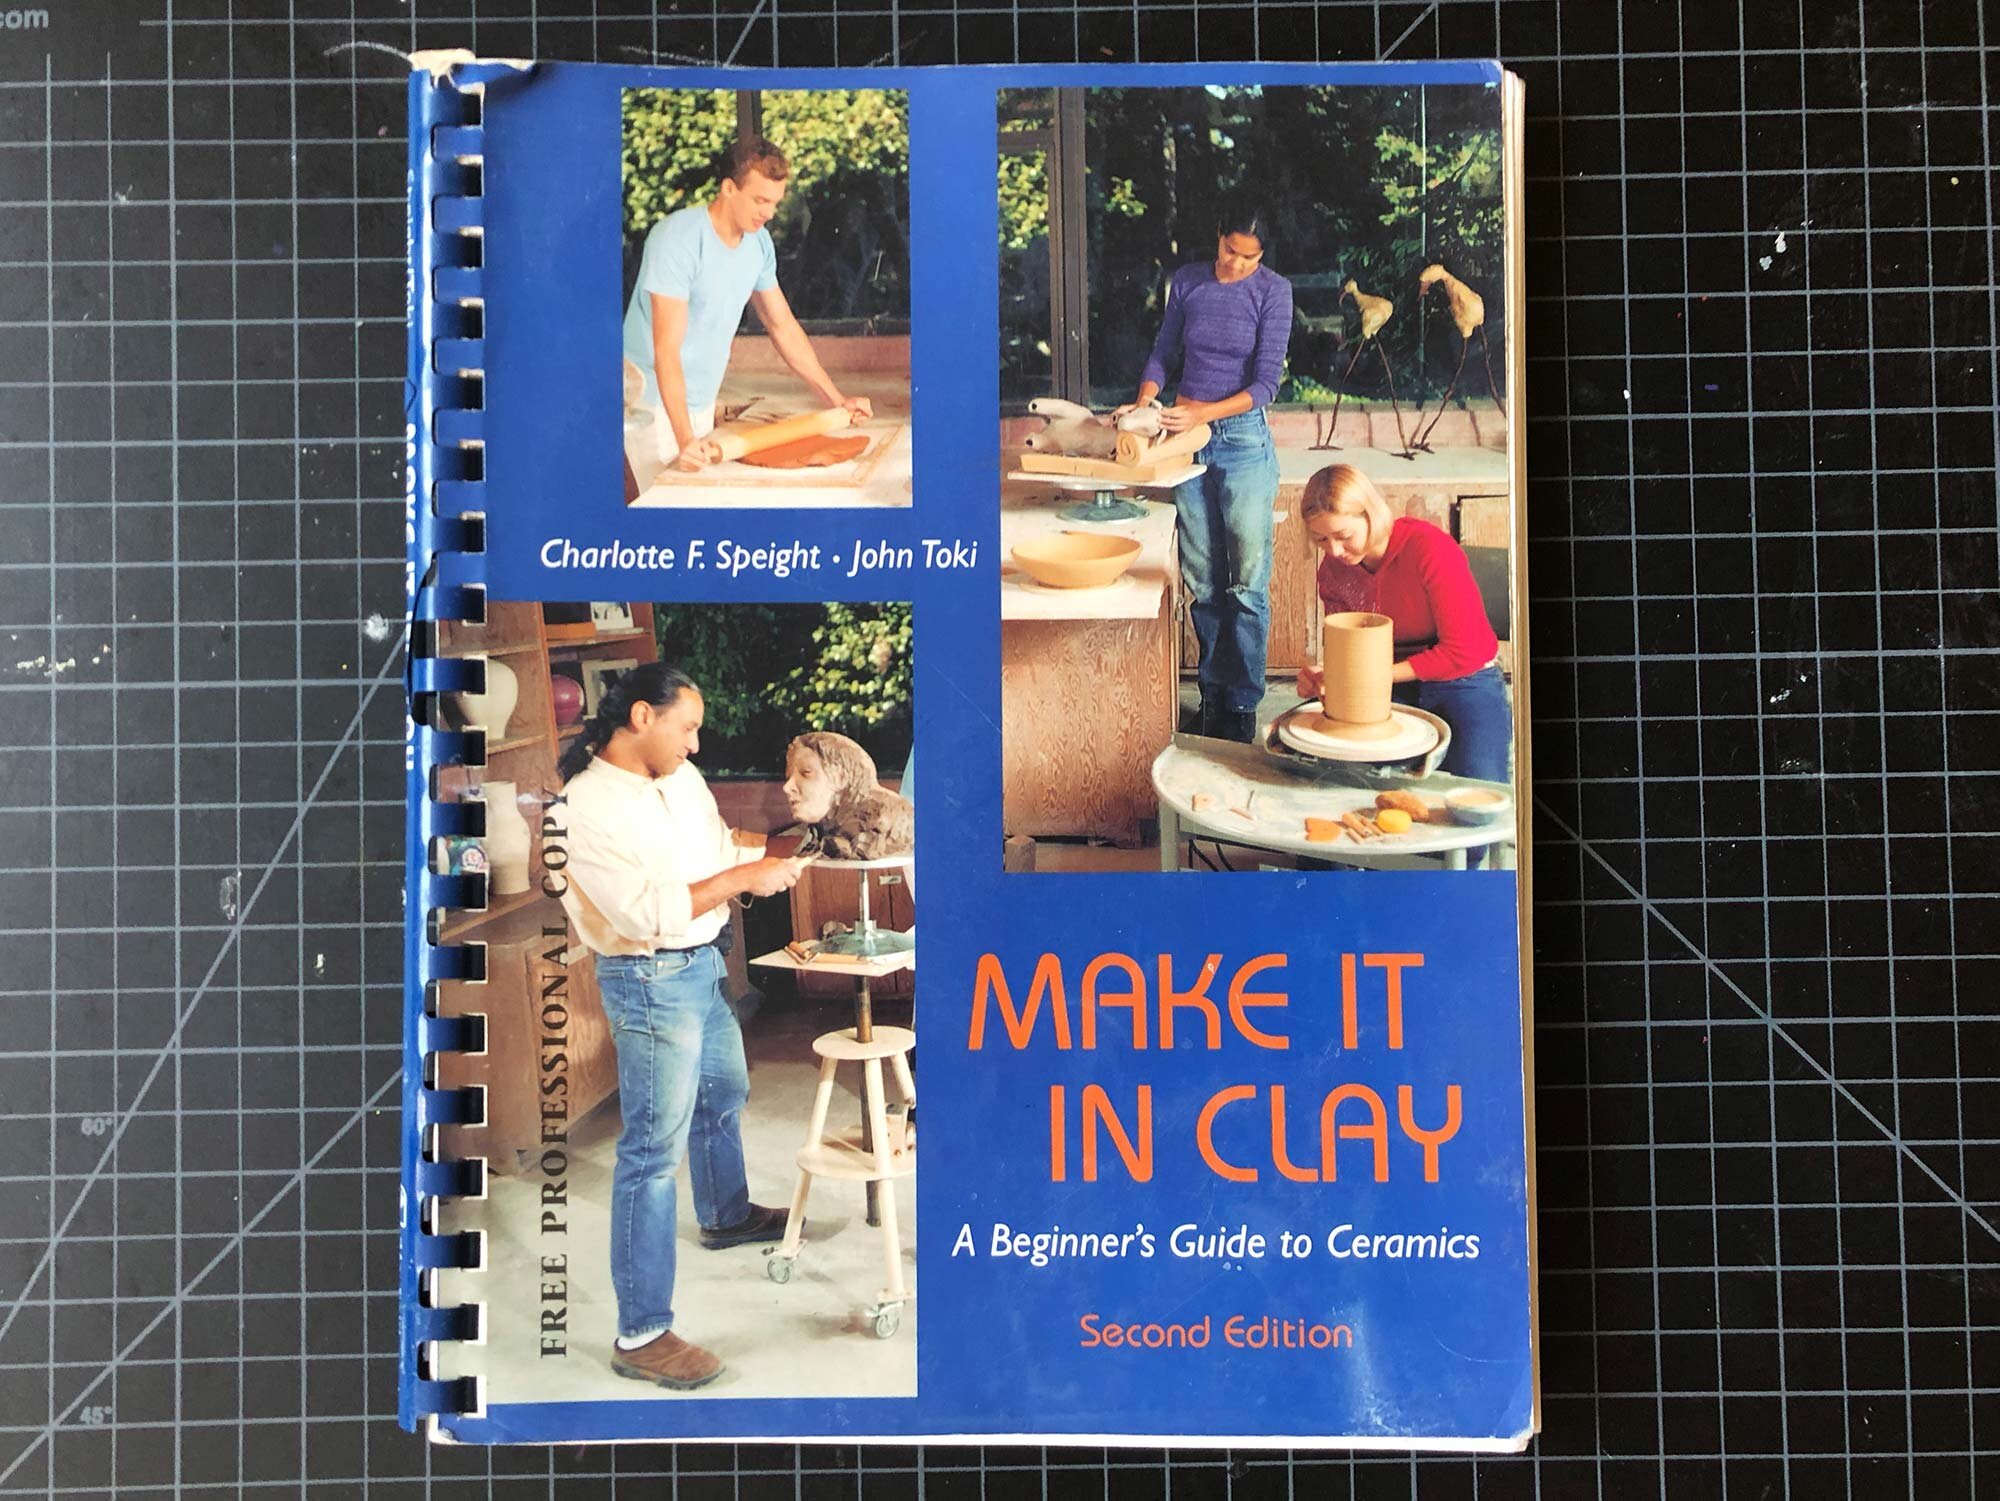
Although it’s almost 20 years old, Make It In Clay is still one of the best concise and comprehensive guidebooks to the ceramic process.

Although it’s almost 20 years old, Make It In Clay is still one of the best concise and comprehensive guidebooks to the ceramic process.

Make It In Clay: A Beginner’s Guide to Ceramics

By Charlotte F. Speight and John Toki, most recent edition is 2001

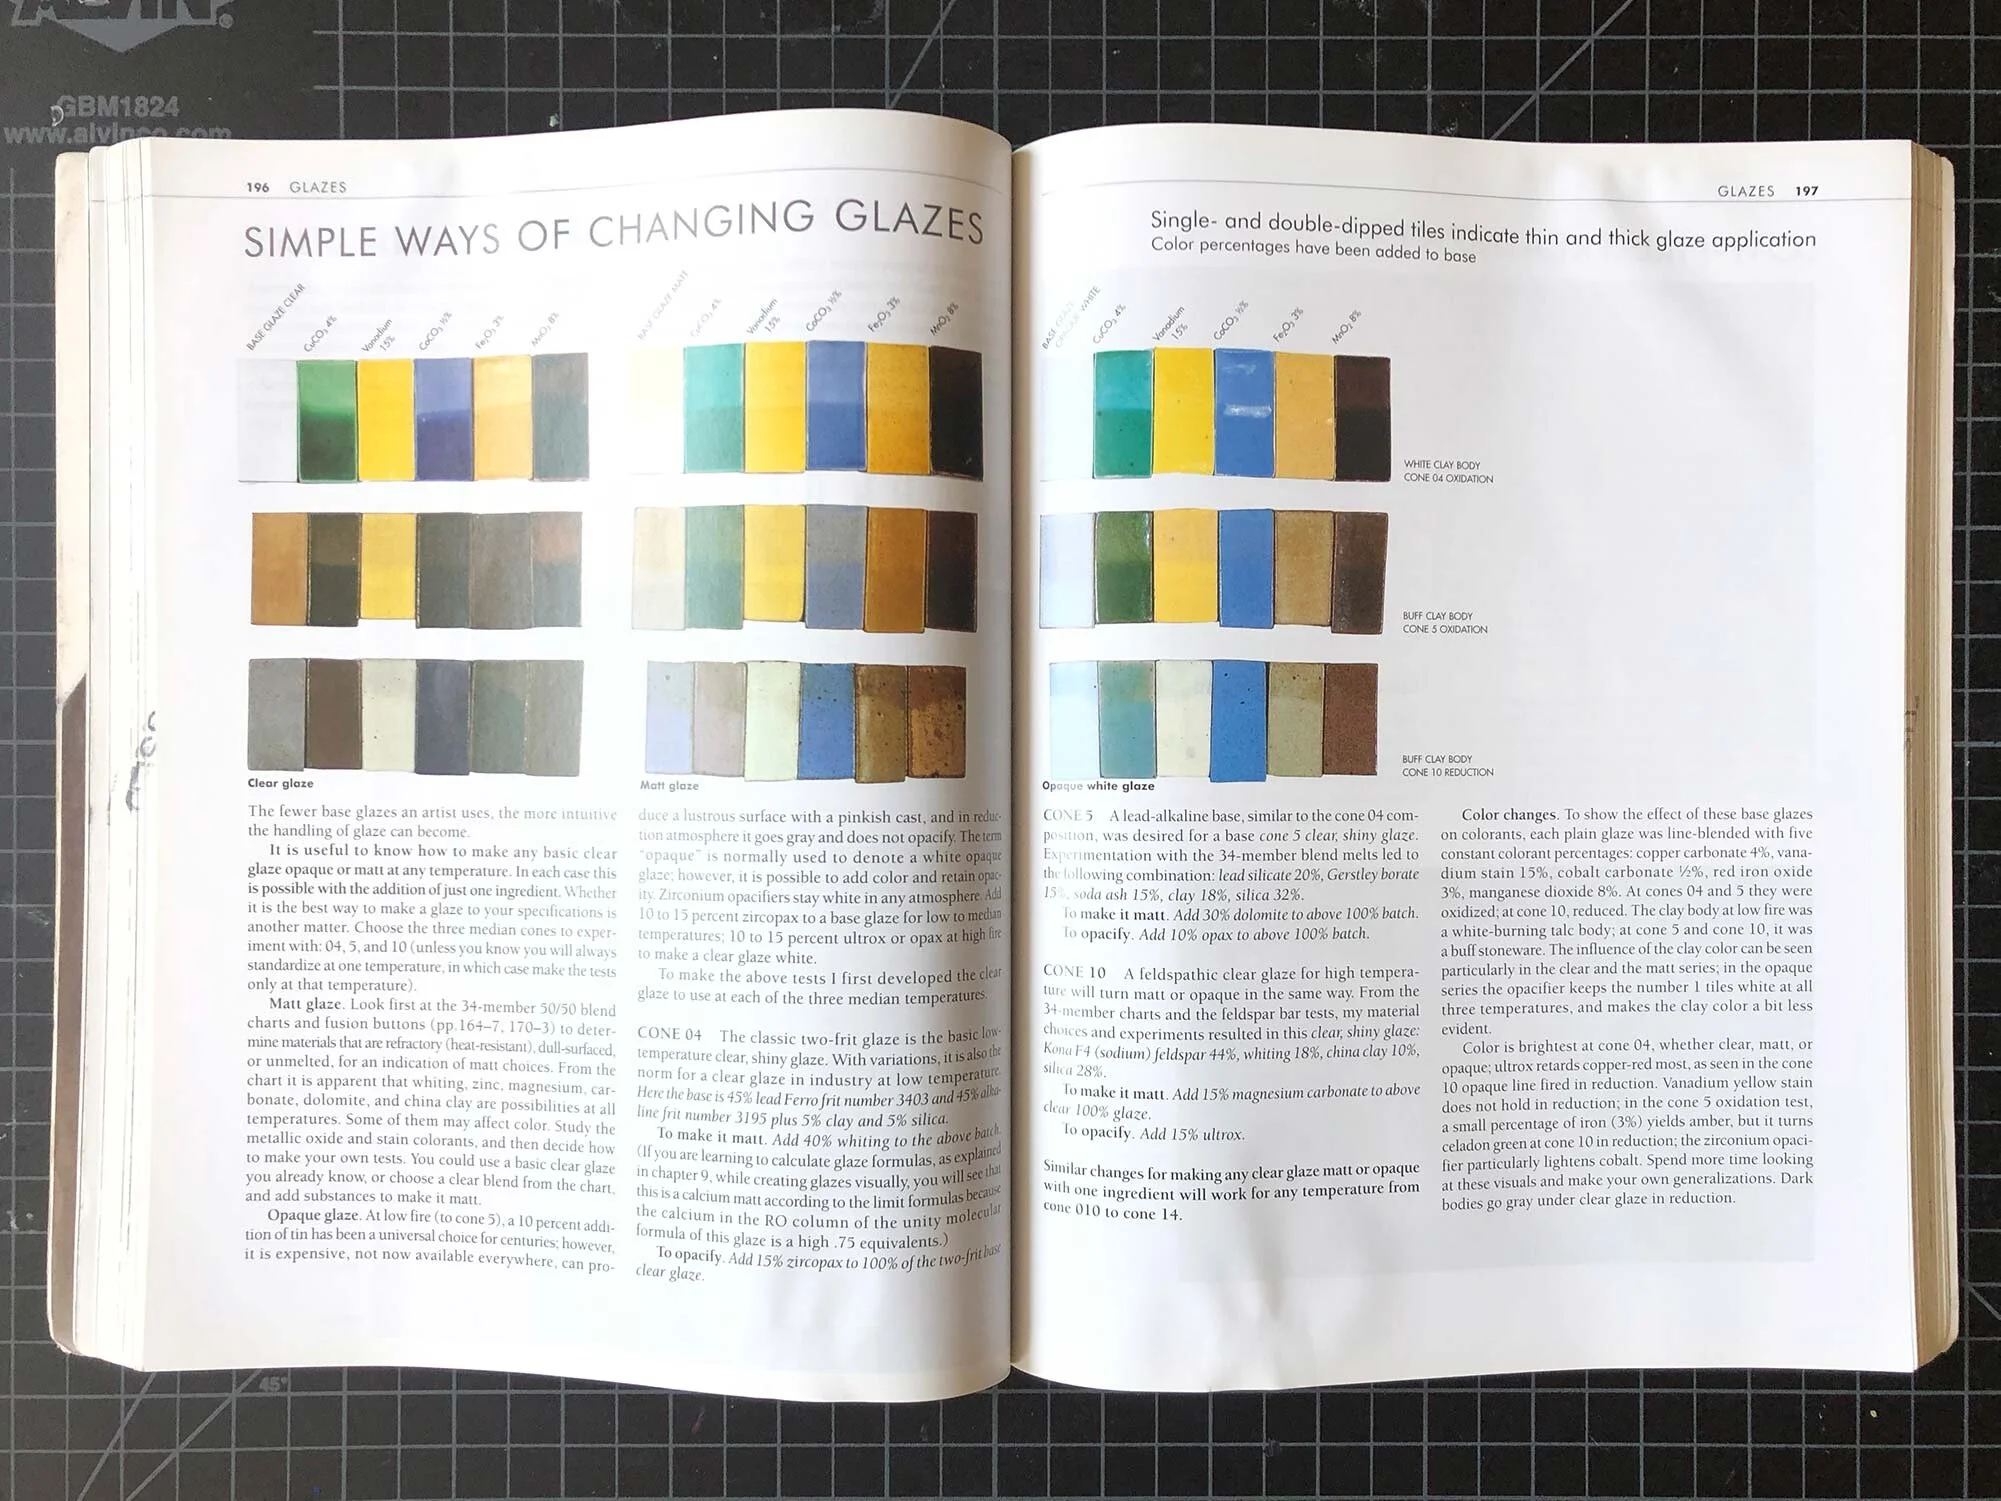
An interior page spread from Make It In Clay.

An interior page spread from Make It In Clay.

Almost 20 years old, this is still one of the best options for a comprehensive but concise overview to all aspects of ceramics. Similar to Working With Clay, it can be found in an easy-to-use spiral binding. This book covers every aspect of clay and ceramics, and includes a lot of suggestions for projects to get started. The book is illustrated with just black and white photos, making it less visually dynamic than our top pick. But it has great info and although it is almost 20 years old, this is still a worthy addition to your ceramic library. The information in the book is clearly presented, easy to follow, and covers all the basics. I’ve seen used copies online for between $20 and $40, which is a great deal for the amount of info packed into this book.

Make it in Clay, by Charlotte F. Speight and John Toki, 2001


The cover of the fourth edition (2003) of The Craft and Art of Clay, a ceramic textbook by Susan and Jan Peterson.

The cover of the fourth edition (2003) of The Craft and Art of Clay, a ceramic textbook by Susan and Jan Peterson.

The Craft and Art of Clay

By Susan and Jan Peterson, multiple editions but most recent is fifth edition, 2012

An interior spread from the 4th edition of The Craft and Art of Clay.

An interior spread from the 4th edition of The Craft and Art of Clay.

This is one of the most comprehensive guidebook / textbook covering ceramics. One Amazon reviewer describes it as the “end all, be all” of ceramic books. It has plenty of information for beginners, including step-by-step instructions. But it goes so much deeper than Working With Clay, which is by the same mother-daughter team, including a serious amount of ceramic history, profiles of contemporary artists, chart after chart of technical information. Written as a textbook for college classes, this is the book you’ll want if you are super serious about ceramics. I have owned the 3rd edition since I started working with clay, and after all these years I’ll flip it open and find new information or a deeper understanding of something I’m researching, such as glaze materials or firing info.

The book is illustrated with a combination of color and black and white photographs. The book is out of print and though any edition is probably fine, I would look for a used copy of either the fourth (2003) or fifth (2012) edition. At the time of this post, used prices for these editions were around $20 to $80 depending the the edition and condition of these books. The 3rd edition (1999) is often under $10 used and is great too, it’s just missing a bit of the updated information.

The Craft and Art of Clay, by Susan and Jan Peterson, various editions.


Hands in Clay 1.jpg

Hands in Clay

by Charlotte F. Speight and John Toki, multiple editions, most recent is 2003

Hands in Clay is the other option if you are looking for a big, comprehensive ceramics textbook. Continuously updated since the 1970s, this book has everything you need to get started in clay or if you are looking for one big book that is a ceramic reference. Full of how-tos, project ideas, and information on ceramic history, it’s a great option. The book is illustrated with a combination of color and black and white images. Of particular interest is the images and info detailing how to make large scale ceramic sculptures.

At the time of this post, used copies of the fifth edition ranged from $25 to $50, and the fourth edition was available for under $10. It’s a good deal for a large book!

Hands in Clay by Charlotte F. Speight and John Toki

An interior spread from the fifth edition of Hands in Clay, 2003

An interior spread from the fifth edition of Hands in Clay, 2003


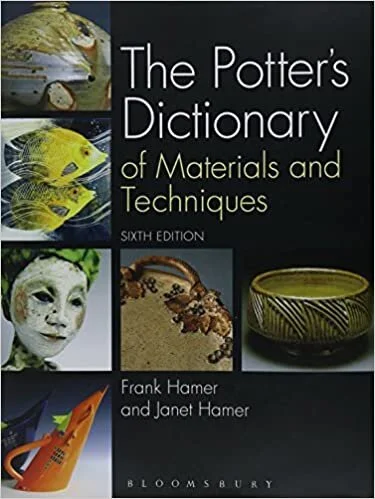
The Potter’s Dictionary of Material and Techniques

By Frank and Janet Hamer, sixth edition, 2015

Continuously updated for more than 20 years, this Ceramics Dictionary is a great resource for intermediate to advanced students and ceramic professionals. Arranged alphabetically, this is a well-researched and comprehensive resource. But the drawback of a dictionary versus a textbook, is that you need to know where to start, so if you are a beginner it’s best to start with one of the books listed above. But, this can be a fun book to just flip through and read an entry or two that catch your eye. Many potters and ceramists swear by this book and it’s a great addition to any ceramic studio or library.

The Potter’s Dictionary of Materials and Techniques, by Frank and Janet Hamer

The Potter’s Dictionary, sixth edition


The Ceramic’s Process: a Manual and Source of Inspiration for Ceramic Art and Design

By Anton Reijnders and the European Ceramic Work Centre

This 2005 book is an impressive overview of techniques, recipes, and working processes used at the European Ceramic Workcentre in the Netherlands. The EKWC is an international center where ceramic specialists help artists, designers, and architects realize their projects in clay and ceramics. Reijnders worked there for many years, and the book contains recipes, how-to guides, and lots of pictures. The recipes use European ingredients, which makes it a bit hard for someone working in the United States, but if you read it carefully you can translate the materials into something available at your local clay supplier in any country. The recipes are also on the more general side, so expect to do some testing to get things to work in your studio.

Ceramic Process.jpg

The Ceramic Process by Anton Reijnders

The best part of this book is the color photographs throughout. The EKWC has been a place where countless artists and designers have realized their projects, and this book documents much of that work from 1990 to 2005. There is probably no better guide to this period of large-scale ceramic sculpture in Europe, and for that alone, the book is worth it. There is also information on paper clay, large-scale plaster sculptures, and other adventurous approaches to clay, making this a useful resource for ceramic sculptors and designers.

Out of print, this hardcover book is often listed at $200 to $500 used. If you see a copy available for $150 or less, it’s probably worth it. Or see if you can find a copy at your local library. The book was around $60-80 when it was in print. But it is a unique book that does cover every part of working with clay.

The Ceramic Process by Anton Reijnders, 2005


Summary

This post has covered a variety of ceramic guidebooks and textbooks. Although so much information is available online, it can still be useful to have a book where the information is laid out thematically or by alphabetically order. Due to changes in publishing, many of these books are out of print. However, the information is still good and a reference book can be a vital resource in the studio.

For more posts on books and ideas, click here.

Do you have any favorite ceramic guidebooks? Let us know in the comments.


How To Mix a Ceramic Glaze From Scratch

 
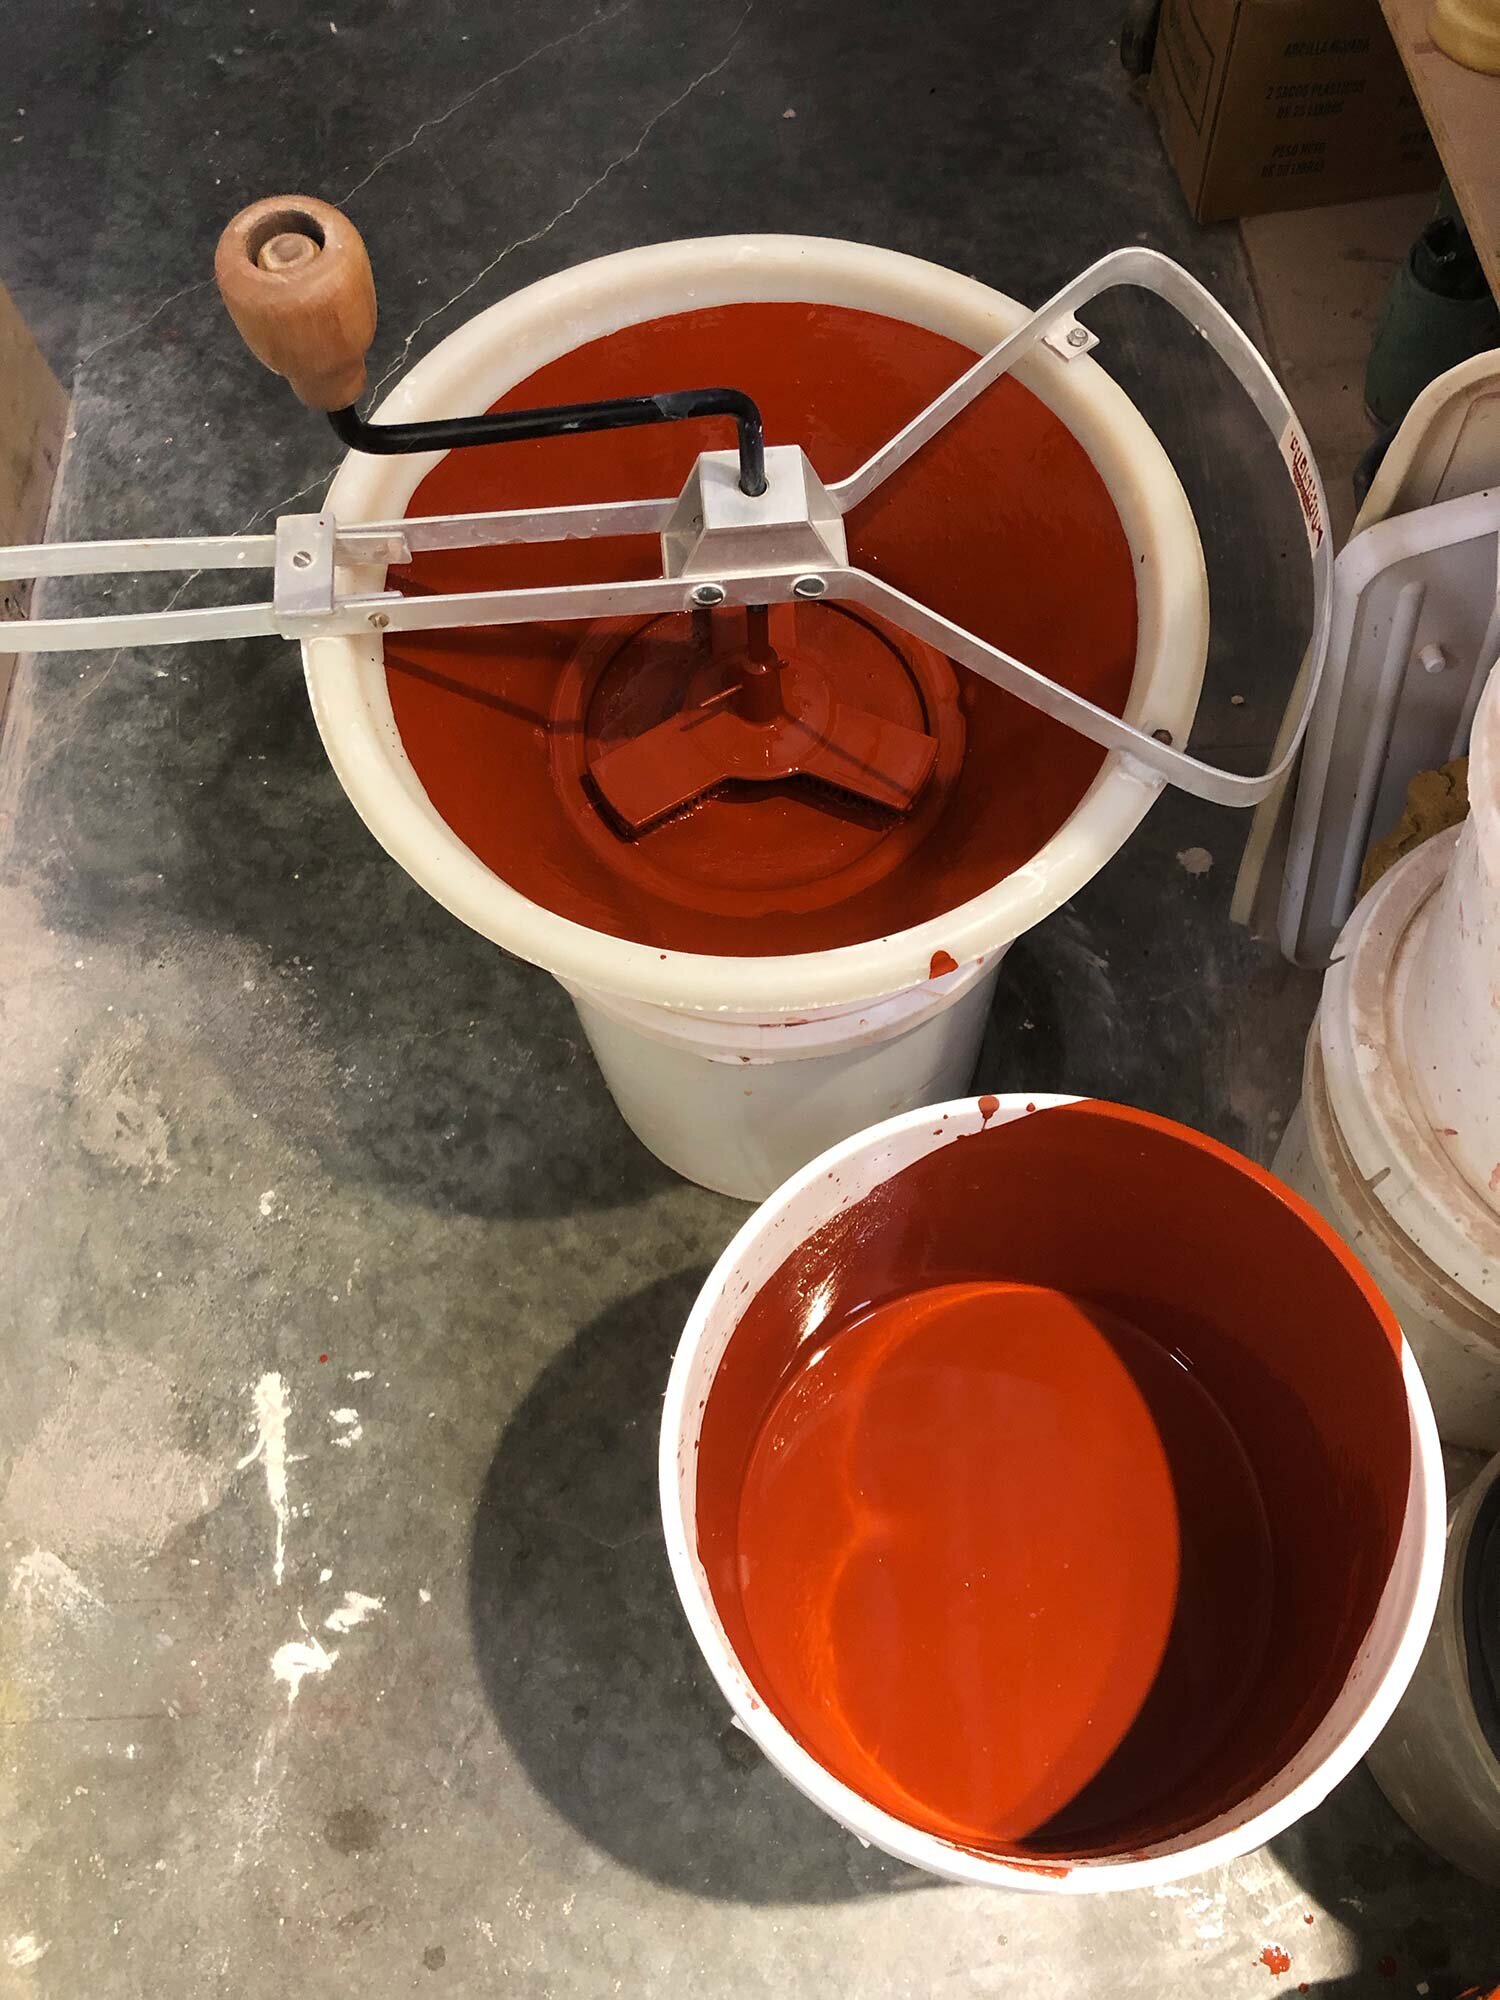
A red iron oxide glaze in the process of being run through a Talisman Glaze Sieve.

A red iron oxide glaze in the process of being run through a Talisman Glaze Sieve.


This post is an overview of how to mix a ceramic glaze from dry ingredients, including the tools, techniques and procedures to get you started.

Whether you buy a pre-mixed dry glaze or weigh each ingredient, there are a lot of advantages to mixing your own glaze:

  • Save money: Mixing glazes in your studio is always cheaper, sometimes as much as 80 to 90 percent cheaper than bottled glaze.

  • Customize: Learn how to modify slips and glazes to suit your kiln and clay bodies.

  • Learn glaze chemistry: Even a bit of info can help you get the results you want.

A variety of our favorite glaze recipes are posted here, and there are lots of websites and books with glaze recipes. There are endless amounts of glaze recipes, so if you are new to this, just start with one basic one such as a glossy clear. There are also pre-mixed, dry glazes which are effective and still save some money over buying bottled glazes.

Keep reading for the complete how to instructions.


Table of Contents

  • Glaze Mixing Tools and Accessories

  • How To Mix Glazes From Scratch

  • Testing and Storing Glazes

  • Summary


Glaze Mixing Tools and Accessories

Here’s what you need to mix glaze in your studio:


How To Mix Glazes From Scratch

  1. Review recipe.

    Check to make sure you have enough of each ingredient. It can be helpful to calculate and write out the amount of each material, to be used as a checklist.

  2. Prepare work area

    Put on a dust mask, clean your scale and work area. Get your materials, buckets, and scoops together.

  3. Zero scale

    Place your measuring pan or bowl on the scale and turn it on. If needed, press the tare button so that the scale is zeroed out.

  4. Weigh ingredients

    Weigh each ingredient (this is where your checklist is handy) and put them in a dry bowl or bucket. After measuring all the ingredients, mix the dry ingredients together. Some glaze ingredients, such as bentonite, are prone to clumping so it is important to mix everything dry first.

  5. Add to water and mix

    Add the mixed glaze materials to water and mix until it is thick cream or buttermilk consistency. An electric drill with a proper mixing blade greatly speeds up this process. A large plastic scraper will dislodge material from the side of the bucket. Once all the dry ingredients have been mixed with water, you can remove your mask if desired.

    Note: it’s best to add glaze materials to water. If you add water to a bucket of dry materials, it’s hard to get everything in the bottom corners mixed.

  6. Sieve and homogenize

    Prepare another clean bucket with a sieve, preferably a fine 80 mesh sieve. Run the glaze through the sieve this first time, to break up any clumps. A brush can help push material through the sieve, or a Talisman Glaze Sieve is a tool made specifically for mixing glaze into 5 or 10 gallon buckets.

    Then, clean the bucket where you will be storing the glaze. Run the glaze through the sieve a second time into this clean bucket.

  7. Test glaze consistency

    Glazes are typically mixed to a specific gravity, which measures the amount of dissolved solids in the water. Usually glazes are around 1.50, which means 50 parts dissolved solids to 100 parts water. Keep records and mix the glaze to a consistency that works for you.

    Specific gravity can be measured with a specialized (but fragile) hydrometer, or you can use a graduated cylinder on your scale. With your cylinder zeroed out on the scale, pour in 100ml of the mixed glaze and check the weight. Add water as needed, and mix.

  8. Label and store

    Glaze containers and lids should be labeled with the name, temperature, and any other information that will help you. Laminated, waterproof labels are best but packing tape can also protect a label for some time.


Testing and Storing Glazes

Testing Glaze

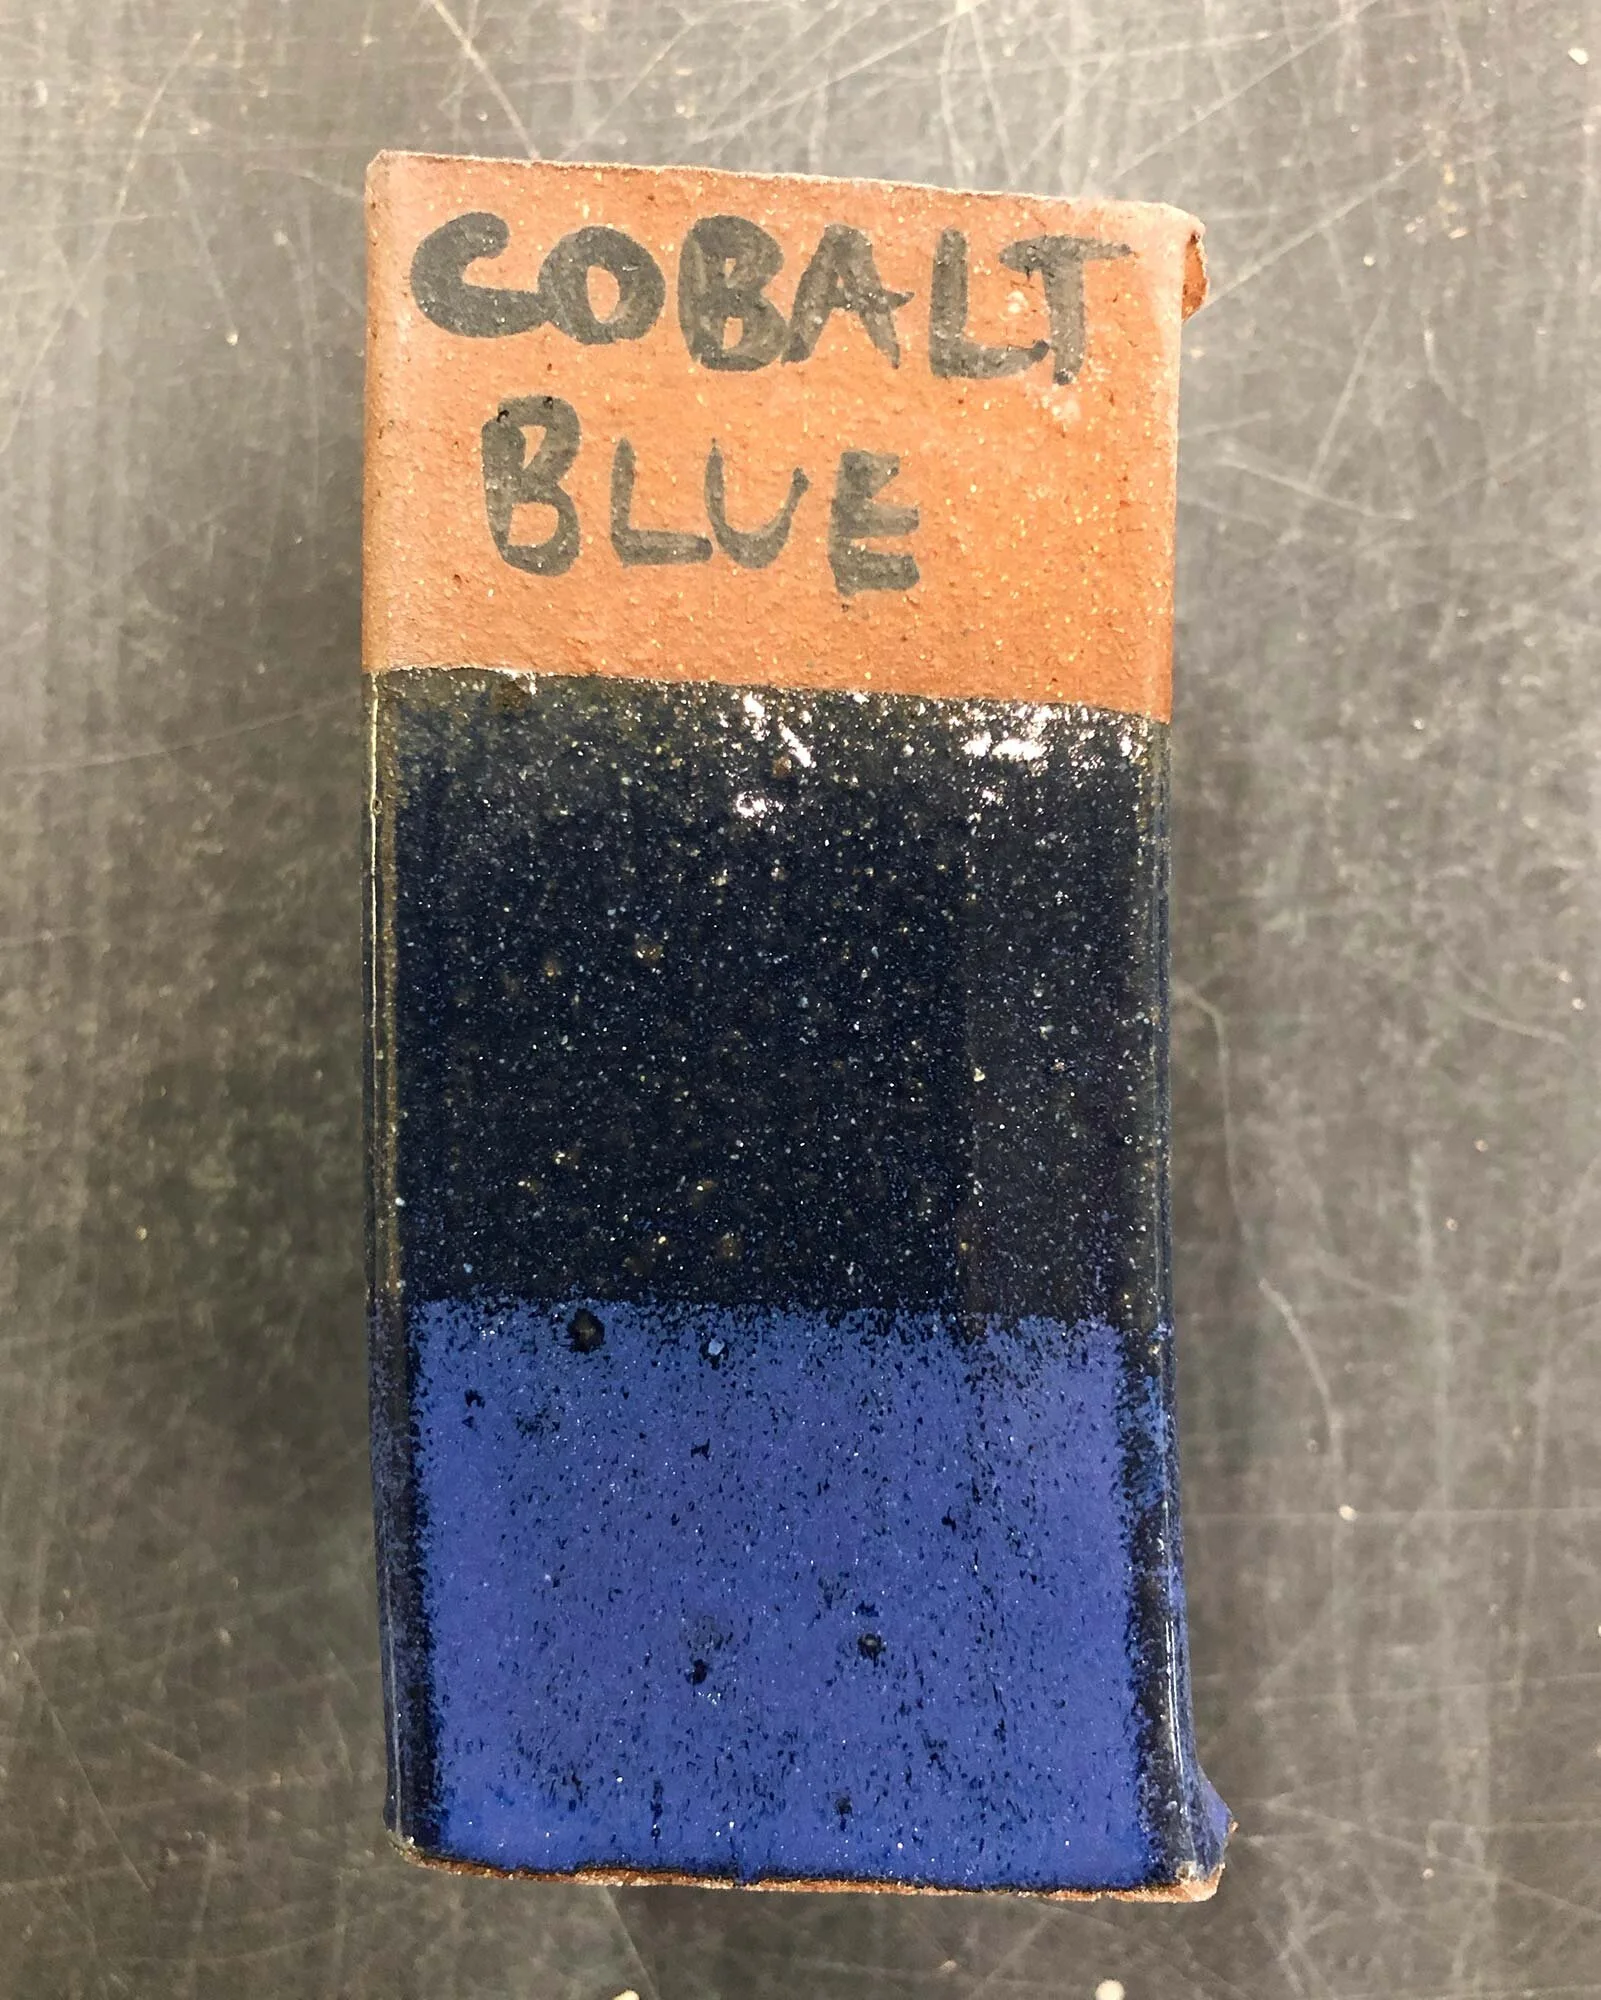
It is helping to make a test tile of a glaze, on each clay body you use. Vertical test tiles such as tubes from an extruder are best, as they show how a glaze will “move” with gravity. Dip your test tile with one and two dips to show how different thicknesses of glaze affect the color.

Some studios choose to make a test tile with each batch of glaze. But if you are careful to mix the glaze accurately to a similar specific gravity, and your firings are repeatable, you should get roughly the same glaze results each time. There are no guarantees with glaze though. It is important to keep records, both in a glaze book and a kiln log, in order to get standardized results. But, glaze materials do change over time so as necessary you can make new test tiles.

Storing glazes

Glazes can be stored in sealed containers or buckets almost indefinitely. Most glaze ingredients are inorganic and will not rot. But some ingredients, such as bone ash, can cause some rotting smells. To avoid this, make sure the glaze is mixed with some frequency. If the odor persists, you can add a trace amount of copper to any glaze (even white glazes!) without affecting the color. Copper is an anti-fungal and can cut down or eliminate odor. Read our post on that here.

Remixing glaze

As they are used, glazes do lose some moisture to evaporation and bisqueware can suck extra water out of the glaze mix. It can be helpful to mix and then do a quick visual check of the glaze. If necessary, you can re-check the specific gravity and add water. If a glaze seems thick or is glopping onto your pieces, it’s definitely time to check it and probably add water.

In addition, when I mix glaze, I will usually run all the old and new glaze through a sieve. Small bits of bisque and other contaminants can fall into a glaze bucket. When I’m using it, I want to know what I’ve got in that bucket. It does take extra work but having a double-sieved, homogenized glaze will result more even glaze application and hopefully, better results.


Summary

This post has covered a basic overview of mixing glazes from scratch. It covered the tools, techniques, and a few helpful hints to mix and store glazes. If you can follow a recipe, you can mix glaze. There is an overwhelming amount of glaze info out there, but if you start with just one basic recipe and grow from there, you will be a glaze master in no time and you will be able to customize and mix glazes to suit your own needs.

If you are looking for more info on mixing glazes, the glaze books by John Britt are some of the best resources.

The Complete Guide to Mid-Range Glazes

Buy at Bookshop.org

Buy at Amazon

The Complete Guide to High-Fire Glazes

Buy at Bookshop.org

Buy at Amazon

Questions or comments? Let us know in the comments.

Tools for Home and Studio

There are many tools that are equally valuable at home or in the studio. Sometimes, it seems like most tools that are useful in a kitchen can also be put to use in the studio.

This post includes reviews of a few favorites that will hopefully give you some ideas for new tools to use, either at home or in the studio. What do you use in both the kitchen and studio? Please share in the comments.


Swedish Notched Rolling Pin

This notched, diamond-pattern wooden rolling pin or kruskavel can be used in the studio to roll out textured clay slabs. It’s especially useful for making test tiles. Or put it to use at home making crackers. It’s designed to make Swedish knaackebrods but the simple pattern looks great on a variety of baked goods.

Uses:

At home: roll out dough crackers, flatbreads, Swedish knaackebrods, or add notches to baked goods
In the studio: add the diamond texture to clay slabs and test tiles

Linden Sweden Deep Notched Rolling Pin

Swedish Notched Rolling Pin

Swedish Notched Rolling Pin


Patterned Wooden Rolling Pins

clay roller 2.jpg

This set has 10 wooden rolling pins with a variety of patterns. It’s is probably more useful in the studio than at home, but it can be used on crackers and flatbreads just as easily as clay slabs. These roller are relatively small, ranging from 3.5 to about 5 inches wide.

Uses:

At home: patterned crackers
In the studio: textured slabs, roll patterns on to thrown pots, create textured slabs to add to other pieces.

10-pack of textured clay rollers

10-pack of textured clay rollers

Set of 10 Wooden Pattern Rollers
This set is listed twice on amazon. Find it here or try this link.


Wooden Meat Tenderizer Mallet

wooden mallet.jpg

An all-wood meat tenderizer mallet is another texture tool for the studio, or a useful addition to your kitchen. Wood is less likely to stick to clay than metal, so this all-wood option is the way to go.

Uses:

At home: tenderizing steaks, fish, poultry, etc. Great for making flattened chicken breasts.
In the studio: similar to the diamond-pattern of the Swedish rolling pin, this is also a great tool for making patterns on individual test tiles

Double Side Heavyweight Wooden Meat Tenderizer Mallet


Round Cutters in Graduated Sizes

This set of circular cutters is another tool that is equally at home in the kitchen or studio. Great for biscuits or other round baking needs, it’s also perfect for making circles out of clay slabs. The simple design makes it easy to clean, and the container helps organize the pieces for storage.

There are also fluted circular cutters, which can add some nice patterns to your work. It’s best to stick with firm metal cutters, the softer plastic options are often not strong enough for the kitchen or studio.

Uses:
At home:
cut biscuits, bread, English muffins, fondant decoration
In the studio: cut circular slabs, trace circles

Nesting Round Metal Cutters Set
There are name brand and many generic versions of this type of tool. Pictured is the Kayaso version, but there are other options such as this or this 6 piece option from Wilton.

For a fluted option, try this 11-piece set from Jokumo, or a 6-piece set from Wilton.


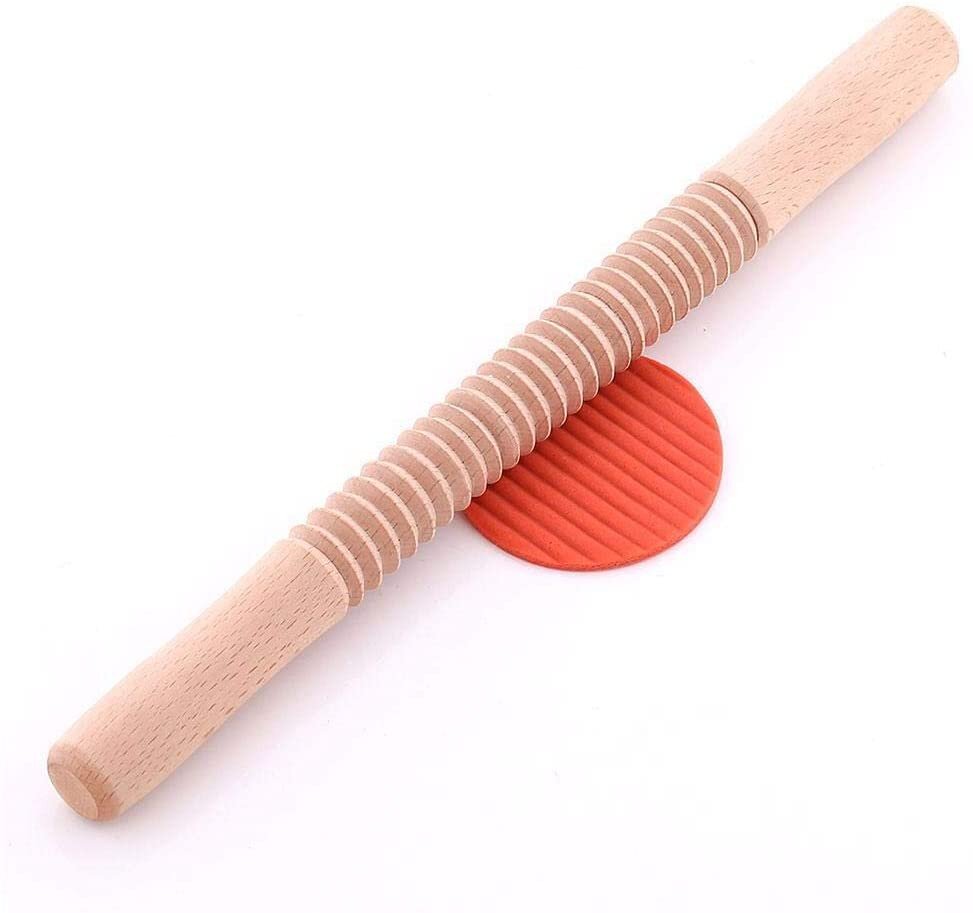
Wooden Thread Spiral Rolling Pin

wood thread rolling pin.jpg

Another simple but useful tool, this wooden rolling pin will add texture to your baking or clay projects. All wood is great because it’s less likely to stick to clay.

Uses:

At home: add texture to cookies, dumplings, pastas
In the studio: add texture to slabs. Great for adding texture and then stretching

Spiral Threaded Wooden Rolling Pin


Silicone Mats for baking or studio use

The Amazon Basics silicone mat

The Amazon Basics silicone mat

A non-stick work surface is vital if you are baking or working with clay. Products like Silpats or silicone baking mats give you that flexibility and are a tool for the home or studio. It’s handy to have these around for working on craft projects, or handbuilding with clay.

If you are looking for ceramic-specific work mats, the Ceramic Shop in Philadelphia has a variety of options. Those are nice options, but a silicone baking mat is often cheaper, almost as stiff, and can be used in a variety of ways.

Amazon Basics Silicone Baking Mat


Green Bell G-1008 Nail Clippers

The Green Bell G-1008 Nail Clipper

The Green Bell G-1008 Nail Clipper

If you are cooking or working in the studio, long nails can get in the way. Nail clippers may seem like the most mundane thing, but upgrading to a pair of Green Bell clippers shows how just about any other clippers is not as good.

I discovered the Green Bell Clippers years ago via this rhapsodic review, and they truly are the best nail clippers I’ve ever used. Made in Japan, these clippers effortlessly cut nails with a perfect tension. They also have a built-in nail file and are constructed with a weight, finish, and somewhat hefty quality that is just a step above any other nail clipper. Sure, they are now about $21 but you’ll most likely never need another clipper.

Green Bell Nail Clippers
I recommend the Green Bell G-1008 at amazon. For a smaller, narrower option, try the Green Bell G-1205


GorillaPod Phone Tripod

GorillaPod GripTight Pro

GorillaPod GripTight Pro

A flexible phone tripod is a handy tool to have anywhere these days, but especially at home or in the studio. Need to set up your phone to read a recipe? Trying to capture the perfect selfie? Or maybe you’re getting into timelapse recording of your work? This is the perfect tool for that.

GorillaPod Mini

GorillaPod Mini

There are numerous knockoff options, many that will do a fine job, but I have been very happy with the original version of this product, the Joby GorillaPod. I frequently use the phone option, and I have the larger 3K kit that can hold my big DSLR camera. They do cost a bit more, but Joby products stand the test of time.

Currently, there are two options for phone holder. The pro-grade phone stand that retails for almost $60, and a newer mini option that is $15 or less. The pro-grade model gives you longer legs that will allow the tripod to grip unusual objects, such as a stick or pole. The smaller option is good for a simple tripod or to stand on an uneven surface, but I wouldn’t expect it to grip too tightly.

GripTight GorilliaPod Phone Stand / Tripod

What are the essential tools that work in your home or studio? Please share in the comments.


The Best Way to Eliminate Odor from a Stinky Ceramic Slop or Glaze Bucket

Updated and revised, September 9, 2023

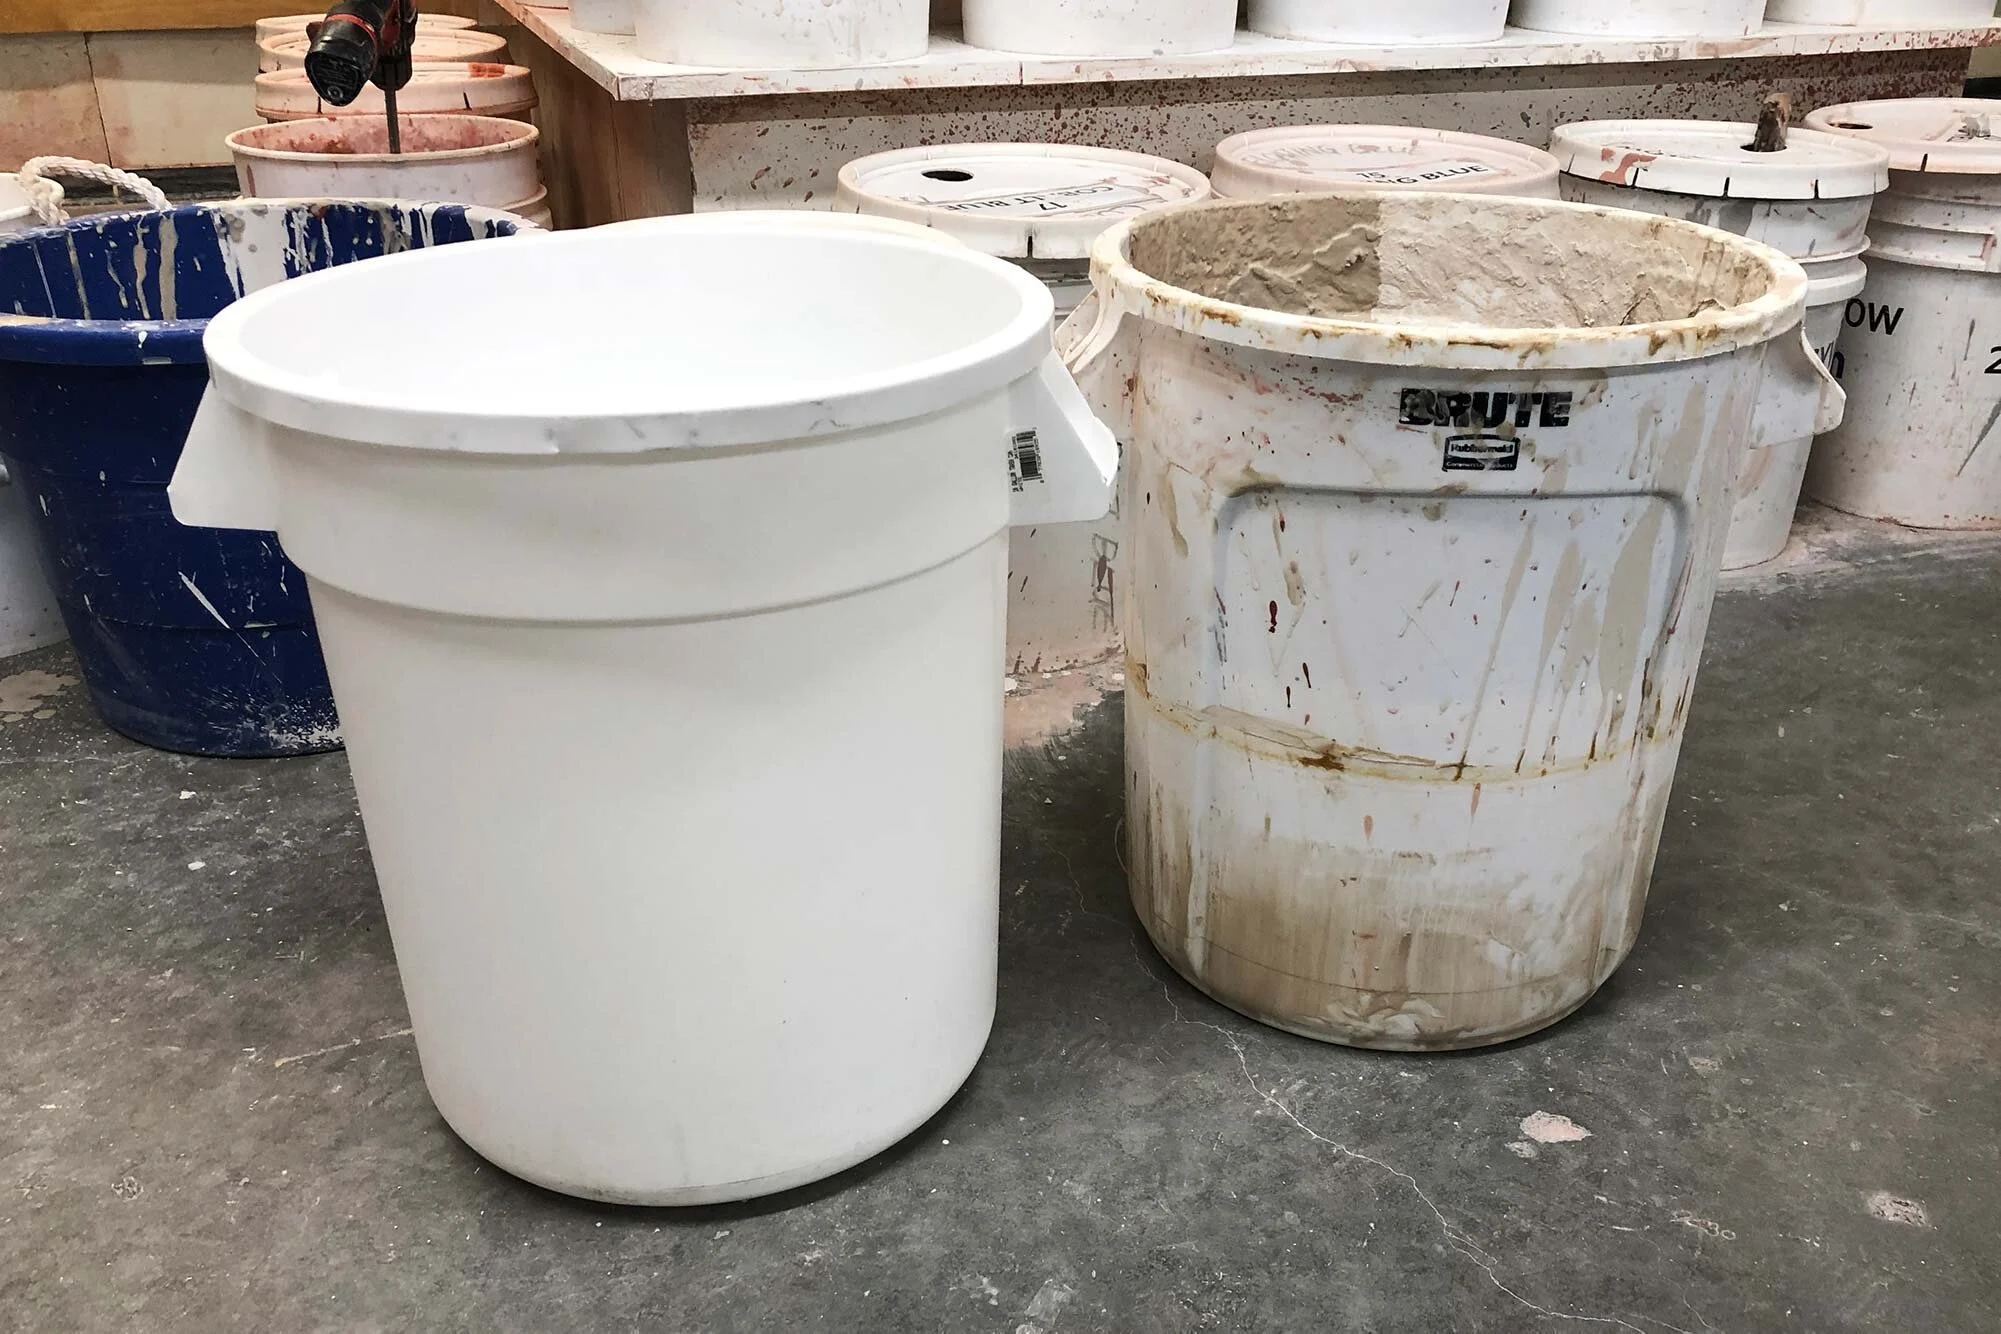
A dirty, stinky throwing slop trash can in need of some cleaning and copper carbonate, to eliminate odors.

A dirty, stinky throwing slop trash can in need of some cleaning and copper carbonate, to eliminate odors.

Stinky slop and glaze buckets can be a problem in any ceramic studio. The smells range from a swampy, pond-mud smell to a very strong sulfurous odor. All are caused by some kind of organic matter in your clay or glaze.

In addition, some glaze materials such as bone ash or CMC are organic materials and will start to smell over time, especially if the bucket is not stirred regularly.

To deal with smelly buckets, the best practices are to:

  1. Keep organic materials like brush bristles, paper, etc out of your buckets and jars

  2. Stir and mix your materials more frequently

  3. Cycle materials more frequently

  4. Clean your buckets with soap and water, and sterilize them with bleach

Adding bleach? In some studios, bleach is added to slop buckets or clean up buckets and mixed with the clay slop. This is an ok thing to do, but has it’s drawbacks. Usually, the bleach will just mask whatever the problem is for a few days or weeks, and then the smell will return. And I personally don’t like to add bleach to buckets where the material is being recycled such as clay slop buckets. And if you add too much bleach, the slop water can be rough on your hands.

The following article covers some ideas for eliminating odors from glaze buckets, underglaze jars, and slop buckets. Discussed is a somewhat extreme method of adding copper carbonate. In general, I would use this as a last resort after you have tried to cycle material, or clean outed and sterilized the problematic bucket. A little bit of copper can get rid of smells, because of the antimicrobial properties of the element, but using it does have some drawbacks as well.

This practice of adding a small amount of copper carbonate comes from a tip I read many years ago I read in Ceramics Monthly. (I haven’t been able to find the link) The tip from the potter was adding a trace amount of copper carbonate to glaze buckets. My memory is just a gram or two. It wasn’t enough to change the color of the glaze (even in a white glaze), but it was enough to prevent mold growth. If you have a glaze that regularly smells, try adding an extremely small amount of copper carbonate to any glaze, and see if that fixes the problem. The tutorial below also covers adding copper carbonate to slop buckets, in addition to some strategies to deal with smell glaze and underglaze jars.


Table of Contents

  1. How To Eliminate Odor From Glaze Buckets

  2. How To Eliminate Odor from Underglaze Jars

  3. Maintaining and Dealing with Odor in Slop Buckets and Reclaim Clay


How To Eliminate Odor From Glaze Buckets

Stinky glaze buckets happen from time to time. Usually, this is caused by some sort of organic matter. It could also be caused by organic glaze materials such as bone ash or CMC gum. For bone ash glazes, try stirring the glaze more often, or proceed with the copper carbonate fix as detailed below. For glazes with CMC gum, try replacing that with bentonite, which is a very fine, inorganic clay that can help glazes stay in suspension.

Before adding copper carbonate to a stinky bucket, screen the glaze first to make sure you’ve removed any brush bristles, bisque chunks, or other foreign matter. Sometimes, just stirring the glaze more often may eliminate the issue, so try that first!

Method:

Add 1 gram of copper carbonate per 5 gallons of glaze, stir, and wait 24 hours.

That’s it!

Just a bit of copper should take care of the problem, and in such a small amount, it shouldn’t change the color of the glaze. I even did this once with 5 gallon bucket of white glaze. A little risky, but it worked without changing the glaze color.

If you are nervous about adding copper carb, or if your studio scale is not very accurate, try measuring the smallest amount you can, such as 2 or 5 or 10 grams, and then physically dividing it up to get down to something like .5 grams or 1 grams, and add that small amount to your glaze. If the smell isn’t gone in 24 hours, repeat the process.

If the copper carbonate doesn’t solve your problem, don’t keep adding it past 2 or 3 grams. Eventually, you will add enough to alter the color of the glaze. If the problem persists, you may have to discard the glaze and start over with a fresh batch.


How to Eliminate Odor from Underglaze Jars

Underglaze jars can get really stinky. Some in particular, such as the various reds from the Amaco Velvet Underglaze line, seem prone to getting stinky.

To prevent odors with underglazes:
> Remove any cardboard liner from the caps
> Stir to mix. Don’t shake all the underglaze against these cardboard liners
> Try to prevent brush bristles from dropping in
> Keep any other organic matter out of the jar

But if your underglaze gets stinky? There may not be much you can do. It’s such a small volume, and our best remedy, copper carbonate, is a colorant. Still, you can try adding a very small amount of copper, approximately 1 gram or less. Stir into your underglaze, cap it up, and wait 24 hours. Check and repeat if necessary. Caution: you will change the color of your underglaze if you add copper to them! I’ve done this a few times with the extremely-prone-to-stinkiness Bright Red Velvet Underglaze. The copper mutes the red a bit, but it’s actually a lovely result that is still red.

But the conclusion is, there may not be much you can do for a stinky underglaze except to tolerate it and/or discard and buy a new jar.


Maintaining and Dealing With Odor in Slop Clay Bucket

A slop bucket is a great way to reduce the amount of clay going into your sink and can also be used for initial cleaning of splash pans and throwing buckets. If there was room, I’d have a series of three of these for cleanup. But in the studio I manage, there is just one 40 gallon trash can with a mesh lid. It’s used to collect all the throwing slop.

Ideally, this trash can gets completely emptied about once a month and the heavier slop is saved and mixed with reclaim clay. But while the slop is building up, the bucket can get pretty stinky. And if you recycle stinky slop, then you have stinky reclaim clay (although the process of mixing does seem to help alleviate some problems with smell.)

The first step I would take with a stinky slop bucket would be to completely empty it and clean with soap. Then, sterilize the bucket or trash can with bleach and let it dry completely. Usually this will eliminate your stinky slop bucket problem for at least a few months up to 6 months. Slop buckets will always get smelly at some point so just plan to fully clean and sterilize it on a regular schedule.

A more extreme solution is adding a small but regular dose of copper carbonate to your slop bucket. Caution: adding copper carbonate to reclaim clay may result in small green spots showing up through white or clear glazes as you are adding copper to your clay! Use this method at your own risk.

The tutorial below covers maintaining a slop bucket with copper. As mentioned, try cycling your materials more regularly, keep organic material out of your bucket, and give your bucket a deep clean before trying this method!:

Step 1: Remove water, add copper carb, and stir

Ideally, the slop bucket is a settling tank so that heavier clay particles will separate and fall to the bottom. Pictured here is a 40 gallon trash can. As the can fills to the top and settles, pull off the top 10 gallons of water. This watery slip goes down the sink in my studio, but you could choose to let it settle and then decant.

After taking off the top 10 gallons, add about a half a spoonful of copper carbonate. This is about 2-3 grams of copper carbonate.

After adding the copper carbonate, stir or mix the whole slop bucket with a drill. It helps to disperse the copper.

Add about 1/2 spoonful of copper carbonate per approximately 20-30 gallons of slop.

Add about 2 to 3 grams (about 1/2 spoonful) of copper carbonate per approximately 20-30 gallons of slop.

Copper carbonate on the surface, ready to be mixed into the slop.

Copper carbonate on the surface, ready to be mixed into the slop.

Step 2: Clean the Lid

A clean lid for our slop bucket.

A clean lid for our slop bucket.

Not exactly necessary, but a regular lid cleaning makes it easier to maintain and inspires respect from your fellow studio mates.

It’s a bit hard to see in the picture, but I am are using my favorite pro-grade cleanup sponges.

For the lid on our bucket has a DIY screen made by cutting a hole in the trash can lid and attaching rubberized mesh with nuts and washers. The mesh helps to keep tools, sponges, and large chunks of clay out of the slop bucket.


Step 3: Repeat as Necessary

Our bucket with a clean lid and a bit of copper to prevent any stinky odors.

Our bucket with a clean lid and a bit of copper to prevent any stinky odors.

As stated above, it takes us approximately 1 month to end up with about 15 gallons of heavy slip but usually every week or more often, I remove the top layer of watery slip from the bucket. Every time water is removed, I add copper to the bucket.

Once there is 15 gallons or so of heavier slop at the bottom of the bucket, I remove it and put it in 5 gallon “settling tanks,” This watery slop is then poured over dried out scraps or added to the pugmill as needed. It’s the best way I can think of to capture all the fine particles left over from the throwing process. I’ve also found that as this slop with copper moves through the reclaim process, it combines with other clay and helps keep that reclaim from getting stinky too.

Occasionally, I do notice a little green copper speck popping into a white glaze from the reclaim clay, so if you want to be extra careful, use the least amount of copper necessary, or mix it into a watery slurry before adding to your slop bucket.

Summary

This post has covered a variety of ways to deal with smelly glaze, underglaze, and slop buckets. Also detailed is how to use copper carbonate to eliminate odor in glaze buckets, underglaze jars, and slop buckets. It’s an effective and affordable way to manage the inevitable odors that arise in a ceramic studio.

Do you have any other techniques for maintaining odor-free slop and glaze buckets? Let us know in the comments.
Shop materials and tools mentioned in this post: