Updated June 10, 2021
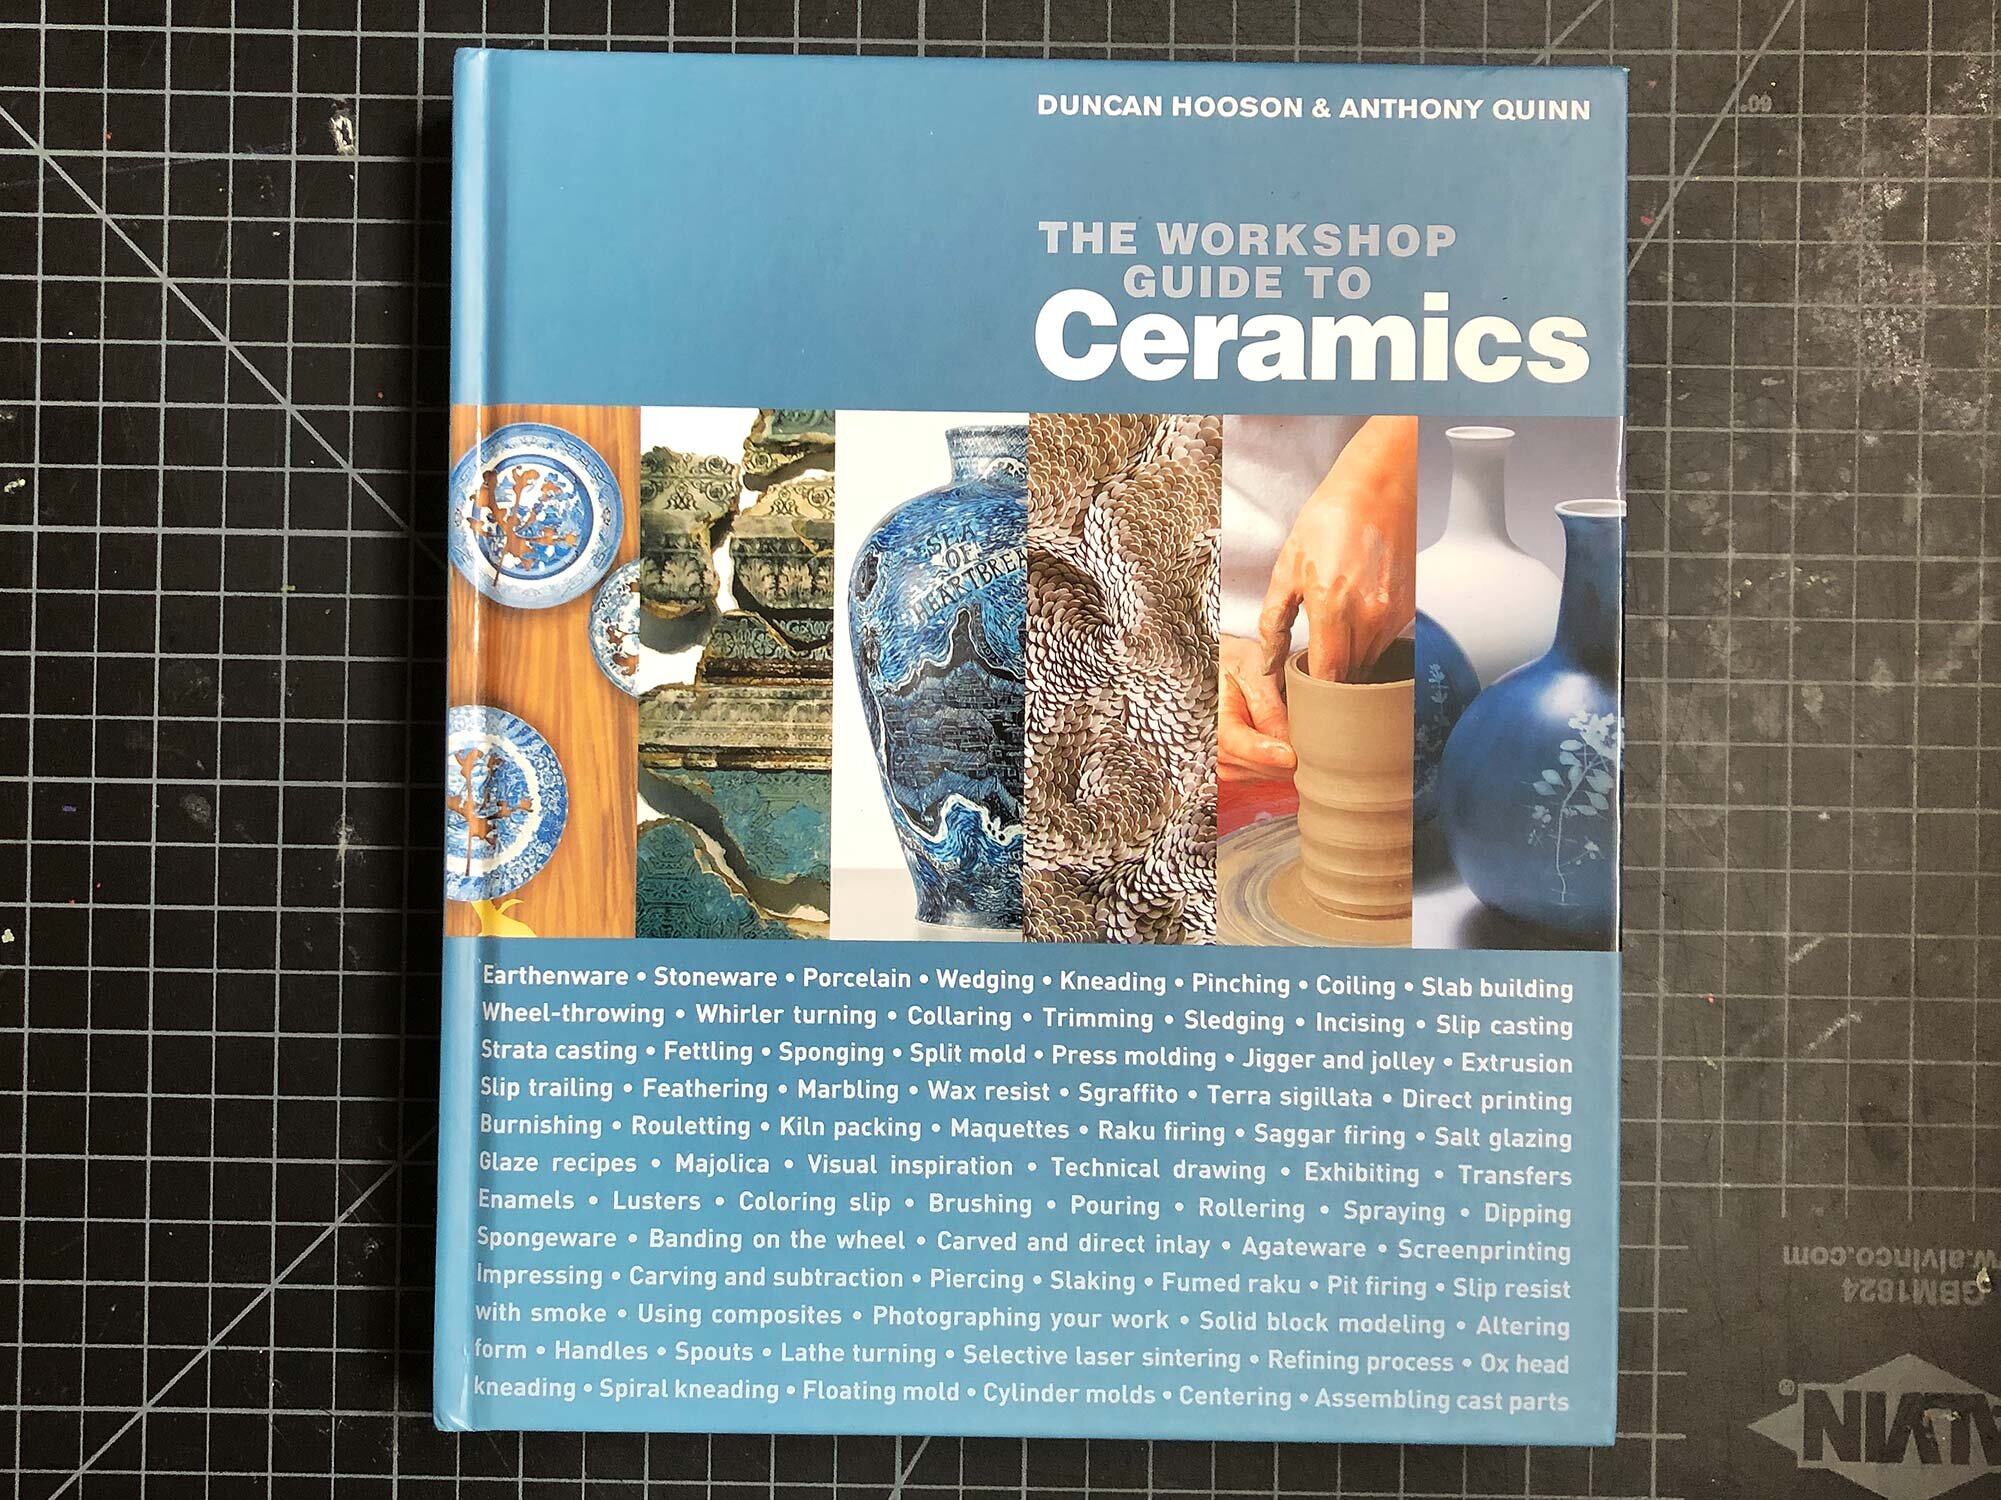
The Workshop Guide to Ceramics by Duncan Hooson and Anthony Quinn, our top pick for a ceramics textbook.
These days, there’s a ton of information, guides, and videos online that will help you learn about ceramics. But it can also be nice to have everything in well thought out and comprehensive book. This is especially the case when you are in the studio with dirty hands and it’s hard to use a device.
There are a lot of speciality books for ceramics, focusing on aspects such as wheel throwing or glazing, with more coming out every year. But the goal of this post is to review a few books that cover the whole spectrum of the ceramic process, not just one specialized area such as wheel throwing or hand building.
Many of these books are more than a decade old and out of print, but they still are good resources for a comprehensive overview of clay, pottery, and ceramics.
TOP PICK:
The Workshop Guide to Ceramics
By Duncan Hooson and Anthony Quinn, published 2012

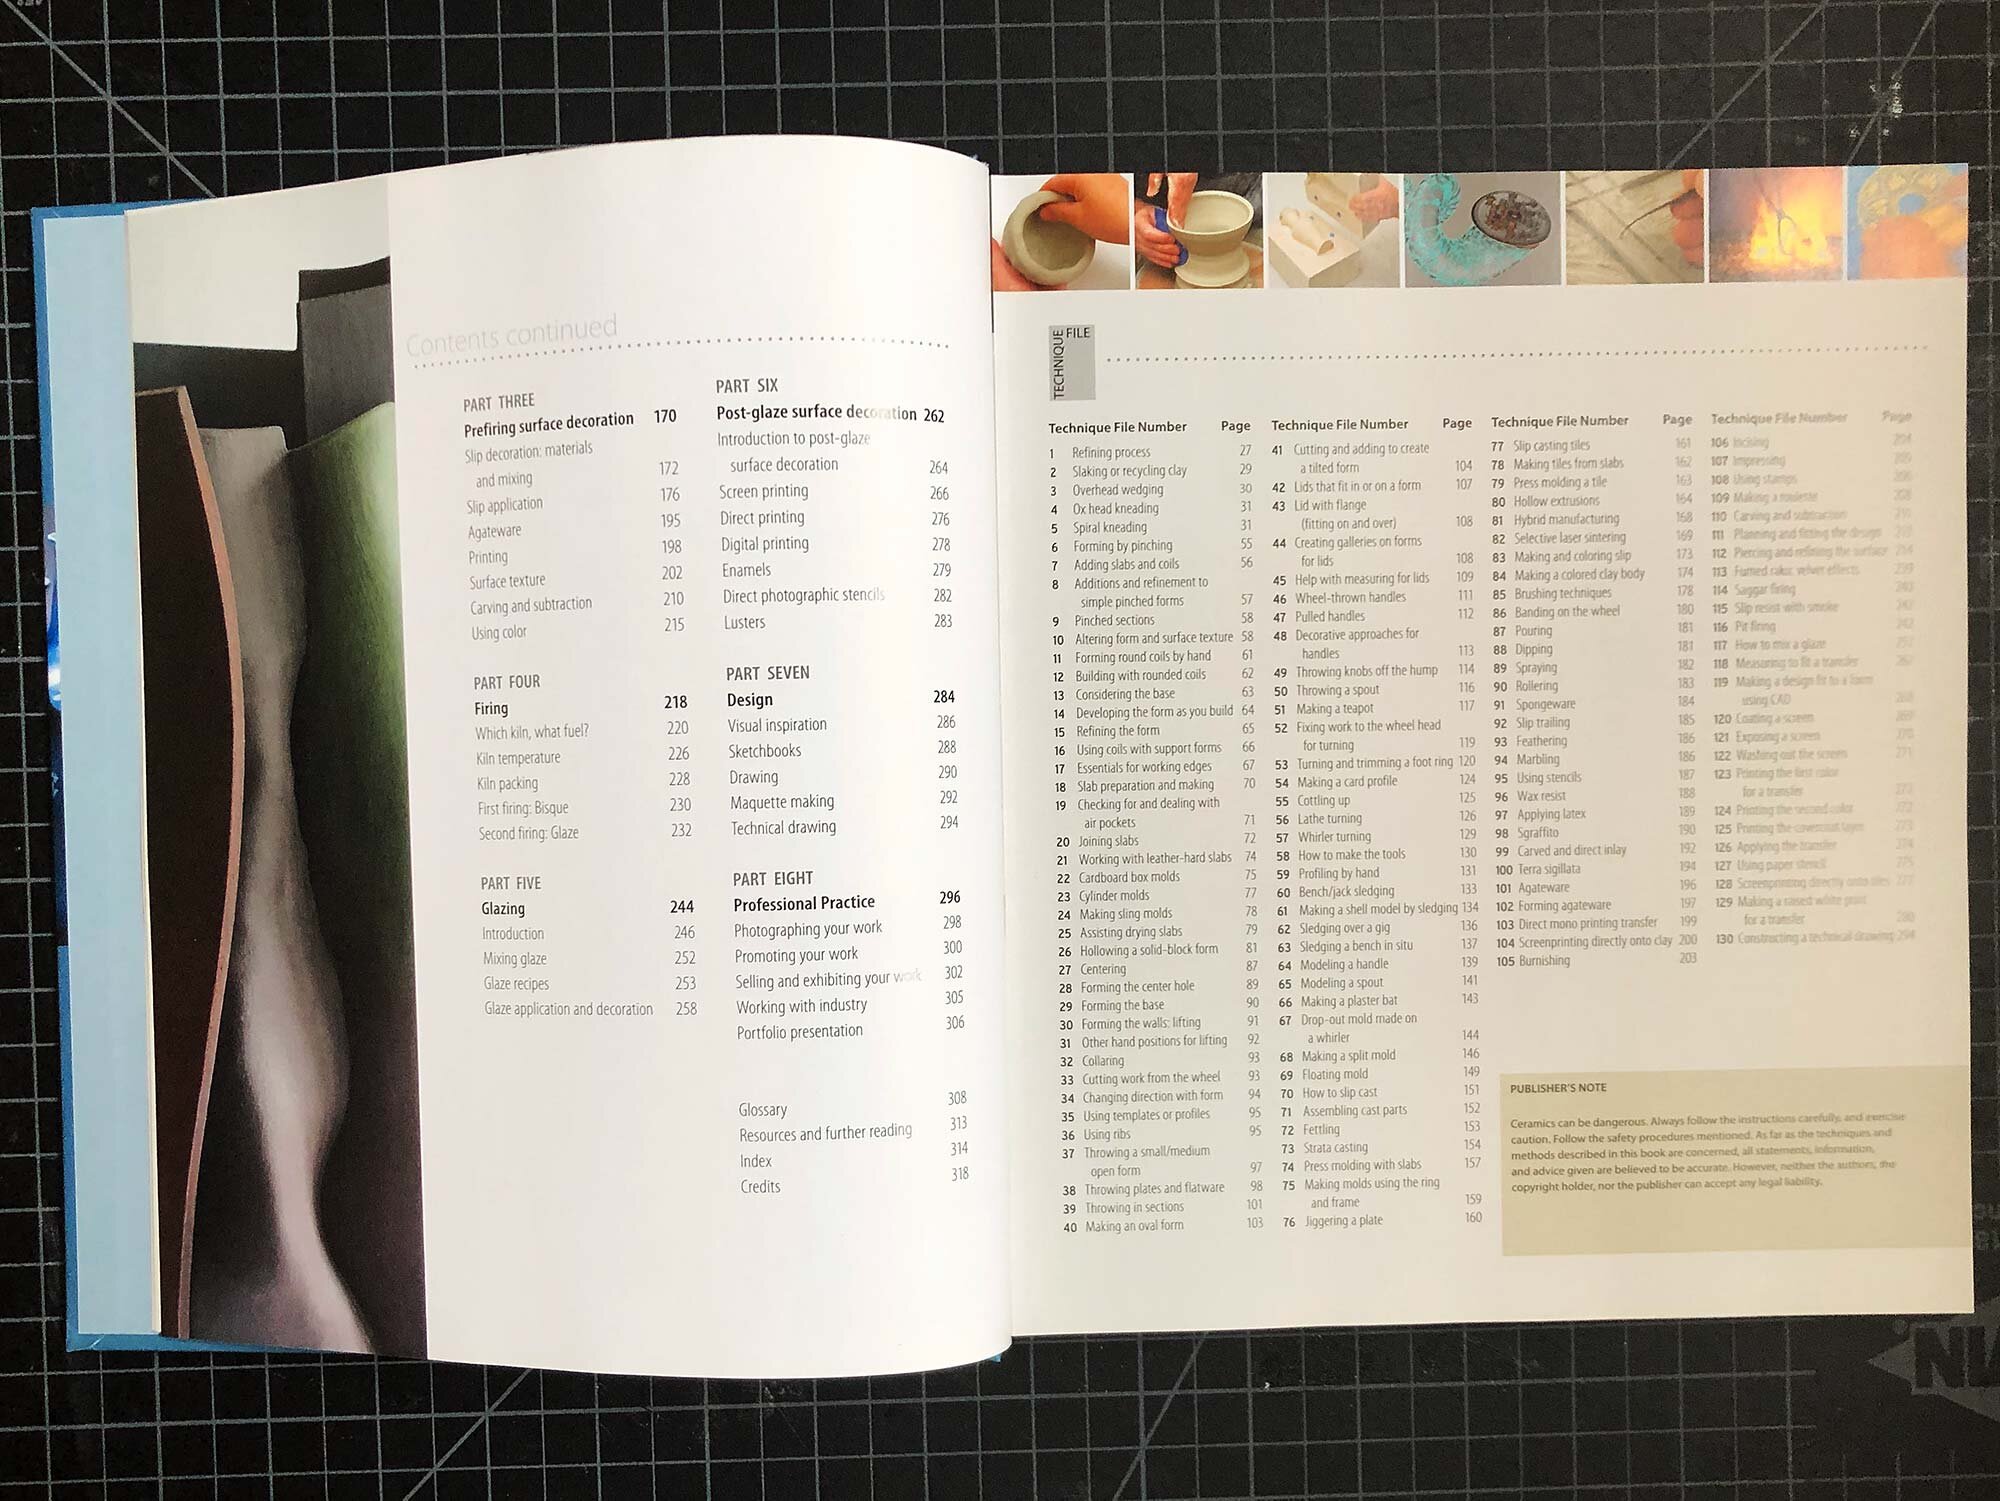
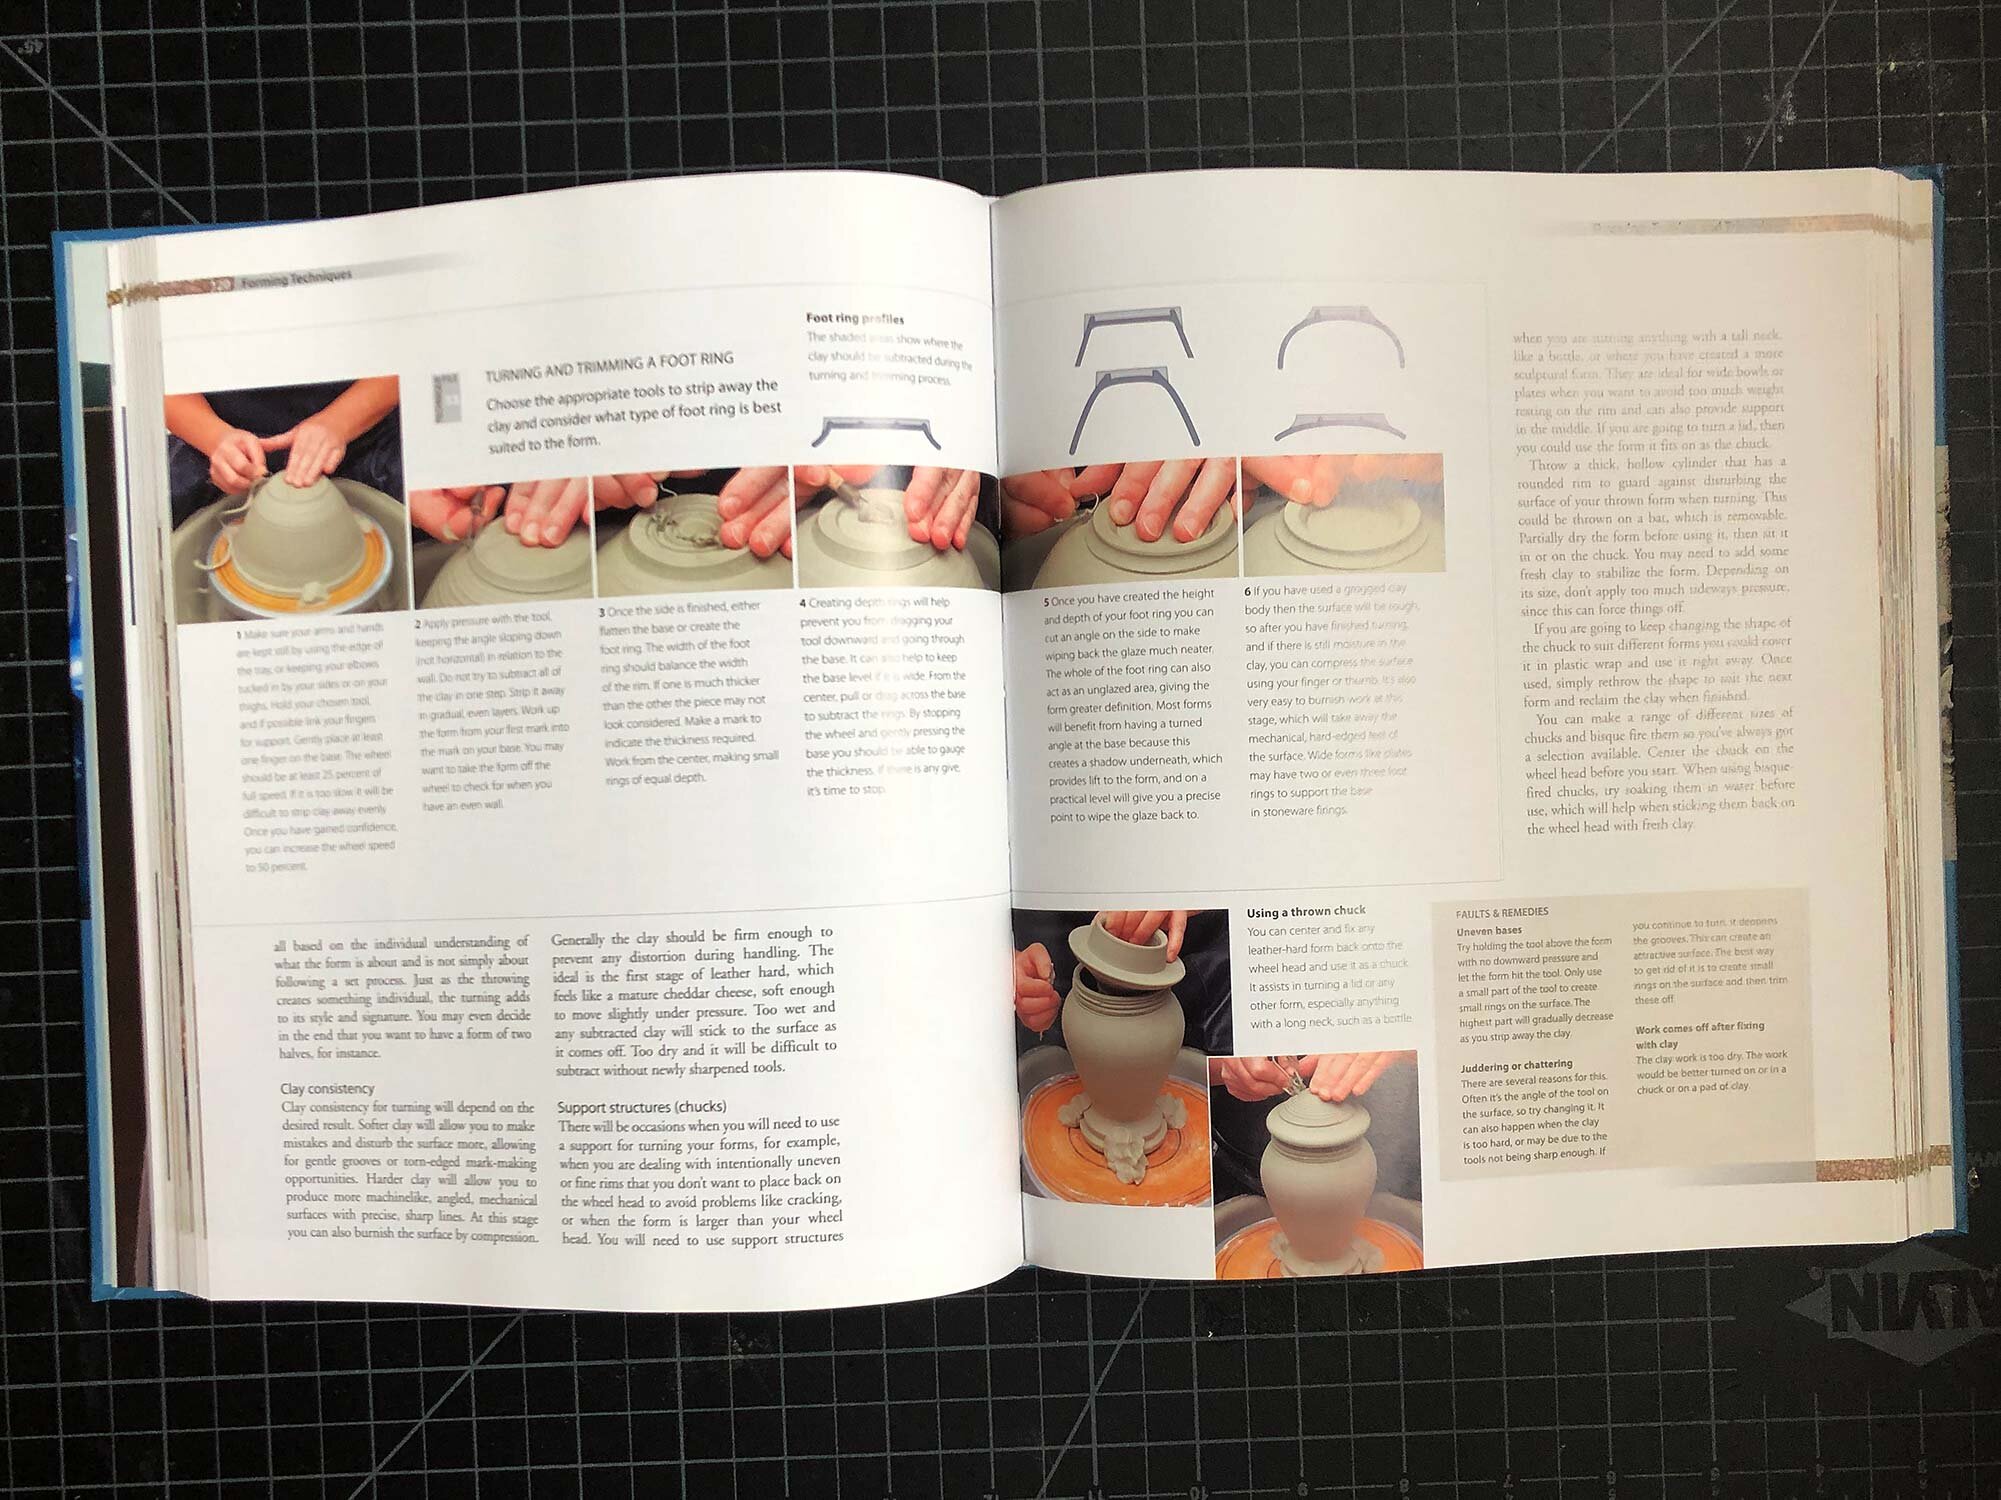
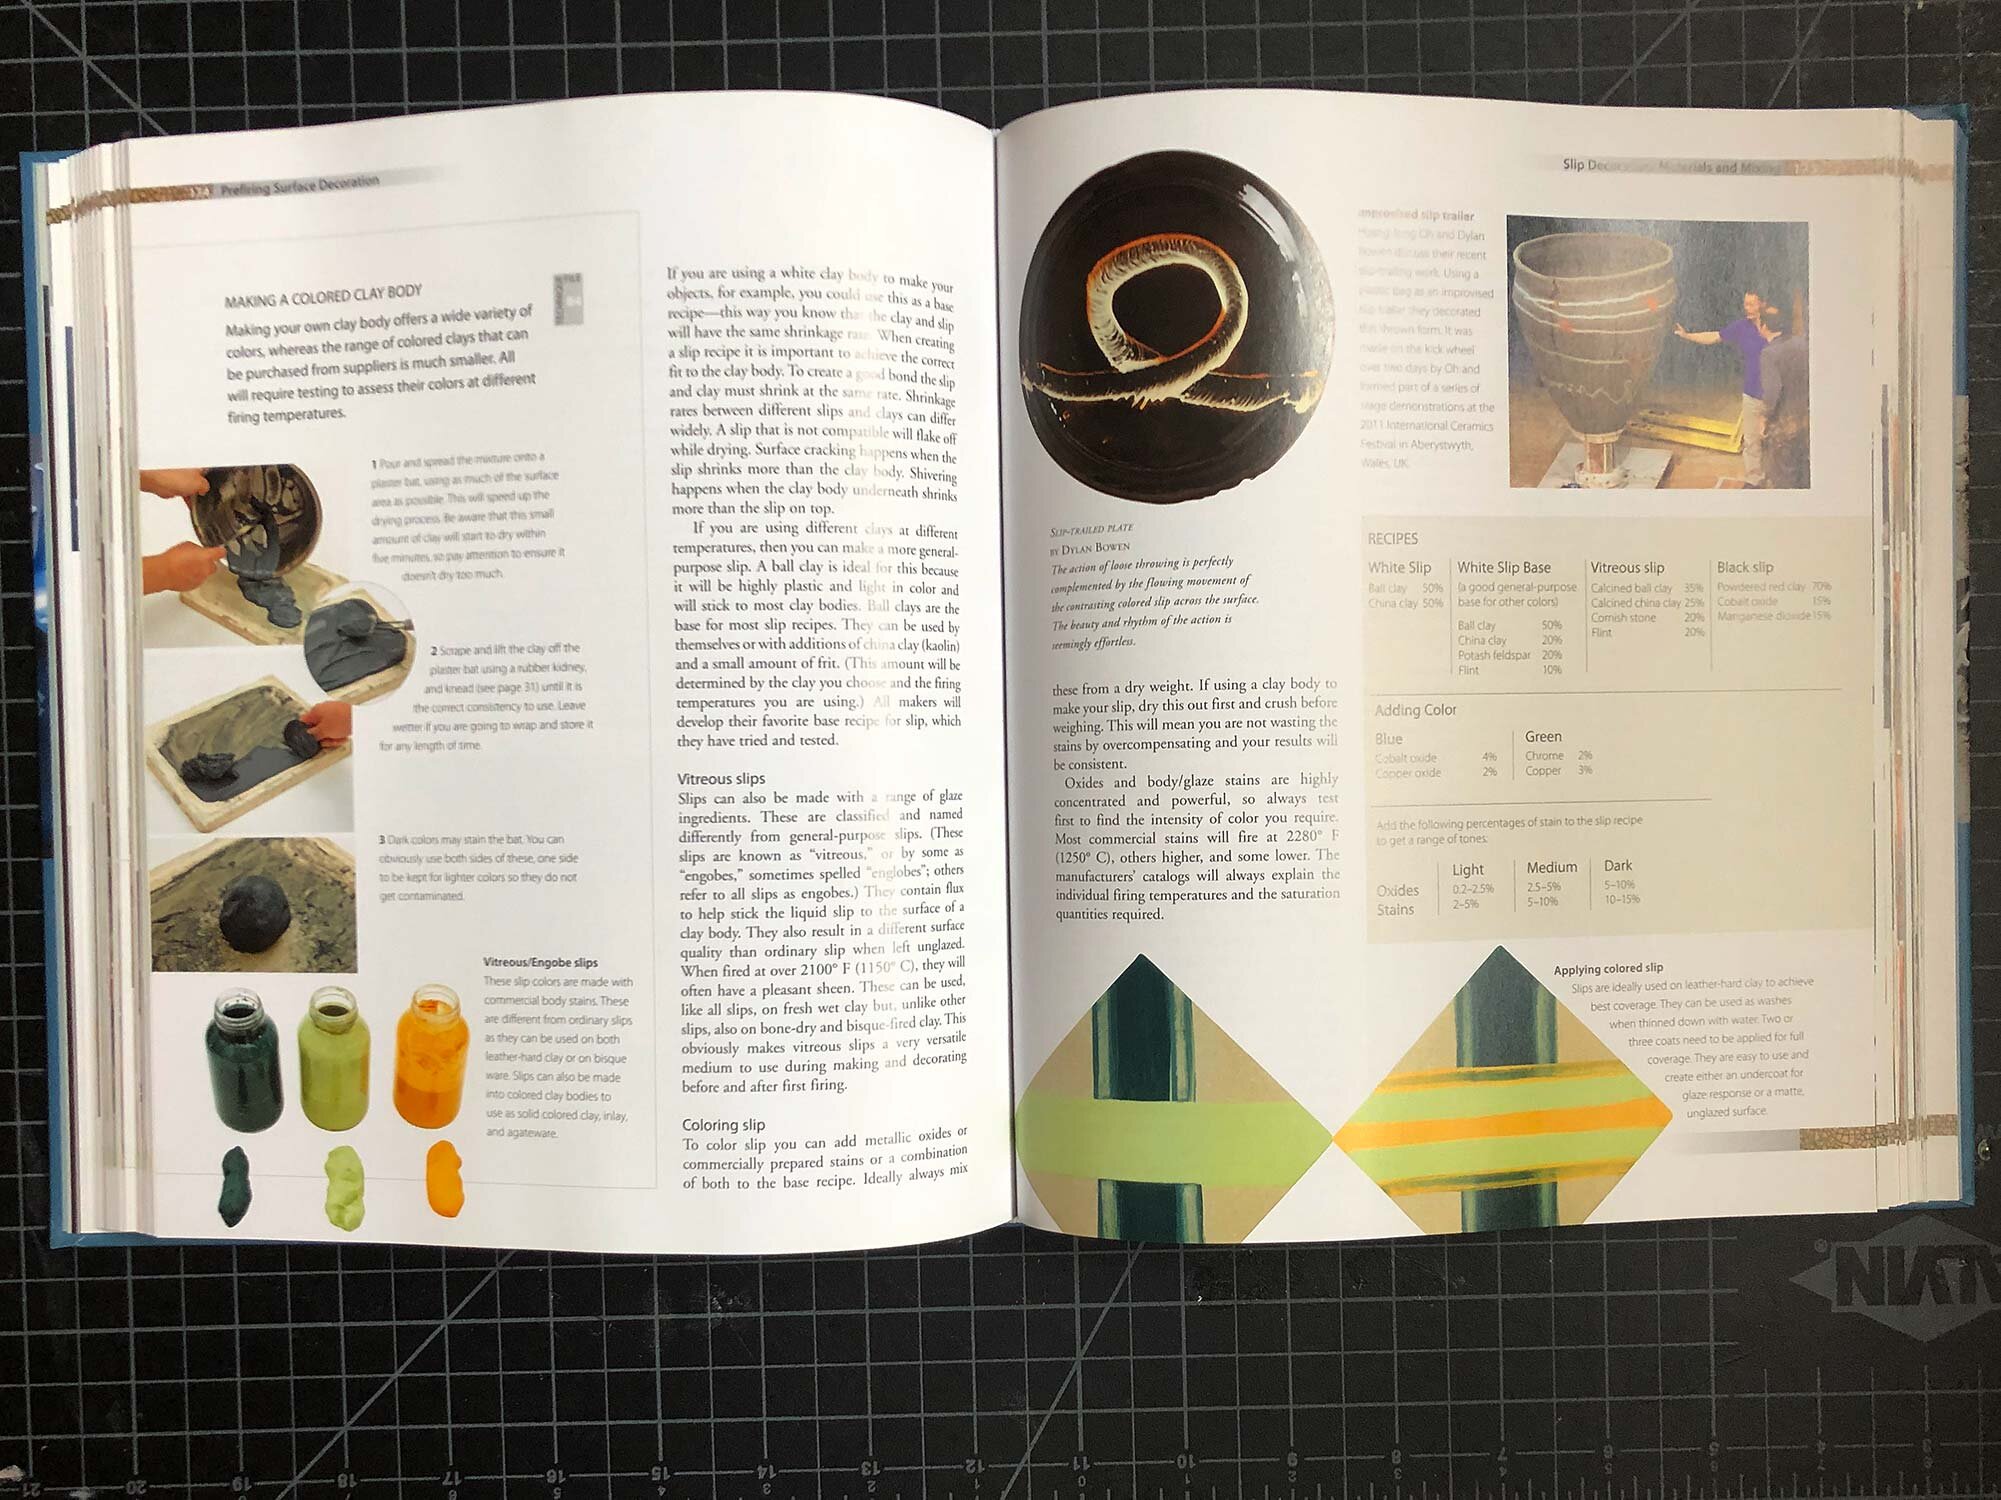
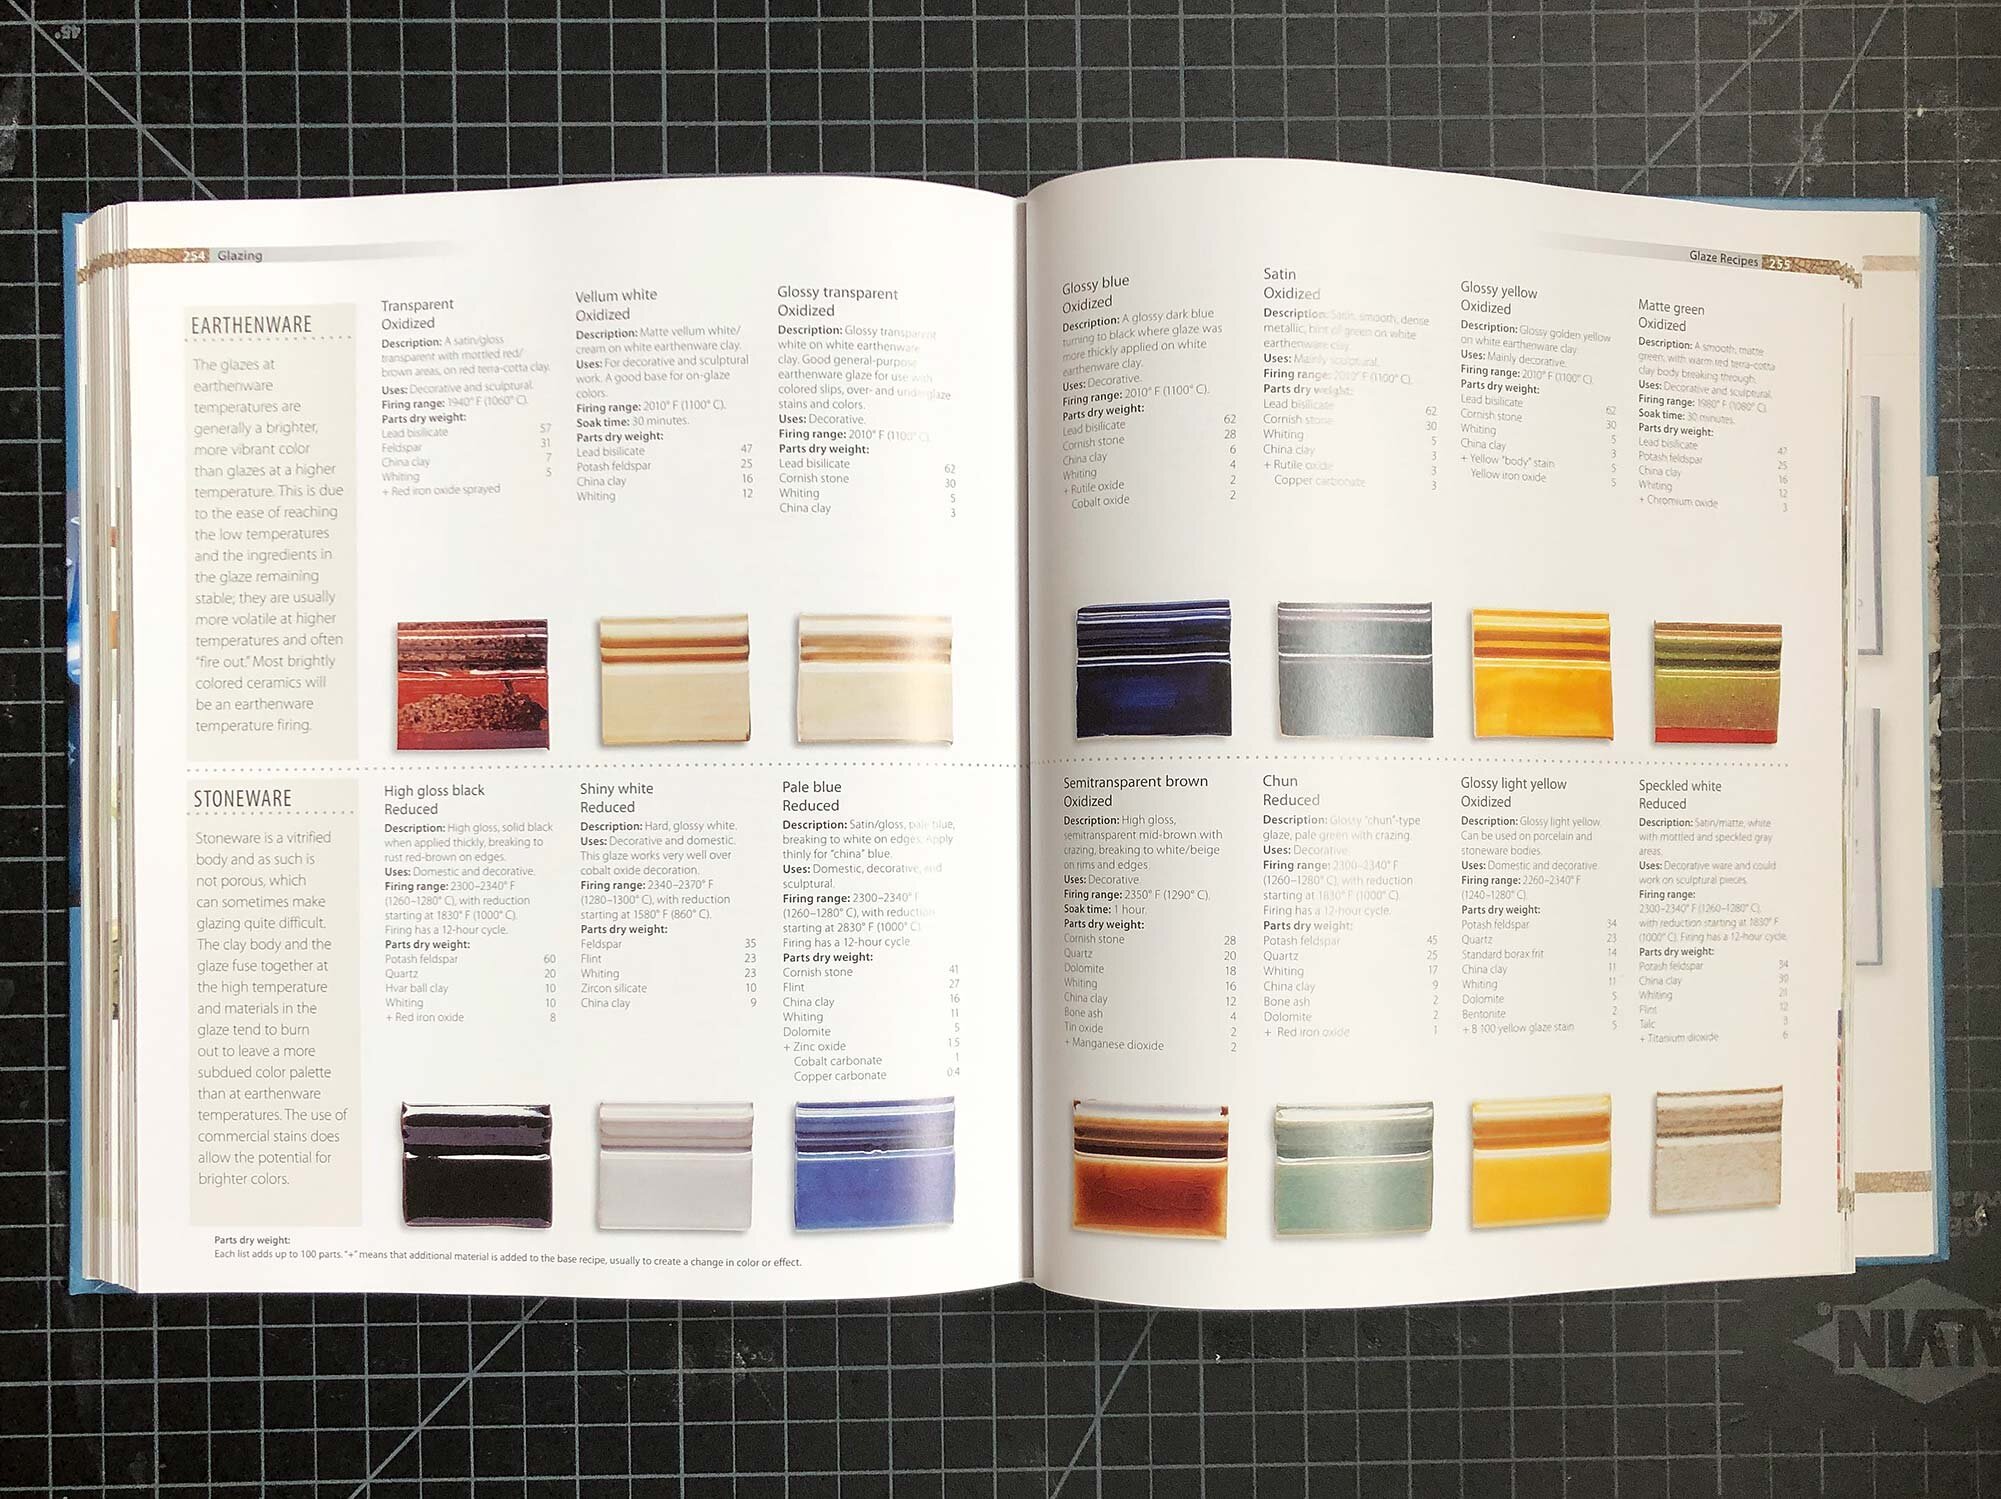
The top pick for a complete guide to clay is The Workshop Guide to Ceramics by Duncan Hooson and Anthony Quinn. Published by Barrons in 2012, the hardcover book has 320 pages full of information, technique, and full-color images. Divided into eight parts, the text covers everything from a beginner’s guide, forming techniques, glazing and firing, to thoughts on how to have a professional practice. It’s a remarkable book, both for the breadth of information covered and how it is accessible and useful for beginners and professionals alike. It’s also full of images that illustrate technique and lots of finished work by accomplished artists.
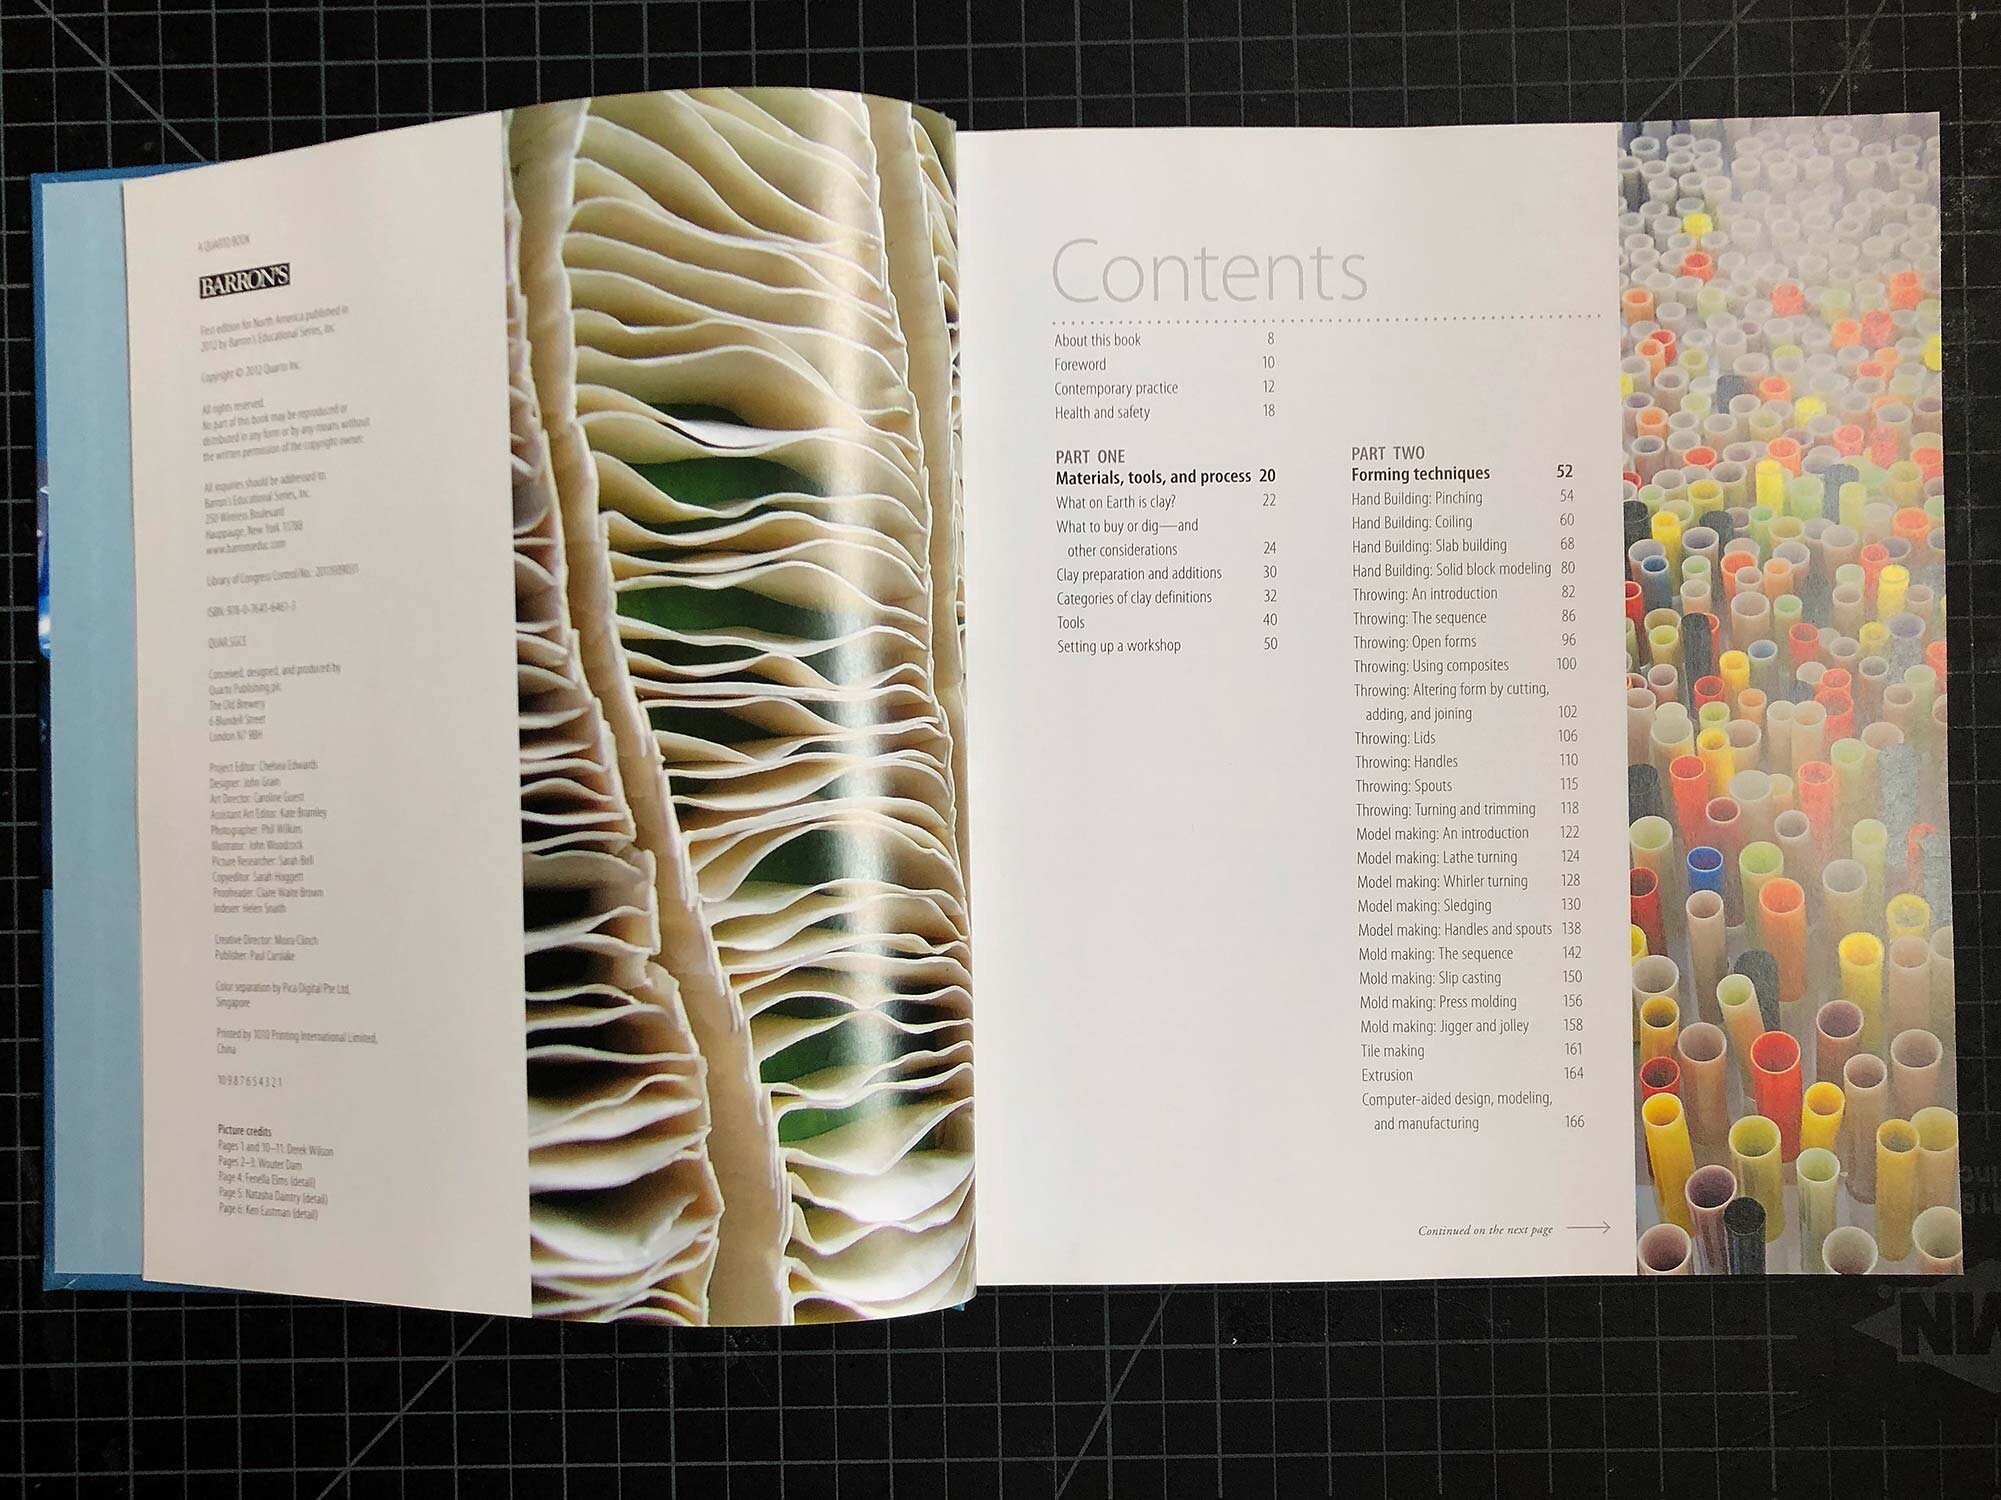
Written by artists and educators (Quinn is a professor at Central Saint Martins College of Art and Design in London and Hooson is a teacher in London) the book is the best laid out and comprehensive textbook on ceramics that I have seen. Handbuilding, mold making, wheel throwing, glazing, surface decoration, lathe turning, you name it—this book has info on it. Flip through the images above to see some inside shots of the book, including the table of contents.
As of this writing, the book appears to be out of print (like almost every book covered in this post) but it’s available used. This book is worth it.
Shop Hardcover version:
Note: There is also a newer, paperback option by the same authors from 2017 that appears to be the same book but with a different title called Ceramics: The Indispensable Guide.
Other options:
The following guides and textbooks are all great options for your studio too. Most of these books are out of print, but that means you can often find a great deal used. And the books are often full of great examples of artwork by a wide variety of potters, artists, and ceramic specialists.

The cover of the third edition of Working With Clay by Susan and Jan Peterson.
Working With Clay
By Susan and Jan Peterson, most recently published in 2009.
Working With Clay is full of color images throughout the book.
Working With Clay is a concise, illustrated guidebook of everything you need to know to work with clay and ceramic. It includes chapters on hand building, wheel throwing, glazing, firing, ceramic history, and a lot more. Written by ceramics legend Susan Peterson and her daughter Jan, it is illustrated throughout with many color photos. Although it is more than 10 years old, it contains all the main information you will need to get started with clay, and it has a lot more that makes it useful for advanced students and educators. Designed as a textbook, it’s still available used for around $30 at the time of this post. The color pictures in this text are great and the spiral binding makes it easy to leave open to the page you may need for reference.
Working With Clay by Susan and Jan Peterson, most recent edition is 2009 but any editions will be helpful reference books.
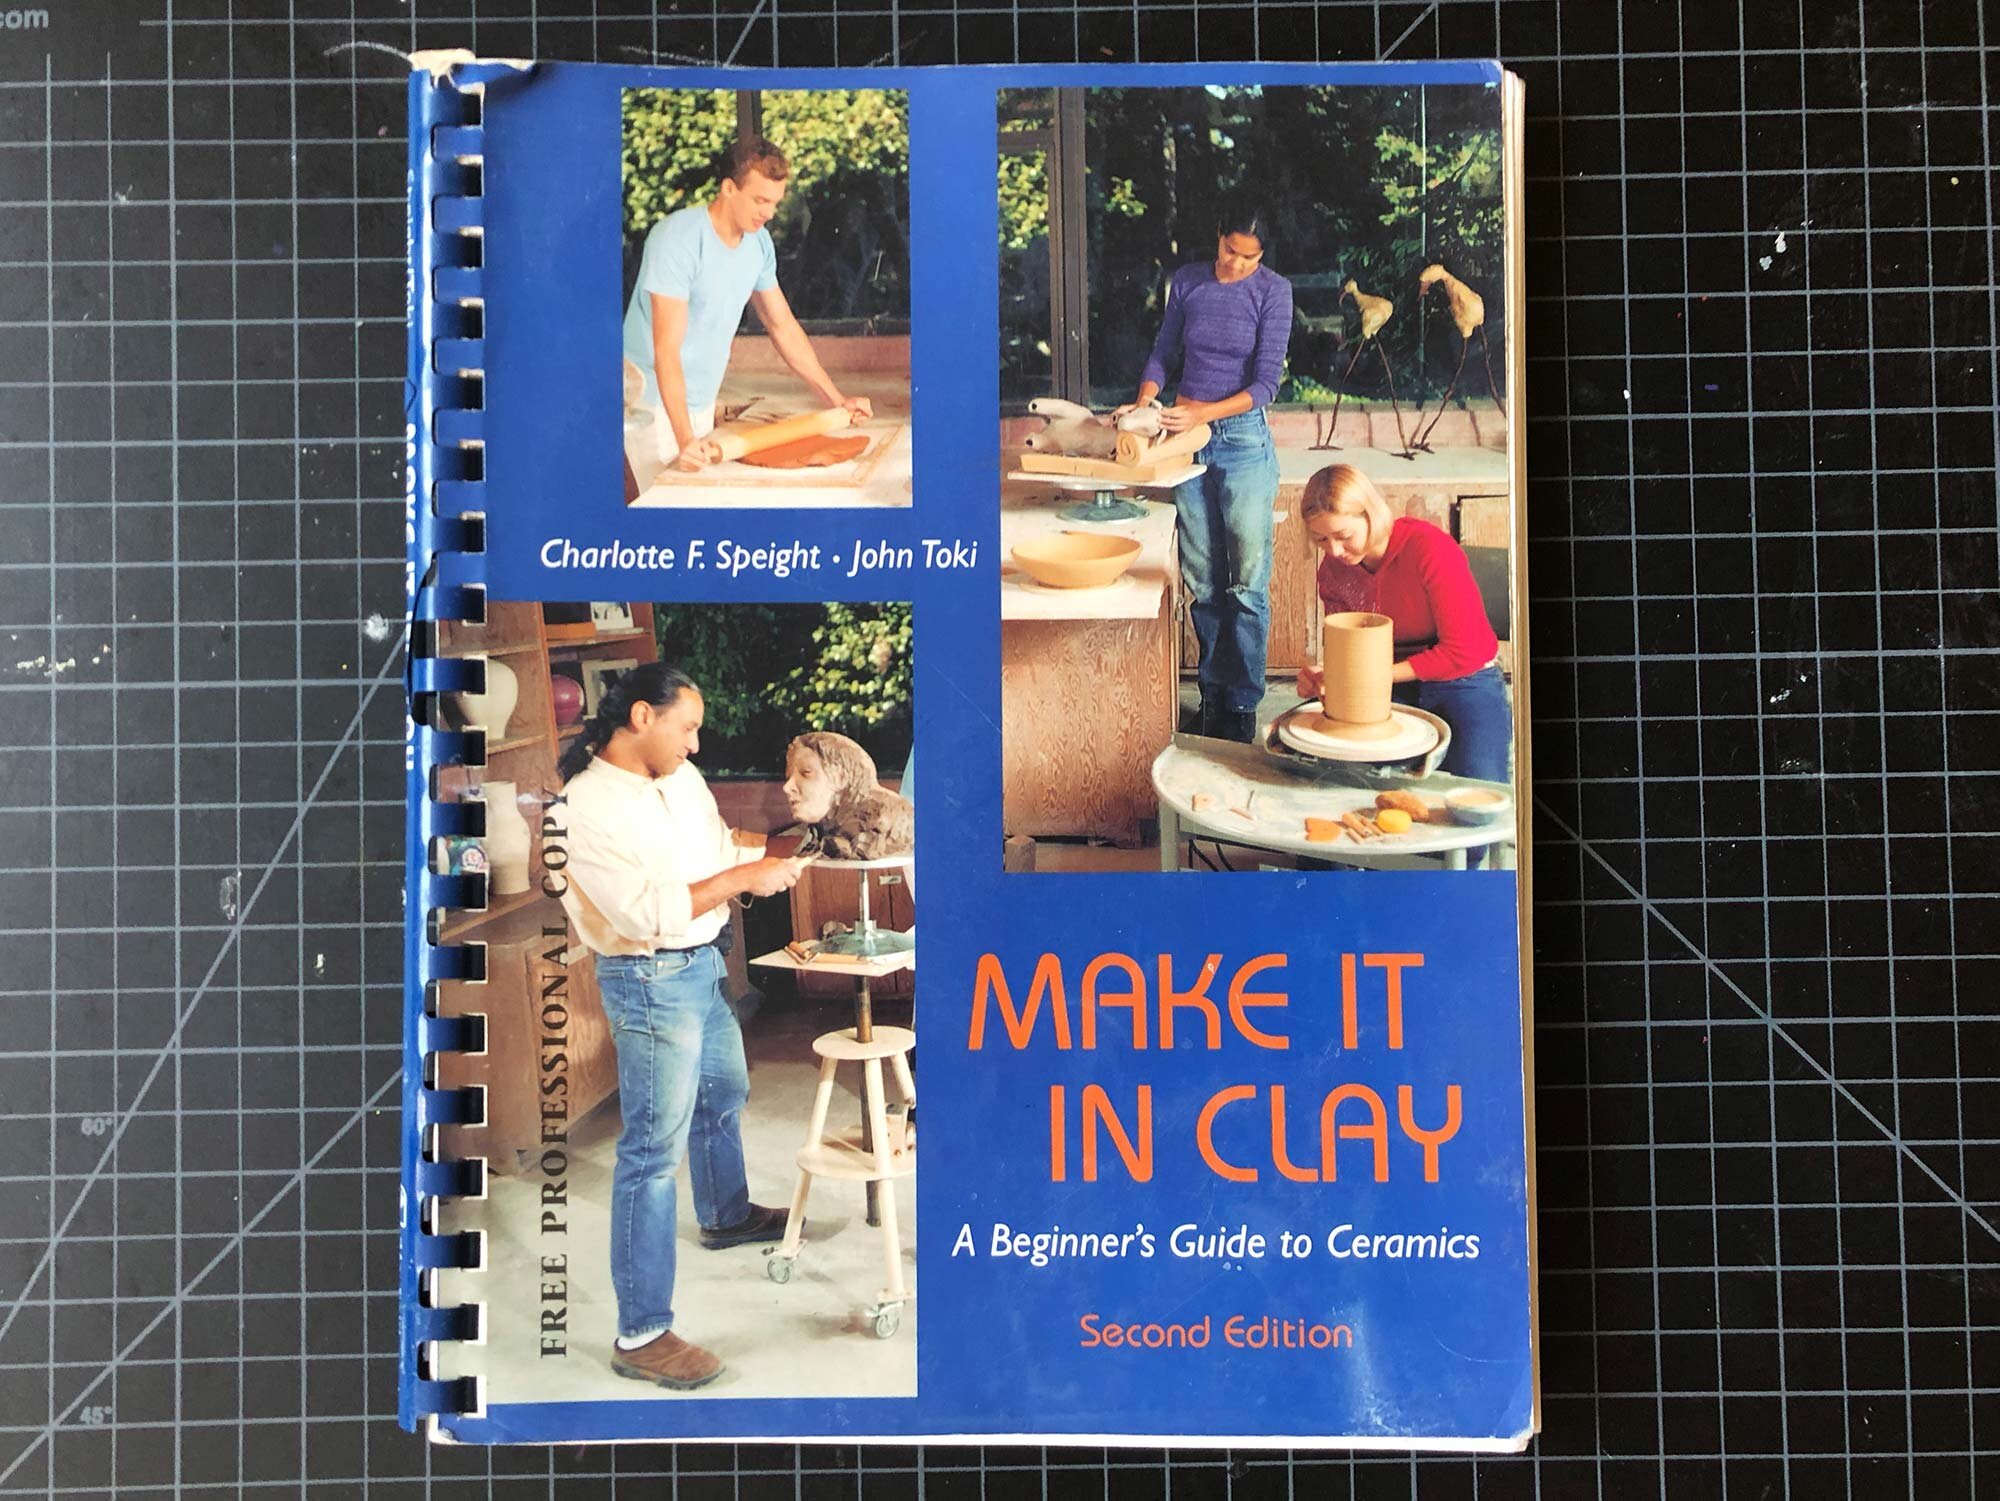
Although it’s almost 20 years old, Make It In Clay is still one of the best concise and comprehensive guidebooks to the ceramic process.
Make It In Clay: A Beginner’s Guide to Ceramics
By Charlotte F. Speight and John Toki, most recent edition is 2001

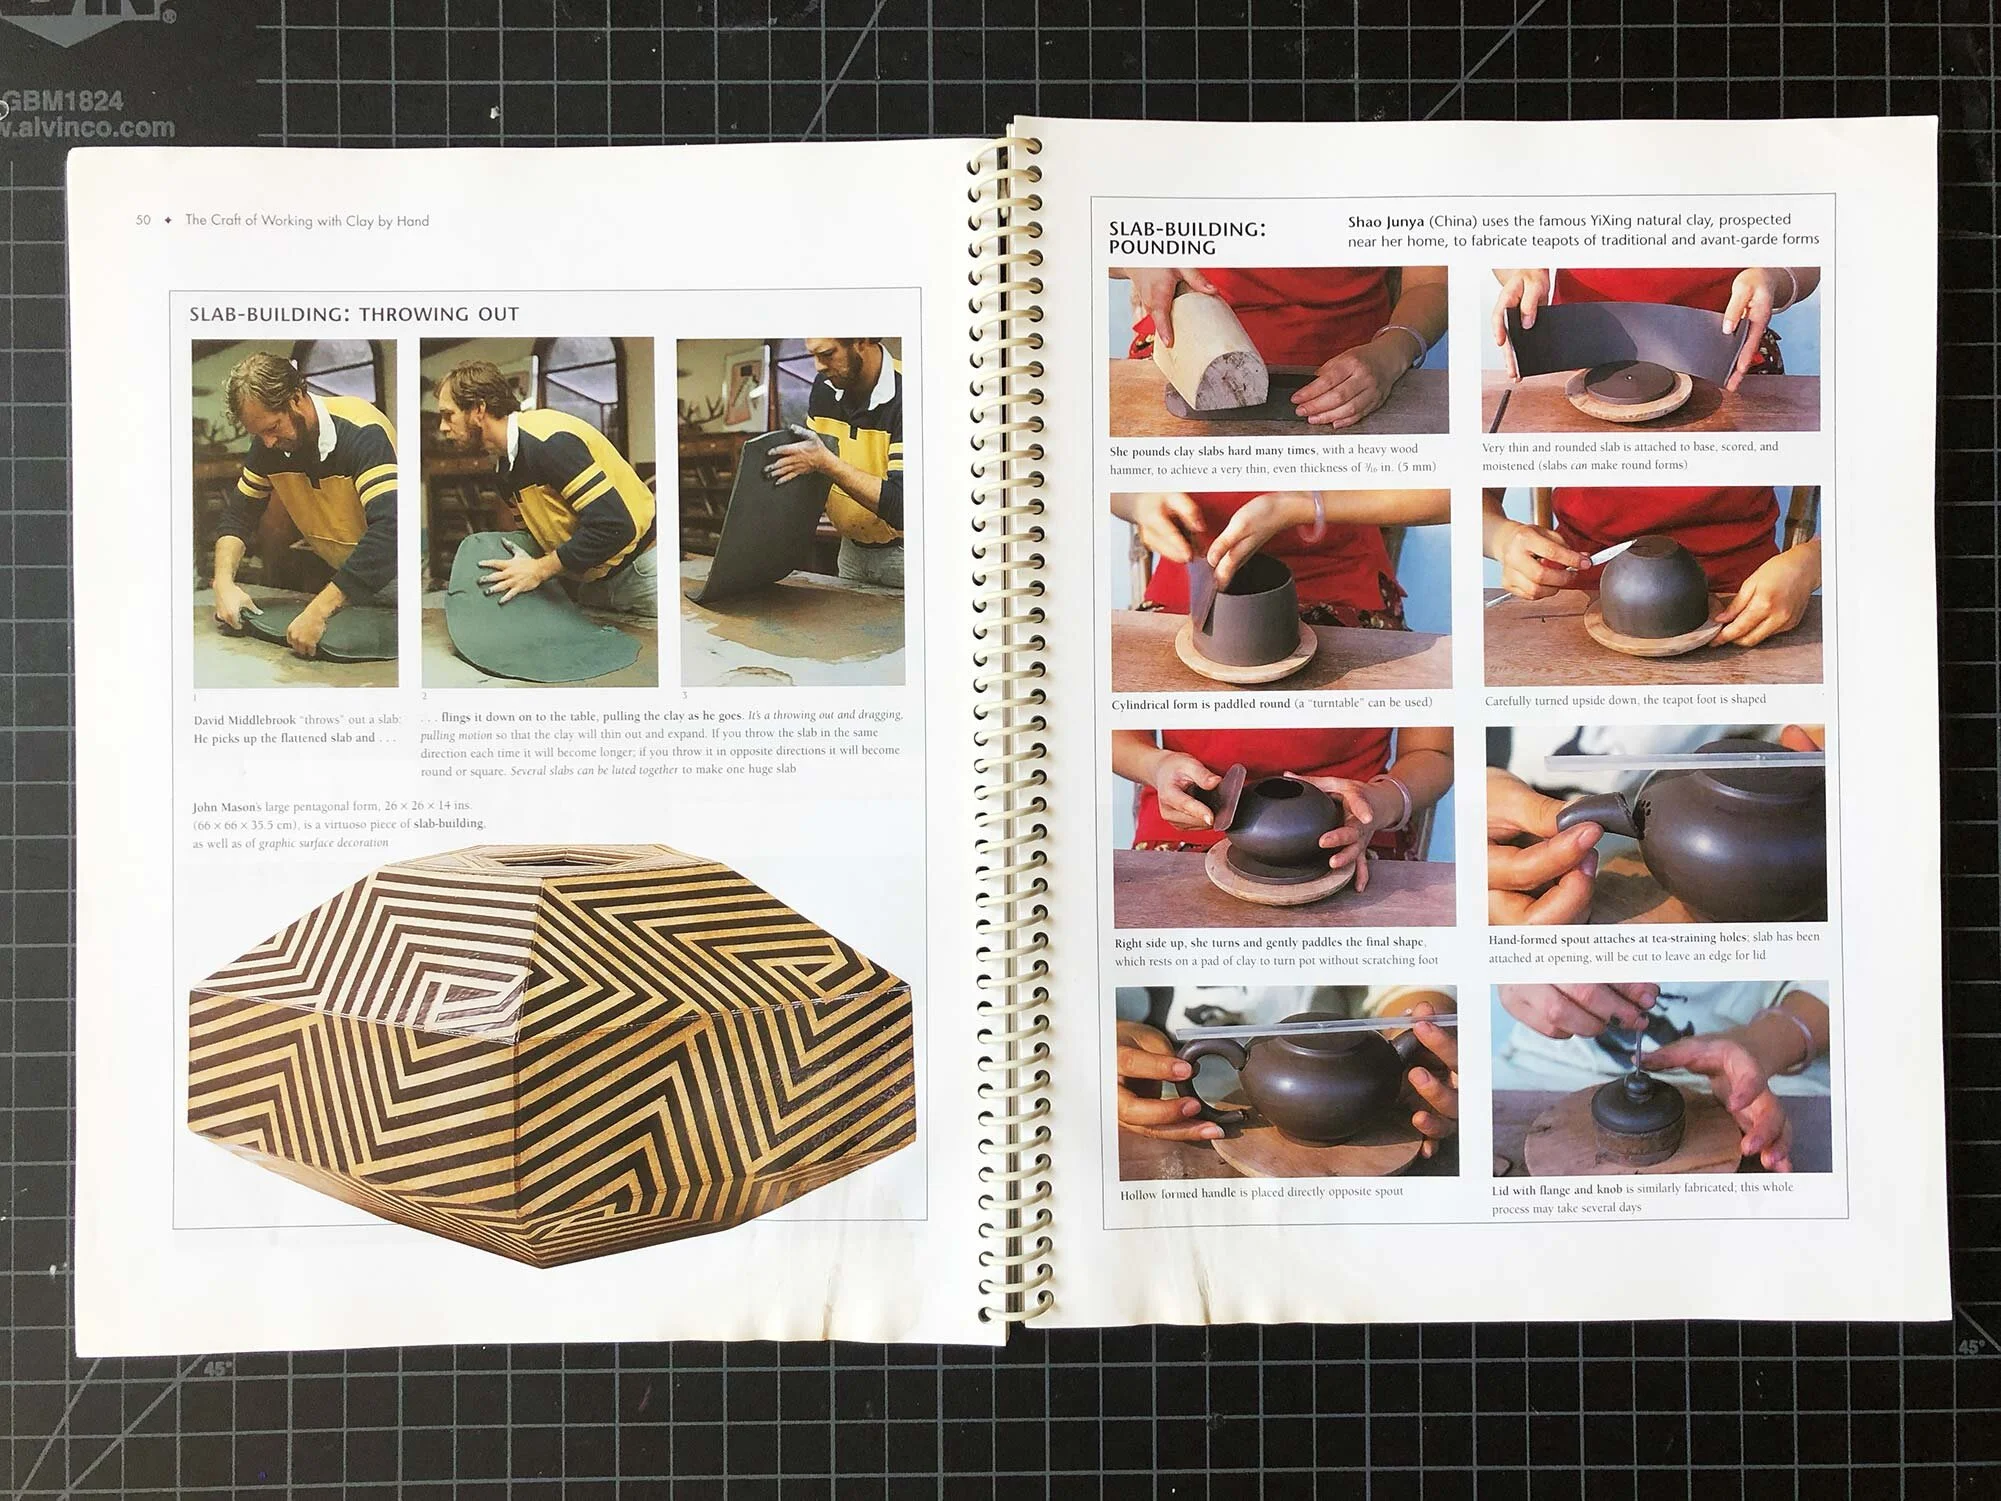
An interior page spread from Make It In Clay.
Almost 20 years old, this is still one of the best options for a comprehensive but concise overview to all aspects of ceramics. Similar to Working With Clay, it can be found in an easy-to-use spiral binding. This book covers every aspect of clay and ceramics, and includes a lot of suggestions for projects to get started. The book is illustrated with just black and white photos, making it less visually dynamic than our top pick. But it has great info and although it is almost 20 years old, this is still a worthy addition to your ceramic library. The information in the book is clearly presented, easy to follow, and covers all the basics. I’ve seen used copies online for between $20 and $40, which is a great deal for the amount of info packed into this book.
Make it in Clay, by Charlotte F. Speight and John Toki, 2001

The cover of the fourth edition (2003) of The Craft and Art of Clay, a ceramic textbook by Susan and Jan Peterson.
The Craft and Art of Clay
By Susan and Jan Peterson, multiple editions but most recent is fifth edition, 2012
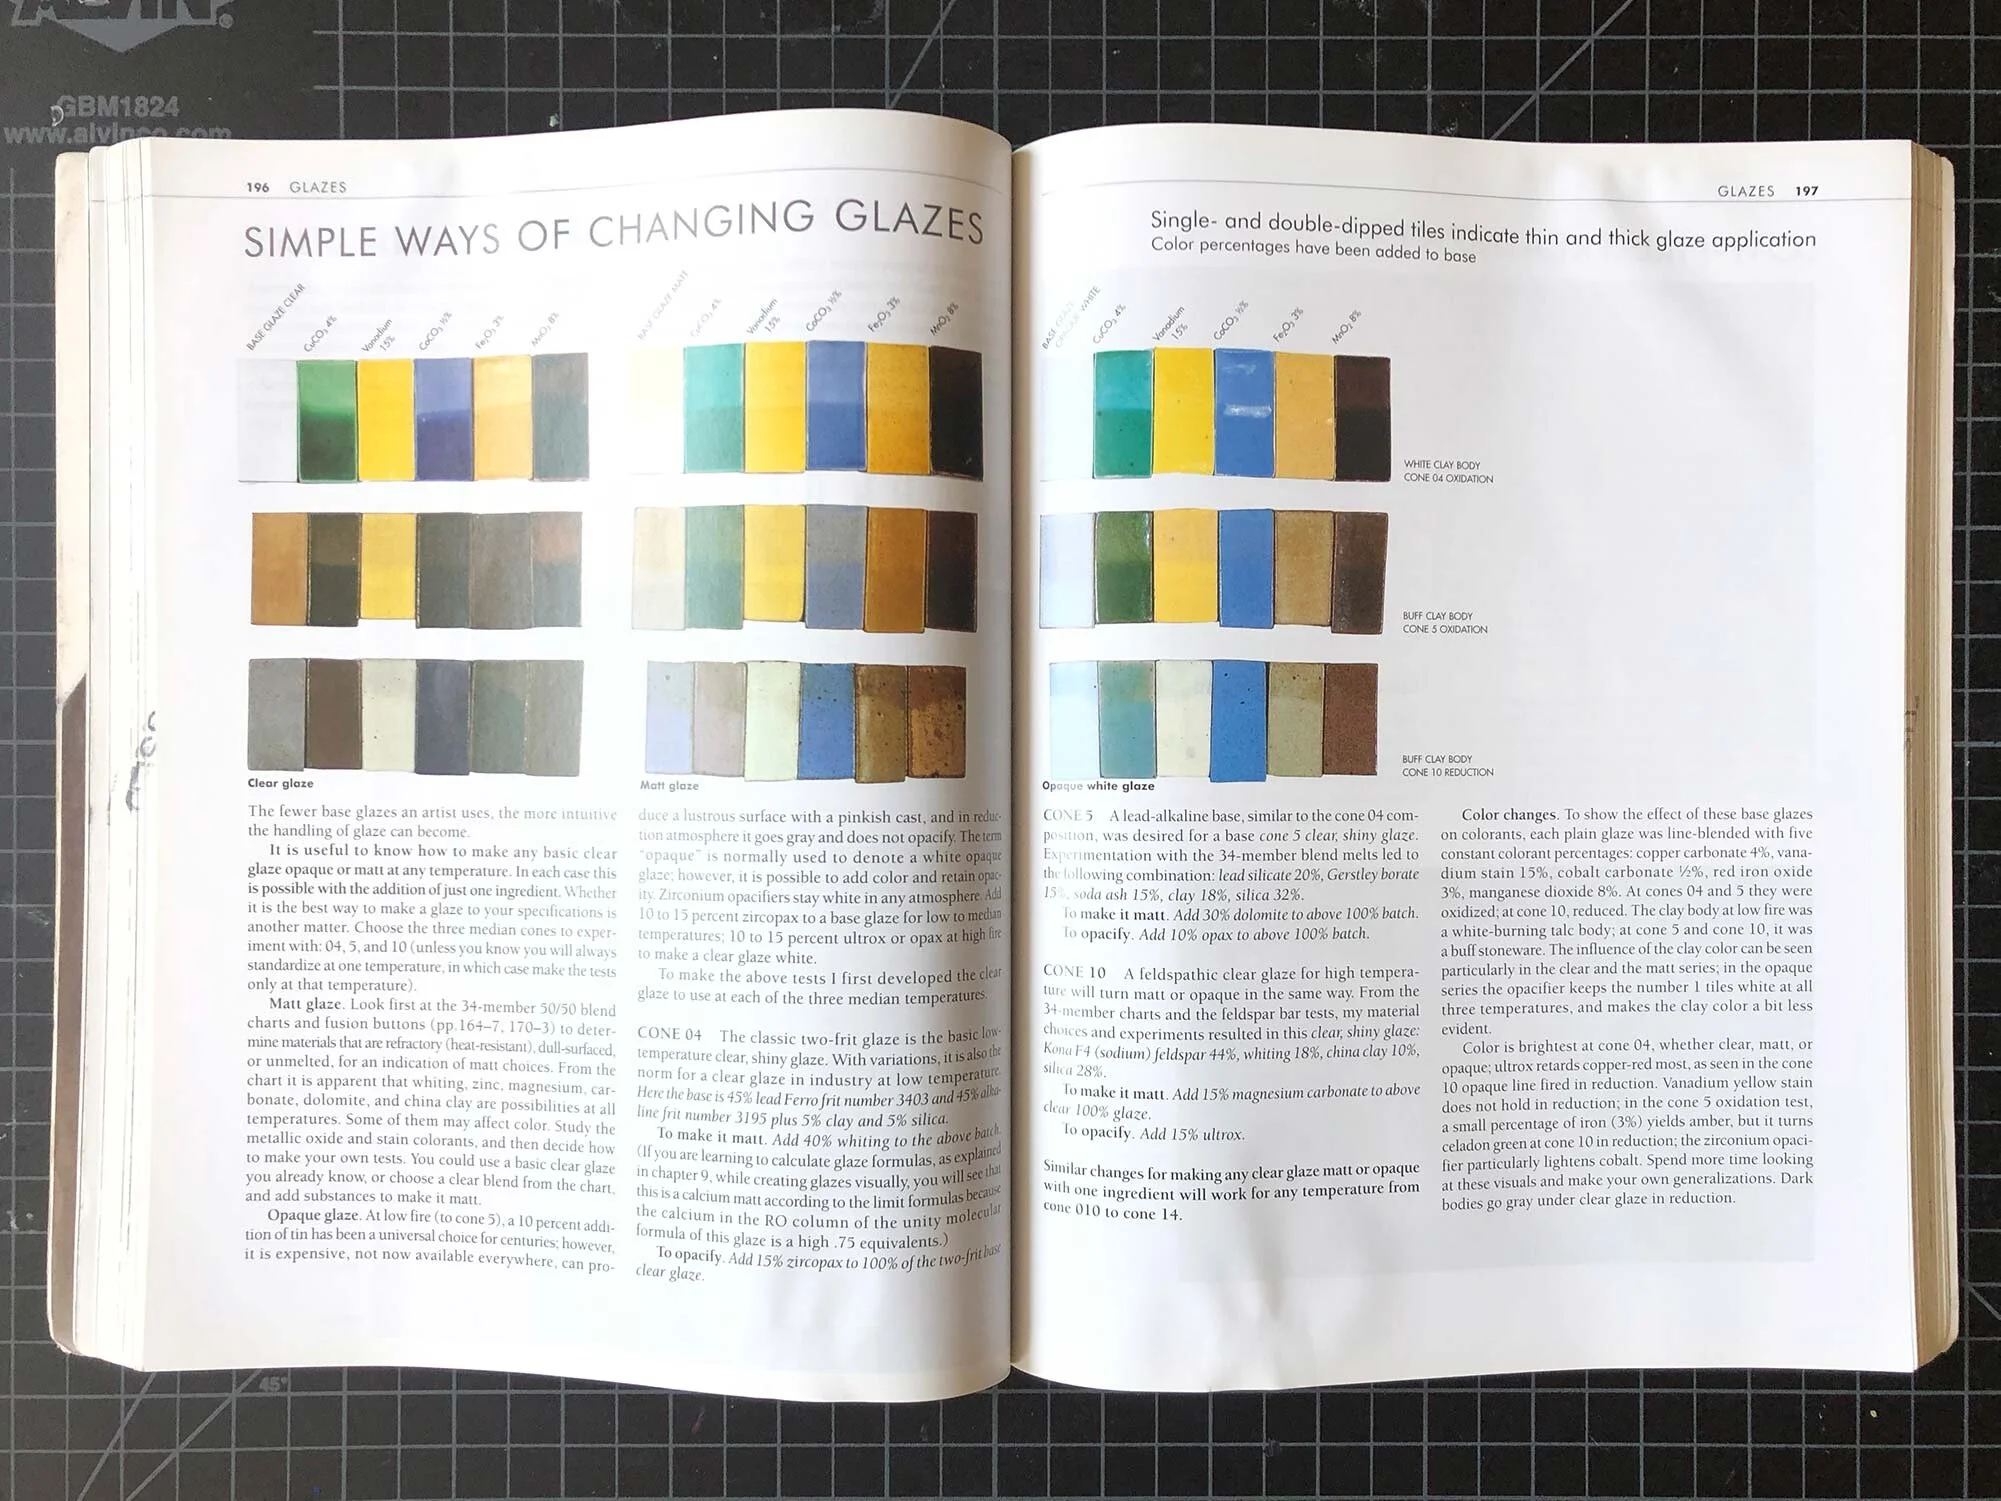
An interior spread from the 4th edition of The Craft and Art of Clay.
This is one of the most comprehensive guidebook / textbook covering ceramics. One Amazon reviewer describes it as the “end all, be all” of ceramic books. It has plenty of information for beginners, including step-by-step instructions. But it goes so much deeper than Working With Clay, which is by the same mother-daughter team, including a serious amount of ceramic history, profiles of contemporary artists, chart after chart of technical information. Written as a textbook for college classes, this is the book you’ll want if you are super serious about ceramics. I have owned the 3rd edition since I started working with clay, and after all these years I’ll flip it open and find new information or a deeper understanding of something I’m researching, such as glaze materials or firing info.
The book is illustrated with a combination of color and black and white photographs. The book is out of print and though any edition is probably fine, I would look for a used copy of either the fourth (2003) or fifth (2012) edition. At the time of this post, used prices for these editions were around $20 to $80 depending the the edition and condition of these books. The 3rd edition (1999) is often under $10 used and is great too, it’s just missing a bit of the updated information.
The Craft and Art of Clay, by Susan and Jan Peterson, various editions.

Hands in Clay
by Charlotte F. Speight and John Toki, multiple editions, most recent is 2003
Hands in Clay is the other option if you are looking for a big, comprehensive ceramics textbook. Continuously updated since the 1970s, this book has everything you need to get started in clay or if you are looking for one big book that is a ceramic reference. Full of how-tos, project ideas, and information on ceramic history, it’s a great option. The book is illustrated with a combination of color and black and white images. Of particular interest is the images and info detailing how to make large scale ceramic sculptures.
At the time of this post, used copies of the fifth edition ranged from $25 to $50, and the fourth edition was available for under $10. It’s a good deal for a large book!
Hands in Clay by Charlotte F. Speight and John Toki

An interior spread from the fifth edition of Hands in Clay, 2003
The Potter’s Dictionary of Material and Techniques
By Frank and Janet Hamer, sixth edition, 2015
Continuously updated for more than 20 years, this Ceramics Dictionary is a great resource for intermediate to advanced students and ceramic professionals. Arranged alphabetically, this is a well-researched and comprehensive resource. But the drawback of a dictionary versus a textbook, is that you need to know where to start, so if you are a beginner it’s best to start with one of the books listed above. But, this can be a fun book to just flip through and read an entry or two that catch your eye. Many potters and ceramists swear by this book and it’s a great addition to any ceramic studio or library.
The Potter’s Dictionary of Materials and Techniques, by Frank and Janet Hamer

The Potter’s Dictionary, sixth edition
The Ceramic’s Process: a Manual and Source of Inspiration for Ceramic Art and Design
By Anton Reijnders and the European Ceramic Work Centre
This 2005 book is an impressive overview of techniques, recipes, and working processes used at the European Ceramic Workcentre in the Netherlands. The EKWC is an international center where ceramic specialists help artists, designers, and architects realize their projects in clay and ceramics. Reijnders worked there for many years, and the book contains recipes, how-to guides, and lots of pictures. The recipes use European ingredients, which makes it a bit hard for someone working in the United States, but if you read it carefully you can translate the materials into something available at your local clay supplier in any country. The recipes are also on the more general side, so expect to do some testing to get things to work in your studio.

The Ceramic Process by Anton Reijnders
The best part of this book is the color photographs throughout. The EKWC has been a place where countless artists and designers have realized their projects, and this book documents much of that work from 1990 to 2005. There is probably no better guide to this period of large-scale ceramic sculpture in Europe, and for that alone, the book is worth it. There is also information on paper clay, large-scale plaster sculptures, and other adventurous approaches to clay, making this a useful resource for ceramic sculptors and designers.
Out of print, this hardcover book is often listed at $200 to $500 used. If you see a copy available for $150 or less, it’s probably worth it. Or see if you can find a copy at your local library. The book was around $60-80 when it was in print. But it is a unique book that does cover every part of working with clay.
The Ceramic Process by Anton Reijnders, 2005
Summary
This post has covered a variety of ceramic guidebooks and textbooks. Although so much information is available online, it can still be useful to have a book where the information is laid out thematically or by alphabetically order. Due to changes in publishing, many of these books are out of print. However, the information is still good and a reference book can be a vital resource in the studio.
For more posts on books and ideas, click here.
Do you have any favorite ceramic guidebooks? Let us know in the comments.