This is a test of the bisque crackle slip commonly known as Rhodes Crackle Slip or Oestreich Slip. It is typically recommended as a Cone 10 recipe, but I noticed the same recipe was listed in John Britt’s Complete Guide to Mid-Range Glazes without zircopax (It’s also in Britt’s high fire book but with zircopax). To determine the difference, I tested the slip with and without zircopax in a cone 6 oxidation firing, on two different clay bodies, and with both brushing and dipping. Zircopax is typically a whitener / opacifier but can also stiffen glazes, so I was interested to see what it did in this recipe.
Results:
The recipe without zircopax appears to be more suitable for cone 6. It doesn’t crack quite as much, but it also didn’t flake off. The slip with zircopax was more stiff and a bit flaked off the thickest brushing tests, and larger pieces flaked off the extra-thick parts of the dipped test, especially on red stoneware.
Your results will vary, so definitely test! Also, this bisque slip is often recommended for use underneath other glazes. In that case, mixing it with our without zircopax may not make much of a difference as the other glaze can help attach pieces to your ware. The slip can also be mixed with oxides and stains. You could also vary the borax to see what happens with melting and adhesion, or try substituting gerstley borate for borax.
Cone 6 Bisque Crackle Slip
| Ingredient | Percentage | 1000g batch |
|---|---|---|
| Custer Feldspar | 20 | 200g |
| Glomax (Calcined Kaolin) | 20 | 200g |
| Silica | 20 | 200g |
| Kaolin (EPK used in these tests) | 15 | 150g |
| OM4 Ball Clay | 15 | 150g |
| Borax | 5 | 50g |
| |
||
| For a stiffer or cone 10 slip, add: | ||
| Zircopax | 5 | 50g |
Methodology:
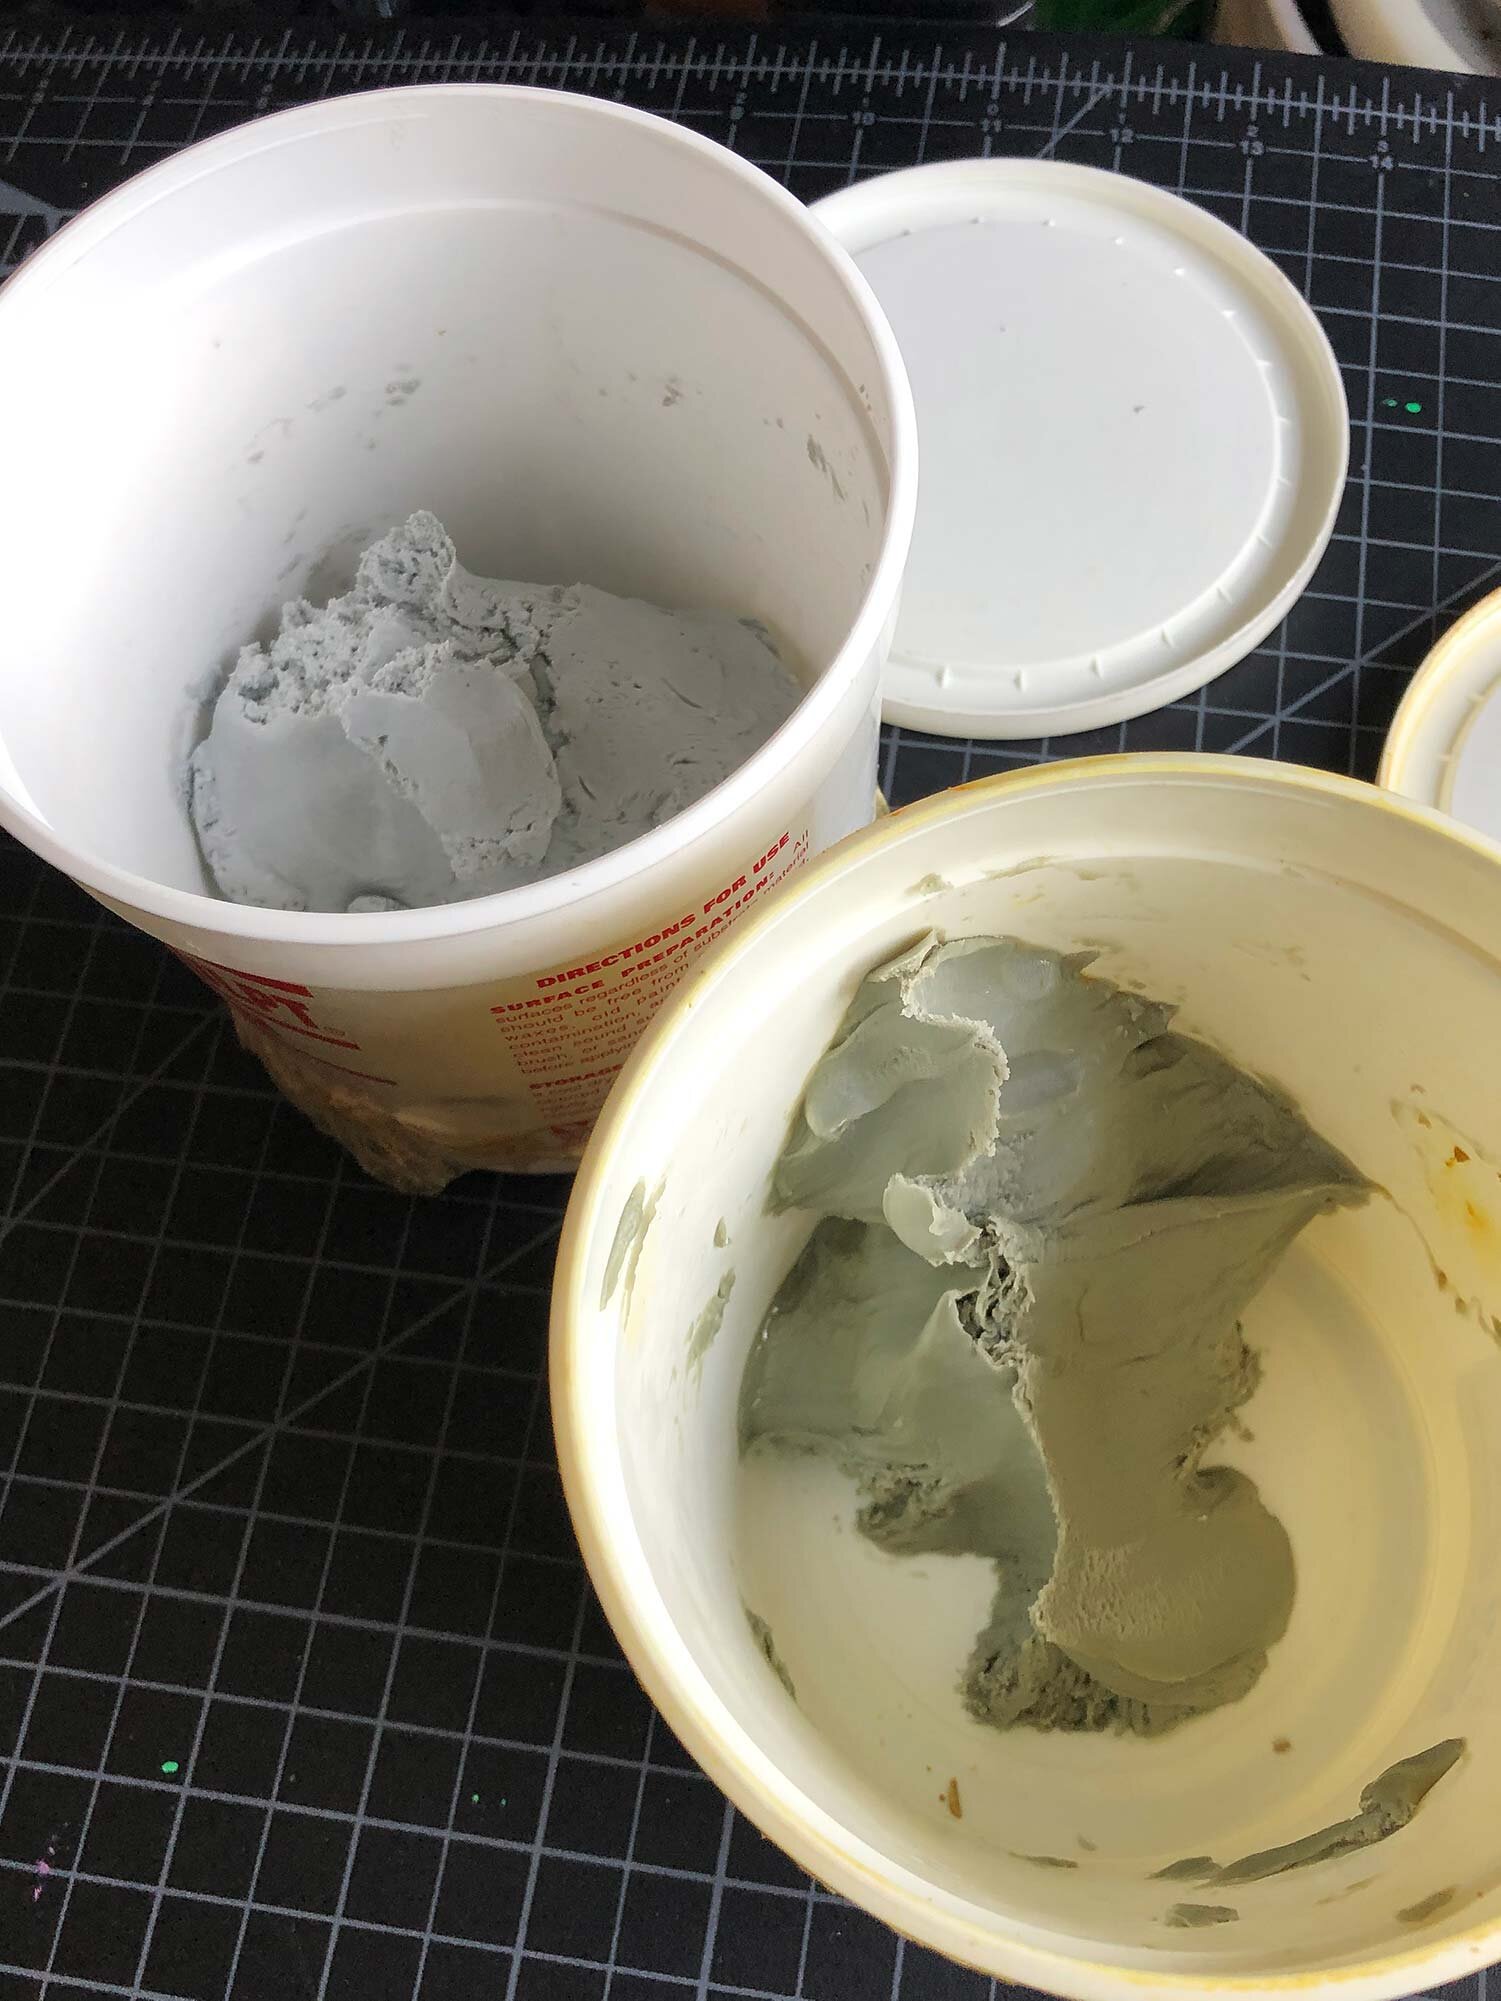
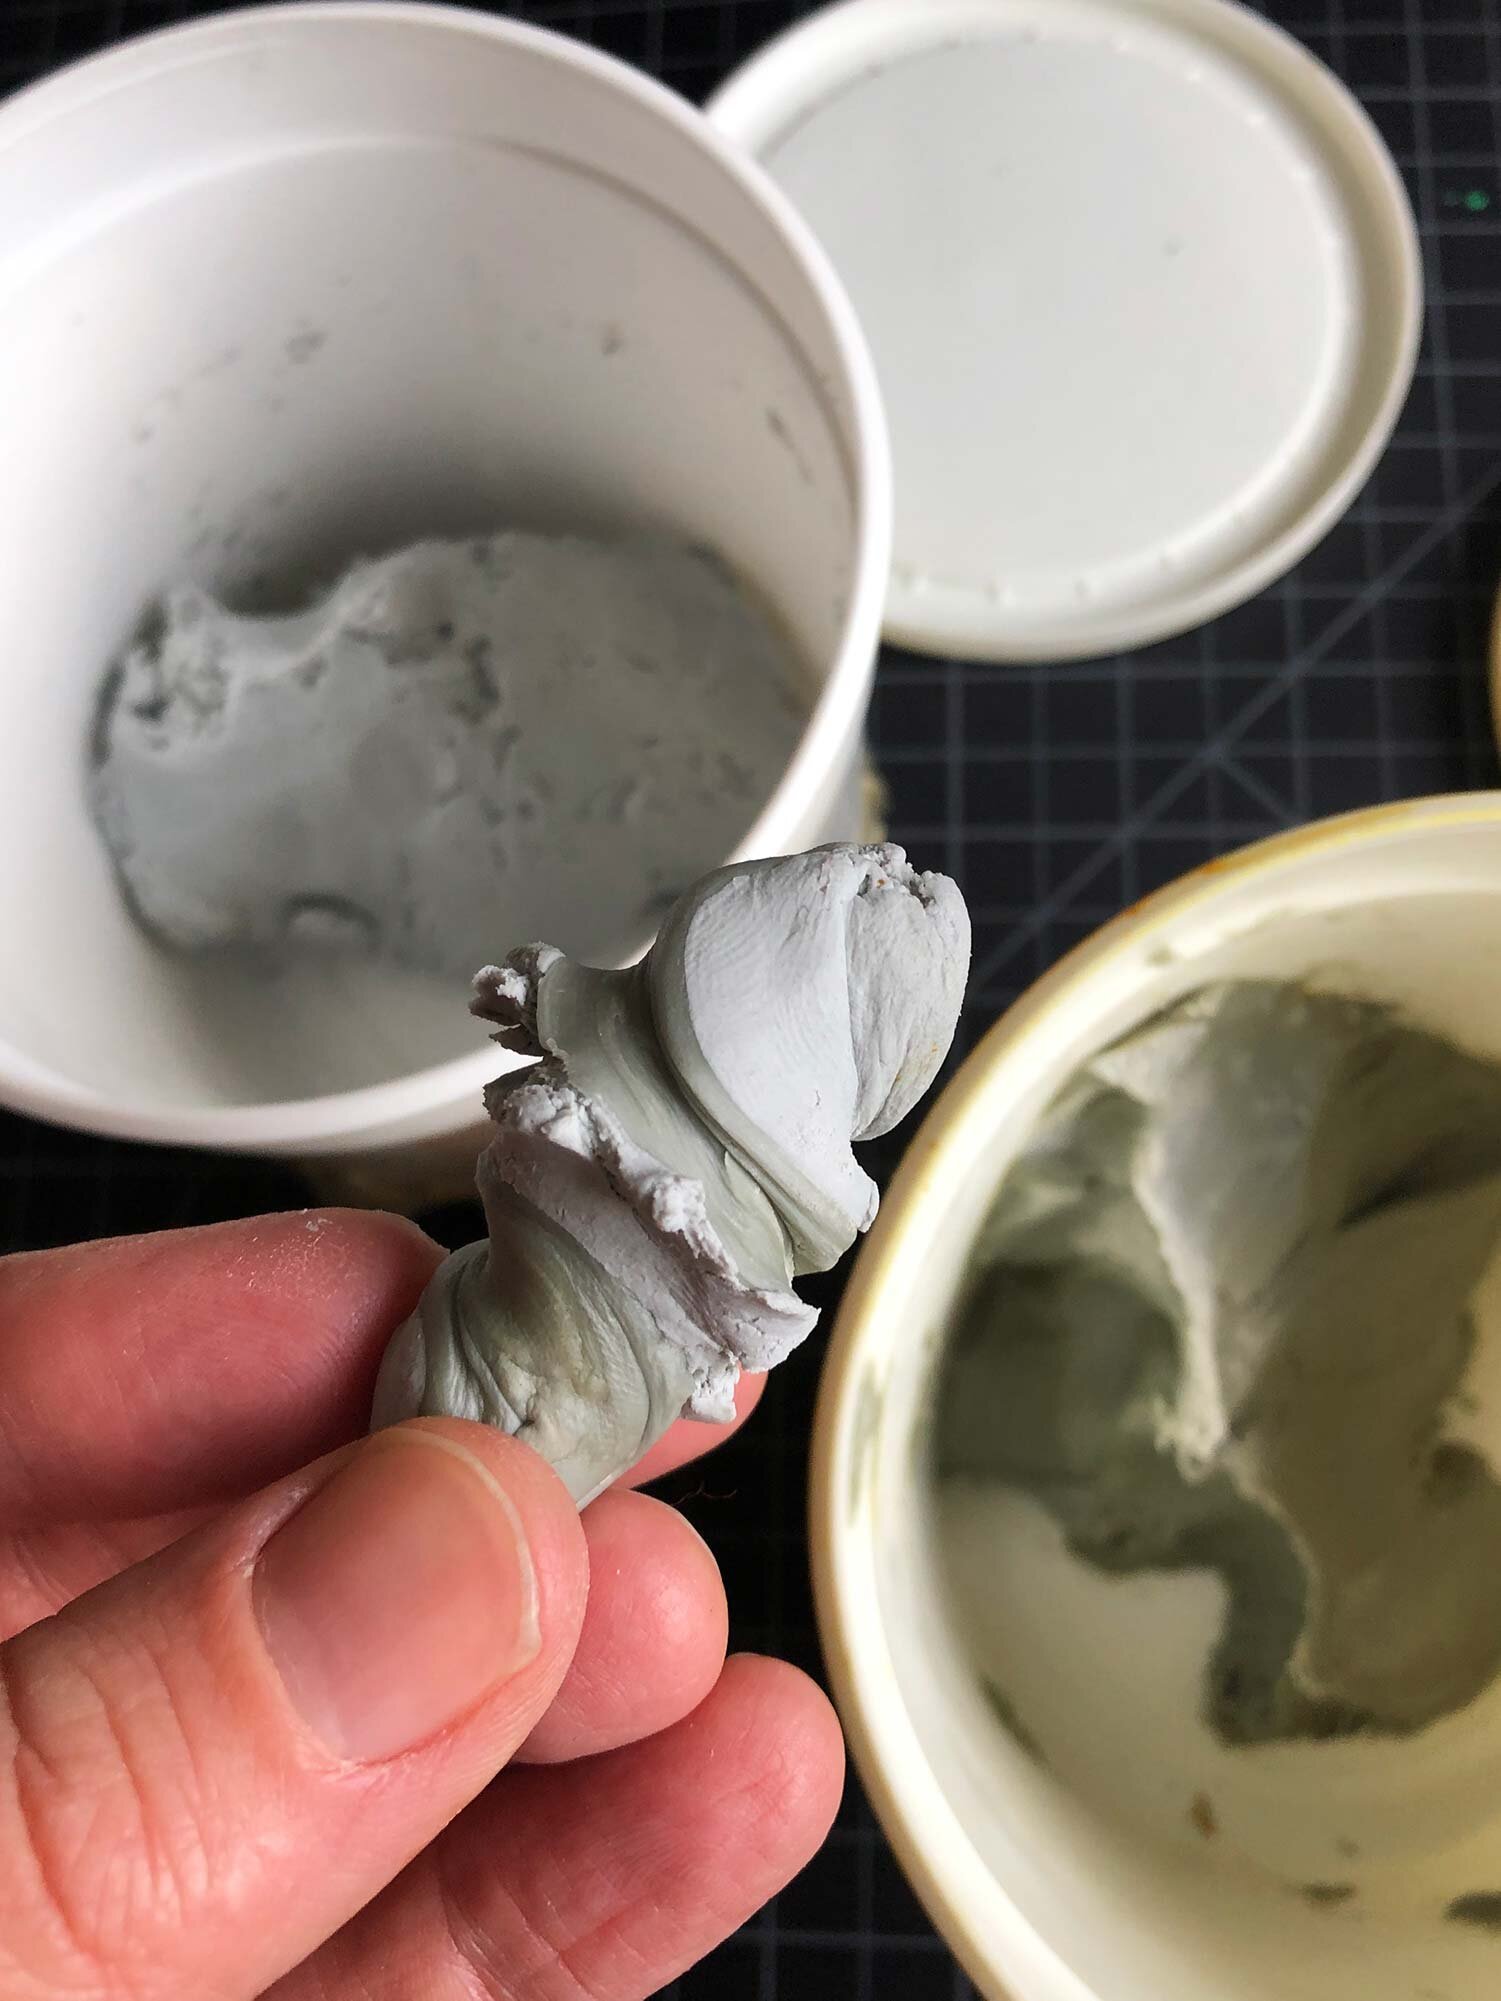
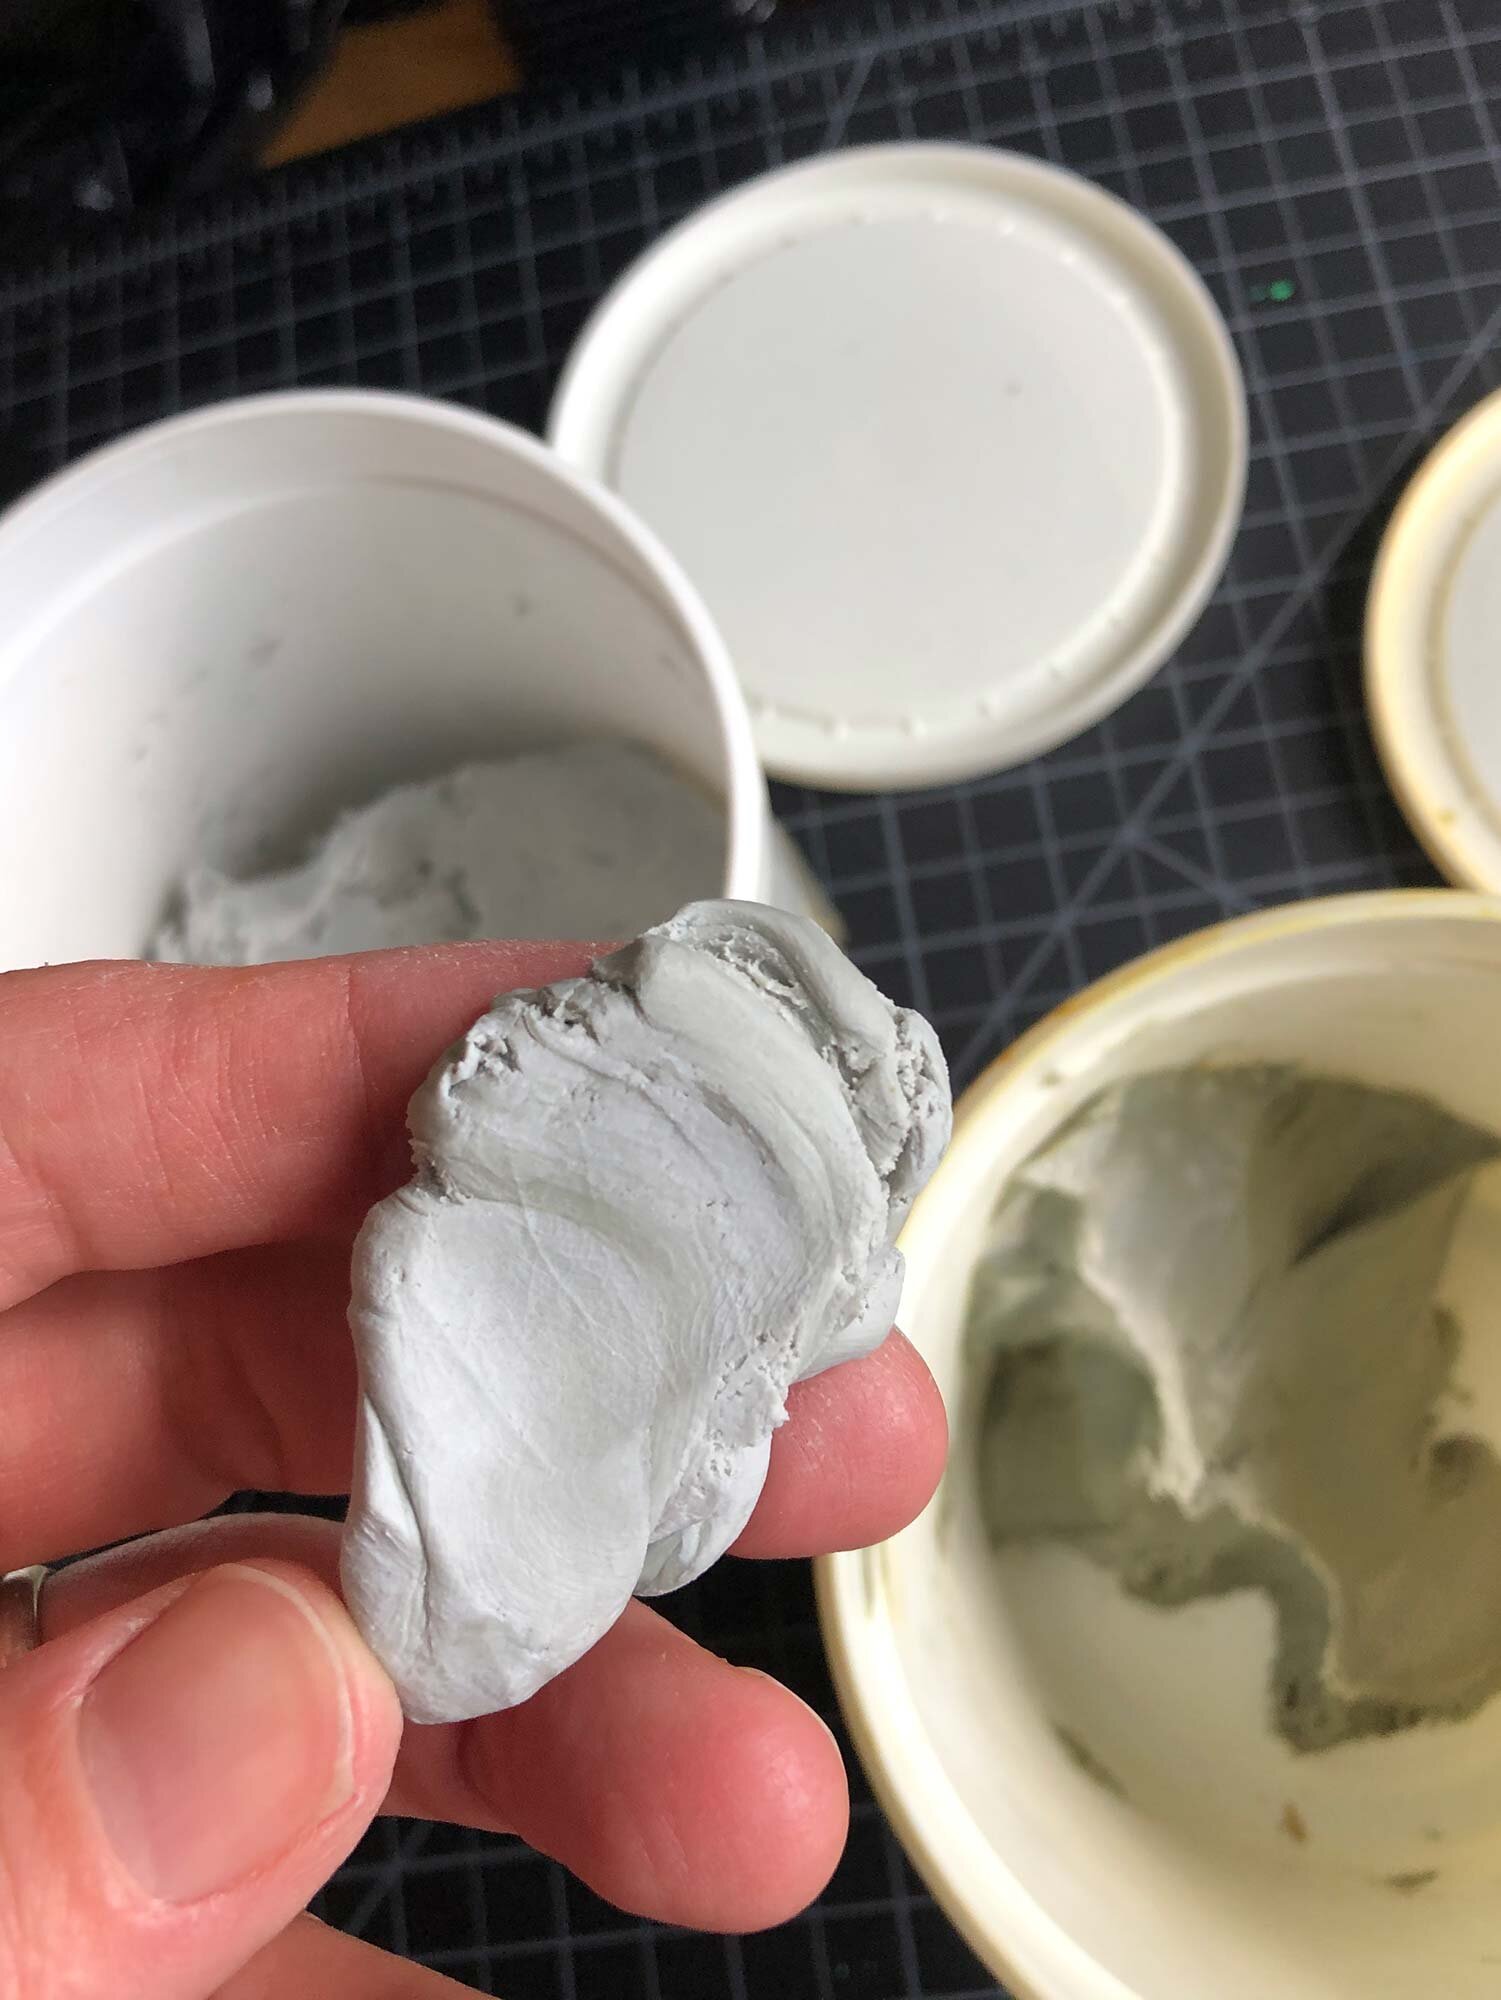
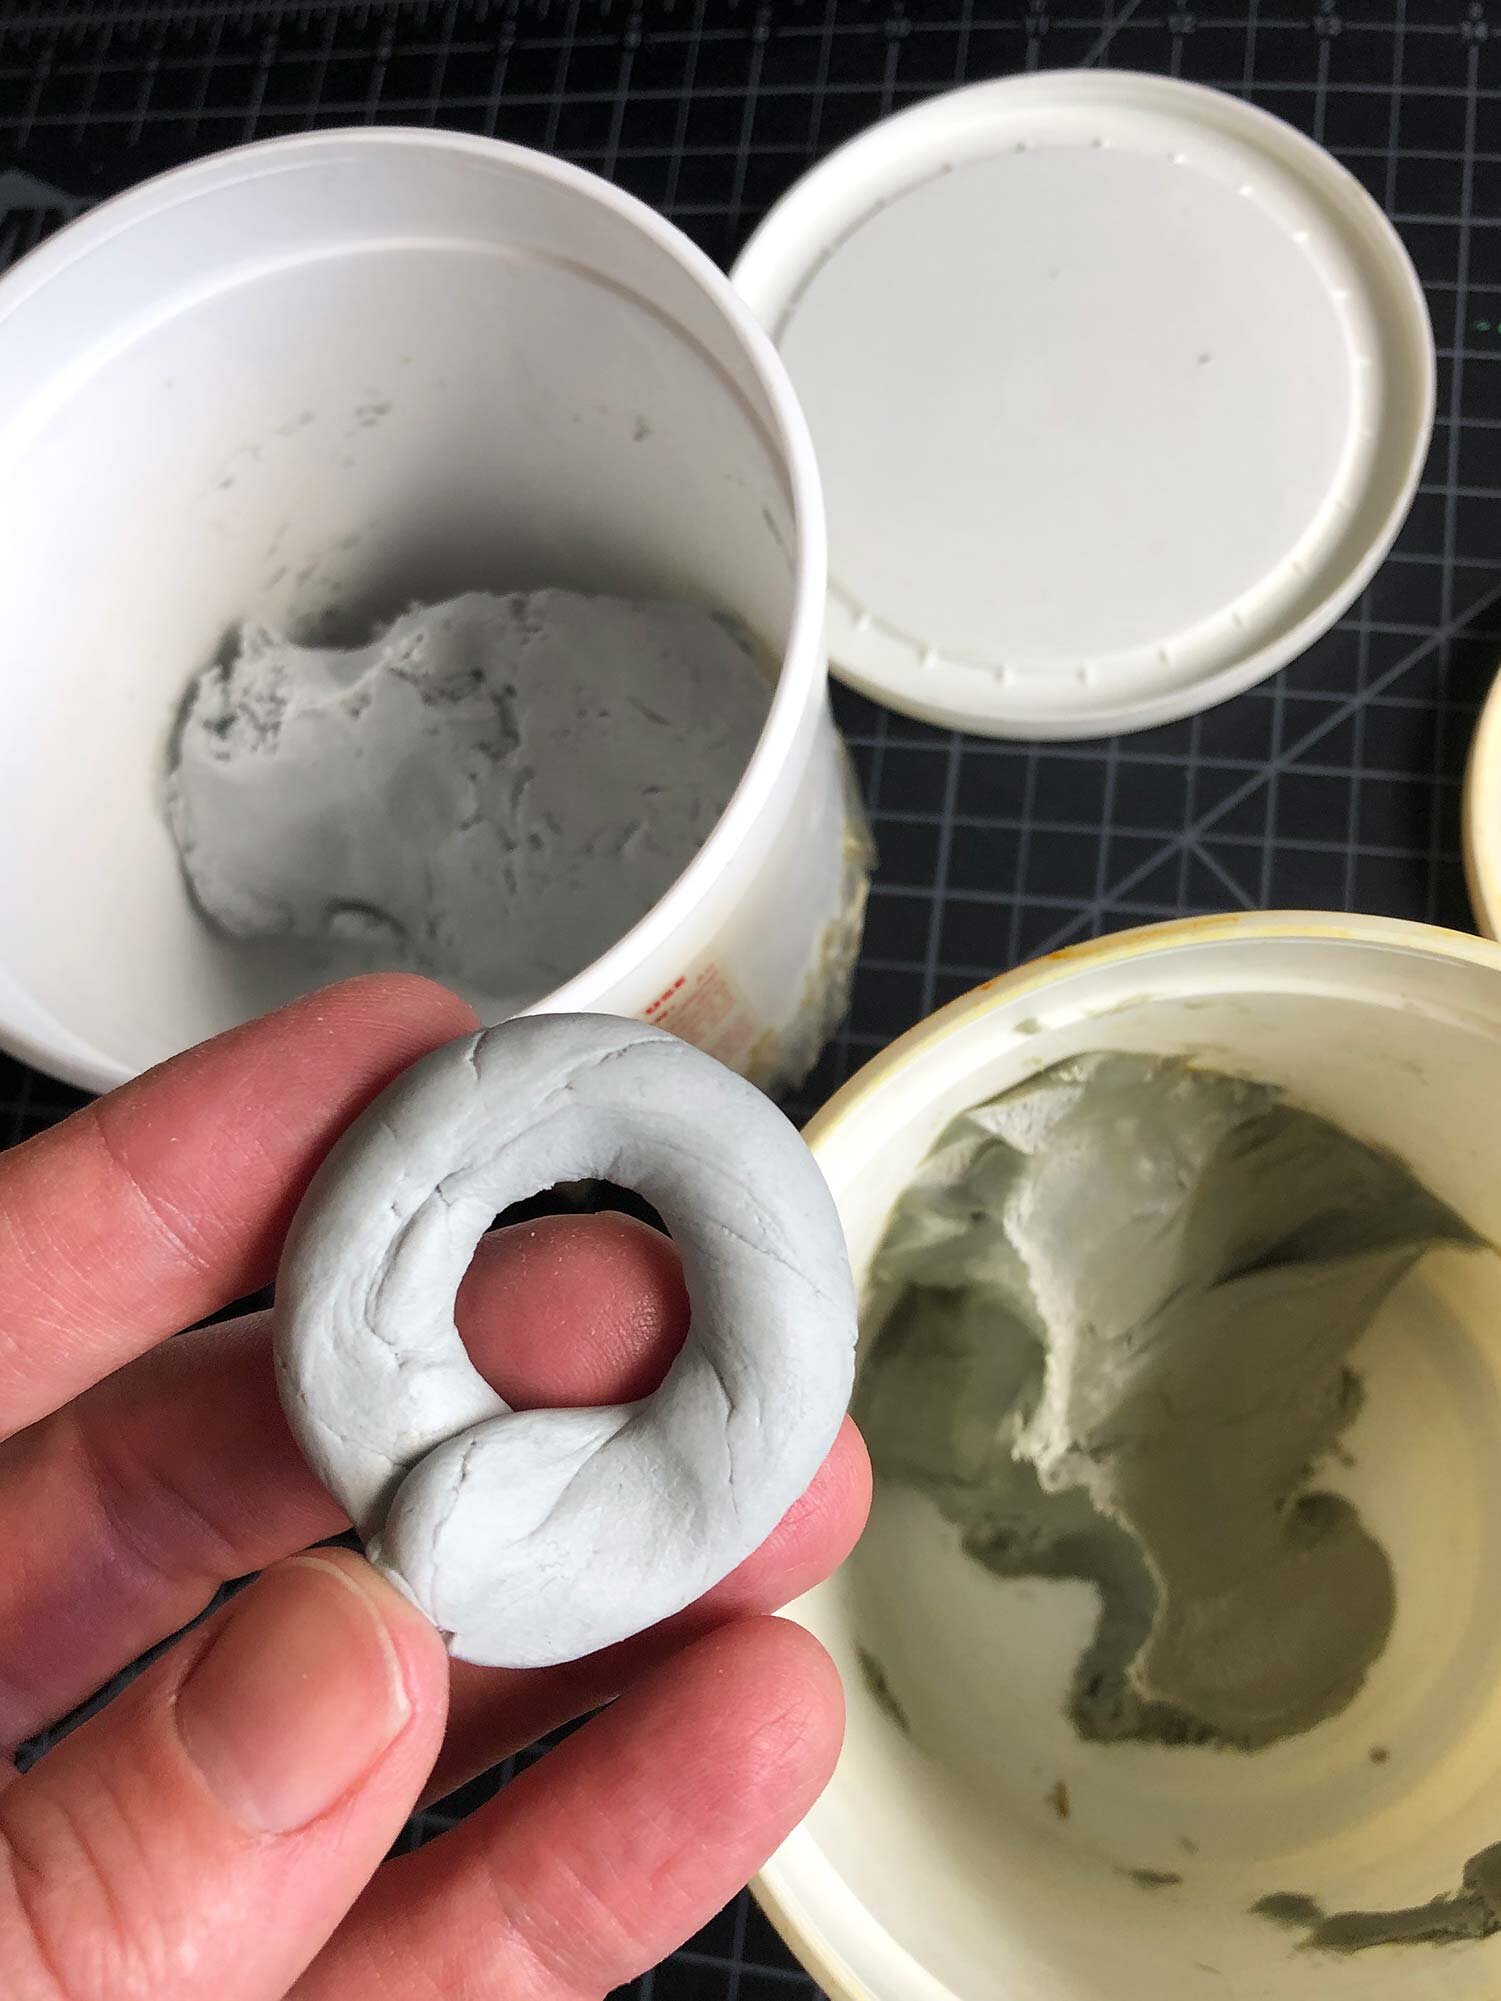
Two slips were mixed, one with the added zircopax.
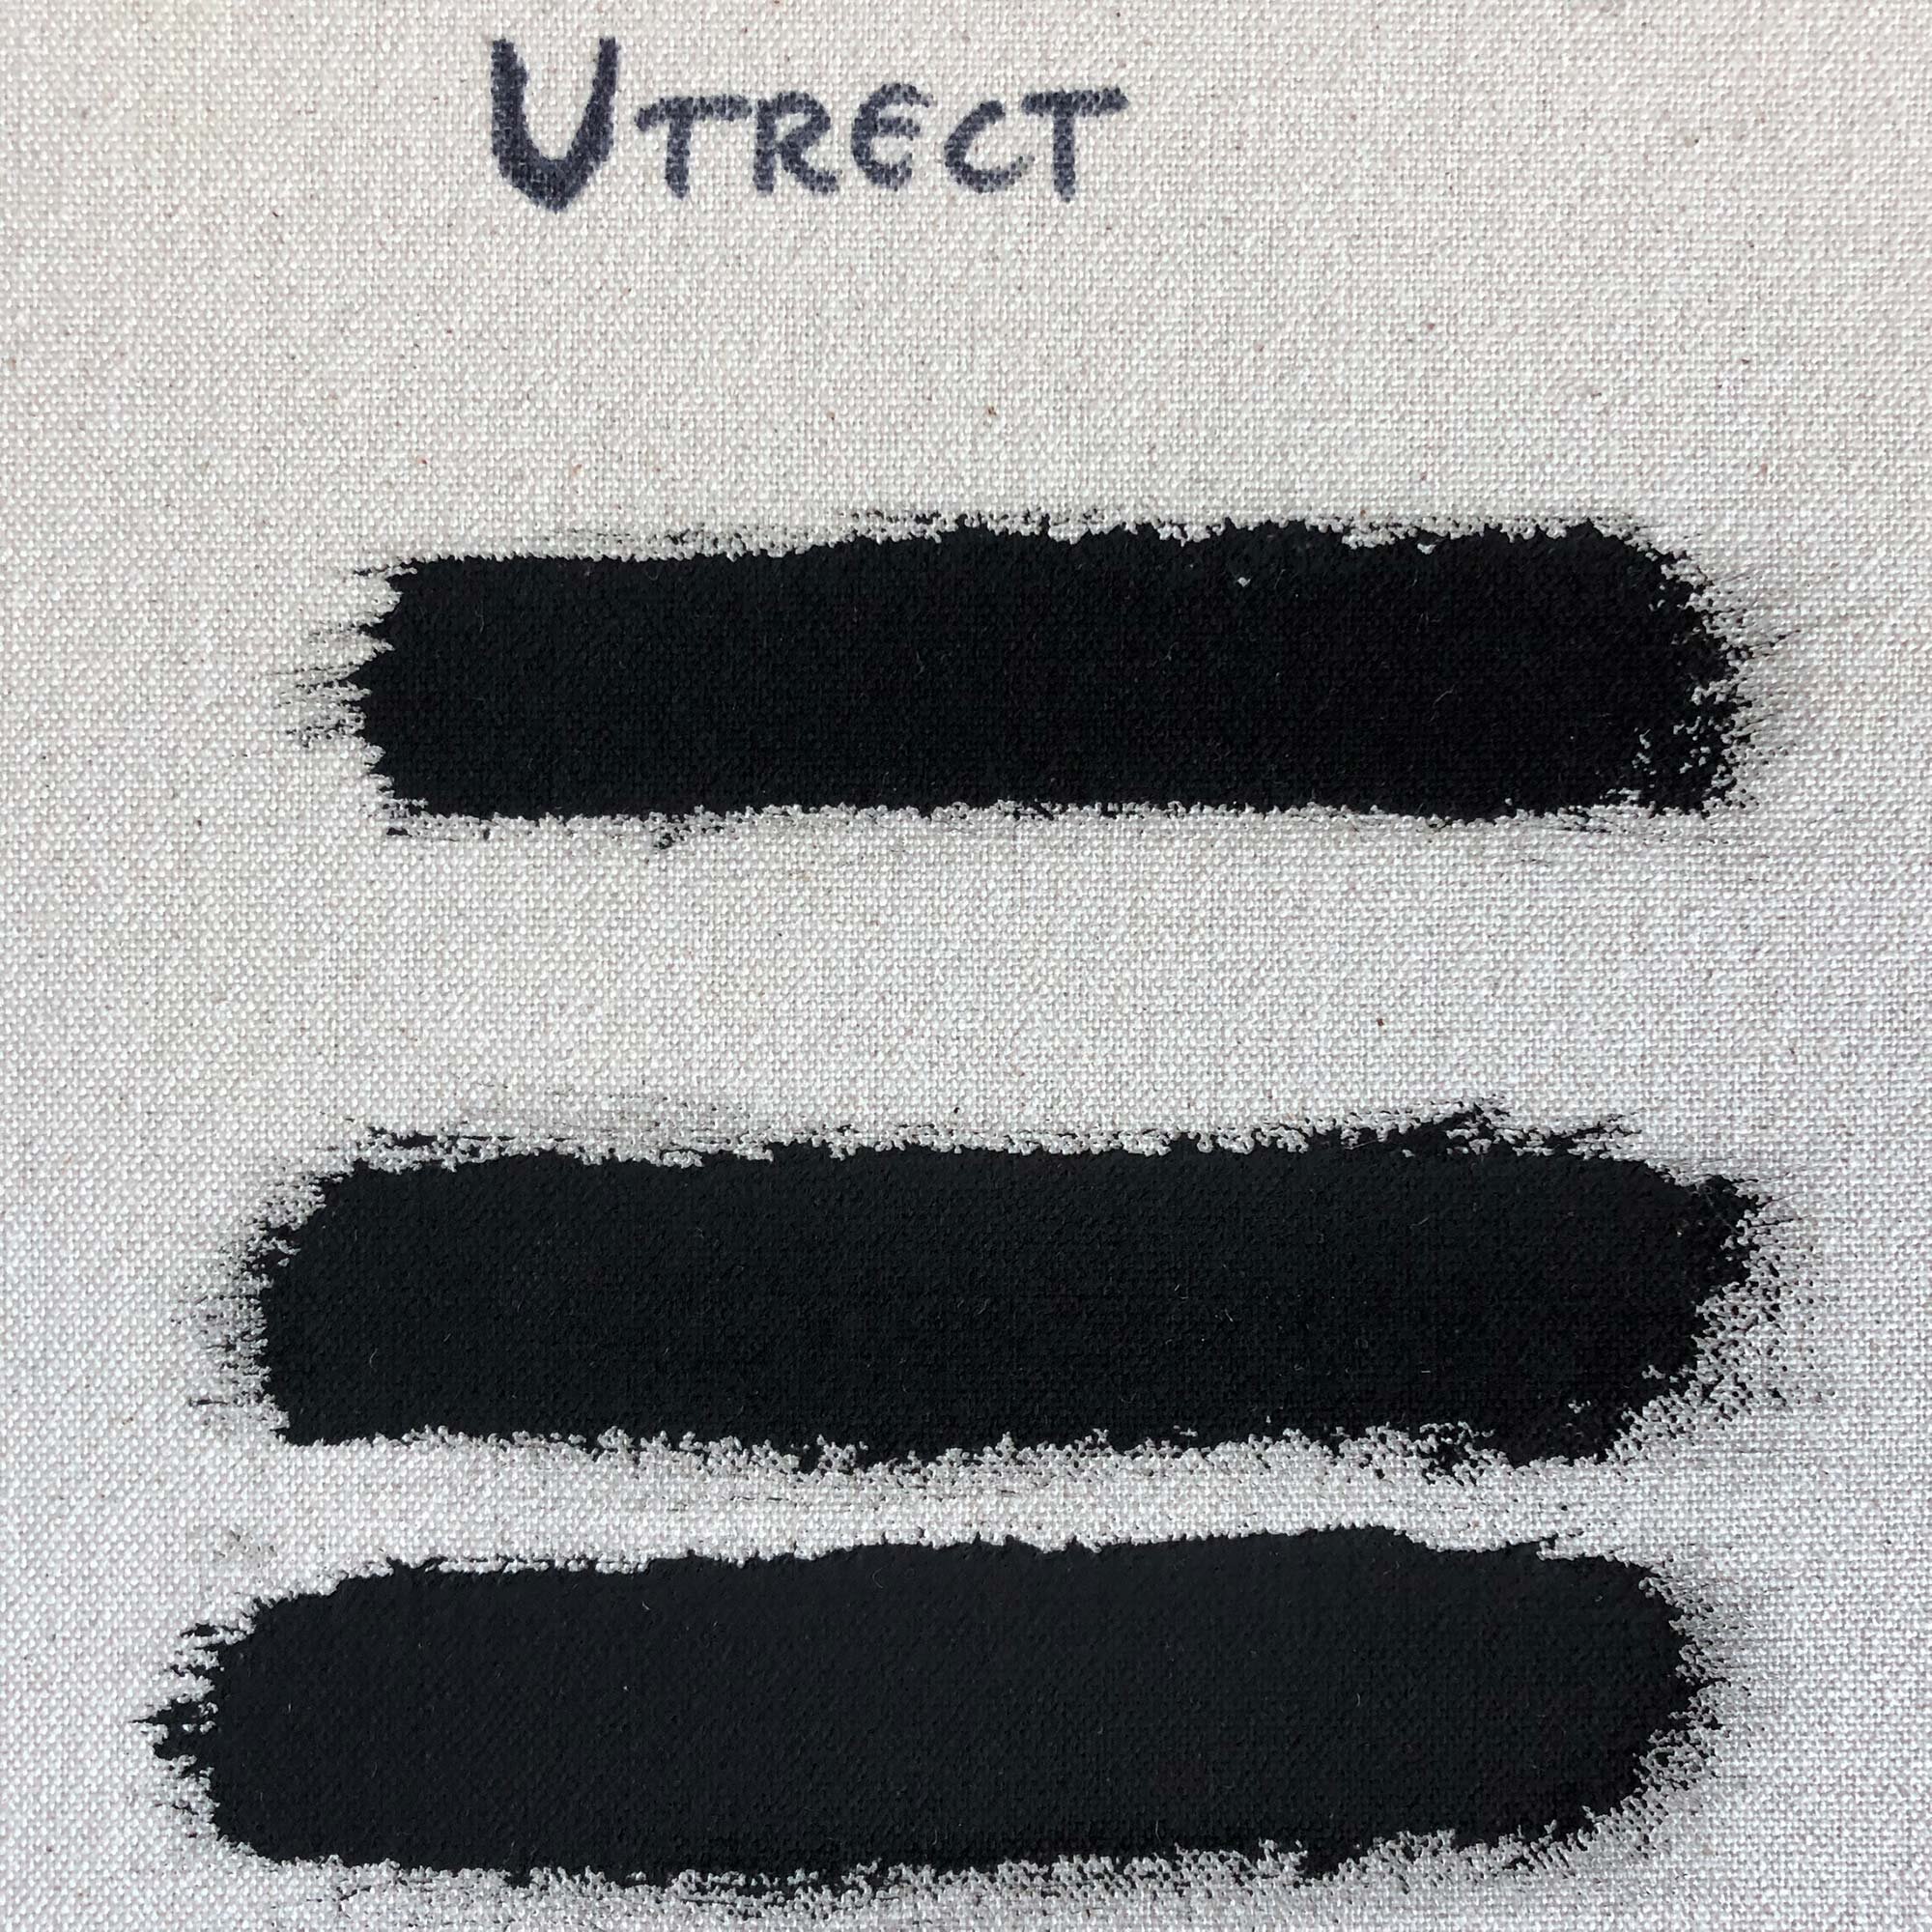
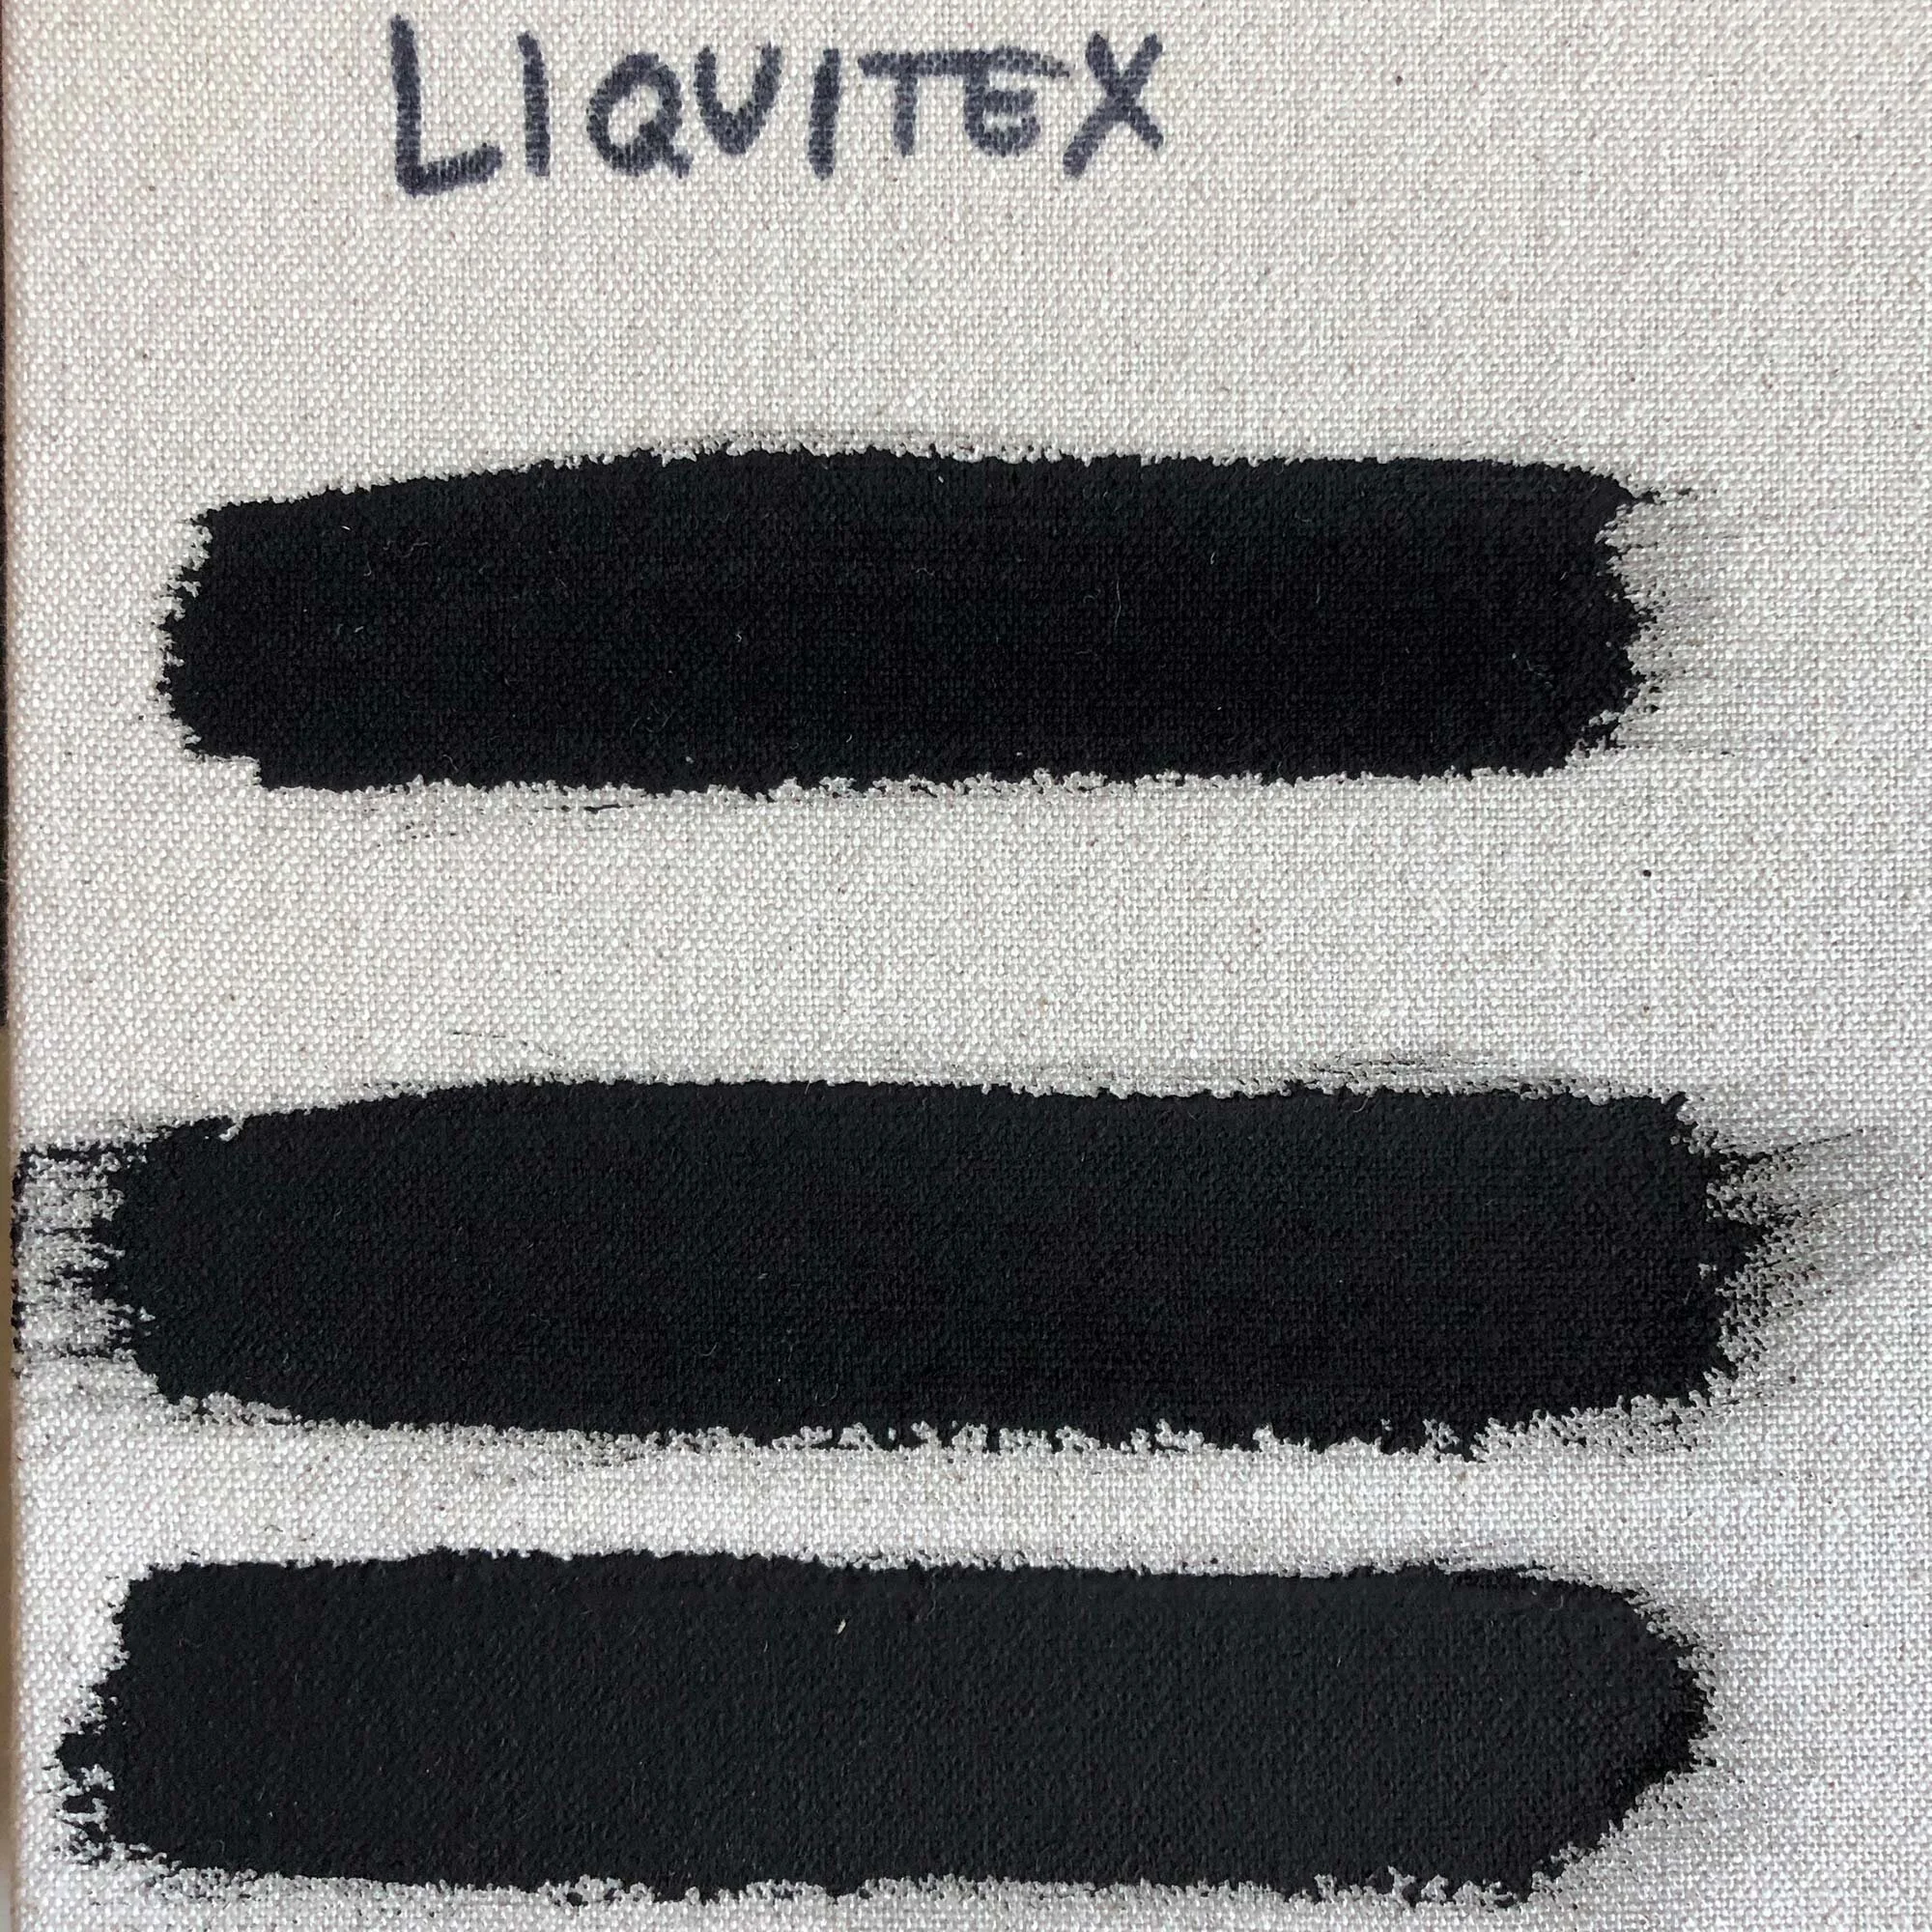
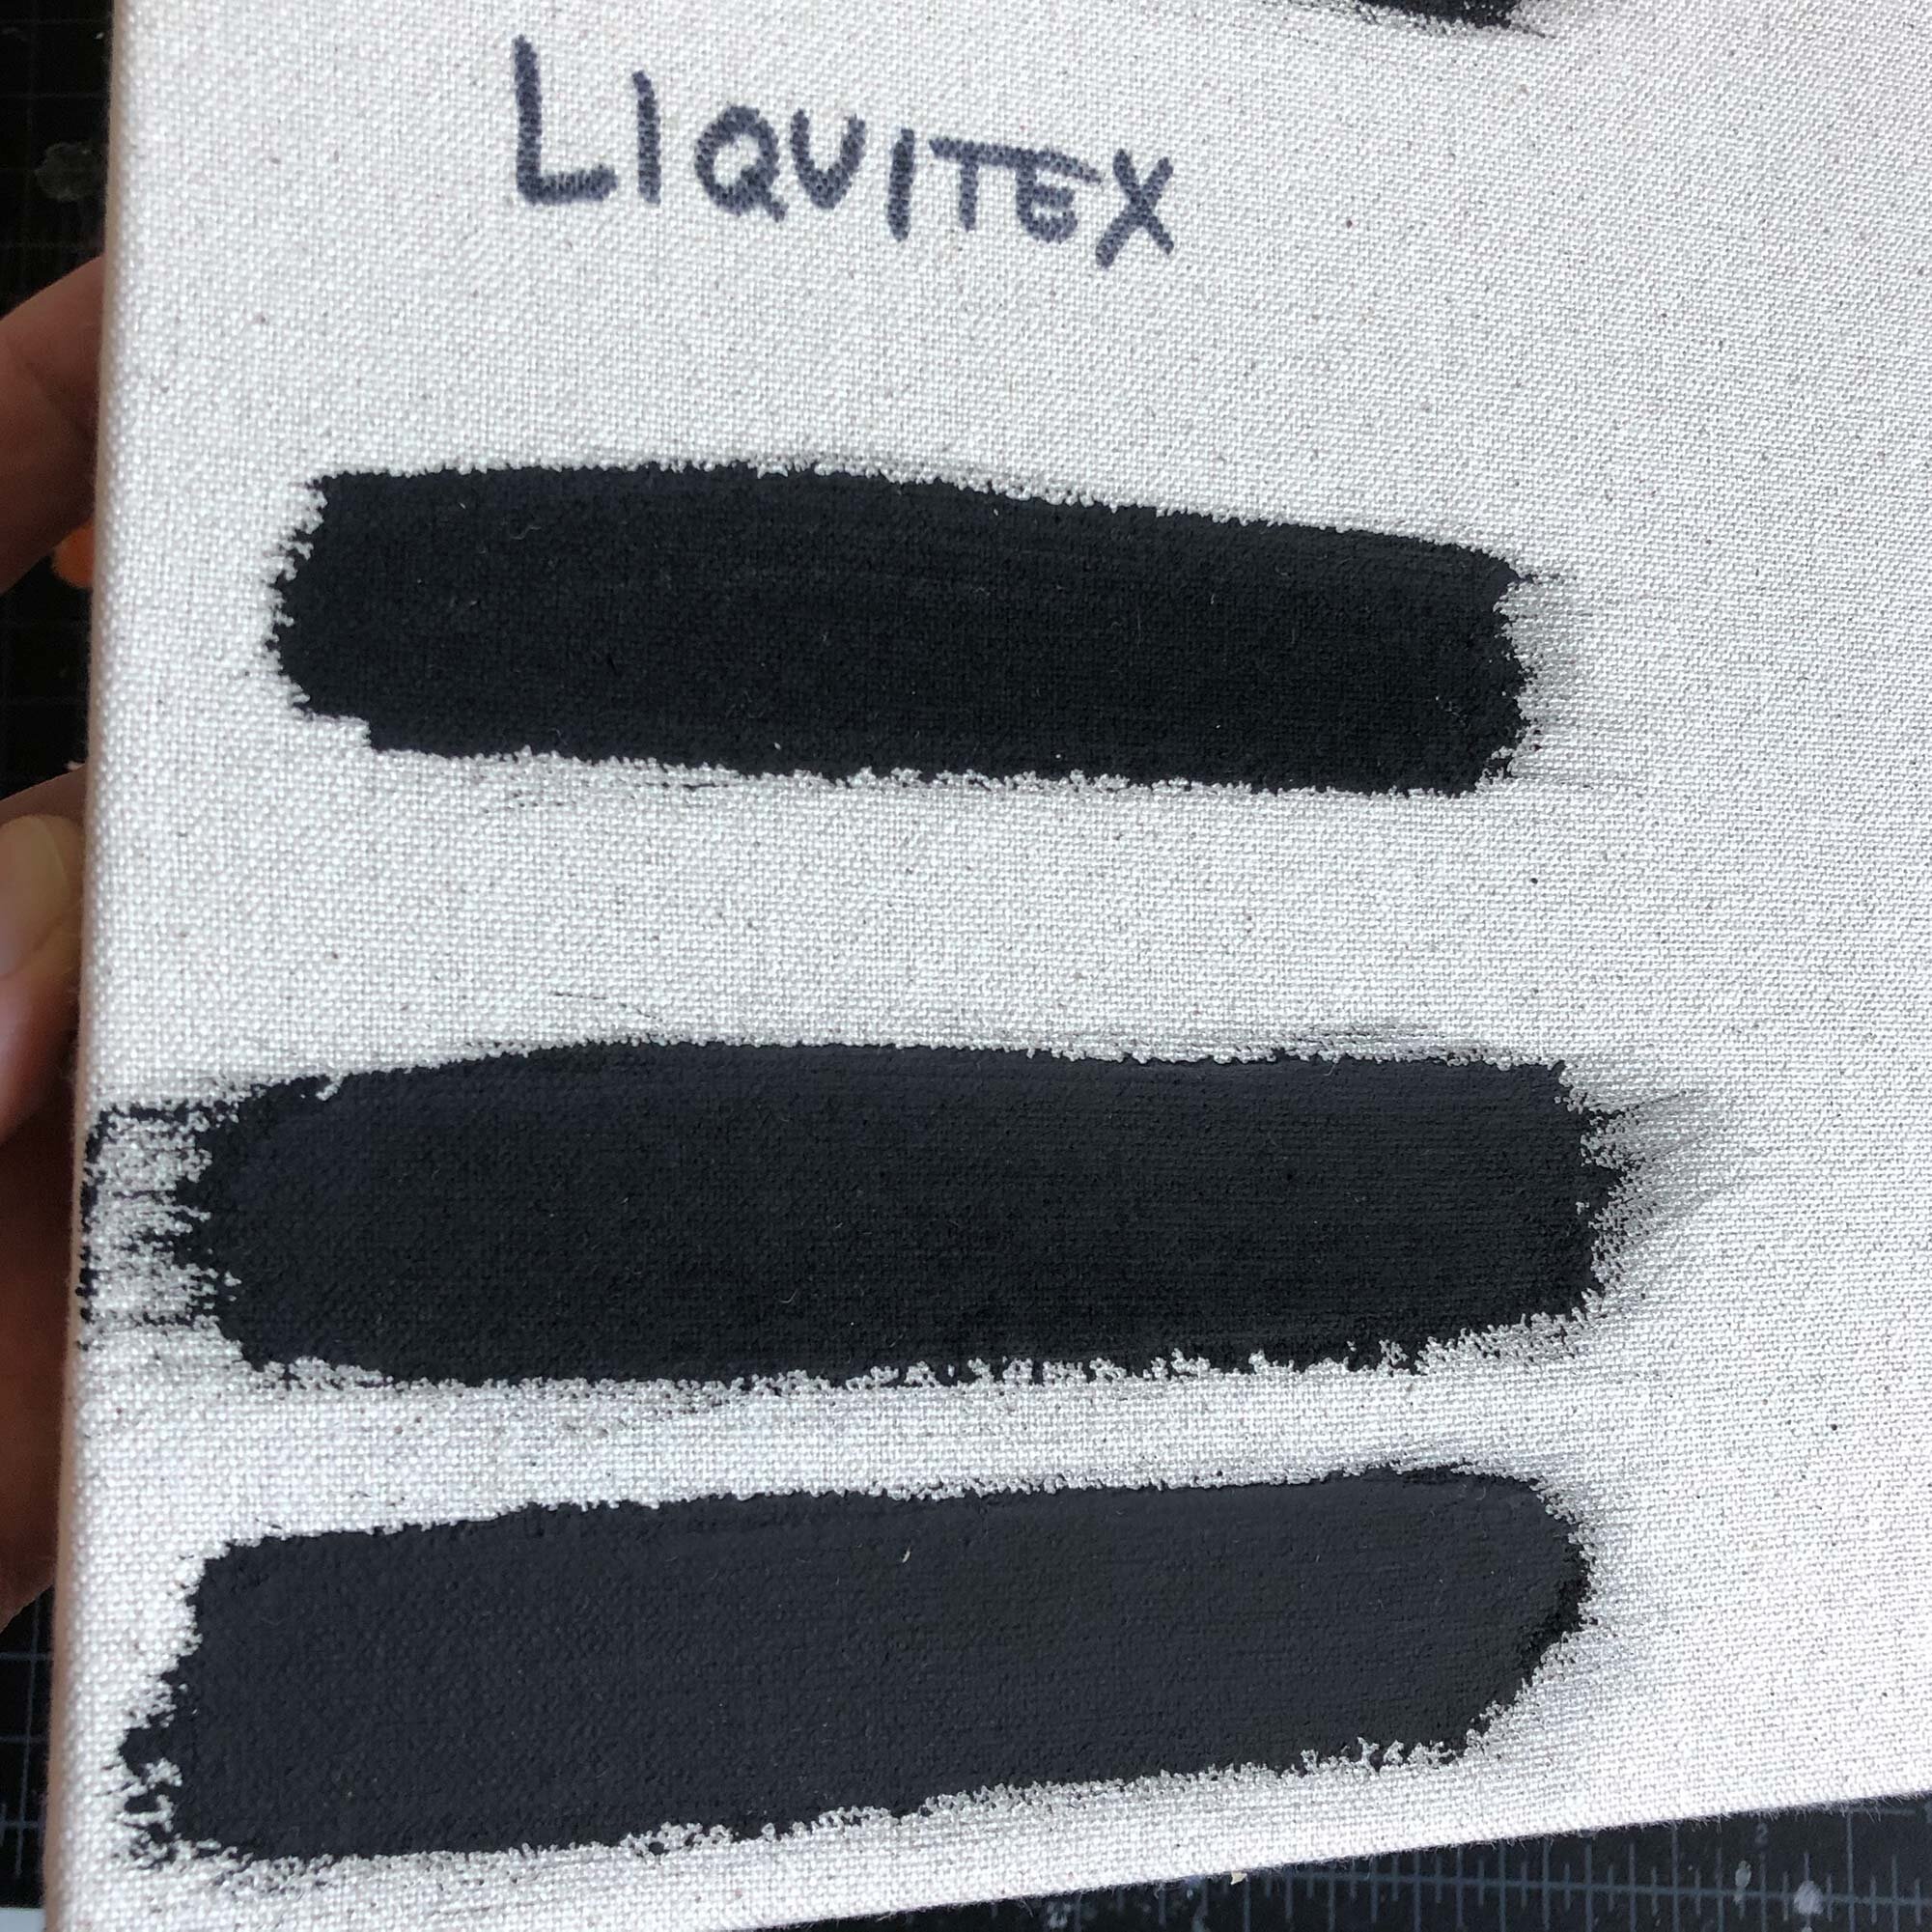
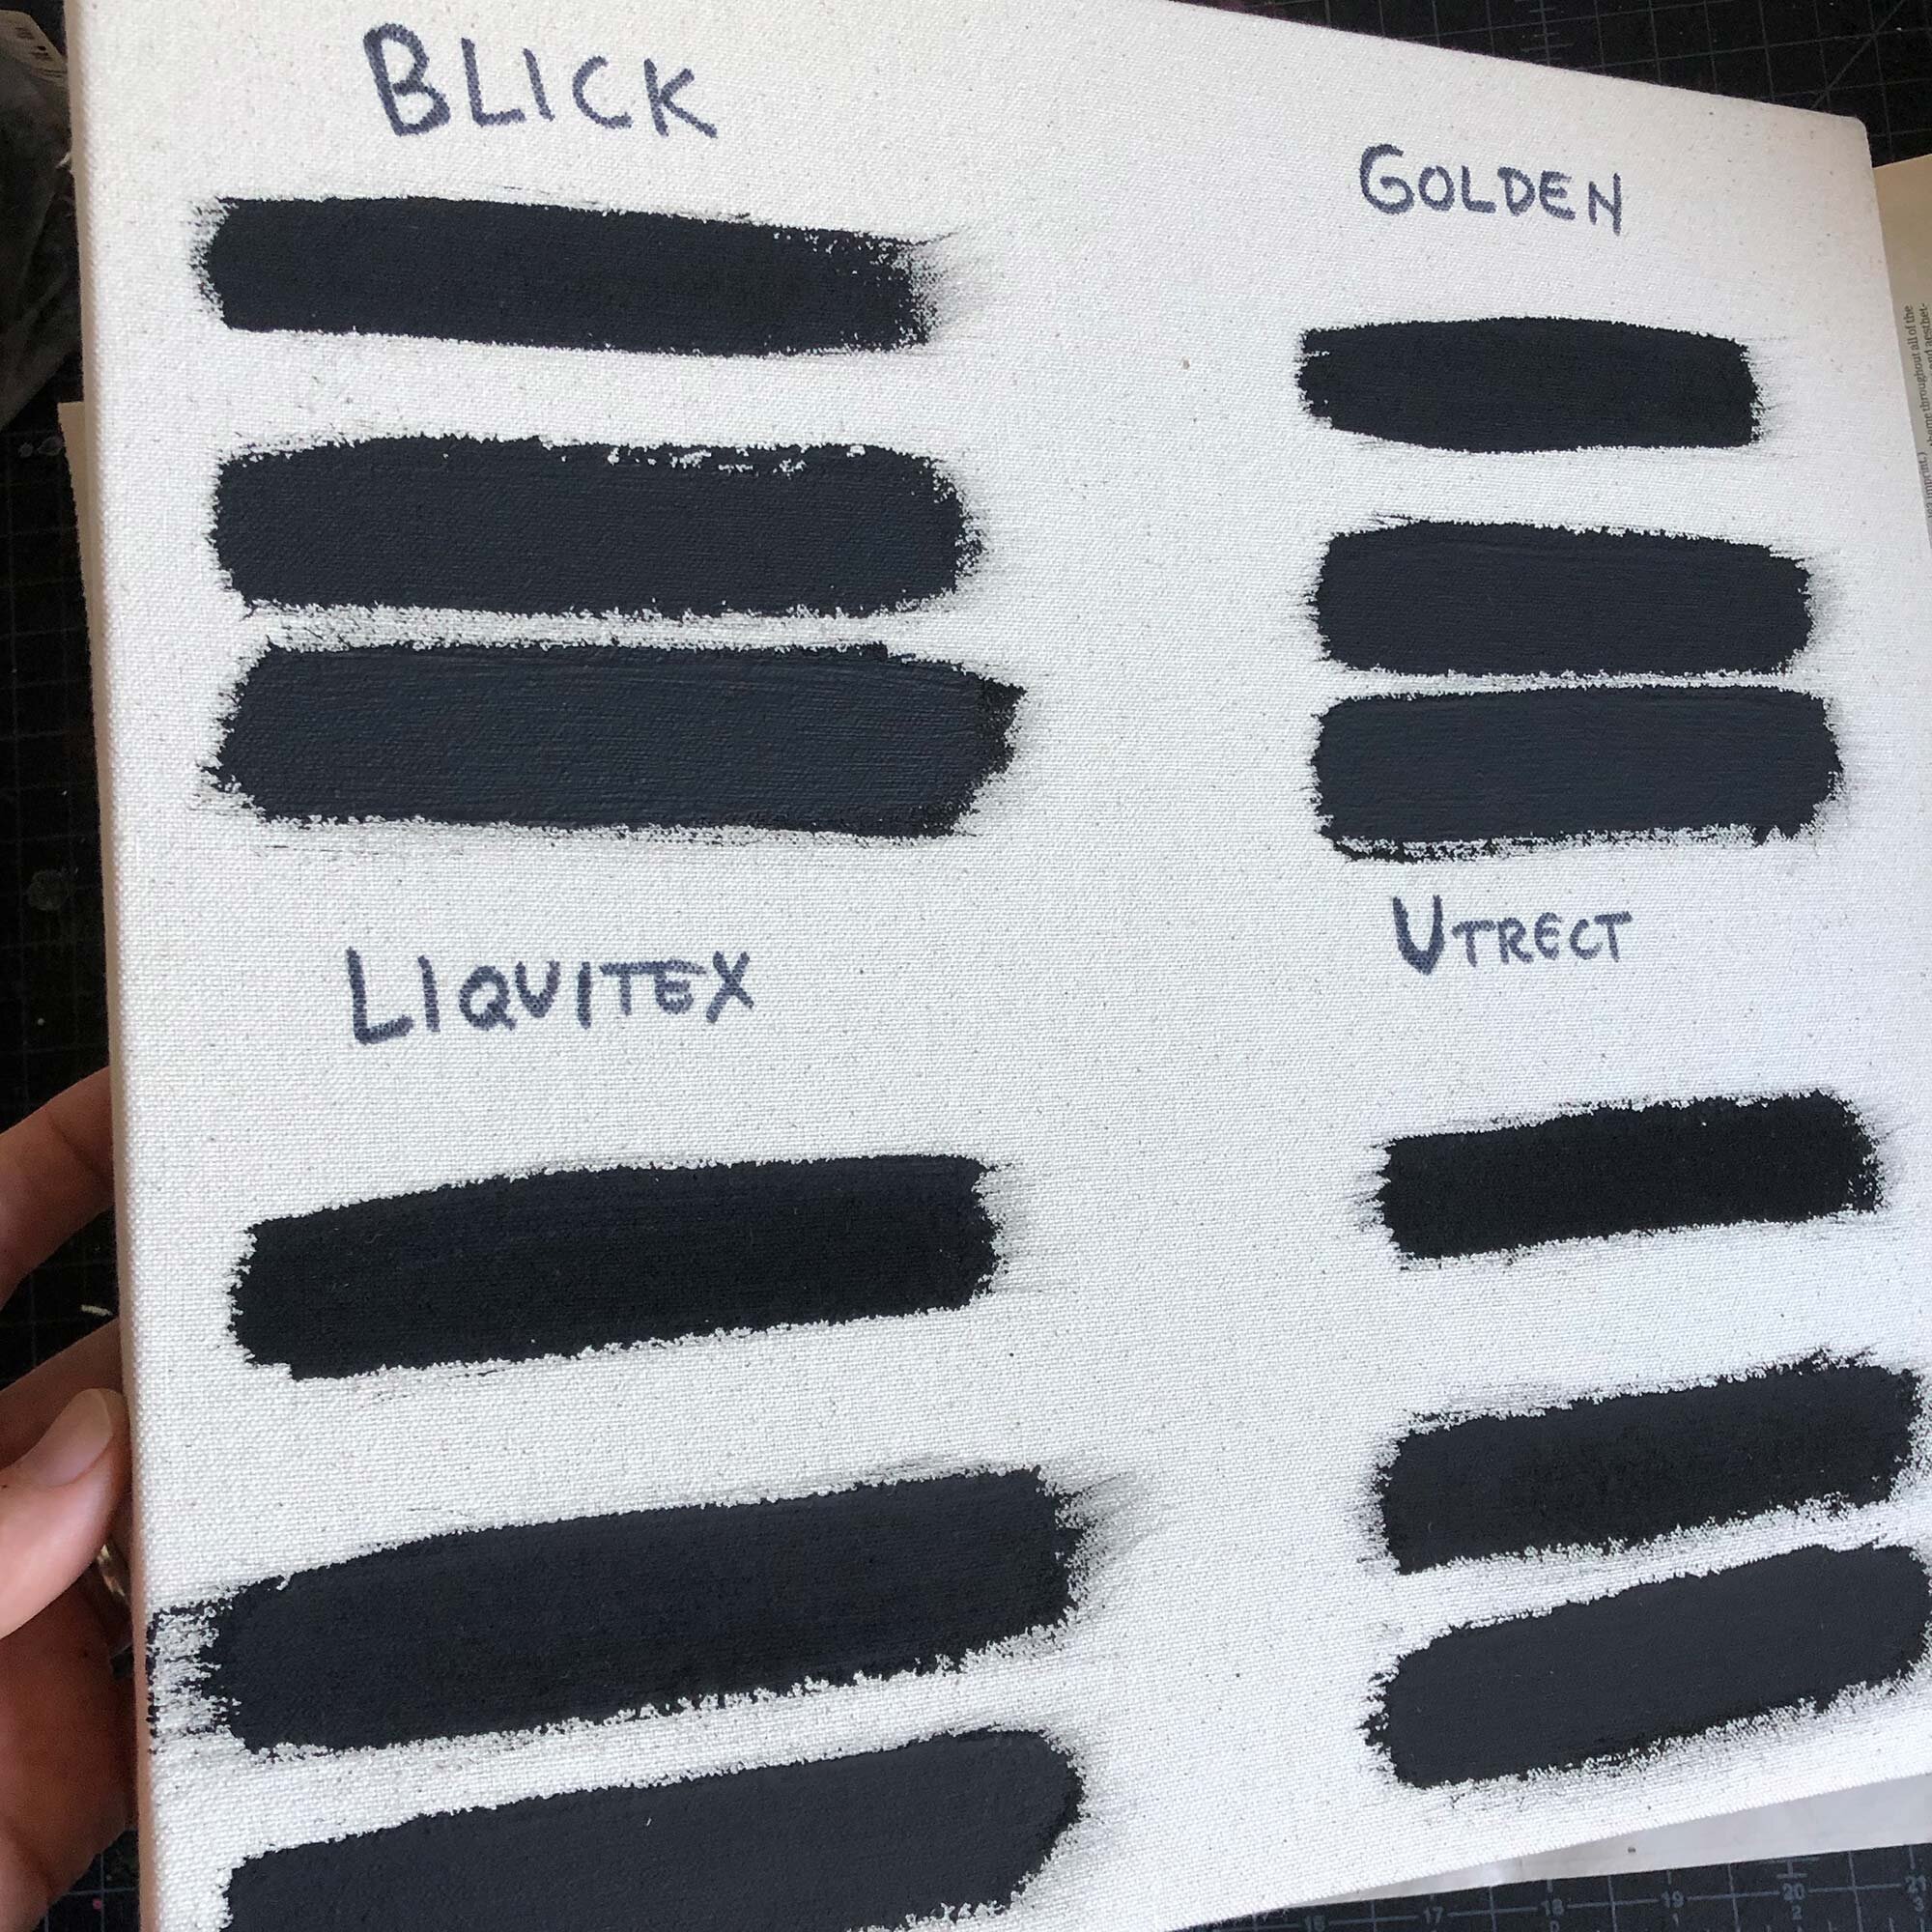
Slip was brushed on flat tiles made with Standard 112 Brown Speckle Clay. From left to right, 1, 2, 3, and a 4th layer of slip was brushed on the tiles.
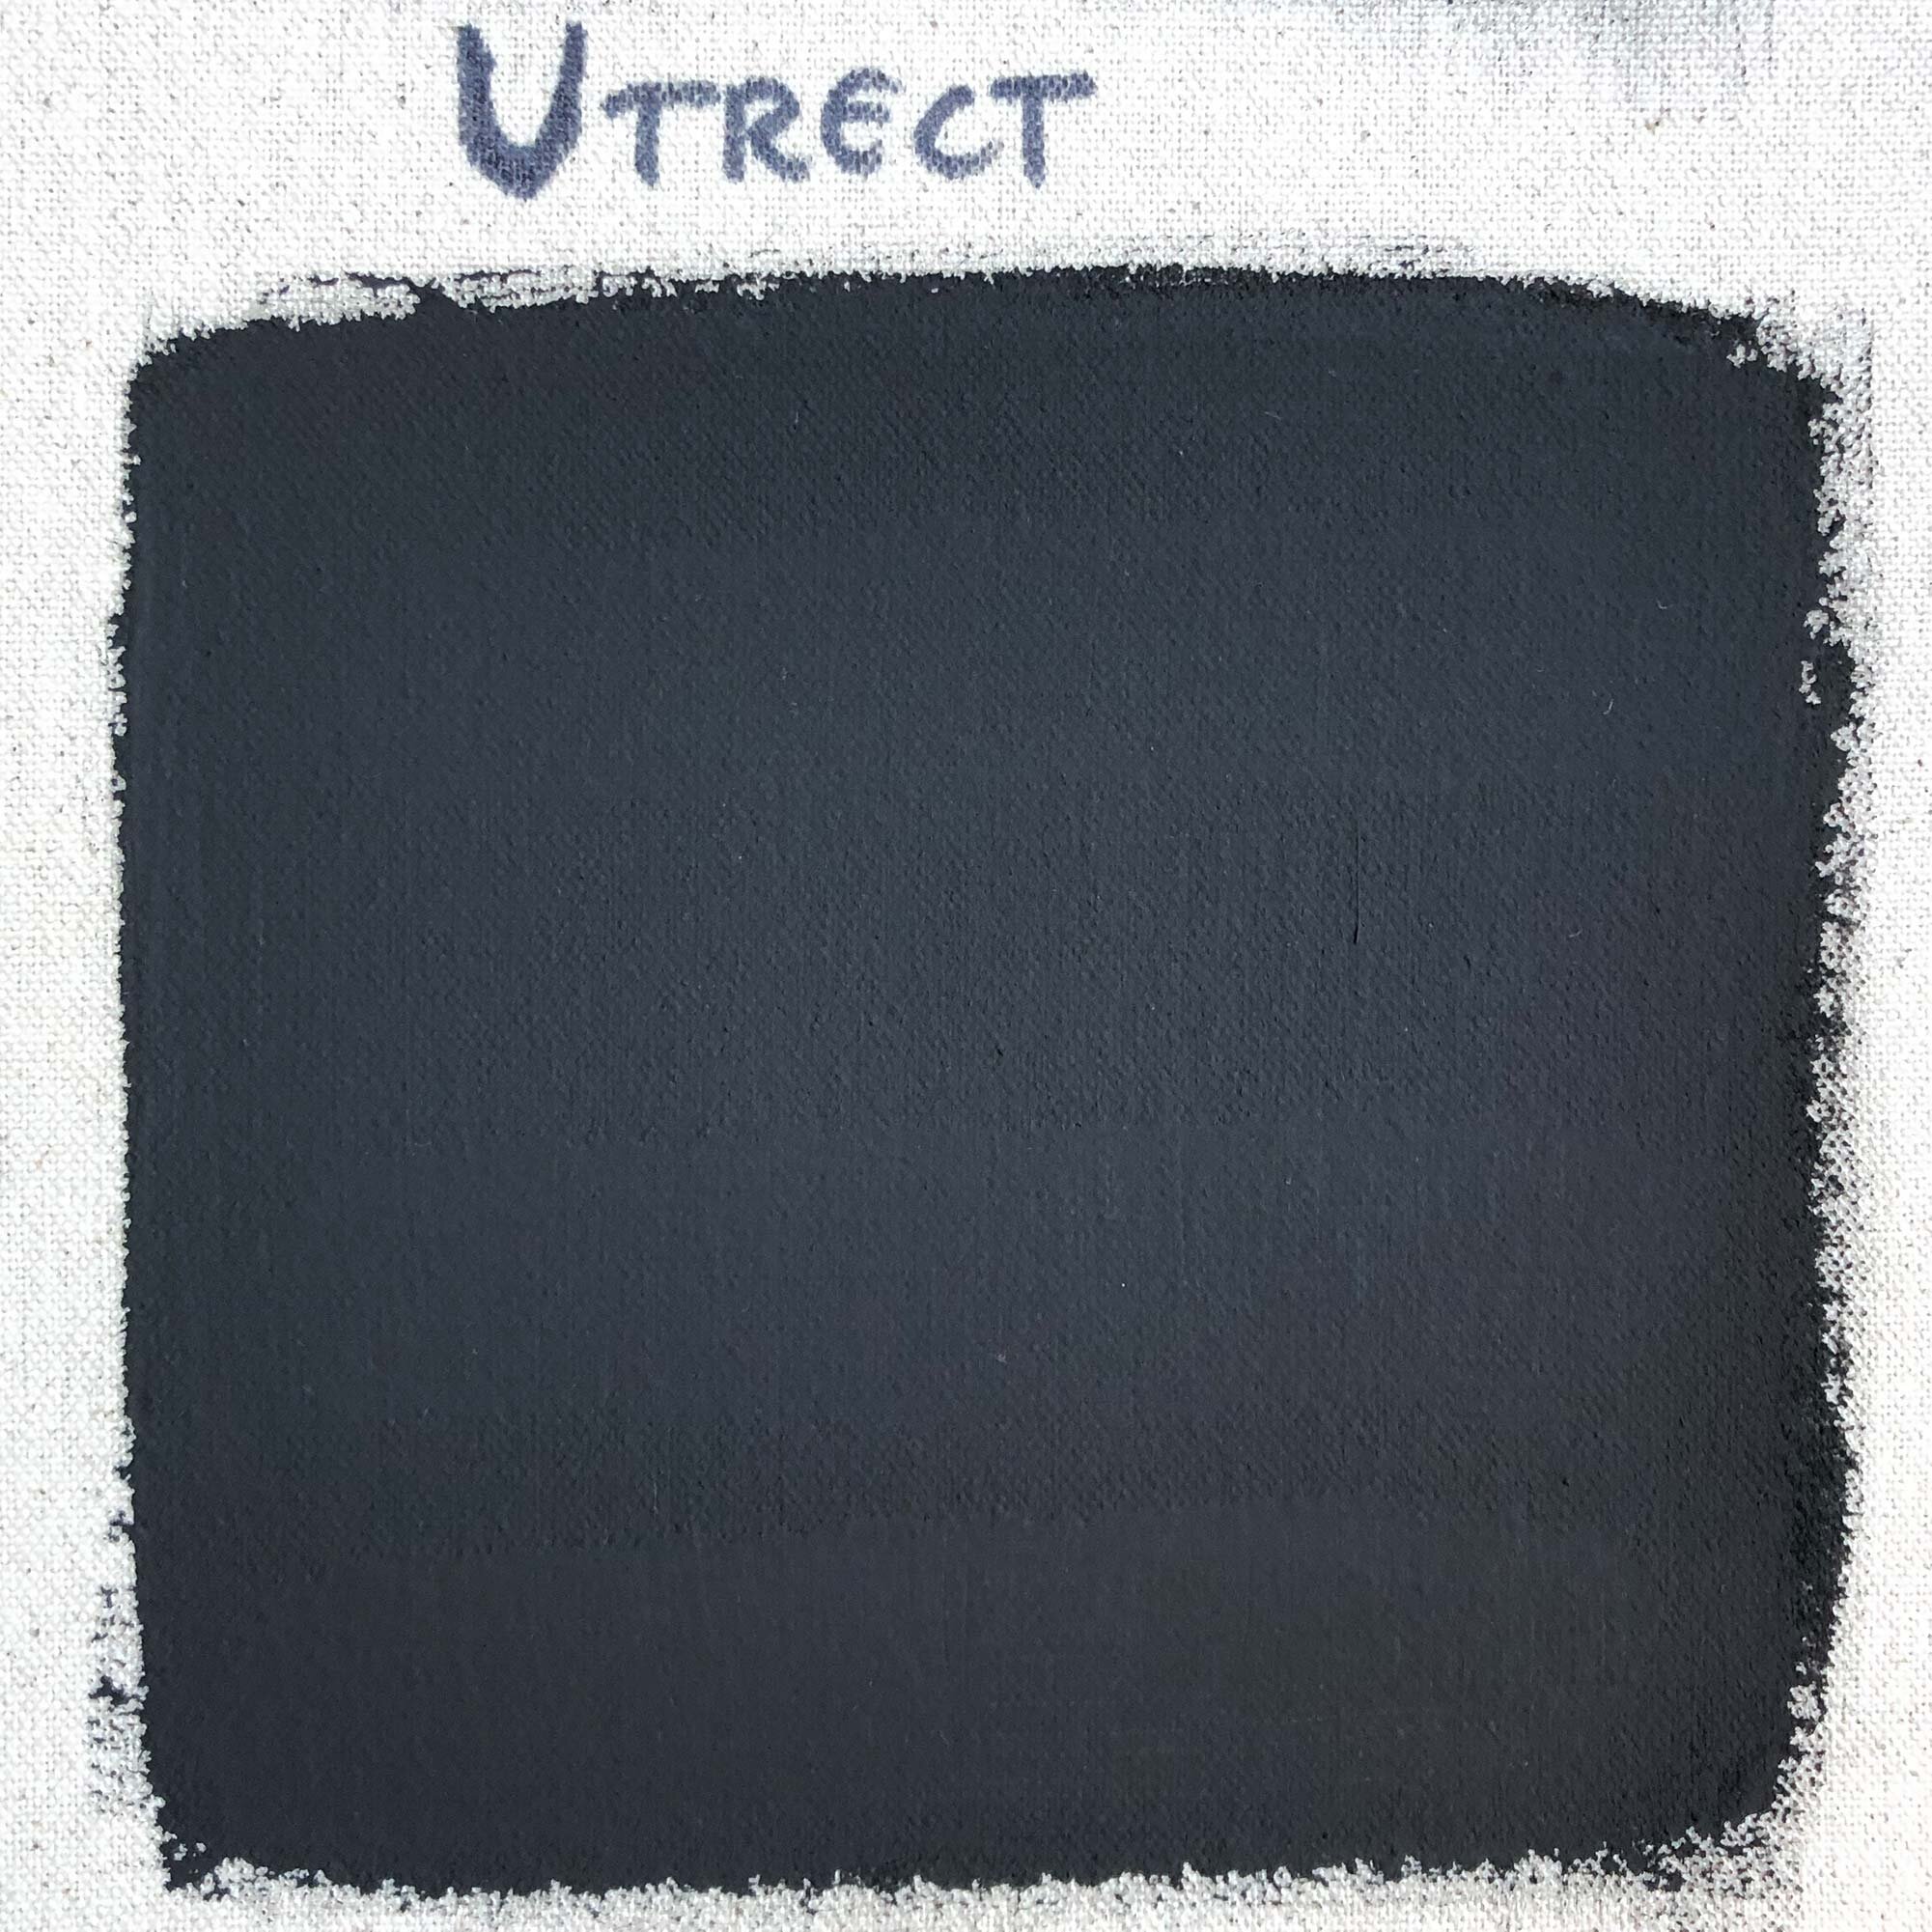
Slip was dipped on cylinders made with Standard 112 Brown Speckle and 308 Brooklyn Red clays. Slip was dipped in 3 second dips and allowed to dry, from bottom to top in 4 layers, with the top having the heaviest application. The heaviest application in both brushing and dipping resulted in the biggest cracks.
In general, the slips appeared to get a nice crackle with 3 layers brushed, and 2-3 layers dipped.
Images

The slip was brushed on test tiles made with Standard 112 Brown Speckle Clay, ranging from 1 to 4 layers. The slip with zircopax was more prone to cracking (see the difference on 2 layers) but as it got thicker, the with zirc slip did flake off a bit.
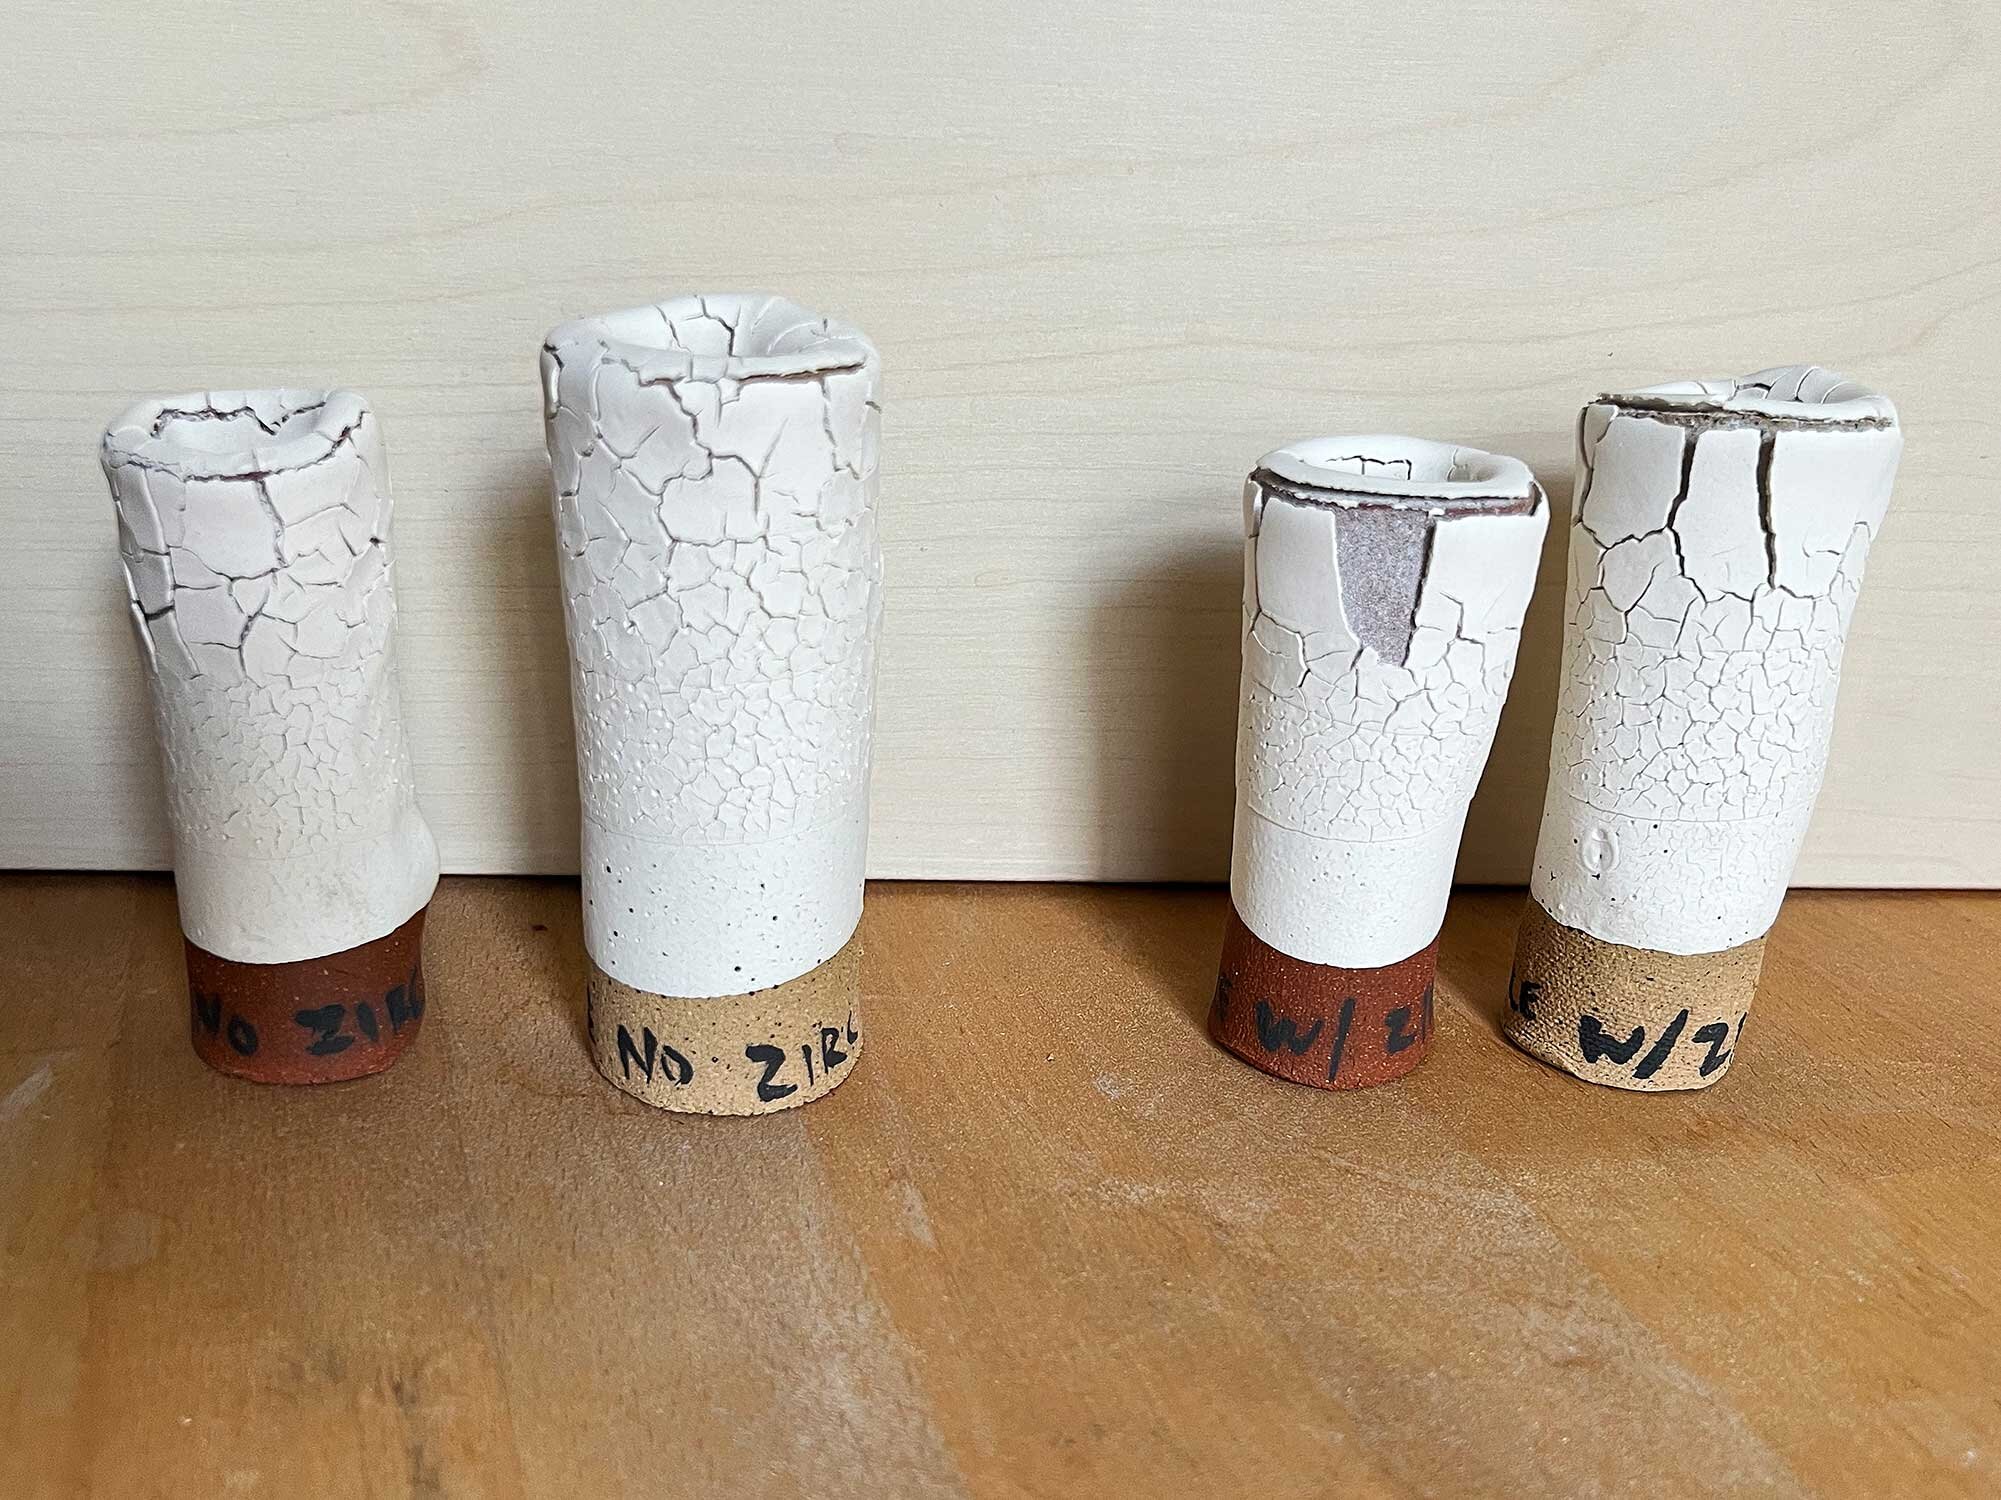
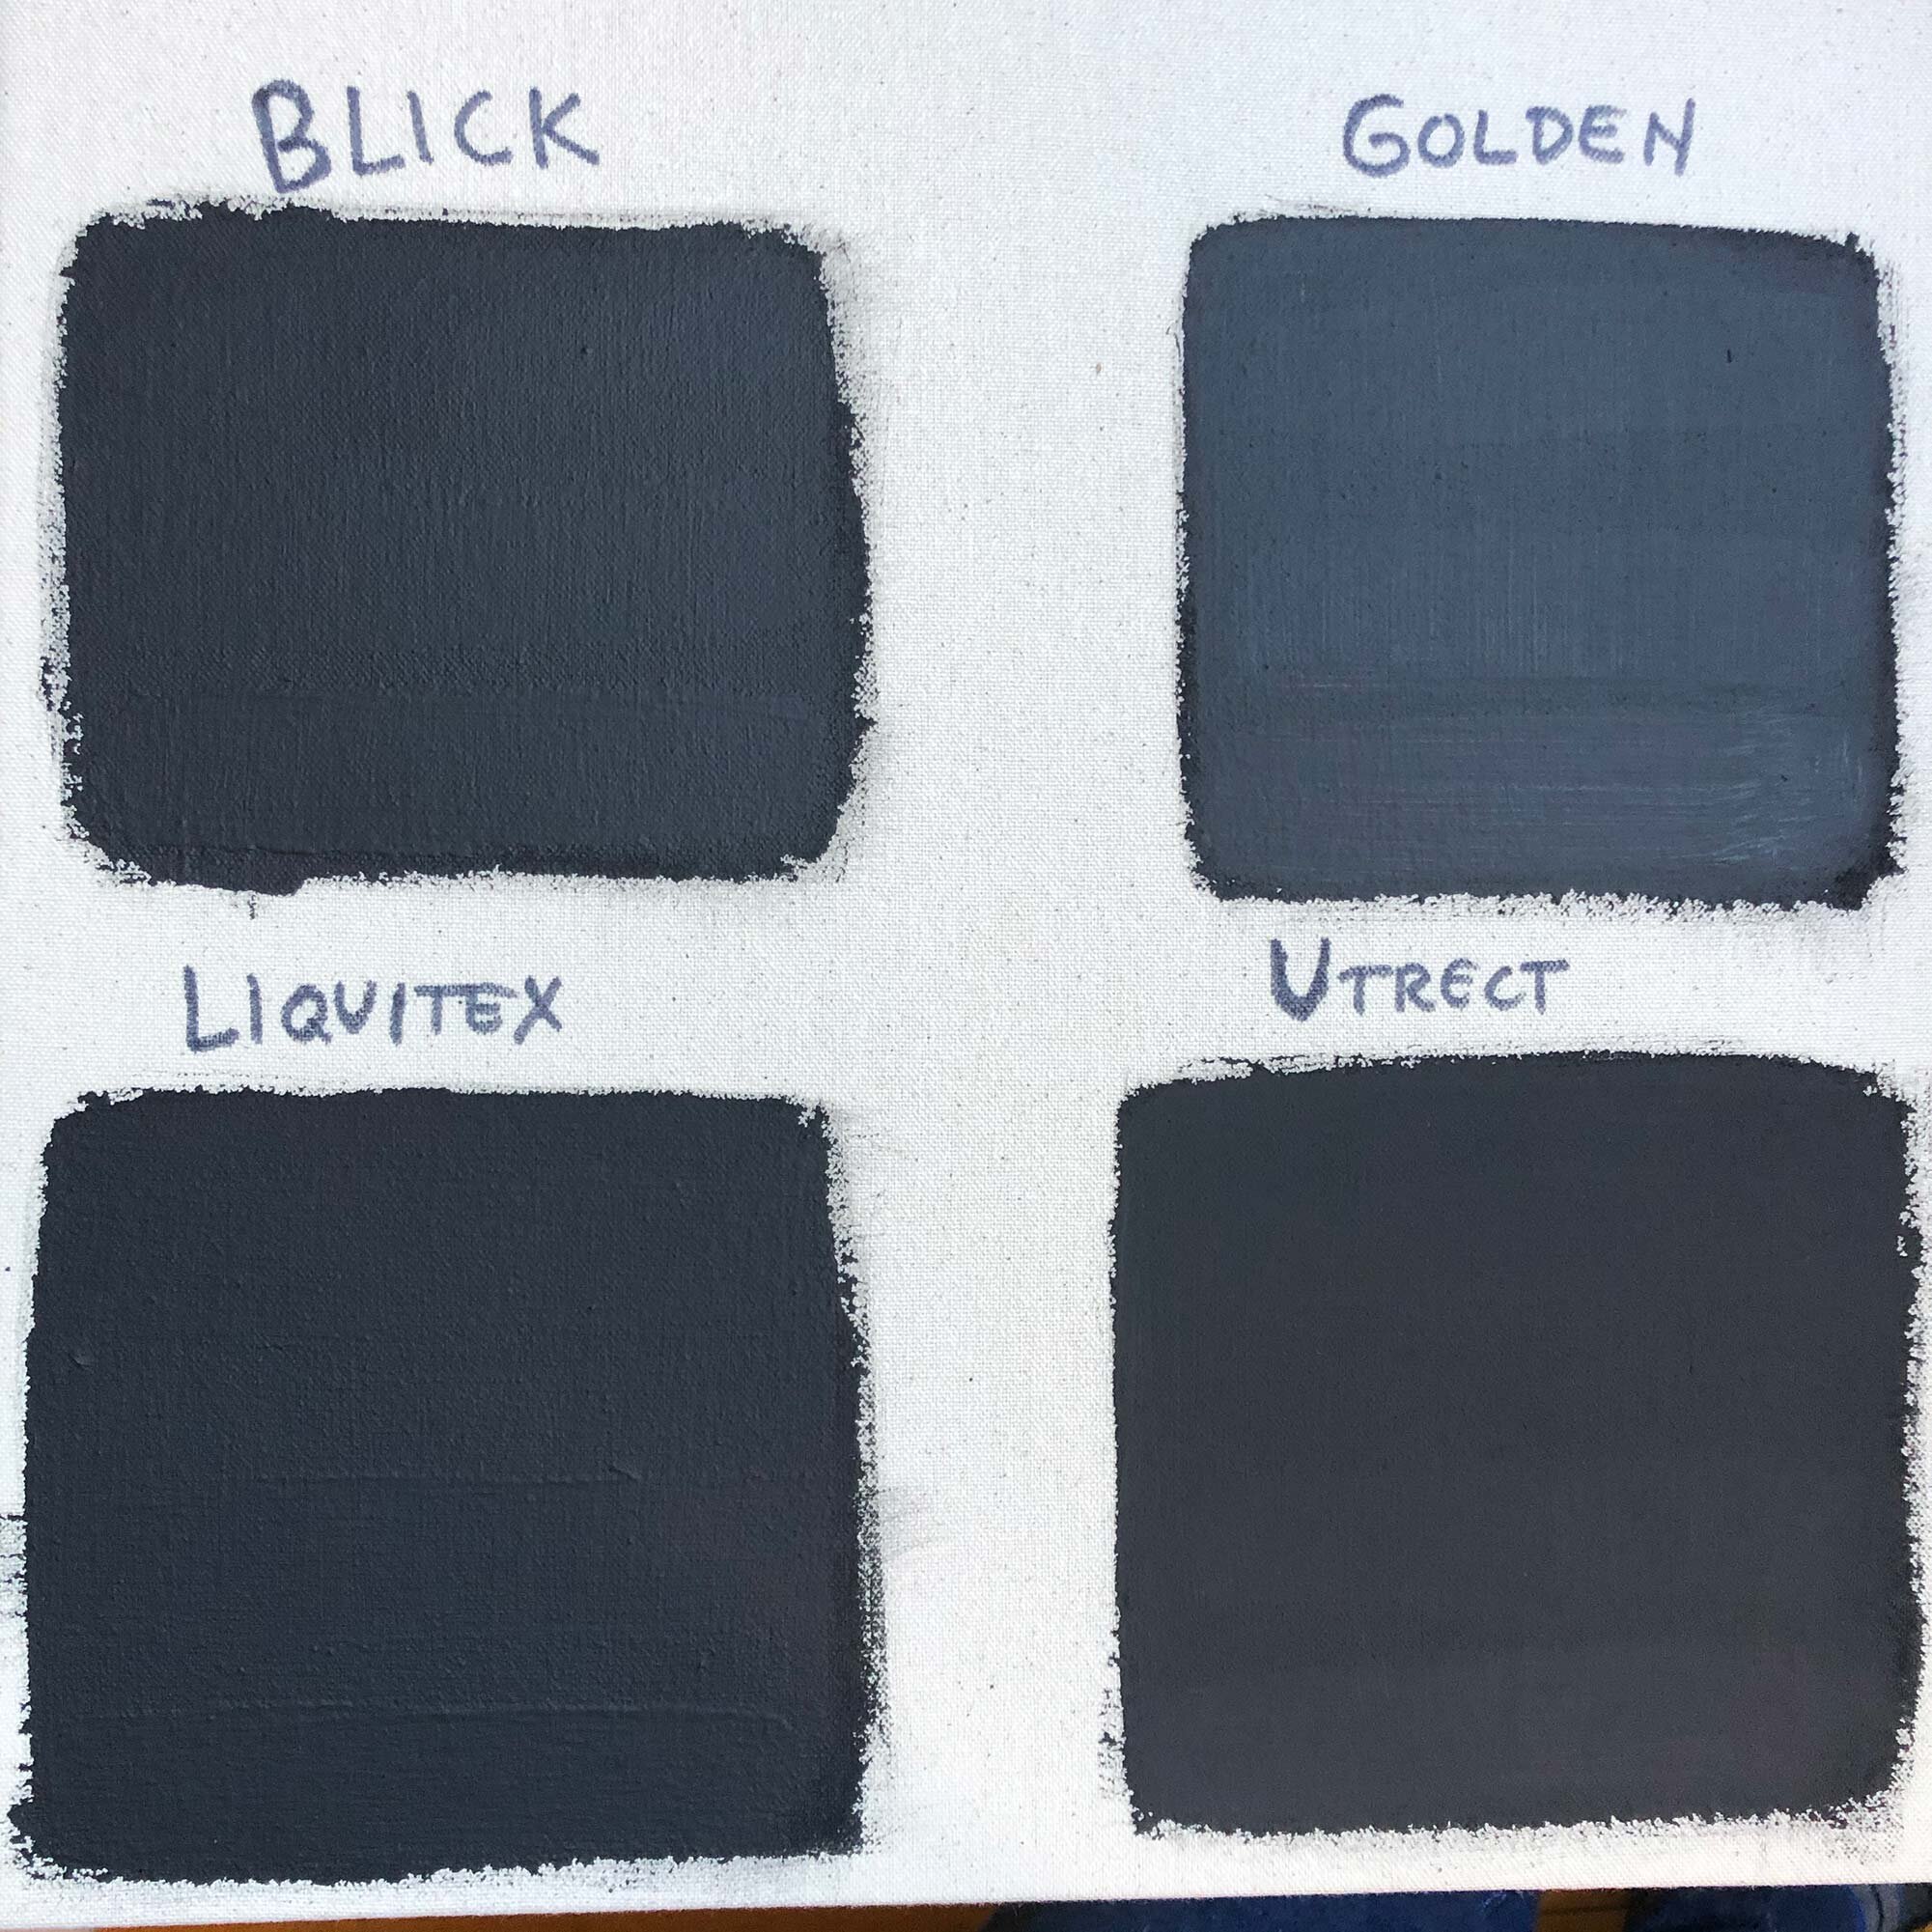
Slip was dipped onto test tiles made with Standard 308 Brooklyn Red and 112 Brown Speckle clays. Dips were 3 seconds each and ranged from one dip at the bottom to four dips at the top. The slip with zircopax was drier, cracked more, but was also more prone to flaking. A few large pieces simple fell off the red clay test tiles.

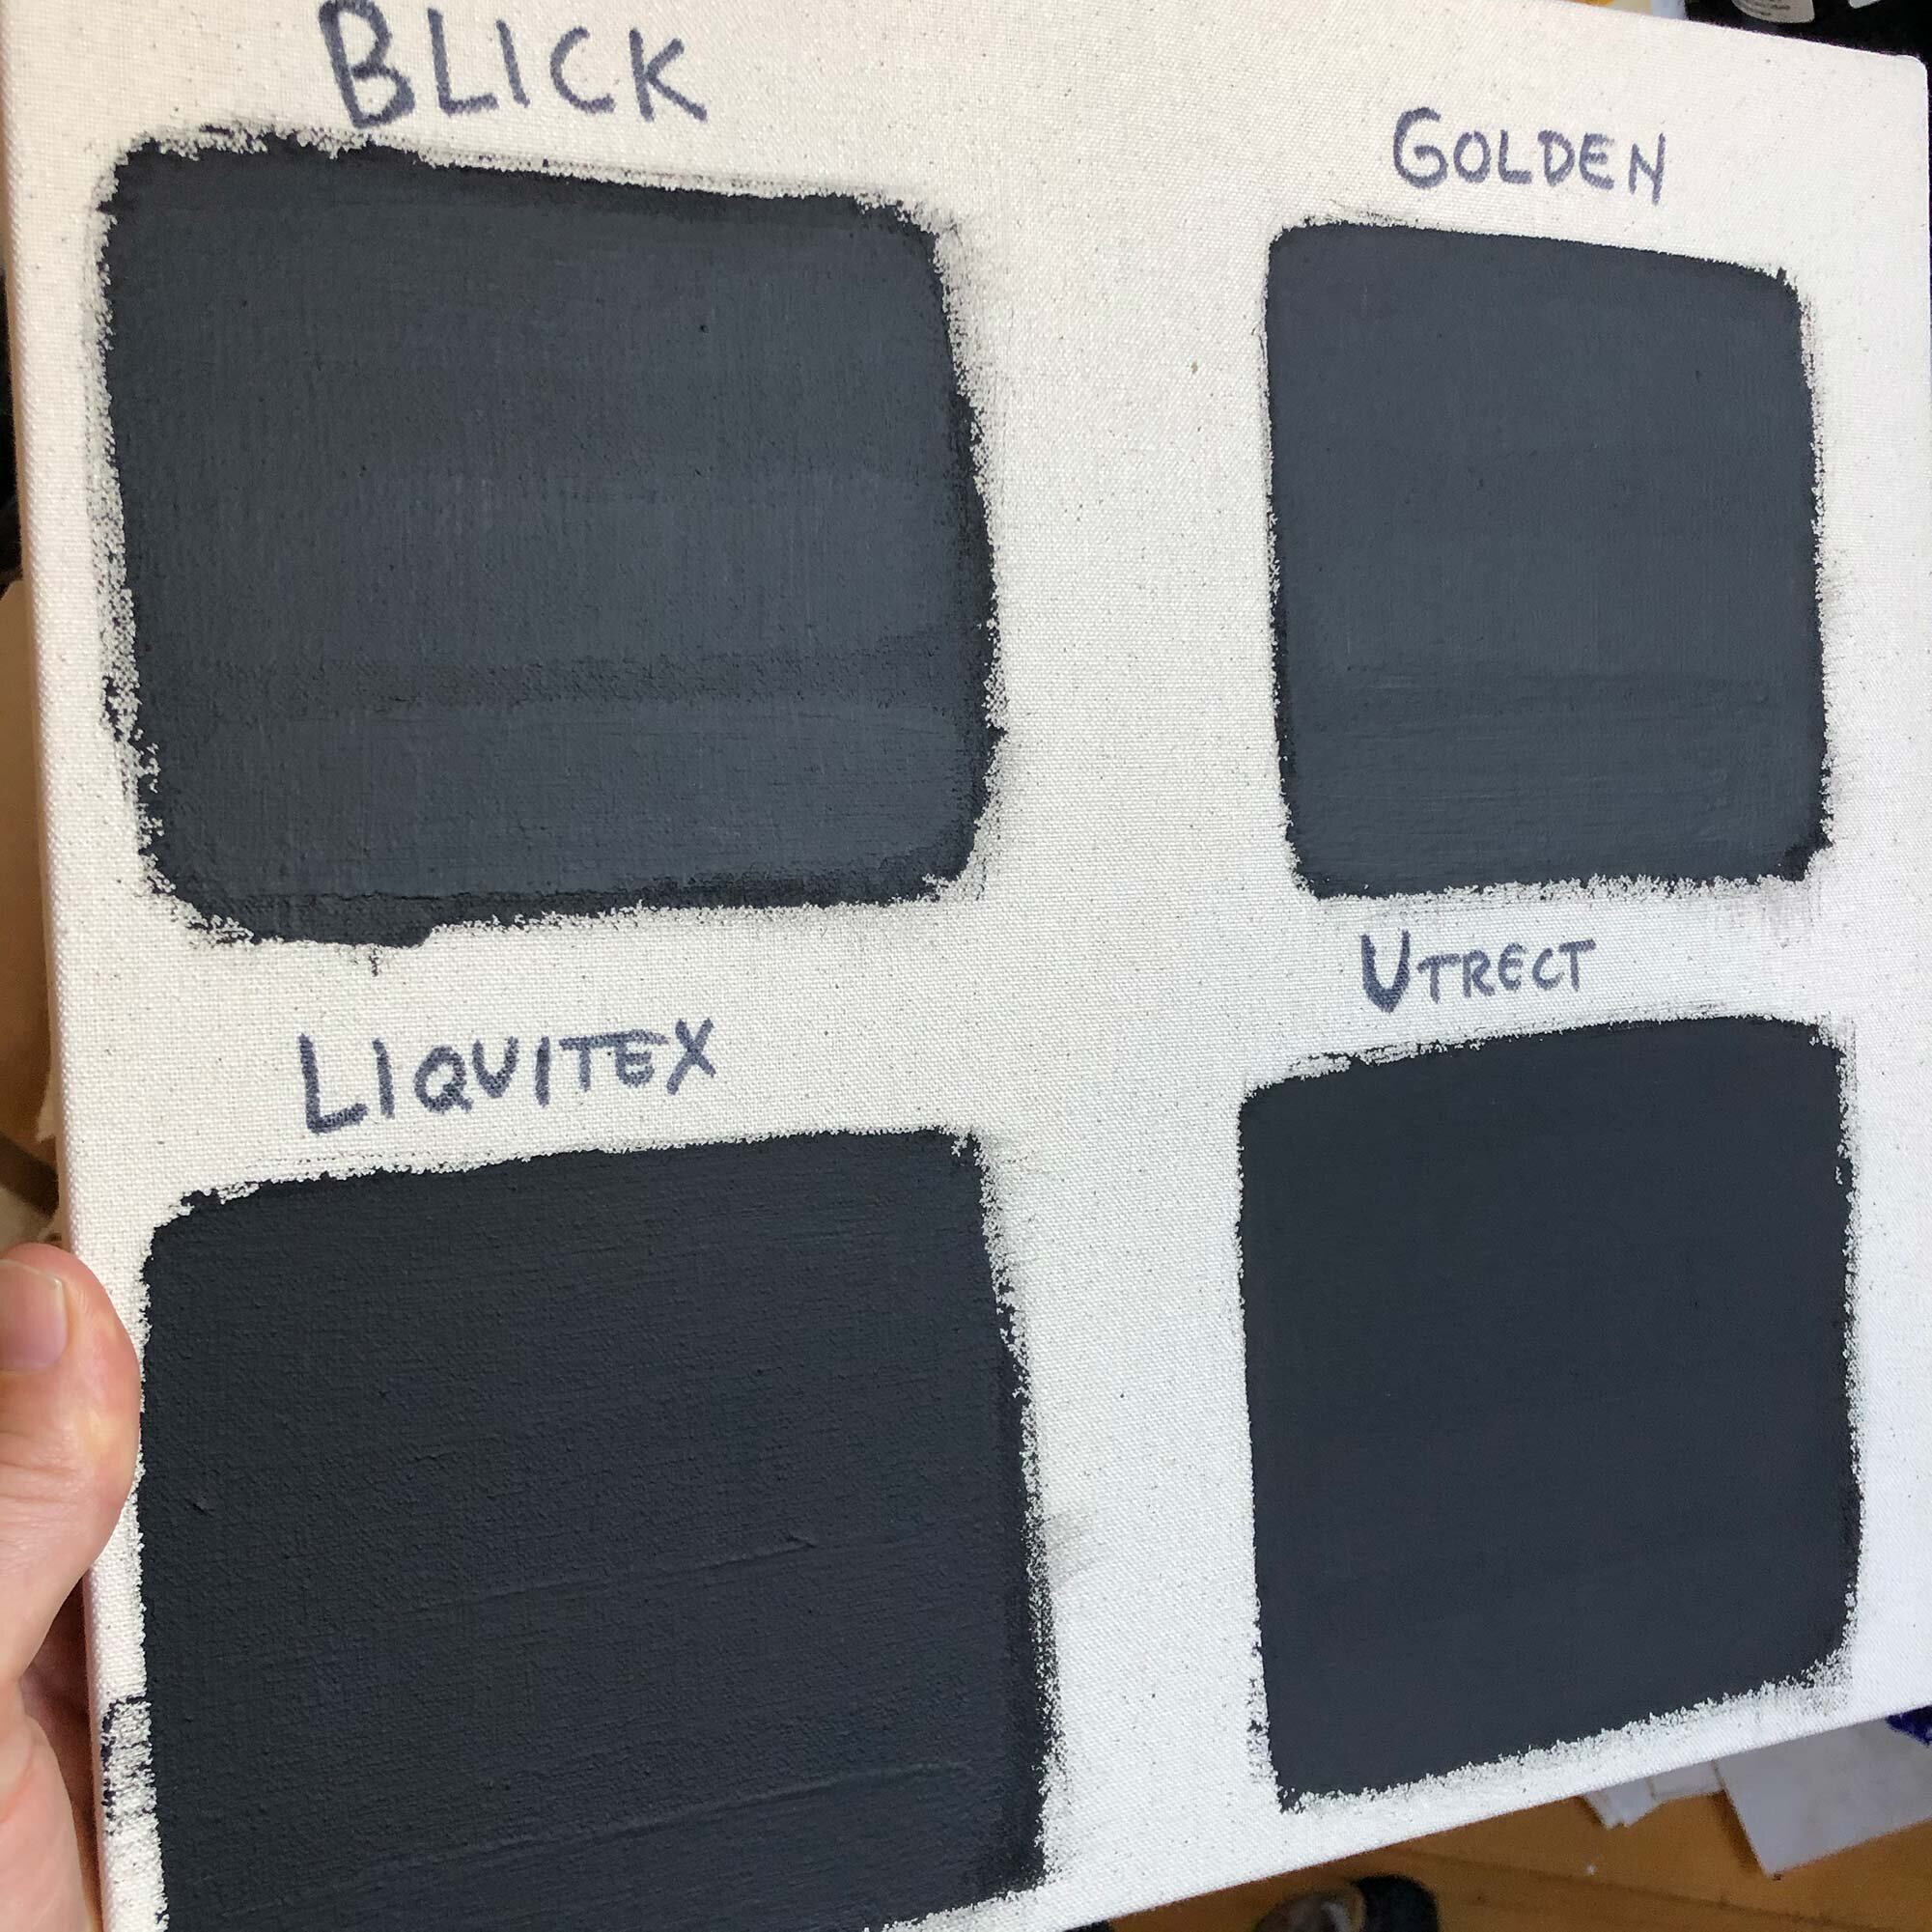
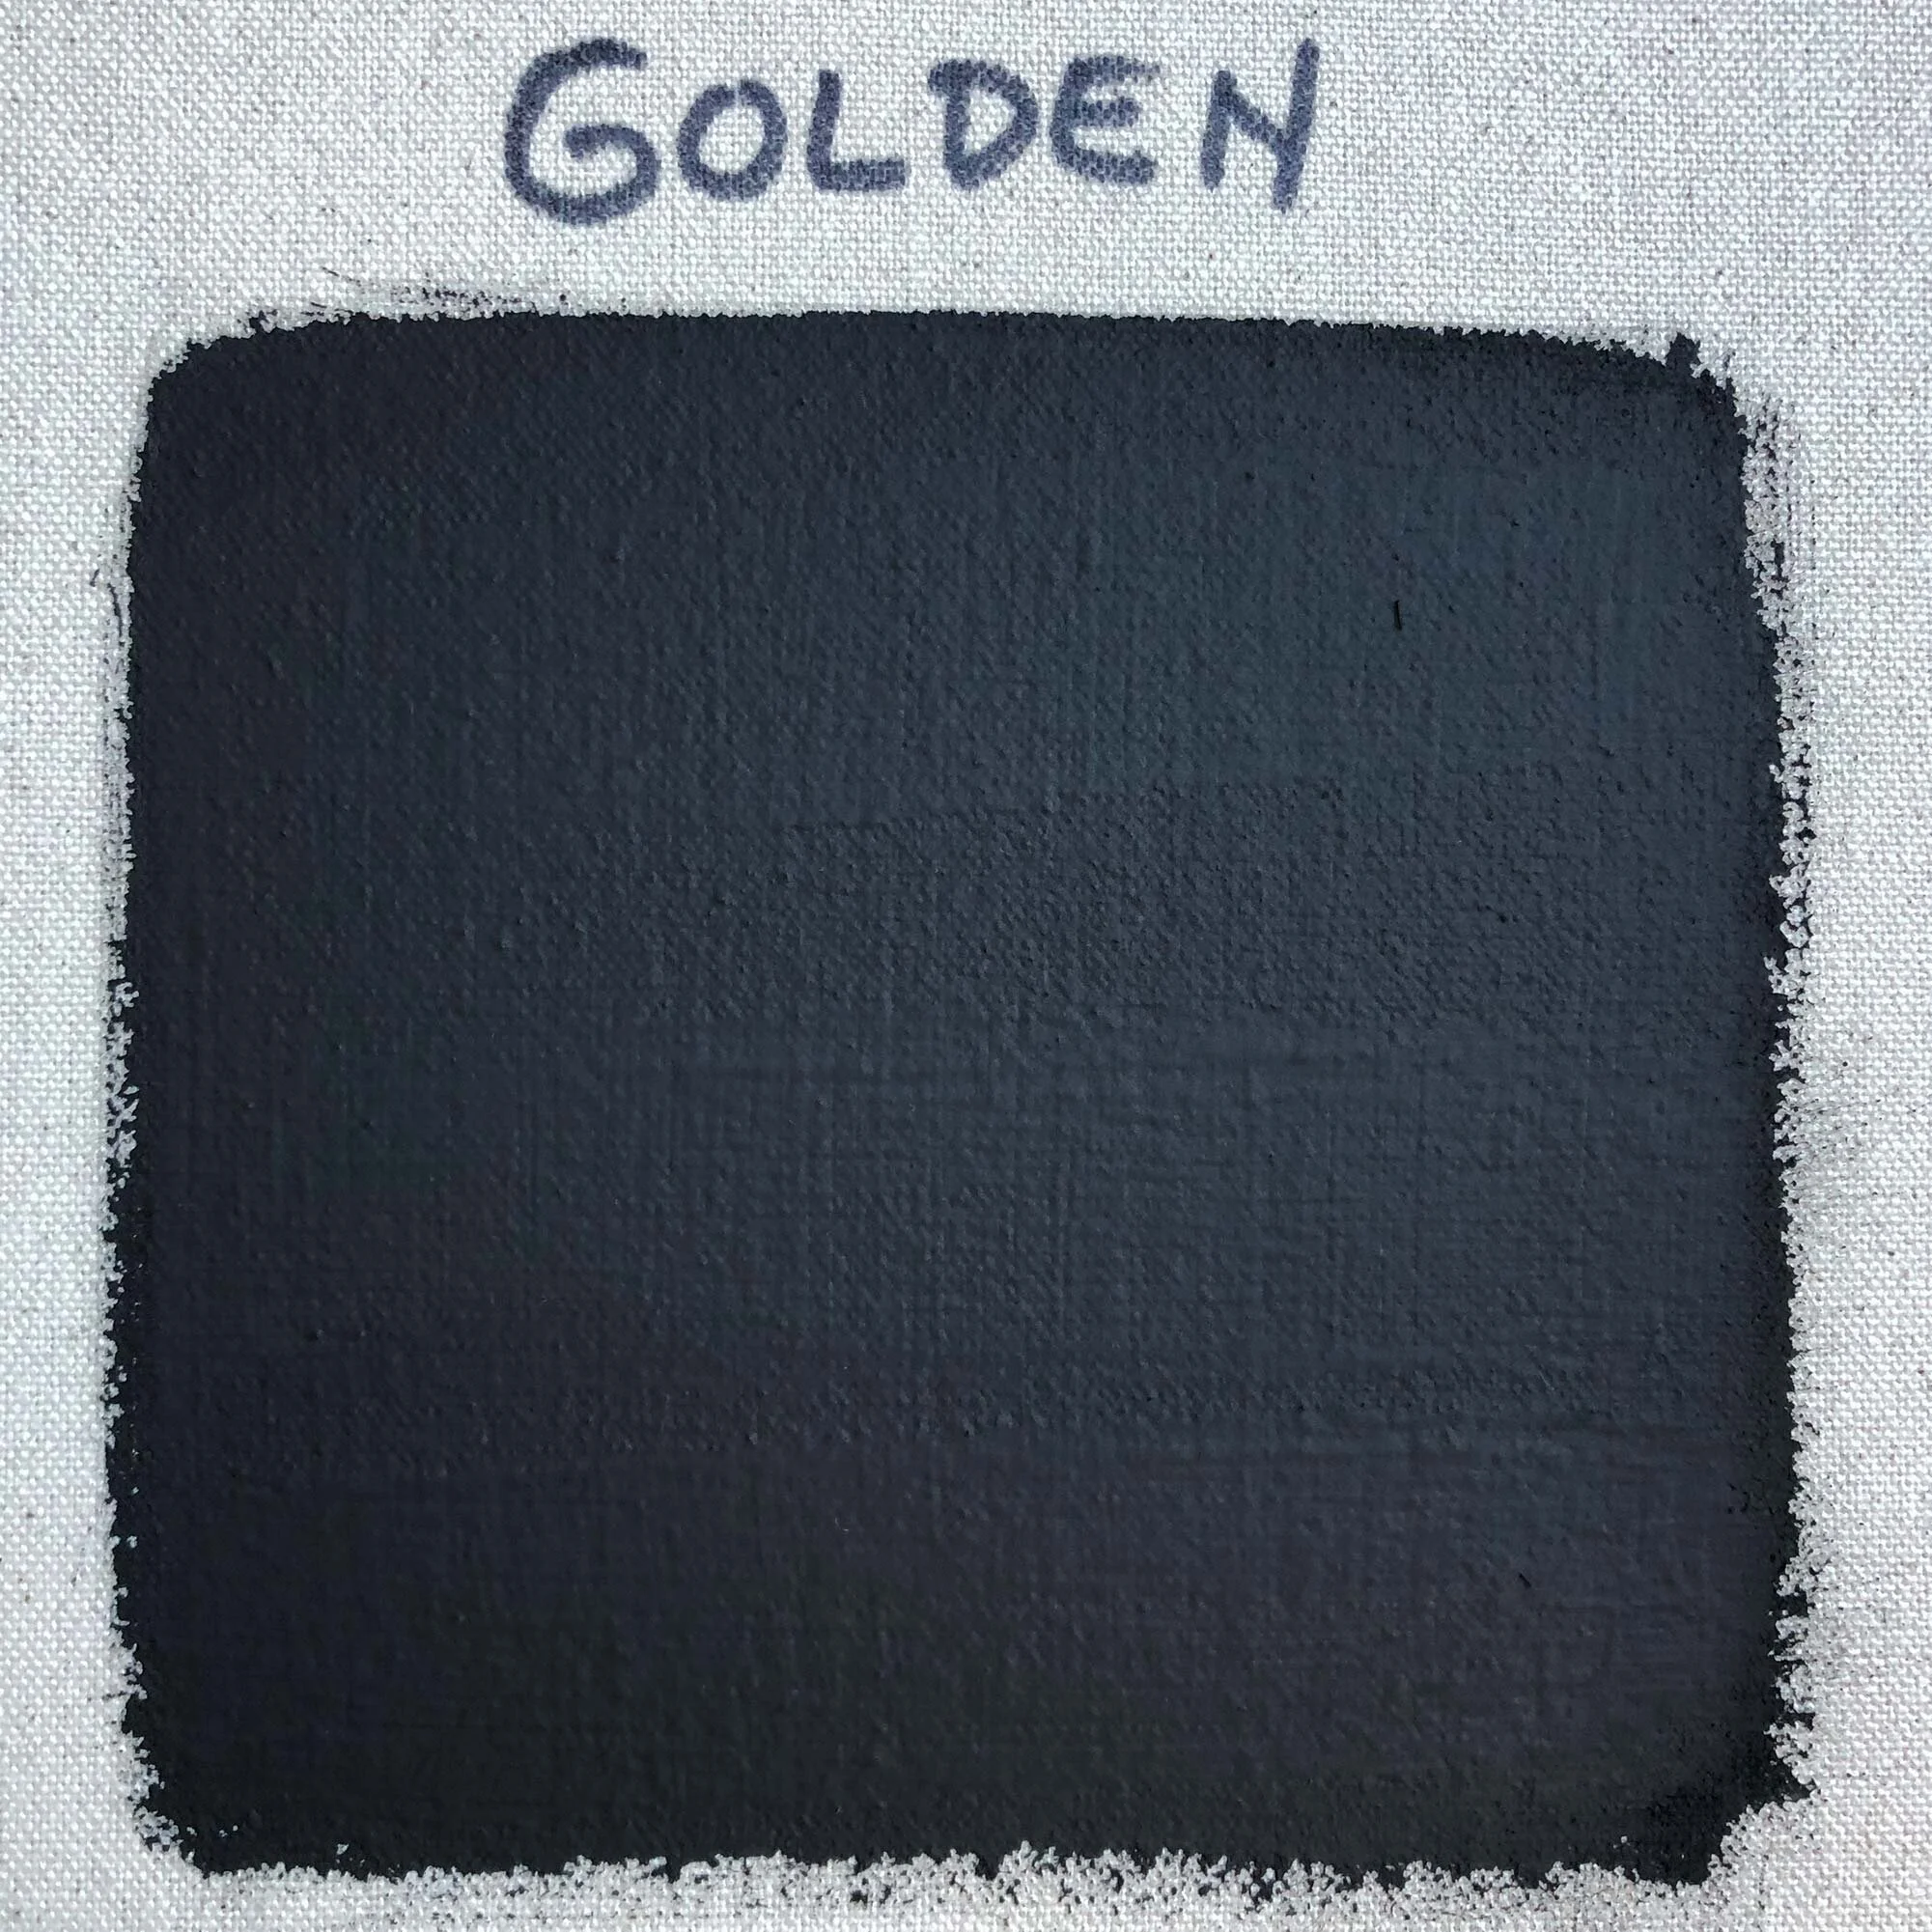
The test tiles together.
References and Summary
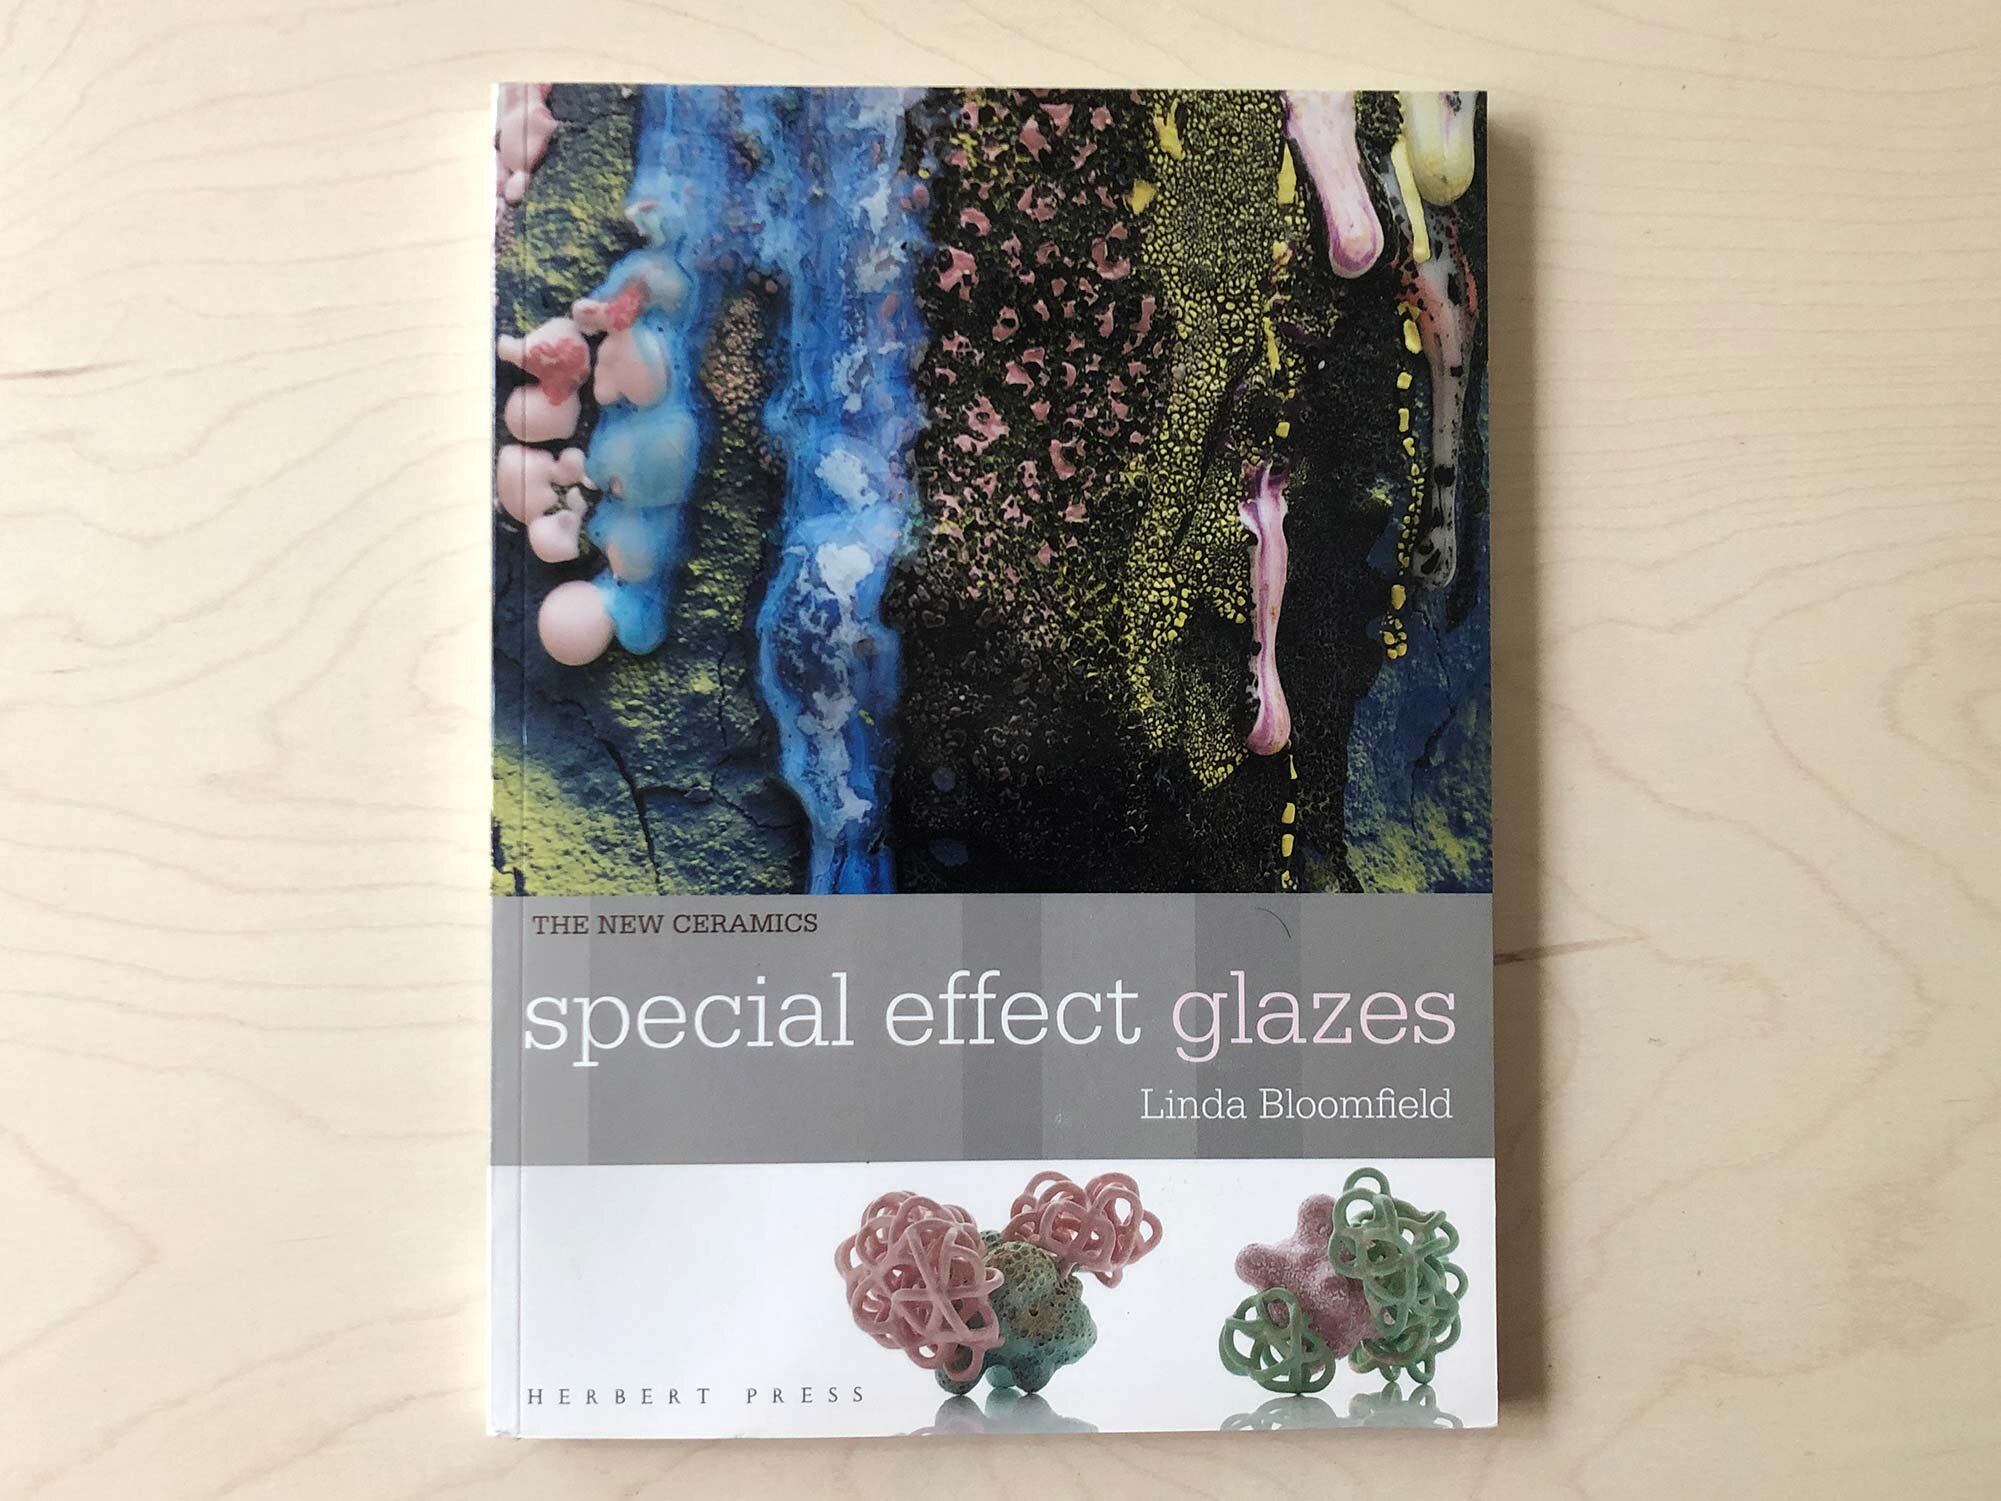
The recipes for this crackle slip can be found in two John Britt books:
Complete Guide to Mid-Range Glazes (shop at Amazon) (shop at Bookshop.org)
Complete Guide to High-Fire Glazes (shop at Amazon) (shop at Bookshop.org)
Or on Glazy.org, look at these pages:
Oestreich Bisque Crackle Slip With Colors
Borax can often be found in the laundry section of your local market. Or shop borax at Amazon.
Do you have a favorite crackle slip? Let us know in the comments.